Sunday, September 30, 2018

Technique Tuesday Countdown Day 2 - Grape Cluster Blessings

Good morning! Welcome to Day 2 of sneak peeks for the October Release from Technique Tuesday! Woohoo!!! Lots of fun new stamps and dies in this release - make sure and check out the Technique Tuesday Blog to find links to all the Design Team's projects for today!


Today I have a simple card that combines two new stamp sets - Luscious Grapes and Happy Thanksgiving - with some simple watercolors and touch of glitter!


I stamped the lovely image and built my own sentiment with the options in the stamp set, then watercolored with my Daniel Smith Watercolors.


Once that dried, I added a layer of fun foam underneath and mounted on a soft gray cardbase, then added some Glossy Accents on parts of each grape, then sprinkled on some chunky glitter for a bit of sparkle! A tiny touch, but such a fun effect!


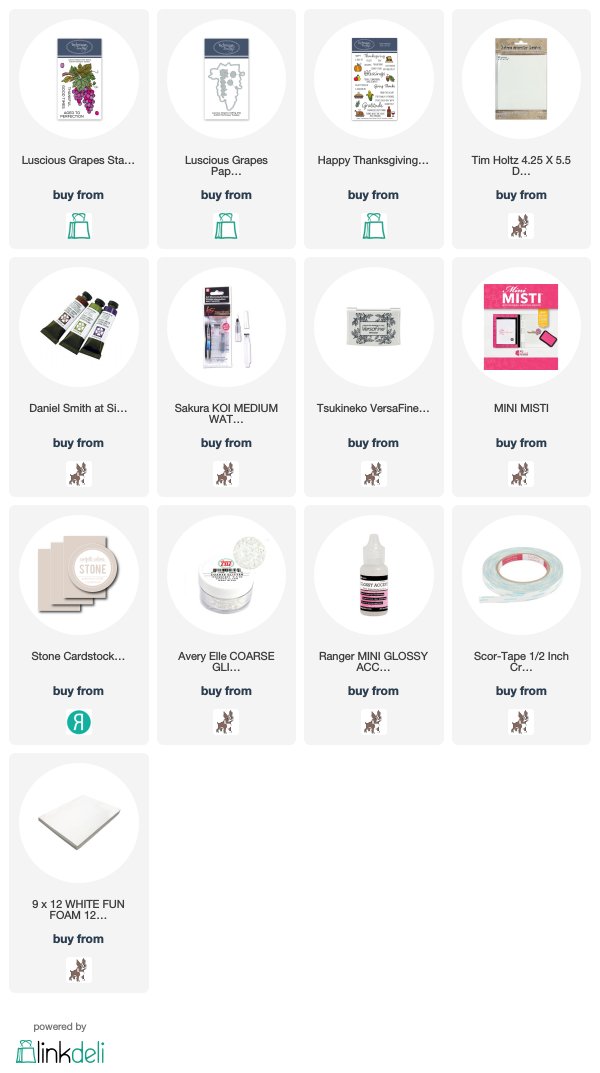
Product links are all below - including affiliate links where possible, which simply means if you use one of the links below, I receive a small commission at no additional cost to you. Thanks so much for stopping by - have a wonderful day!!!

Saturday, September 29, 2018

National Coffee Day - First I Drink the Coffee

Good morning! I'm happy this morning to be joining in the fun for National Coffee Day - who knew there was such a thing? While I'm the only one in my family who doesn't care for coffee (I'm more of a tea gal!) - I still enjoy the smell of coffee, and watching my hubby and daughters enjoy it!

There are lots of giveaways and fun to found today - you can find all the info on the Coffee Loving Cardmaker's Blog HERE - and info on the Lil' Inker Designs giveaway up for grabs HERE on the Lil' Inker Designs Blog.

Here is my card to share today:


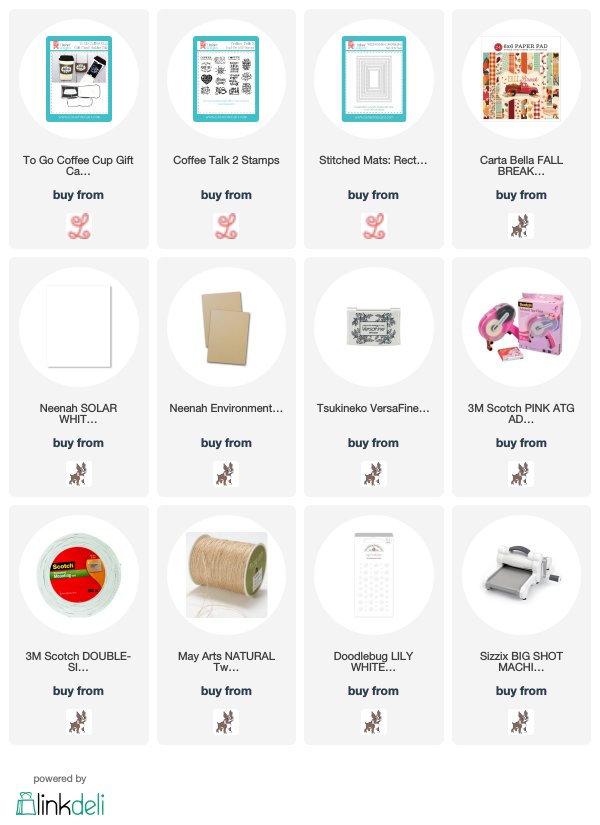
For my card I actually did a bit of creative cutting with my To Go Coffee Cup Gift Card Holder Die, using just the front of it to make a large element for the front of my card! I die cut it with some fun fall pattern paper, kraft cardstock, and white cardstock for the lid - then stamped a sentiment from Coffee Talk 2 Stamp Set on the front, and added a few white enamel dots.


For the background, I die cut my fall pattern paper using Stitched Mats: Rectangles, then matted it in some kraft cardstock before mounting on a white cardbase, tying on some jute string, and mounting my huge cup with foam adhesive over the top!


Here is the giveaway info from Lil' Inker Designs:


Product links are all below - including affiliate links where possible, which simply means if you use one of the links below, I receive a small commission at no additional cost to you. Thanks so much for stopping by - have a wonderful day!!!


Technique Tuesday Countdown Day 1 - Adorable Hedgehog

Good morning! It's already time to start sharing sneak peek projects for the October Release from Technique Tuesday! YAY!!! Make sure and check out the Technique Tuesday Blog to find links to all the Design Team's projects for today!


Today I have a couple of cards to share using the adorable new Henrietta the Hedgehog Set - as usual, I ADORE the new sentiments! Sooo cute!


I did something a bit different for this card - I layered up several layers of colored cardstock using Circles Dies to create a rainbow layered element - because of all the cardstock though, this card is HEAVY! Haha! I added one of the darling sentiments from the set stamped on one of Little Labels Dies, and added some white gel pen detail around the outside edge.


See that dimension? Yeah, there is no foam adhesive behind this! Although I did add a bit of foam behind the hedgehog and the sentiment label. Finished off by stamping the hearts from Wendall the Whale in the center of the circles.


And then...since I couldn't waste all those circles, I ended up throwing together one more super quick card - I was going to color the images, but I thought they were super fun with just the bright pops of color behind them!


I layered the circles all on foam adhesive, stamped and die cut my images, and settled them over the top.


Finished off with an adorable new sentiment from the stamp set in the upper corner!


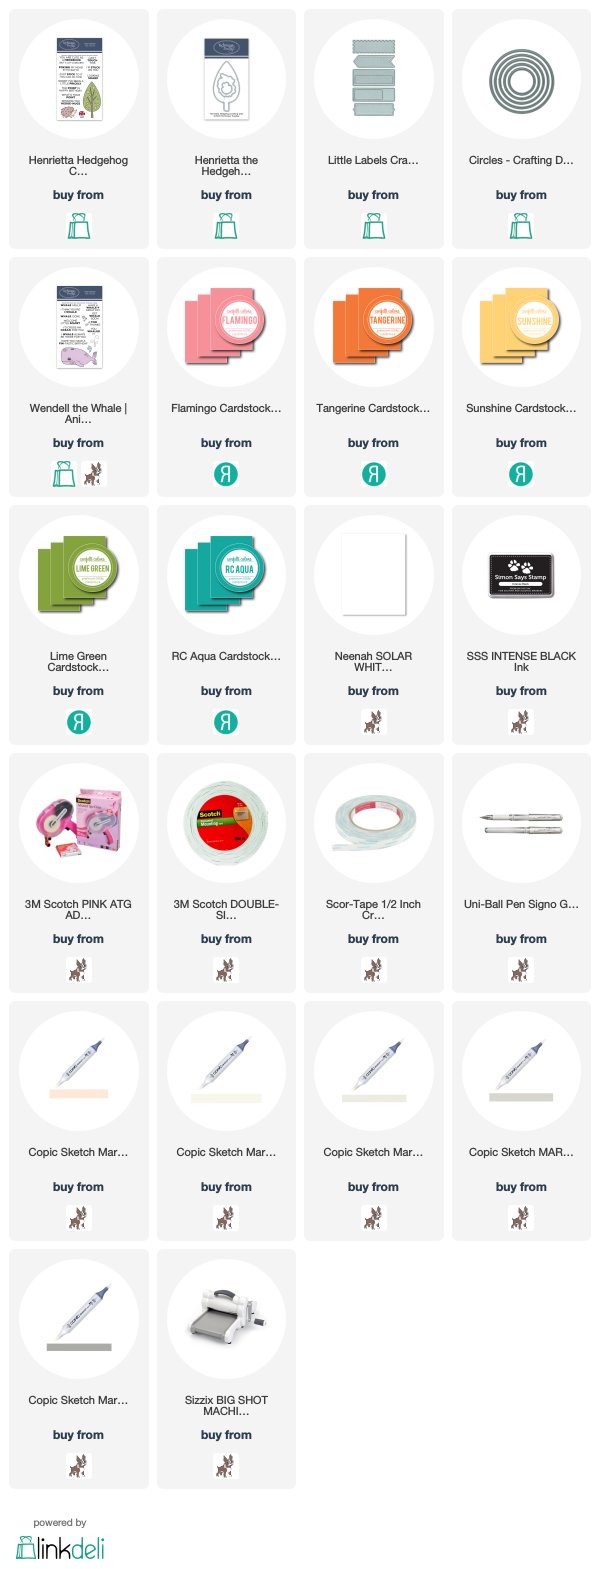
Product links are all below - including affiliate links where possible, which simply means if you use one of the links below, I receive a small commission at no additional cost to you. Thanks so much for stopping by - have a wonderful day!!!


Thursday, September 27, 2018

Unity and Brutus Monroe Blog Hop

Good evening! This post is part of a fun hop with Unity Stamp Company to celebrate a great new collection of backgrounds as part of a collaboration with Brutus Monroe - you can find them all HERE! There are 4 $100 prize packs up for grabs on this blog hop - AND, we are also having an Instagram Hop with giveaways as well!


My cards tonight feature the Spilled Paint background - there would have been a video, but...technical difficulties, you know? :)


I used a variety of colored cardstock, and heat embossed the Spilled Paint Background in simple clear embossing for a neutral but fun background, then die cut them first with a rectangle die, then used a circle die to cut out the centers.


I then filled in the centers of them with a sentiment and adorable images from another new release, Woodland Festivities - part of the adorable new line from Lisa Glanz! I colored them all up with just a few simple neutral colors, added some glittery snow under them each, then mounted the front frames over the top with foam adhesive on soft gray cardbases. Here is a closer look at each color:


Which color is your favorite? I think I'm a bit partial to the blue, but so hard to choose!


Here is the entire blog hop line-up so you don't get lost along the way:

Heather (you are here)

Product links are all below - including affiliate links where possible, which simply means if you use one of the links below that I receive a small commission at no additional cost to you. Thanks so much for stopping by! Have a wonderful day!!!


Sweet Giraffe - Playful Messages

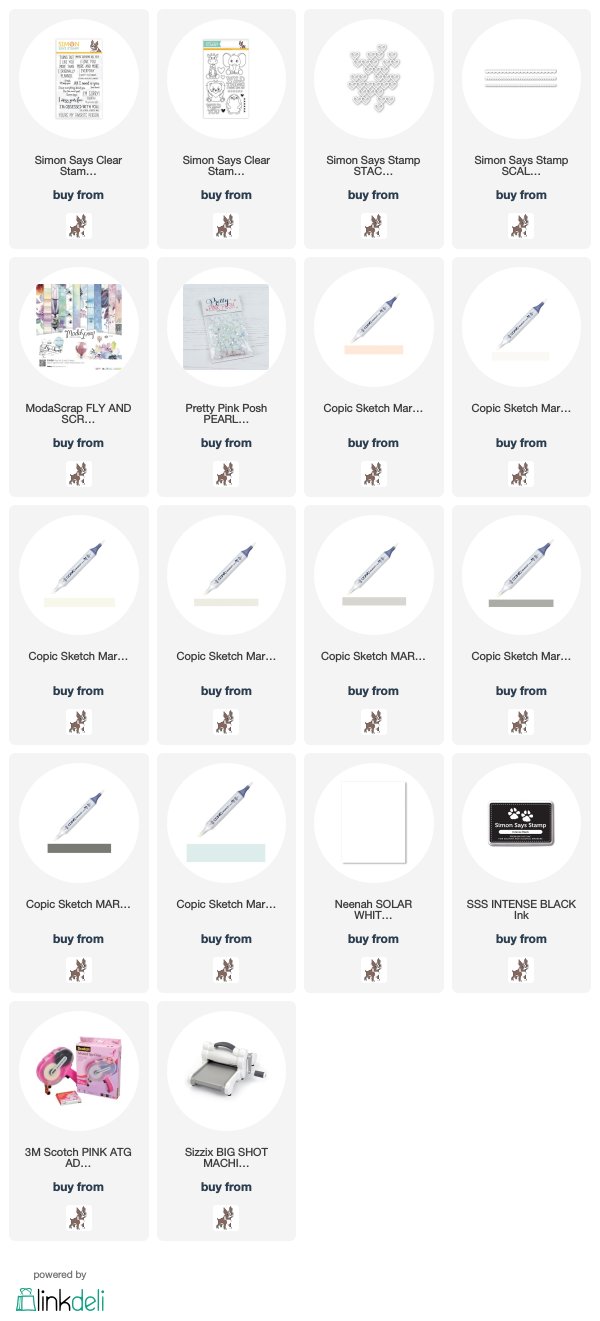
Good morning! The other day I pulled out Simon Says Stamp Playful Messages Stamp Set to play with - and ended up making THREE cards using that one sentiment stamp set, the same pattern paper pad, the same white jewels, and the same theme of white die cuts (although using different ones on each card) - and then using different stamp sets for the images  - yet coloring each one in a neutral gray color scheme! I love how so many of the elements are the same, yet each of the cards has a totally different feel to it! I decided to share those cards as a series of 3 here on the blog, one at a time!

We are on the third and final card today - I'm not sure whether this one feels more like summer or fall - but I adore this sweet giraffe!


The giraffe is from Wild Cuddly Critters - I love how it fits with this sentiment! Colored again in those simple warm gray tones.


Next, I die cut the sides of that panel with Scallop Stitches, and then die cut Stacked Hearts from white cardstock. I trimmed that in half to fit on the sides of the front panel, and then also sprinkled around a few of the negative heart pieces.


Finished off as before with a scattering of Pearl White Jewels for sparkle!


Product links are all below - including affiliate links where possible, which simply means if you use one of the links below that I receive a small commission at no additional cost to you. Thanks so much for stopping by! Have a wonderful day!!!

Wednesday, September 26, 2018

Sweet Deer - Playful Messages

Good morning! The other day I pulled out Simon Says Stamp Playful Messages Stamp Set to play with - and ended up making THREE cards using that one sentiment stamp set, the same pattern paper pad, the same white jewels, and the same theme of white die cuts (although using different ones on each card) - and then using different stamp sets for the images  - yet coloring each one in a neutral gray color scheme! I love how so many of the elements are the same, yet each of the cards has a totally different feel to it! I decided to share those cards as a series of 3 here on the blog, one at a time!

Today we are on card number two - a playful card with a spring feel to it!


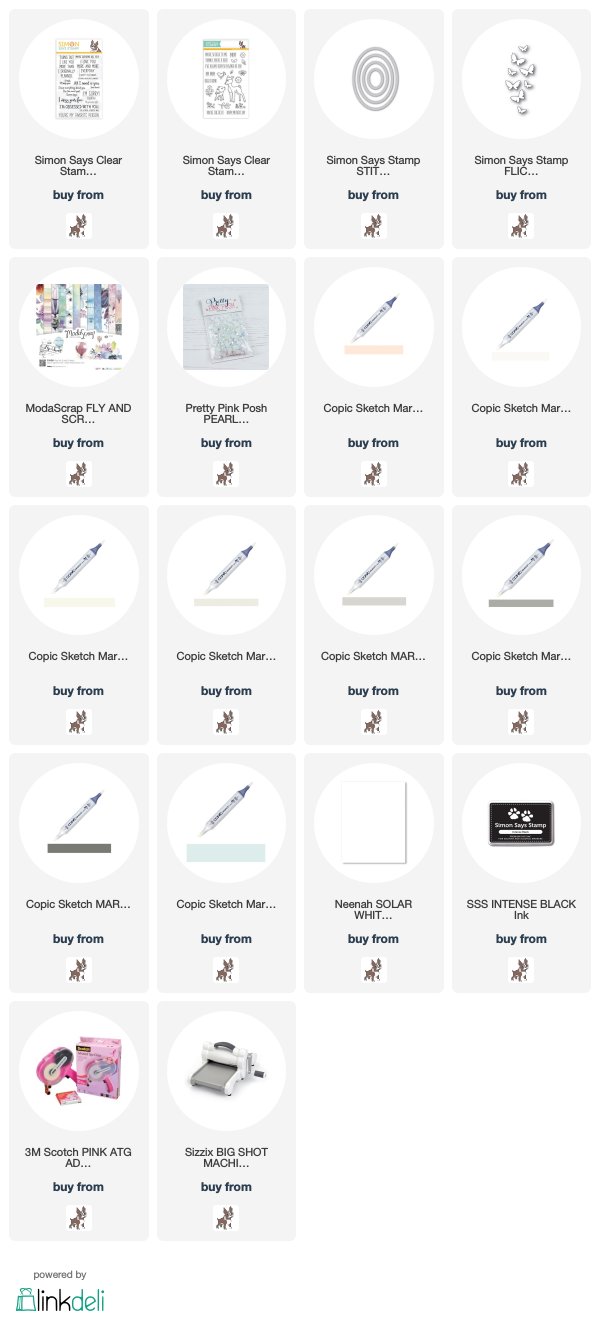
For this card, I used the two sweet deer images from So Deer stamp set with my sentiment, and then die cut that panel with Stitched Ovals dies.


I again colored the images with Warm Gray Copic markers, and then die cut from white cardstock some butterflies using Flickering Butterflies dies and scattered those around the outside edges of the oval die cut.


I finished off with a sprinkling of white jewels around the edges, and then mounted that panel with foam on  my pattern paper background!


Product links are all below - including affiliate links where possible, which simply means if you use one of the links below that I receive a small commission at no additional cost to you. Thanks so much for stopping by! Have a wonderful day!!!


Tuesday, September 25, 2018

Winter Snowman - Playful Messages

Good morning! The other day I pulled out Simon Says Stamp Playful Messages Stamp Set to play with - and ended up making THREE cards using that one sentiment stamp set, the same pattern paper pad, the same white jewels, and the same theme of white die cuts (although using different ones on each card) - and then using different stamp sets for the images - yet coloring each one in a neutral gray color scheme! I love how so many of the elements are the same, yet each of the cards has a totally different feel to it! I decided to share those cards as a series of 3 here on the blog, one at a time!

Here is the first one - with a fairly obviously winter theme! 


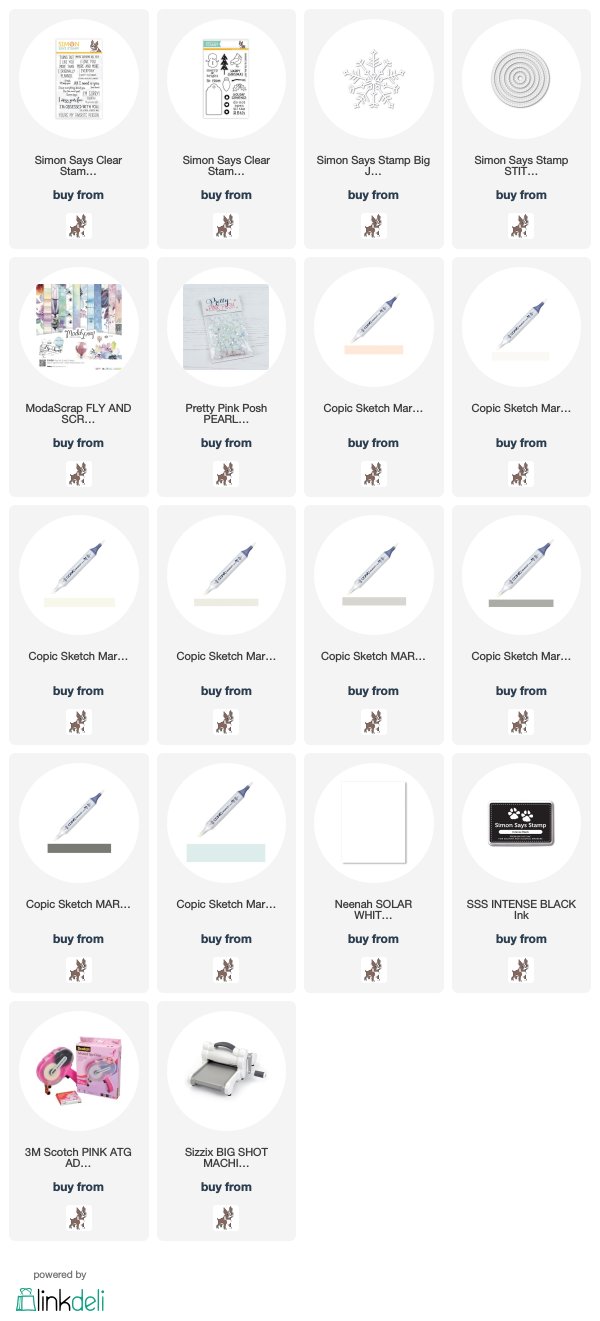
I stamped the image and sentiment and die cut with a Stitched Circle, then colored very simply with Copic markers.


I die cut several snowflakes from white cardstock using Big Joy Snowflake wafer die, and layered them around, tucking some behind, some in front, and all of them hanging off the edges. I then trimmed around the panel to catch the stray edges. 


Finally, I added a good sprinkling of Pearl White Jewels for sparkle!


Product links are all below - including affiliate links where possible, which simply means if you use one of the links below that I receive a small commission at no additional cost to you. Thanks so much for stopping by! Have a wonderful day!!!


No Line Watercolor with PPP STAMPtember Pansies set

Good morning - I'm super excited to be sharing a card using the BRAND NEW exclusive Pretty Pink Posh STAMPtember stamp set - another beautiful floral set! I love Pansies - they were the one flower in my mom's flower beds when I was growing up that we were allowed to pick as many as we wanted of, since the more you pick them, the more they bloom! So I decided to play a little more with some no-line watercoloring - a technique that stretches me a little out of my comfort zone, but I think this is the happiest I've ever been with the result! Maybe I am learning? :)


I started off by stamping a floral cluster using some Antique Linen Distress Ink. I chose this since it is a nice soft color, and distress ink is water reactive, so as I painted, the lines would melt into my coloring and disappear - leaving me with the "no-line" look I wanted. I didn't spend a lot of time masking, just stamped them out, knowing my extra overlapping lines would be easy to make disappear with a bit of water.


And then I pulled out my Daniel Smith watercolors, and slowly painted and built up my colors - I love when I have time to just slowly paint and take my time! So very relaxing! 


Once I was finished and happy with the painting, I added some white paint splatters over the top and a sentiment from the recently released Fall Scene Stamp Set.  


Finished off with a Scallop Frame die cut from green cardstock and popped up with foam adhesive, and a few sparkly new Blue Lagoon Jewels that seemed to match my card perfectly!


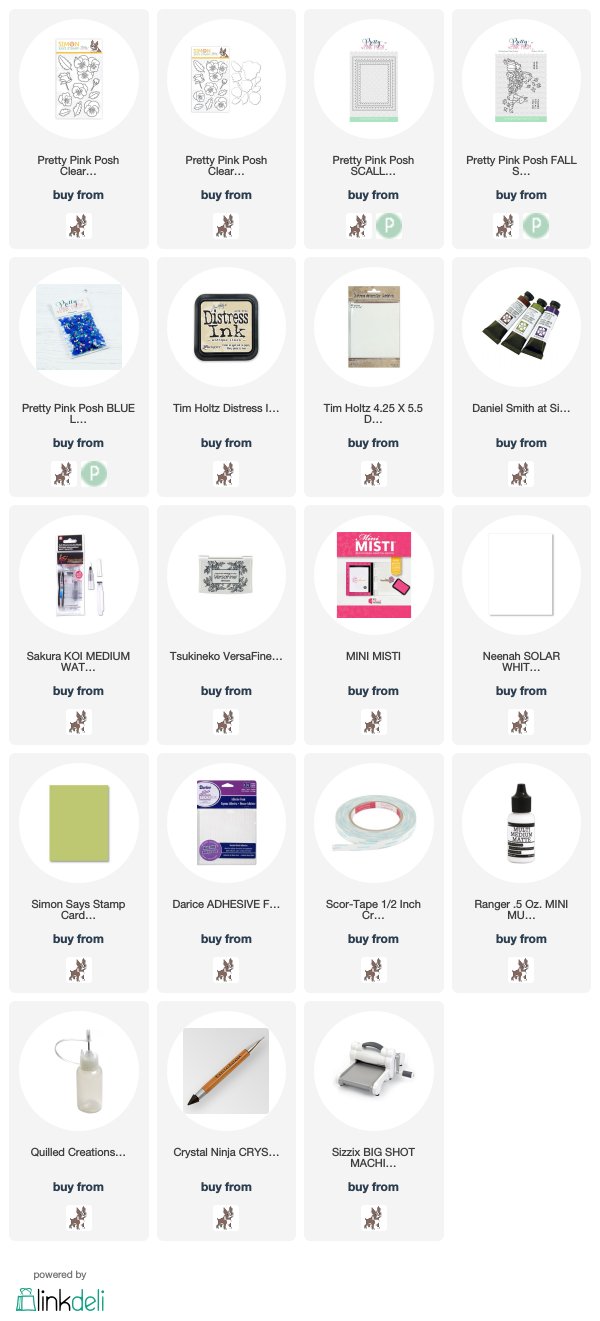
Product links are all below - including affiliate links where possible, which simply means if you use one of the links below that I receive a small commission at no additional cost to you. Thanks so much for stopping by! Have a wonderful day!!!