Showing posts with label Tim Holtz paper clips. Show all posts

Monday, October 8, 2018

Pinkfresh Studio October Release Blog Hop

Good morning! So excited today to be hopping along with Pinkfresh Studios as we celebrate the BRAND NEW October Release! You aren't going to want to miss a stop along the way - TONS of inspiration and prizes up for grabs! YAY!

I have a $25 gift card up for grabs here on my blog (details below) - and the ENTIRE RELEASE is up for grabs as well! See details on the Pinkfresh BlogPinkfresh Studio is also having a special promo in honor of the new release! Between now and October 11th head to the Pinkfresh Studio Store and use code "OCTFREESHIPWITH50" for free US Shipping and $5.50 off international shipping!


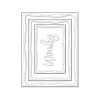
In addition, all order including at least one item from the new release will get this adorable die for free as well (no code needed):


If you are following along the hop, you should have arrived here from the fabulous Emily Midgett!

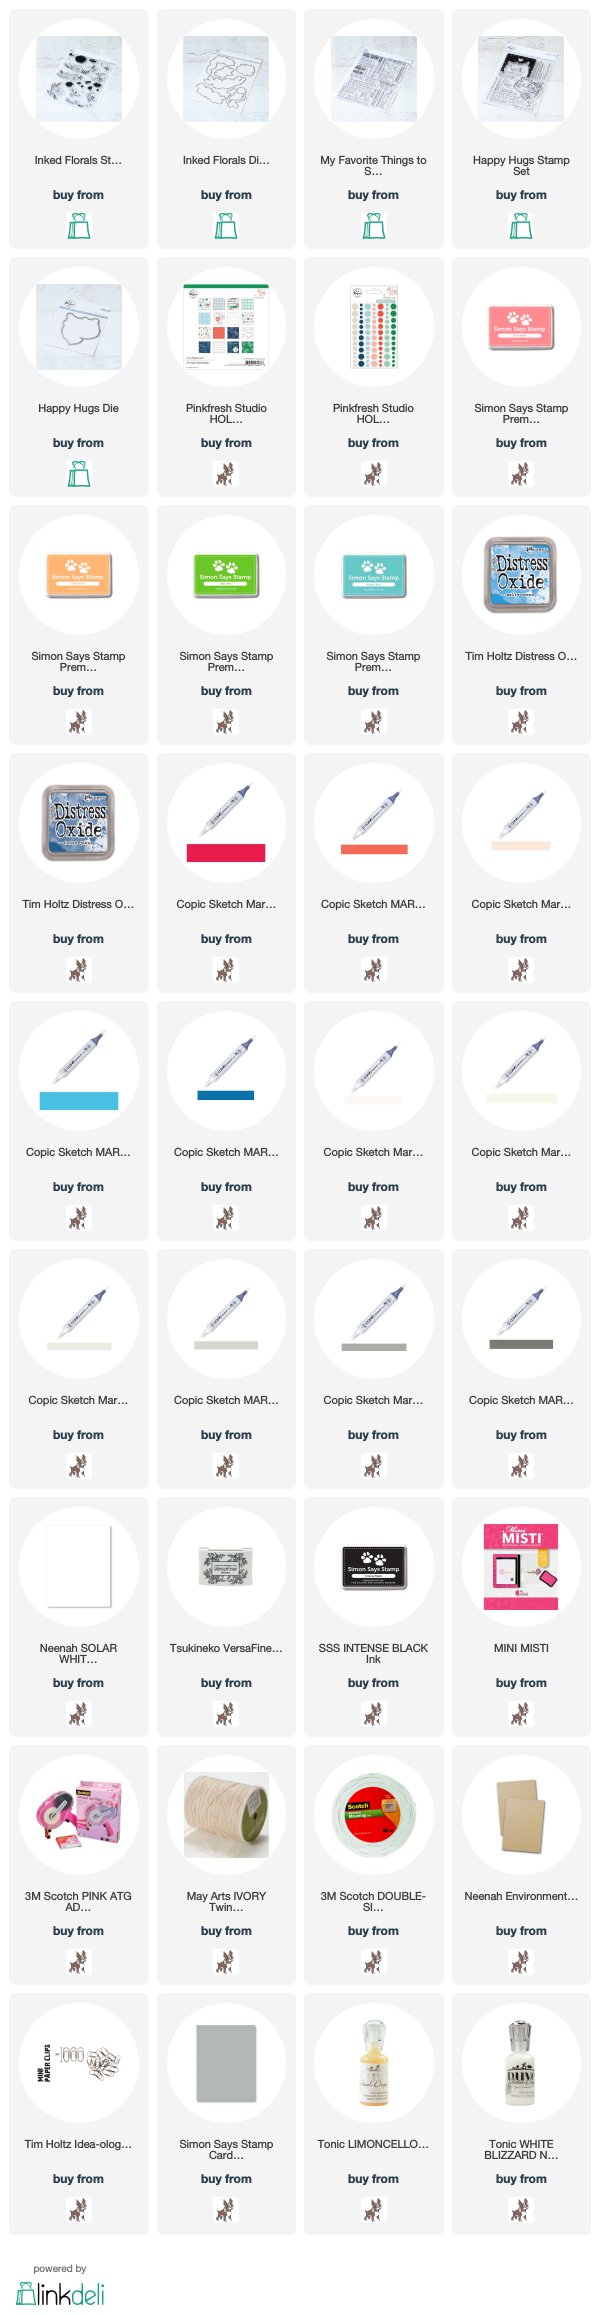
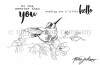
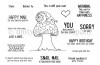
I have two cards to share with you today - first up, this floral card featuring the GORGEOUS new Inked Florals Stamp set, as well as a STUNNING new sentiment set, My Favorite Things to Say:


These florals are so fun to stamp with and build lovely backgrounds! So easy to fill in with the solids, outlines, and small elements as well! And the sentiments as well are fabulous - most of them work fabulously on their own and some like this that work perfectly to build a custom sentiment. And that font! Isn't it so pretty?!?!?


Some layers, some Nuvo Jewel Drops scattered around, a tiny paperclip with some jute string tied on - then everything mounted on a kraft cardbase finish this card off!


Next up - I couldn't resist these little cuties from the new Happy Hugs! Aren't they adorable?!?!?


I used Distress Oxide inks on the background in two tones for a fun ombre type effect - darker in color around the edges. Then I stamped the bears in the perfectly placed cut out - there are also coordinating dies, but I love how they fit perfectly for one layer cards too!


I colored the cuties up, and then added another white paper layer, and a scrap of pattern paper from the Holiday Vibes 6x6 Paper Pad stitched on the bottom. 


Finally, a few Holiday Vibes Enamel Dots, and then some sparkly Nuvo Drops on the snowy areas to finish it off!


Your next stop along the hop is the always amazing Jennifer McGuire - make sure and head there next!

Giveaway Info:


Make sure and leave a comment before you leave for a chance to win a $25 gift certificate to Pinkfresh Studio! Winner will be chosen and posted on the Pinkfresh Blog on Sunday, October 14, 2018 - so make sure and check back to see if you were a winner! Winners must check that page and claim their prize within 2 weeks.

Here is the entire blog hop line-up so you don't miss a single stop - and product links are below - including affiliate links where possible, which simply means if you use one of the links below that I receive a small commission at no additional cost to you. Thanks so much for stopping by! Have a wonderful day!!!

Friday, June 15, 2018

Trio of Watercolor Summer Cards - Simon Says Stamp July Card Kit

Good morning! I'm back to share three final cards that I made with the new Simon Says Stamp Card Kit for July - Cool Summer! This kit has such a FUN and JUICY summer vibe to it - LOVE it so much! My card for today focuses on the fabulous LARGE stamp set - One Cool Pineapple - included in the kit. I'm loving the large stamp sets that are starting to appear more and more in these kits - makes them such an AMAZING value!


For this set of cards, I stamped various images and sentiments on watercolor paper, and colored the fun images in with my Daniel Smith watercolors. Seriously - I don't think there is ANYTHING more relaxing than watercoloring - do you?


I then die cut them down with my Stitched Rectangles dies, and added some stickers from the included Sticker Book in the Kit - I particularly used some of the gold foiled sentiment stickers that paired well with my stamped sentiments. I matted these just slightly with white cardstock - just a simple layer that seems to help them pop - and added a tiny paper clip to the top corner with some jute twine tied on. Finally, I mounted them with foam over some of the various pattern papers in the kit from Carta Bella's Summer Splash 6x6 paper pad

Here is a closer look at each of these cards:


Here is the entire kit contents - I'm in LOVE with it all! You can find the entire kit HERE:


Have you ordered your kit yet? These kits have been selling out super fast - so make sure and grab one before they are gone!


Product links are all below - including affiliate links where possible, which simply means if you use one of the links below that I receive a small commission at no additional cost to you. Thanks so much for stopping by! Have a wonderful day!!!


Sunday, April 15, 2018

Rose Gold Butterflies - Simon Says Stamp Fluttering By Release

Good morning! Dropping by today to share another card I made using some of the newest Simon Says Stamp Fluttering By Release that just happened last week! I used some of the negative die cuts from the card I shared last week for the blog hop HERE (psst...there's still time to comment on the hop posts and enter the giveaways!)  


I started looking at the negative die cut from the Flickering Butterflies that I used on my other card, and decided to trim it down and inlay some more butterflies. Can you see how this could go on for forever?!?!? However, I used a smaller scrap of the Tonic Rose Gold cardstock - so I promise this isn't the card that never ends! Haha!


Look at the lovely shine from that rose gold! Isn't it purty?!?!?


I layered on some pretty Pebbles pattern paper from a past card kit of the month, die cutting a scallop on one side using Scallop Stitches Die, and adding some messy machine stitching to connect the two. The larger panel was cut using Wonky Rectangles. Added some hand trimmed banners, a tiny paper clip, and some jute twine at the top. Sentiment is from another new release - Mom Flowers, which has wonderful sentiments in it!


Product links are all below - including affiliate links where possible, which simply means if you use one of the links below that I receive a small commission at no additional cost to you. Thanks so much for stopping by! Have a wonderful day!!!


Wednesday, February 28, 2018

Technique Tuesday Countdown Day 2 - Old Goats' Club

Good morning! Welcome to Countdown Day 2 for the March Release from Technique Tuesday - all products will be available on March 1st - that's tomorrow!!! This is my first release on the DT, and I'm super excited about what a fun and fabulous release it is! Make sure and check out the Technique Tuesday Blog to find links to all the Design Team's projects for today!


Today's card uses the absolutely HILARIOUS Gertie and Garth Goat Stamp Set! STORY TIME: I grew up on a little country farm, and we raised goats. So I spent my childhood in spring waiting for the new baby goats to arrive, cuddling them when they arrived, feeding them their bottles, and running them around the yard (picture 5-8 baby goats bounding and bouncing around chasing us as we ran around our huge yard - and it's just as cute as you can imagine!) I also spent many mornings and evenings milking 2-3 mama goats as well. So...needless to say, I ADORE this set and see it getting LOTS of use!


For my card today I went total rustic farm style! I stamped one of the goats on a panel of white cardstock along with the sentiment, then used Technique Tuesday's Threaded DIY border die set to add the stitched border along the top and bottom. I also added some Antique Linen Distress Inking around the edges. 


Some twine attached with a tiny paper clip to the top corner, and some fun pattern paper - part of it with a torn edge - finish off this card. That...and of course I couldn't resist tiny Wiggly Eyes either! I think that alone ups the cuteness factor of this card SOOOO much!!!


Product links are all below - including affiliate links where possible, which simply means if you use one of the links below that I receive a small commission at no additional cost to you. Thanks so much for stopping by! Have a wonderful day!!!


Thursday, November 2, 2017

PPP November Release Hop - Sparkle Dot Fun!


Good morning! Super excited this morning to be hopping along on Day 1 of the Pretty Pink Posh November Release Blog Hop! This release has a wonderful mix of gorgeous, adorable, and super creative stamps - as well as amazing dies, and fabulous new sequin mixes!


I have a couple cards to share using one of my favorite new stamp sets from the release - Sparkle Dot Patterns 1! There are SOOO many different ways to use this set! My first card I used the rainbow image paired up with some fun rainbow colored Nuvo drops!


I stamped the rainbow in a very soft colored ink - that way if my Nuvo drops didn't quite fill the opening, you wouldn't see a black line showing. I filled in all the colors, and allowed it plenty of time to dry.


Top and bottom edges of that panel were die cut with a scallop border from Stitched Borders 1. I added some messy machine stitching along the edge of that, stamped a sentiment from Thoughtful Greetings under one side of the rainbow, and added some white clouds die cut with the coordinating dies from Rainy Days. Some Lawn Fawn rainbow plaid pattern paper, a tiny paper clip and some jute twine, and a few Clear Droplets finish off this cheery card!


Next up - the way this set was designed first for use - with sequins!


You can use any size of sequins for this stamp set - for this card I used the smaller 4mm size of sparkly Metallic Silver. I heat embossed a sentiment, again from Thoughtful Greetings, in silver to coordinate with the sequins. Finished off with a Scallop Frame and a hint of colorful pattern paper peeking around the edges!


Finished off with a Scallop Frame and a hint of colorful pattern paper peeking around the edges!


And in case you didn't see it - I shared yet another way to use this set earlier this week on the Pretty Pink Posh blog HERE - pairing it up with both Confetti AND Nuvo drops!


GIVEAWAY INFO:
There are also a total of 4 $25 gift certificates up for grabs for the hop - 2 for each day of the hop. Winners will be picked randomly from comments left along the hop - so make sure and leave lots of love along the way as you hop along! All comments must be left by 11:59 PM PST on Novebmer 7, 2017 - and winners will be announced on the Pretty Pink Posh Blog after that.

Here is the entire blog hop line-up so you don't miss anything along the way:

Heather Hoffman (you are HERE)

Product links are all below - including affiliate links where possible, which simply means if you use one of the links below that I receive a small commission at no additional cost to you. Thanks so much for stopping by! Have a wonderful day!!!


Wednesday, October 4, 2017

Welcome Little One - Winnie and Walter Rerun


Good morning! Today is the start of a new Rerun Feature and Challenge at Winnie and Walter - this month our featured set is a Our Town. This was actually my first time using this set - and it is suddenly a favorite of mine! SOOO cute and fun!!!


I used Essentials: Noelle Cutaways to create my center panel, then stamped the house and hearts from Our Town. Added a sentiment from Sketchy Thoughts, bordered with a tiny little element from Our Town. Finished off with a but of jute twine, a tiny paper clip, and some older Crate Paper pattern paper from my stash!


Product links are all below - including affiliate links where possible, which simply means if you use one of the links below that I receive a small commission at no additional cost to you. Thanks so much for stopping by! Have a wonderful day!!!


Monday, June 12, 2017

Sister Cards!

Good morning! A few weeks back I shared a few cards that I watercolored in the hospital waiting room while my mom had surgery. Well...my sister happened to be looking on, so I handed her a couple images and a brush and she did a couple too! I brought them home and finished them onto cards for her to take and use - so fun!


A simple die cut, woodgrain pattern paper, and some jute twine finish off the first one. Hard to see in the photo, but I also covered the snails shell and the dots on the toadstool with Glossy Accents!


The second one I added some Stickles to the hummingbird's throat and tail for a bit of sparkle!


I also die cut the panel, tucked a doily behind, and added a tiny paper clip and jute twine all mounted on some soft pattern paper.


Product links are all below - including affiliate links where possible, which simply means if you use one of the links below that I receive a small commission at no additional cost to you. Thanks so much for stopping by! Have a wonderful day!!!