Tuesday, October 29, 2019

No Line Coloring with Zig Markers - Simon Says Stamp Candy Cane Background

 Good moring! I'm back this morning to share another card using a gorgeous background from the Fabulous NEW Cheer and Joy Release from Simon Says Stamp, paired up with a sentiment from an older stamp set. The new Candy Cane Background stamp was so fun, I thought it would be a treat to try my hand at some no line watercoloring with a different medium than I've used before - Zig Clean Color Real Brush Markers - and it is such a bold and unique look!


I started off by stamping the background on Arches Watercolor paper with my MISTI using Antique Linen Distress Ink. I then started slowly coloring in the image bit by bit...this definitely took a while, but I think it was so worth it! This was the first time I used my Zig markers without any water to blend - just leaving the colors nice and rich and bold.


Once I finished that, I trimmed the panel down to the size of an A2 cardfront. I heat embossed a sentiment from Christmas Essentials Stamp Set in gold on a strip of vellum, and wrapped it around the panel, before adhering the entire panel to a white cardbase.


Finished off with a few Pretty Pink Posh Metallic Gold Jewels to bring in a bit more sparkle!


Product links are all below - including affiliate links where possible, which simply means that if you use one of the links below, I receive a small commission at no additional cost to you. Thanks so much for supporting my blog, and stopping by! Have a wonderful day!!!

Monday, October 28, 2019

Layered Ink Emboss Resist - on the Unity Stamp Company Blog

Good morning! I'm back with another card for my series on the Unity Stamp Company Blog this morning! I'm so excited to be featuring the amazing Kit of the Month on Monday's on the Unity Stamp Company Blog! Since the Kit of the Month was the first thing I purchased from Unity, and what got me hooked to begin with, they hold a special place in my heart, so I'm super excited about this opportunity to give these kits some love! You can check out all the details HERE for today's card!


Thanks for stopping by today - have a WONDERFUL day!!!

Coloring, Fussy Cutting, and Paper Tearing

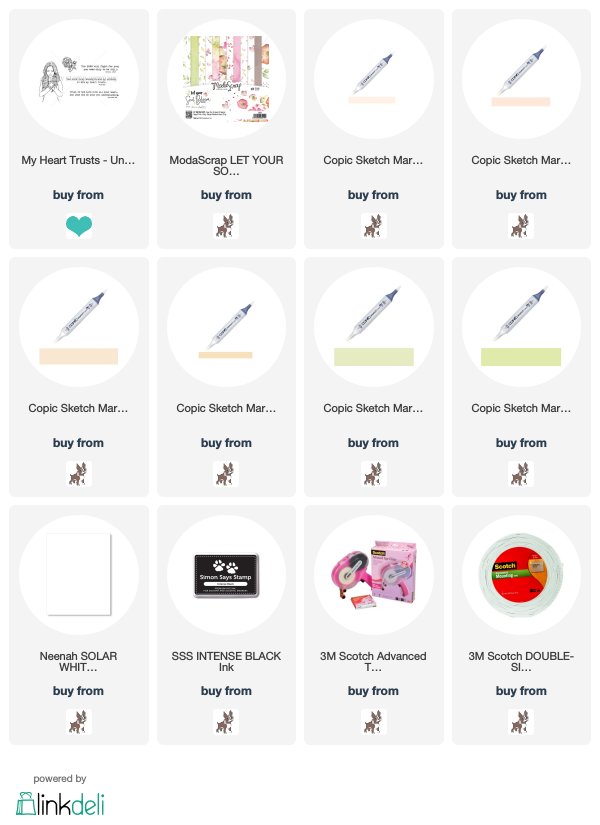
Good morning! I'm stopping by with a card using another one of the many fabulous releases from Unity Stamp Company that happened on Friday, paired up with another fabulous sale as well! It's been a while since I had time to work with any of the new releases (besides my weekly posts on the Unity Blog) so today I had fun creating a few videos with the new items that just released. This beautiful set may be one of my favorites from the new release - My Heart Trusts. I love the sentiments, and the image is so beautiful and easy to color!


Here is the video for this card:


This image is also super easy to fussy cut - bonus! I colored it with very simple Copic colors to coordinate with the lovely background paper from a Moda Scrap 6x6 paper pad.


I tore the bottom edge of the cardstock with the sentiment, then backed it with another layer of paper from the same pattern paper pad, also tearing that edge.


I popped up both image and sentiment from the background with foam adhesive to finish this card off!


Product links are all below - including affiliate links where possible, which simply means that if you use one of the links below, I receive a small commission at no additional cost to you. Thanks so much for supporting my blog, and stopping by! Have a wonderful day!!!


Sunday, October 27, 2019

Snowy Scene with Watercolor Pencils

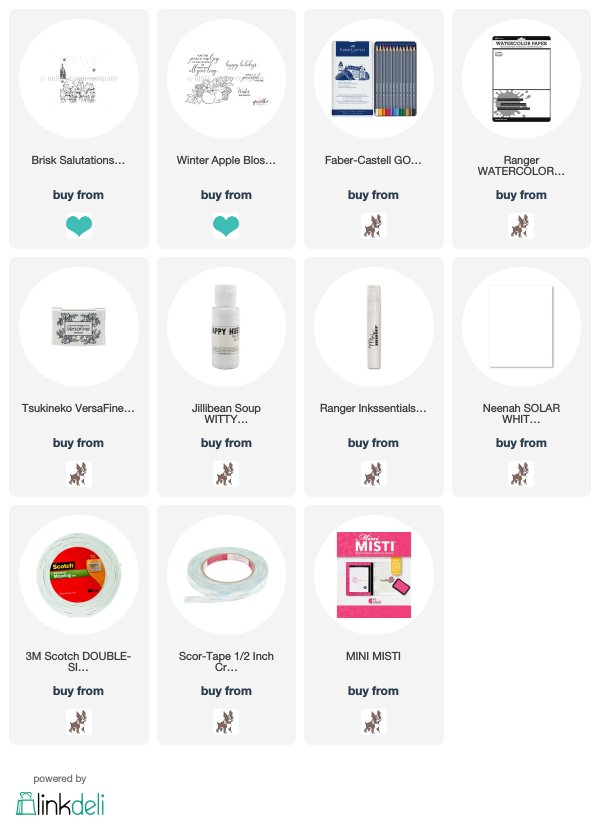
Good morning! I'm stopping by with a card using another one of the many fabulous releases from Unity Stamp Company that happened on Friday, paired up with another fabulous sale as well! It's been a while since I had time to work with any of the new releases (besides my weekly posts on the Unity Blog) so today I had fun creating a few videos with the new items that just released. The adorable Brisk Salutations promises to become a new favorite! It is the perfect size for A2 cards, and since it had been a while since I used my watercolor pencils, I thought it would be fun to break out and use those for this fun image!


Here is the video showing how fun it is to use watercolor pencils!


I can't help but remember the fun paint by number books I used when I was a kit! Something about watercolor pencils reminds me of the magic of those! I have found the best way to use them is to add all the color first, then come in with the water next.


I also added a good coating of white paint splatters to mimic snow - a snowy scene just wouldn't be the same without it, right?


Finally, a simple sentiment from another new release - Winter Apple Blossom - finishes this card off.


Product links are all below - including affiliate links where possible, which simply means that if you use one of the links below, I receive a small commission at no additional cost to you. Thanks so much for supporting my blog, and stopping by! Have a wonderful day!!!


Saturday, October 26, 2019

Share Cheer - Pinkfresh Studio Facebook Live Card

Good morning! Yesterday was our weekly Pinkfresh Studio Facebook Live - a day late on a Friday instead of Thursday since I had surprise overnight guests on Wednesday! We created our first live shaker card using a release from last year and some of the beautiful new inks! If you missed the Live video and want to take a peek, you can find it on the Pinkfresh Facebook Page - last week's video is available HERE. As always today, there was one giveaway for someone who watched live, so make sure and pop in each week to win that live giveaway - 10 AM Pacific time on Thursday morning! I also always try to post info here the next day on the card we make - for those that aren't on Facebook or maybe didn't see it over there. 

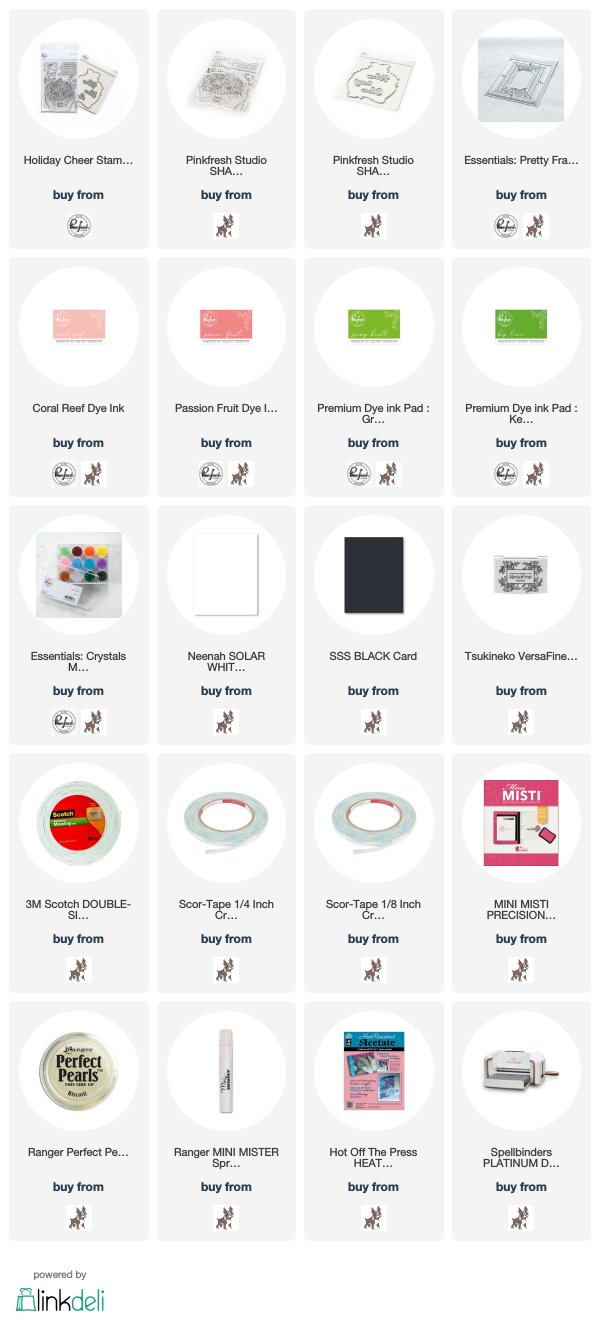
This fun shaker card was so easy to create using the beautiful Share Cheer Stamp and die set - 100% of the net profits of this stamp set benefits UNICEF. Even better right? 


The background was created by ink blending with a combination of Coral Reef, Passion Fruit, Grassy Knoll, and Key Lime. A bit of Perfect Pearls mixed with water added some sparkly splatters.


We stamped the image nice and simple in black ink, created our shaker filled with crystals from Essentials: Crystals Mix, and popped a frame on there from Pretty Frames 2 to finish it off!


Product links are all below - including affiliate links where possible, which simply means that if you use one of the links below, I receive a small commission at no additional cost to you. Thanks so much for supporting my blog, and stopping by! Have a wonderful day!!!


Pastel Paper Layers with Simple Coloring

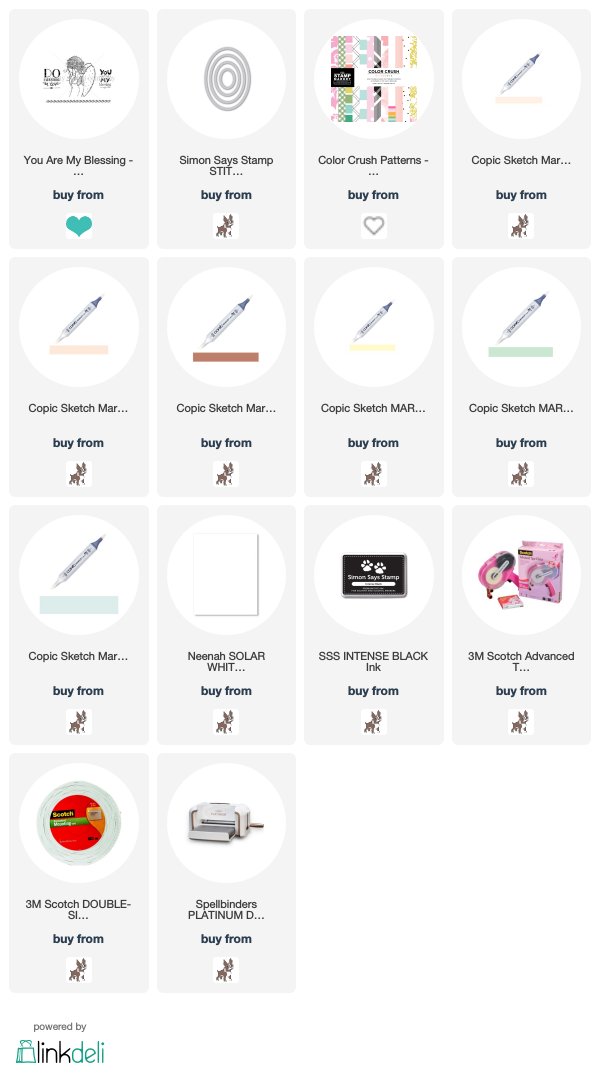
Good morning! I'm stopping by with a card using another one of the many fabulous releases from Unity Stamp Company that happened yesterday, paired up with another fabulous sale as well! It's been a while since I had time to work with any of the new releases (besides my weekly posts on the Unity Blog) so today I had fun creating a few videos with the new items that just released. One of my all time favorite techniques is layering up beautiful pattern papers - so I pulled out some lovely papers and used the new You Are My Blessing to create this card:


Here is the video for this card sharing my process:


I die cut my image and sentiment in an oval shape, and colored with very simple Copic colors - basically adding shading with a single color over the initial coloring.


I layered up this lovely Stamp Market Color Crush 6x6 pattern paper, curling up the edges as I love to do to add texture and the appearance of more layers, but without additional bulkiness.


Isn't this stamp set so beautiful?!?!?


Product links are all below - including affiliate links where possible, which simply means that if you use one of the links below, I receive a small commission at no additional cost to you. Thanks so much for supporting my blog, and stopping by! Have a wonderful day!!!


Friday, October 25, 2019

Partial Circle Froggy Christmas Card

Hello! I'm a bit late in the day, but there are some fabulous release from Unity Stamp Company that happened today, paired up with another fabulous sale as well! It's been a while since I had time to work with any of the new releases (besides my weekly posts on the Unity Blog) so today I had fun creating a few videos with the new items that released today. First up, this cutie using the adorable new Cuddlebug Frog - is he not the cutest?!?!?


Here is a video sharing how this card came together:


This cutie was colored very simply with just 5 Copic markers - you can see in the video how I colored him all up.


I also shared a trick for die cutting that partial circle without cutting off the bottom left corner!


Pattern paper is from an older Christmas paper pad in my stash - and the top corner rounded off helps pull the entire card together!


Product links are all below - including affiliate links where possible, which simply means that if you use one of the links below, I receive a small commission at no additional cost to you. Thanks so much for supporting my blog, and stopping by! Have a wonderful day!!!


Wednesday, October 23, 2019

Inked Bright Wreaths - on the Reverse Confetti Blog

Good morning! I have a new edition of Wednesday in the Works on the Reverse Confetti Blog and YouTube Channel this morning - this week I'm sharing a simple heat embossed and resist inked design using a Christmas stamp set and changing out the colors for a totally different feel! I hope you'll pop over HERE and check it out for more details!


Thanks so much for stopping by - have a great day!

Monday, October 21, 2019

Critters, Birch Trees, and Hearts - Simon Says Stamp November Card Kit

Good morning! I'm stopping by to share a few more cards created with the BRAND NEW November Simon Says Stamp Card Kit - Woodland Whimsy! This is an ADORABLE kit - the included large stamp set by the same name is absolutely DARLING, the pattern paper is BEAUTIFUL, the adorable deer die is the CUTEST - not to mention the beautiful pre-printed Suzy's Doodles Watercolor cards, the full set of watercolor paints, and several other adorable additions!

Today I used all those cute critters in the Woodland Whimsy stamp set in the kit, as well as those lovely birch tree images!


I started off by stamping the birch trees on panels of kraft cardstock with Khaki Dye Ink to cover and create a background on each one. Once colored, this gives a lovely no line look on the kraft paper, so  I colored them in with Copic colors, one with a darker shade, an done with a lighter shade. I then die cut a window from each panel using Wonky Hearts Dies, and since I couldn't bear to waste either piece, I was able to create 4 cards!


These first two cards use the panels with the windows die cut into them. I backed them with some of the simpler and softer designs of the pattern paper in the kit, stamped a simple sentiment from the stamp set, added two of the critters colored with Copics, and wrapped some twine around and tied in a bow to finish.


For the die cut pieces, I trimmed down some more of that pattern paper from the kit, added some machine stitching around the edges for interest, then mounted the hearts with foam adhesive. I added two more colored critters and a sentiment - both also popped up on foam adhesive. Bumpy cards are fun, right? A bit of twine tied in a bow finish these cards off as well.


Here is a closer look at the entire kit contents - you can find all the details HERE:


The possibilities with this kit are so fun and endless! I can't get enough of this sweet woodland theme!


Product links are all below - including affiliate links where possible, which simply means if you use one of the links below that I receive a small commission at no additional cost to you. Thanks so much for stopping by! Have a wonderful day!!!


Using Solid Color Cardstock Scraps - on the Unity Stamp Company Blog

Good morning! I'm back with another card for my series on the Unity Stamp Company Blog this morning! I'm so excited to be featuring the amazing Kit of the Month on Monday's on the Unity Stamp Company Blog! Since the Kit of the Month was the first thing I purchased from Unity, and what got me hooked to begin with, they hold a special place in my heart, so I'm super excited about this opportunity to give these kits some love! You can check out all the details HERE for today's card!


Thanks for stopping by today - have a WONDERFUL day!!!


Friday, October 18, 2019

Birthday Map Card - Simon Says Stamp

Good morning! Today I'm stopping by to share the card I made for my daughter's 15th birthday in September - I know, a bit late, but I had it done in time for her, just hadn't had a chance to get a post written up and shared here! :)

This might seem like an unusual card for a teen girl, but there is kind of a story behind it - not to mention she is generally not into pink and sparkly girly things! I got back from my trip to Italy 3 days before her birthday, and since she is very much into medieval and ancient history, she wanted me to bring her back a birthday gift from Rome and/or Italy. I was only too happy to do that! She also loves travel - this summer we went as a family to Iceland/Norway/Sweden - and she would love to visit Scotland, Ireland, and England someday as well!


 So, right in the middle of this pattern paper from Carta Bella's 6x6 Cartography paper pad is Italy, where all of her birthday gifts came from this year. In the top left corner is somewhere she would also love to travel, and the very tip of Norway is just off the edge of the map at the top.


The sentiment was easy - she also has a fabulous sense of humor, and since she was little has kept us smiling and laughing all the time! So I enjoyed this dry humor sentiment from Simon Says Stamp Big Birthday stamp set, and thought it would be perfect! Heat embossed it in Antique Gold on some vellum, then attached it to the map paper my sewing machine and a simple line of machine stitching.


Finished off by distressing the edges of the paper a bit, layering some solid cardstocks underneath, and finished off with a few wood veneer stars - like sequins, but less sparkly!


Product links are all below - including affiliate links where possible, which simply means that if you use one of the links below, I receive a small commission at no additional cost to you. Thanks so much for supporting my blog, and stopping by! Have a wonderful day!!!


Thursday, October 17, 2019

Christmas Greetings and Joy - Pretty Pink Posh October Release Blog Hop

Good morning! So excited this morning to be hopping for Day 2 of the blog hop to celebrate the FABULOUS BRAND NEW holiday release from Pretty Pink Posh - full of adorable winter, Christmas, Hanukkah, and New Year stamps, dies, Confetti mixes, and stencils!!! Keep reading for more info, details on my card I'm sharing today, AND of course, some giveaway info at the bottom as well!


I have a total of 3 cards to share with you today using this beautiful new release - shall we get started?!?!?


I'm so thrilled with how this card came out! I love the beautiful new Stitched Poinsettia Die, and thought it would be super fun to use with Shimmer Powders - and it worked just like I was hoping!


I die cut all the layers of the die from watercolor cardstock, then sprinkled on some shimmer powders in the proper colors, then misted with water and set aside to dry nice and thoroughly. Once all the layers dried, I layered them up with a bit of liquid glue to hold all the layers together.


I finished off with a bit of soft stenciling on a white cardbase using the new Christmas Background Stencil with Antique Linen Distress Oxide Ink, then adhered the flower in place. Finished off with a simple sentiment from the new Winter Wreath stamp set. Don't you just love all the dimension and texture on this gorgeous bloom?


Next up, sticking with a fairly similar color scheme, but shaking things up this time!


The new Winter Frame Die is so intricate and gorgeous - I love it so much! Perfect to create a shaker card filled with the lovely new Merry Confetti Mix!


I added the large "JOY" word using the Joy Coordinating Dies. I die cut them from white cardstock, did some ink blending on the bottom of them with Candied Apple Distress Oxide ink, then went over it with a sparkly Nuvo Aqua Glitter Pen - it reacts with the ink to give a sparkly watercolor effect!


Finished off with some more ink blending just around the outer edges of the frame using Shabby Shutters Distress Oxide ink, then heat embossing a sentiment from Joy stamp set on a strip of white cardstock and blending the same ink over it to make a perfectly coordinated custom sentiment.


And finally, I couldn't throw away that negative from the previous card, so I changed up the color scheme and put it to good use on another card!


For this card, I started off by creating a background to go behind the window created from the Joy Coordinating Die. I used blue cardstock with the new Snowflakes Stencil - first adding a bit of Hero Arts Unicorn white ink, then leaving the stencil in place and blending over some sparkle with my Nuvo Glimmer Paste - love the sparkly but opaque look I ended up with!


While that dried, I colored up one of the little cuties from Holiday Signs. I added a sentiment to his sign from Joy stamp set, heat embossed on a bit of the same blue cardstock as my snowflake background, then trimmed into a thin strip and cut the words apart to fit on the sign.


Finished off with a thin mat of deep gray cardstock, a light blue cardbase, and popped the little penguin up on foam adhesive to finish!


GIVEAWAY INFO:
Now the fun part - there are a total of 4 $25 Gift Certificates up for grabs - 2 for each day of the hop!!! Winners will be picked randomly along the blog hop. Make sure and leave comments by 11:59 PM PDT on October 22, 2019 to qualify! Winners will be announced after that on the Pretty Pink Posh Blog!

Here is the entire Blog Hop line-up:

Heather Hoffman (you are here)

Product links are all below - including affiliate links where possible, which simply means that if you use one of the links below, I receive a small commission at no additional cost to you. Thanks so much for supporting my blog, and stopping by! Have a wonderful day!!!