Showing posts with label My Mind's Eye. Show all posts

Tuesday, September 22, 2020

STAMPtember Collaboration - Kitchen Sink Stamps

  Hello - and HAPPY STAMPtember - a month long party by Simon Says Stamp to celebrate all things stamping. 


Today we are getting to see the next in the progression of the special SUPER SECRET collaboration stamp sets that will be happening throughout the month! Today we have...Kitchen Sink Stamps!


As with most layering stamps, I can't resist stamping more than one color combination! If you have a MISTI stamping tool, it is so easy once you have them lined up, it always seems a shame to skip the opportunity! And it is so fun to see how different color combinations work.


I'm going to share this one first - because I love non-traditional color combinations, and I think this one came out super fun! In hindsight, I almost wish I had used mint or sage green instead of purple as the accent color, but still thought this was fun. :)


I used several different Simon Says Stamp gray inks to stamp the layers of the pumpkin on this one - I really wanted it to be a nice neutral version of the pumpkin. I then used a combination of blue inks for the stem, and then some purples and a bit of navy for the layers of the leaves.


I stamped the sentiments with some mid tones of the grays and purples, fussy cut the pumpkin to pop up on foam adhesive, rounded a couple corners, and then popped the entire panel on some pattern paper from My Mind's Eye.


I added a little twine bow to the top of the pumpking, and do you see the sprinkle of coordinating Pretty Pink Posh jewels sprinkled around the leaves for sparkle as well?


And then, of course, I had to do one in more traditional colors as well!


For this one, I used an array of Pinkfresh Studio inks - I love how realistic the pumpkin looks!


I did the same thing for the basic layout of the card - just the colors changed on this one.


This card features pattern paper from My Favorite Things for the background, and some yellow Pretty Pink Posh jewels to coordinate with the more traditional colors.


What do you think? Do you prefer traditional, or non-traditional colors?


Product links are all below - including affiliate links where possible, which simply means if you use one of the links below that I receive a small commission at no additional cost to you. Thanks so much for stopping by! Have a wonderful day!!!


Friday, May 8, 2020

Floral Happy Birthday Trio - Simon Says Stamp

Good morning! Dropping by this morning to share a trio of birthday cards I created recently using some gorgeous pattern paper, and a die from Simon Says Stamp that I hadn't had the opportunity to use yet. I find I use birthday cards probably more than anything, so it was definitely time to rebuild my stash - and this die was calling my name. Pair that with a new pack of gorgeous pattern paper...and it was a perfect match!


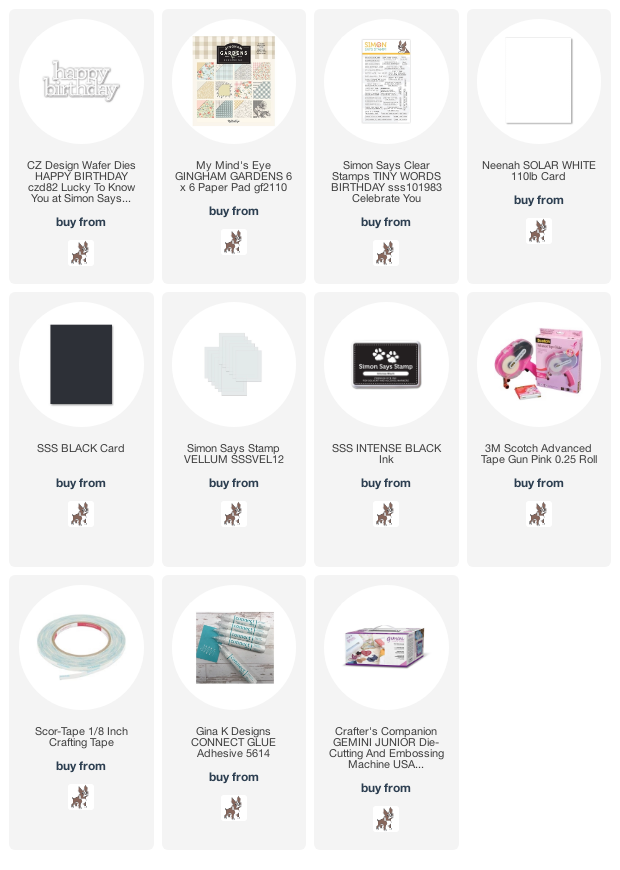
For all of these cards, I used pattern paper from the My Mind's Eye 6x6 Gingham Gardens paper pad, pairing up two pieces, tearing the edge of a couple, and then added some vellum with a torn edge along the center as well. Then, added die cut sentiments using the SSS CZ Design Happy Birthday die layered with white and black cardstock, and some tiny additional sentiments from Tiny Words Birthday. The rest is fairly self-explanatory, so...here are just a few more photos of each card for you to look at!


As hard as it was to resist, I didn't use ANY foam adhesive or anything bumpy on these cards - that way I could keep them nice and flat and easy to mail. Which right now, is probably a helpful thing!


Product links are all below - including affiliate links where possible, which simply means that if you use one of the links below, I receive a small commission at no additional cost to you. Thanks so much for supporting my blog, and stopping by! Have a wonderful day!!!


Wednesday, December 18, 2019

Tidings of Comfort and Joy - Memory Box Stamps and Dies

Good morning! A while back I received some beautiful Memory Box dies to play with - and then life got crazy, and I had to work on other stuff first. But earlier this week, I was able to pull them out and have some fun - I loved layering different dies and stamped sentiments together for these two cards!


If you have visiting my blog much before, you know I love two for one card designs - and these dies are perfect for that! Since I wanted to alternate the colors, I could just reverse the colors to make a second card, with no additional die cutting require, and best of all - no waste!


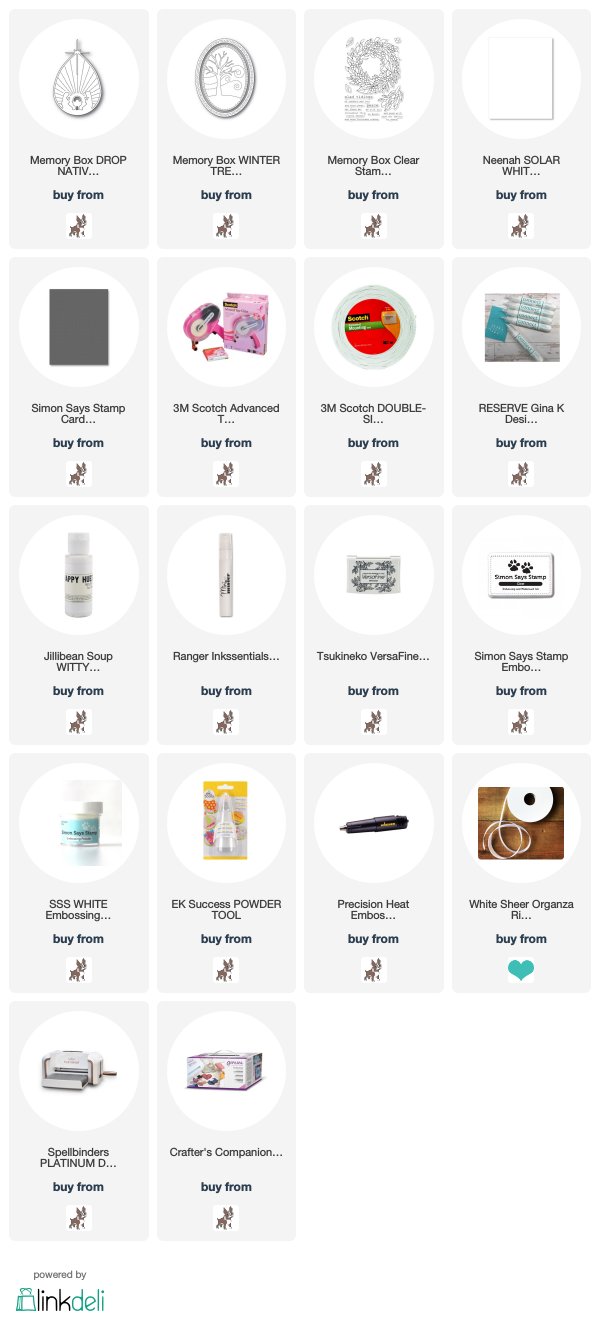
For both of these cards, I used Slate cardstock and white cardstock to die cut both the Drop Nativity die set and Winter Tree Oval frame (just using the main outer frame). I traced around the oval die on a piece of scrap paper, then cut inside the tracing lines and used that panel to adhere the outer frame and the inner oval together. Then pieced together the nativity over the top of that.


Sentiment on both of these cards is from the gorgeous Tidings Wreath stamp set - which I also can't wait to ink up and use on it's own! I heat embossed it on the gray cardstock version, then stamped simply in black on white cardstock for the other one, and mounted those with a bit of foam adhesive over the top of the nativity.


Finally, I punched a hole int he top and used that to tie a bit of sheer white ribbon in a bow at the top to make them look like tags, then adhered them over some older pattern paper from my stash that I first added some white splatters to for a bit of a more festive touch.


Product links are all below - including affiliate links where possible, which simply means that if you use one of the links below, I receive a small commission at no additional cost to you. Thanks so much for supporting my blog, and stopping by! Have a wonderful day!!!


Saturday, September 28, 2019

I am Stronger - Simon Says Stamp October Card Kit

Good morning! I was out of the country when the October Simon Says Stamp Card Kit - Thankful Flowers released earlier this month - but was super excited to break it open and plan when I arrived home this past week! This is a GORGEOUS vintage-feeling kit - the included large stamp set by the same name is absolutely GORGEOUS, the pattern paper is so elegant, AND a pair of Tim Holtz Tonic Mini Craft Snips Scissors is included in the kit as well! Pair all that up with some lovely metallic and colored cardstock, envelopes, Bold Thanks word die, and gold foil letter stickers - and this is one fun kit!

Today I'm sharing my second card with this lovely kit - and using lots of different elements from the kit for this card!


I started off this card by heat embossing that lovely large floral image from the Thankful Heart stamp set in the kit on the Cream cardstock using Antique Gold embossing powder. I then carefully fussy cut it out using the Tim Holtz Tonic Mini Craft Snips Scissors - so nice and sharp and worked great for this!


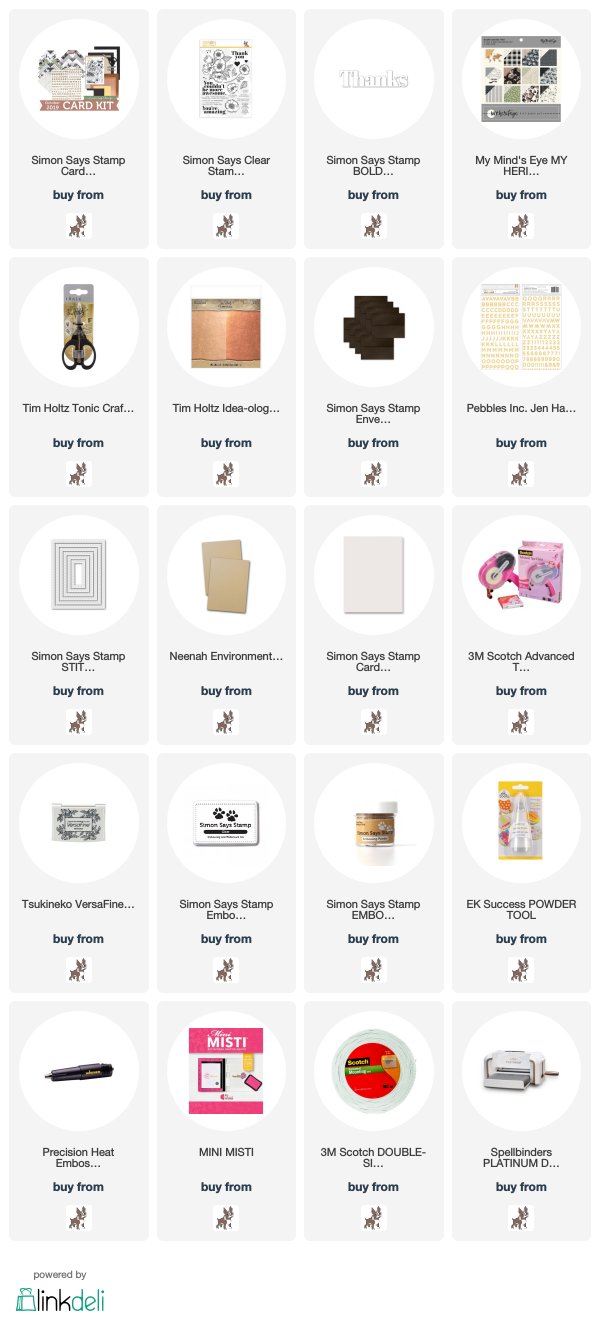
I die cut some layers using Stitched Rectangles dies and some of the pattern paper from the kit, as well as more of the cream cardstock. I also die cut the Bold Thanks word die, once from some of the metallic cardstock in the kit, and two more times from the cream cardstock - layering them together for a dimensional word. Layered everything together, stamped the additional sentiment under the "Thanks", and adhered the flowers with foam adhesive to finish it all off!


Here is a closer look at the entire kit contents - you can find all the details HERE:


Isn't this floral image so pretty and intricate? I love it - even stamped and heat embossed with no coloring added!


Product links are all below - including affiliate links where possible, which simply means if you use one of the links below that I receive a small commission at no additional cost to you. Thanks so much for stopping by! Have a wonderful day!!!


Friday, September 27, 2019

You're Amazing - Simon Says Stamp October Card Kit

Good morning! I was out of the country when the October Simon Says Stamp Card Kit - Thankful Flowers released earlier this month - but was super excited to break it open and plan when I arrived home this past week! This is a GORGEOUS vintage-feeling kit - the included large stamp set by the same name is absolutely GORGEOUS, the pattern paper is so elegant, AND a pair of Tim Holtz Tonic Mini Craft Snips Scissors is included in the kit as well! Pair all that up with some lovely metallic and colored cardstock, envelopes, Bold Thanks word die, and gold foil letter stickers - and this is one fun kit!

Today I'm sharing a card featuring some of that lovely pattern paper I was talking about!


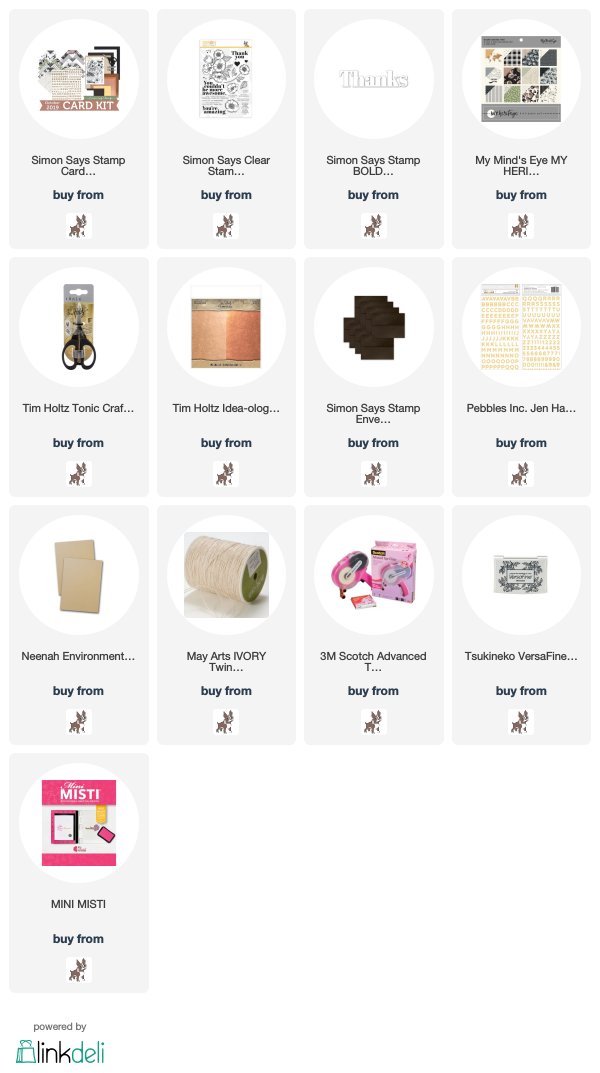
I trimmed that lovely map background down to just slightly smaller than an A2 card - then used my MISTI to line up and stamp a series of sentiments from the Thankful Heart stamp set.


I adhered it on a cardbase that I created with Neenah Desert storm cardstock, then wrapped some jute twine from my stash around it and tied it in a simple knot. This kept it a bit less girly than a bow - and means it would work even for a masculine thank you card!


Here is a closer look at the entire kit contents - you can find all the details HERE:


Since I'm so late in the month, you may have already purchase or even received this kit! If you've already purchased this kit, I'd love to hear your favorite element or component in the kit!


Product links are all below - including affiliate links where possible, which simply means if you use one of the links below that I receive a small commission at no additional cost to you. Thanks so much for stopping by! Have a wonderful day!!!


Tuesday, November 27, 2018

Winnie and Walter Winter Release - Day 1

Good morning! I'm super excited today to begin sharing projects with a BRAND NEW release from Winnie and Walter! It's been a while, but I promise you this release was worth the wait - SOOO fun and fabulous! You can find all the details for each day of the release, how to win it all, and lots more sneak peeks and inspiration over on the Winnie and Walter Blog HERE!

I have two cards to share with you today - let's start off with this bright and happy card using one of my favorite Christmas color combos - red and teal!


This card features the new In A Word: Jolly Cutaway, paired up with a sentiment from a set we will be seeing more of in a couple days.


I layered together some pattern paper, adding a torn edge to the red, and layered the big "jolly" cut out of white cardstock over the top with foam adhesive. The sentiment was heat embossed on a strip of black and adhered over the top.


The next card features a new stencil, stamp set, and two new die sets:


The new Scenery: Pennsylvania Polka Creative Screenings is just a perfect classic polka dot stencil. For this card, I used it over watercolor paper with distress ink, then misted with water before peeling the stencil away. Almost as an afterthought, I turned the stencil over and used it to "ink smoosh" over the top of the other polka dots. See the layers of dots and reverse dots? I love the texture this gave!


I die cut that panel with another new die that we will be seeing more of tomorrow - and then die cut one of the big "thanks" from the new In a Word: Thanks Coordinating Cutaways from black cardstock, attached it with a row of machine stitching, and stamped an additional sentiment underneath from In a Word: Thanks. I added some gold splatters with my Starry Colors Palette, then adhered that panel with foam adhesive over my pattern paper base.


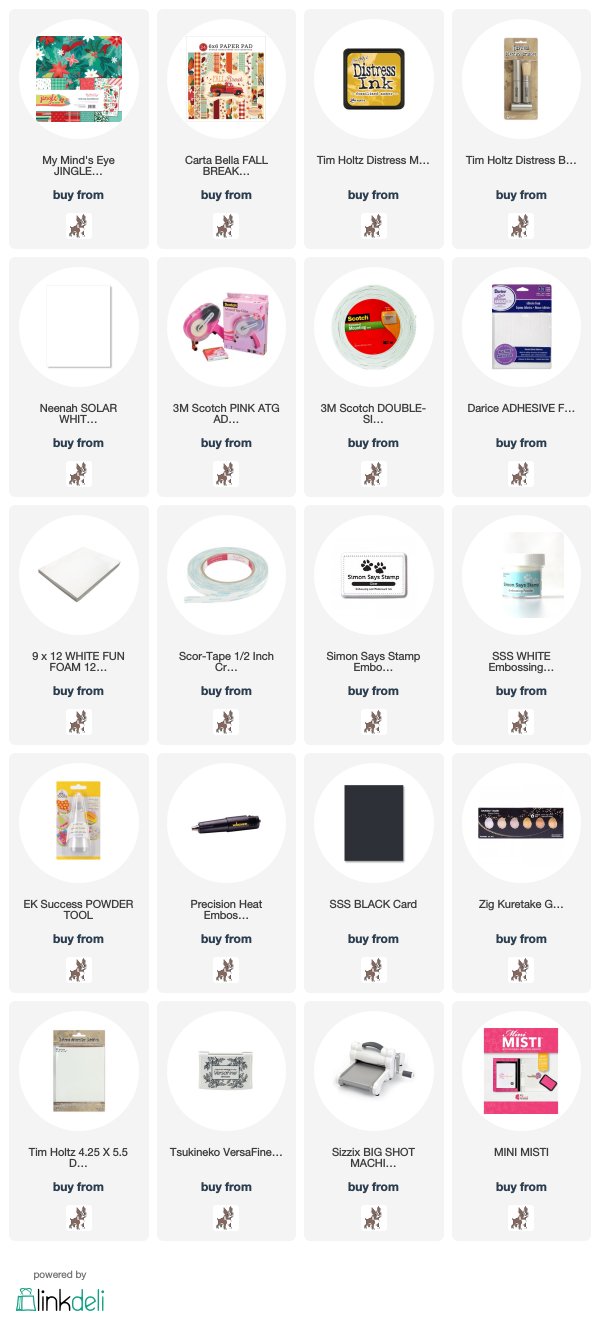
Product links are all below - including affiliate links where possible, which simply means if you use one of the links below that I receive a small commission at no additional cost to you. Thanks so much for stopping by! Have a wonderful day!!!