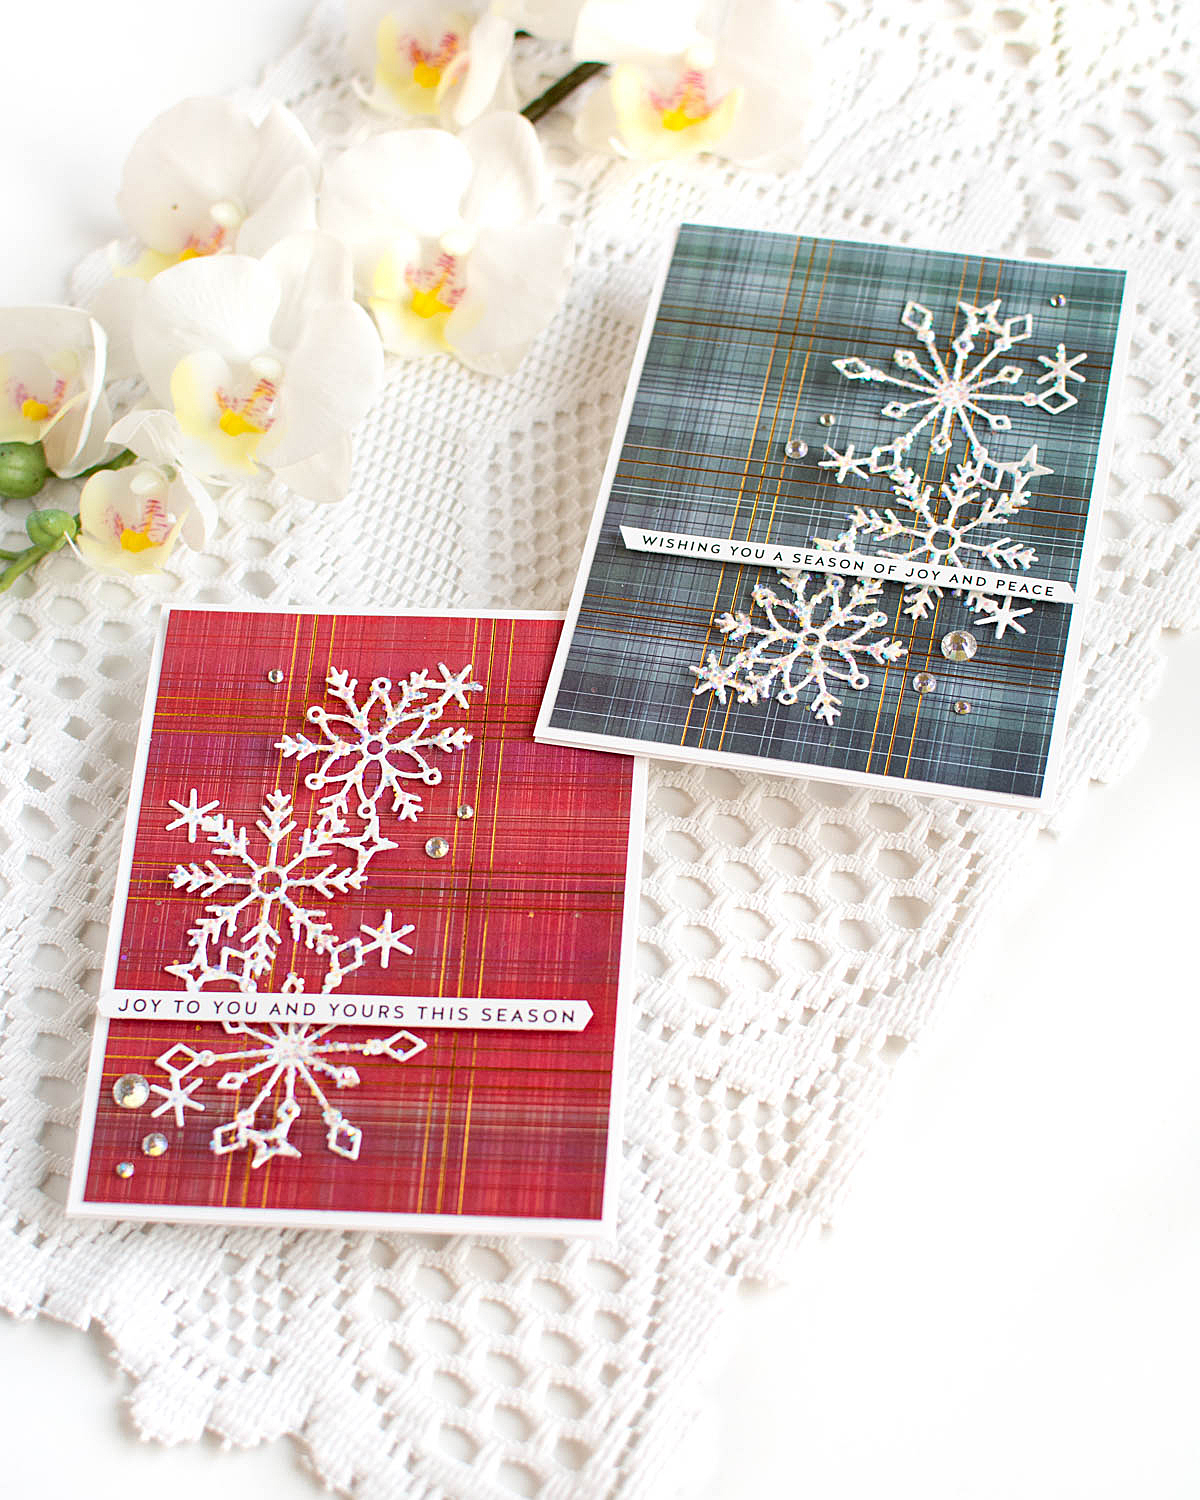
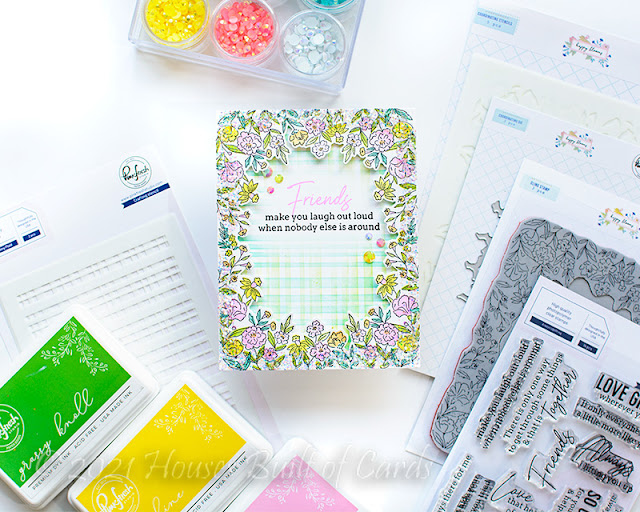
Good morning! Dropping by today to share a card I made earlier this week for Pinkfresh Studio's YouTube Live. Since it is the week between New Years and Christmas, Lea and I combined our weekly lives, and did this one together. We both used the same set, with some different colors and layouts to show it two totally different ways! You can watch the replay HERE if you want to see more details.
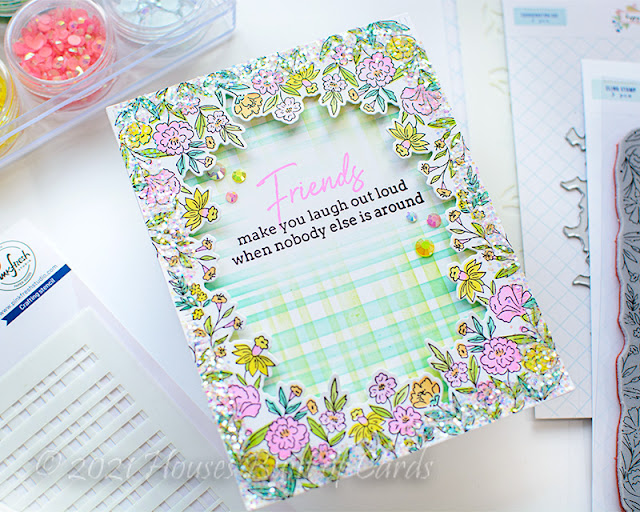
We both used Happy Blooms Frame stamp, die, and layering stencils for a cards. Lea went with wintry blues and pinks for her card - and I went with a more traditional spring color palette for my card - this was another set that I actually used for the first time for this live, and I'm so in love with the delicate design of the blooms, and all those lovely details that happen when you add stencil details!
I stamped it first with Licorice dye ink (since it is a dye ink, it works better to stencil over than Detail Black which requires time to dry or heat setting to prevent it smearing). I left the stamp lined up in my MISTI so I could add Detail Black at the end, once I had finished stenciling the layers.
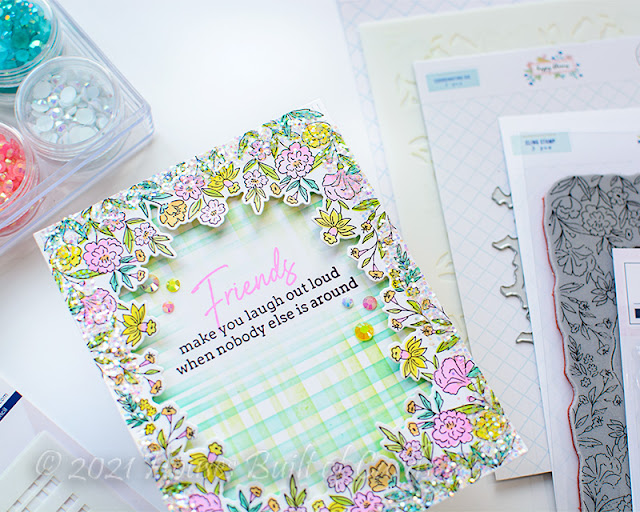
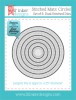
I added all the layers of the stencils, lining up with my stamped image, then added the stamping in Detail Black over the top. I die cut the entire panel using Essentials: Blanket Stitched Rectangles largest die. Next, I die cut the window with the coordinating die - isn't the detail in the center cut portion so pretty?!?
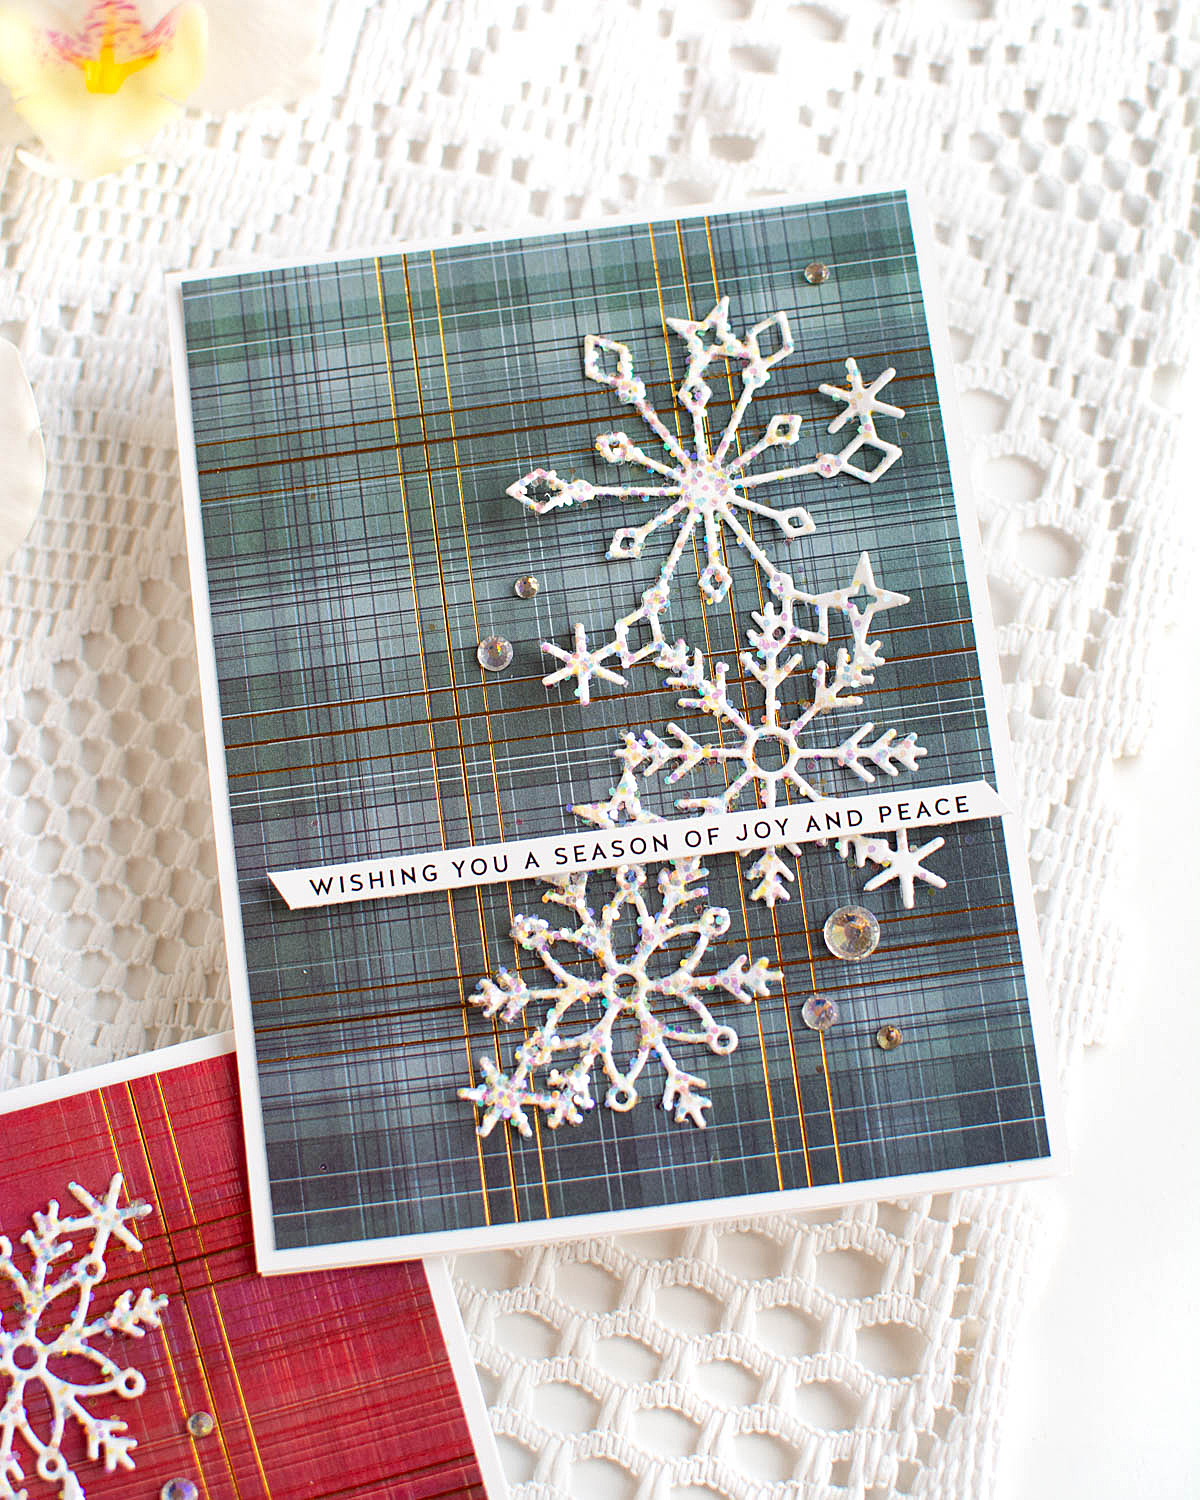
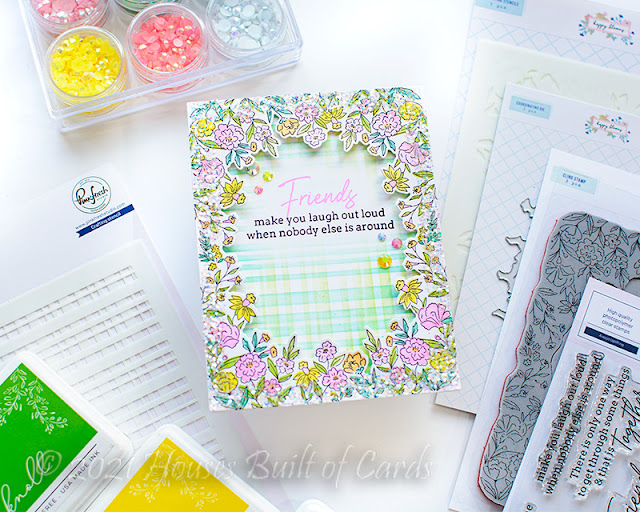
Before attaching everything down, I added my stamped sentiment from Always Uplifting - stamping the larger word in the same pink I used to stencil my flowers, and Detail Black for the secondary sentiment. I then added some interest to the background with Slimline Skinny Plaid layering stencils, and the same green and aqua I used on the florals as well. I tried to leave the area with the stamped sentiment free of the stencil detail, so it popped from the background a bit more.
I added a few coordinating jewels in clusters around the sentiment for a bit of sparkle, and still felt like it needed a bit more sparkle, soooo...
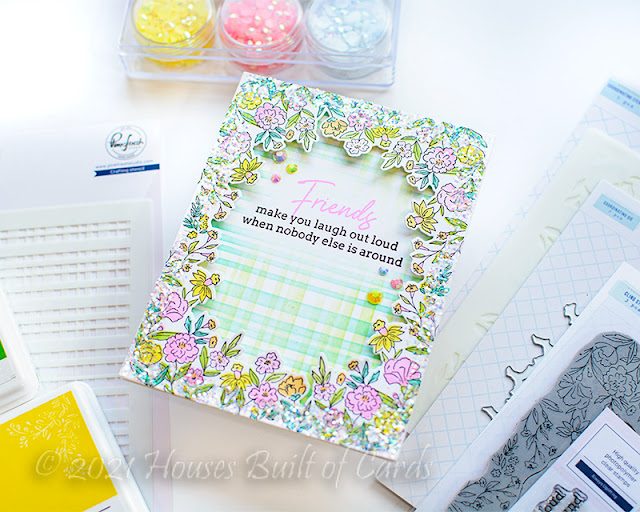
...I smeared some Glossy Accents around the edges of the frame with my finger, and sprinkled on some coarse chunky glitter! Love the frosty glittery effect it gave to the edges!
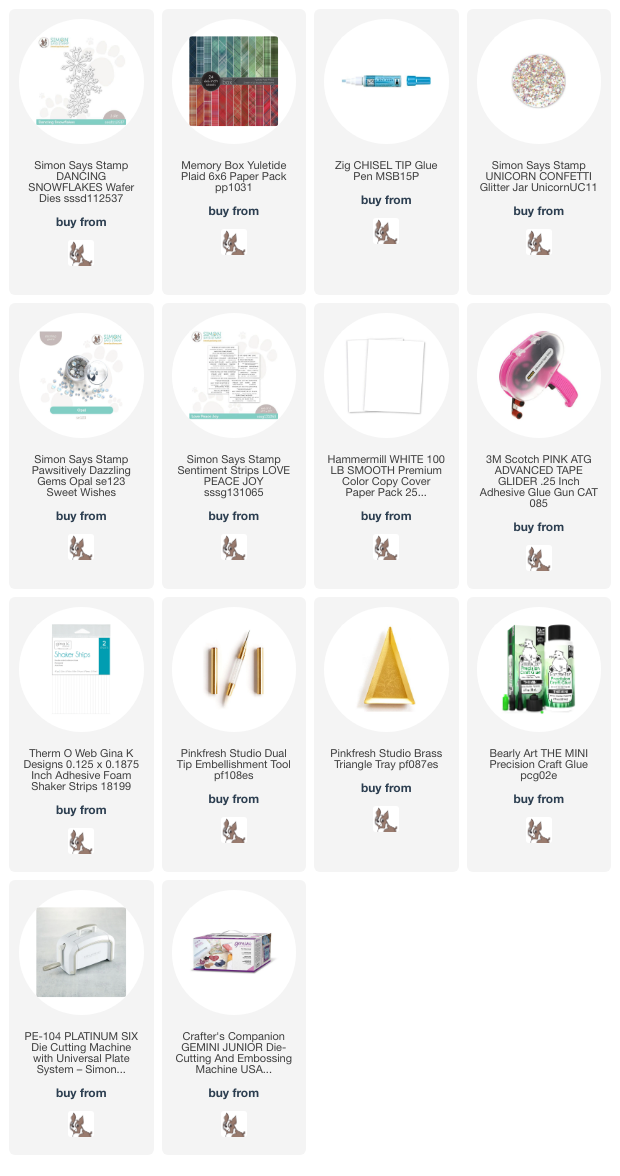
Product links are all below - including affiliate links where possible, which simply means that if you use one of the links below, I receive a small commission at no additional cost to you. Thanks so much for supporting my blog, and stopping by! Have a wonderful day!!!