Wednesday, January 31, 2018

Heffy Doodle Release Insta-Hop

Good morning! I'm hopping with Heffy Doodle this morning on INSTAGRAM to celebrate the brand new release that begins shipping today! Woohoo!!! I thought I might also add more details here in a blog post so if anyone wanted to hop over here they easily could!


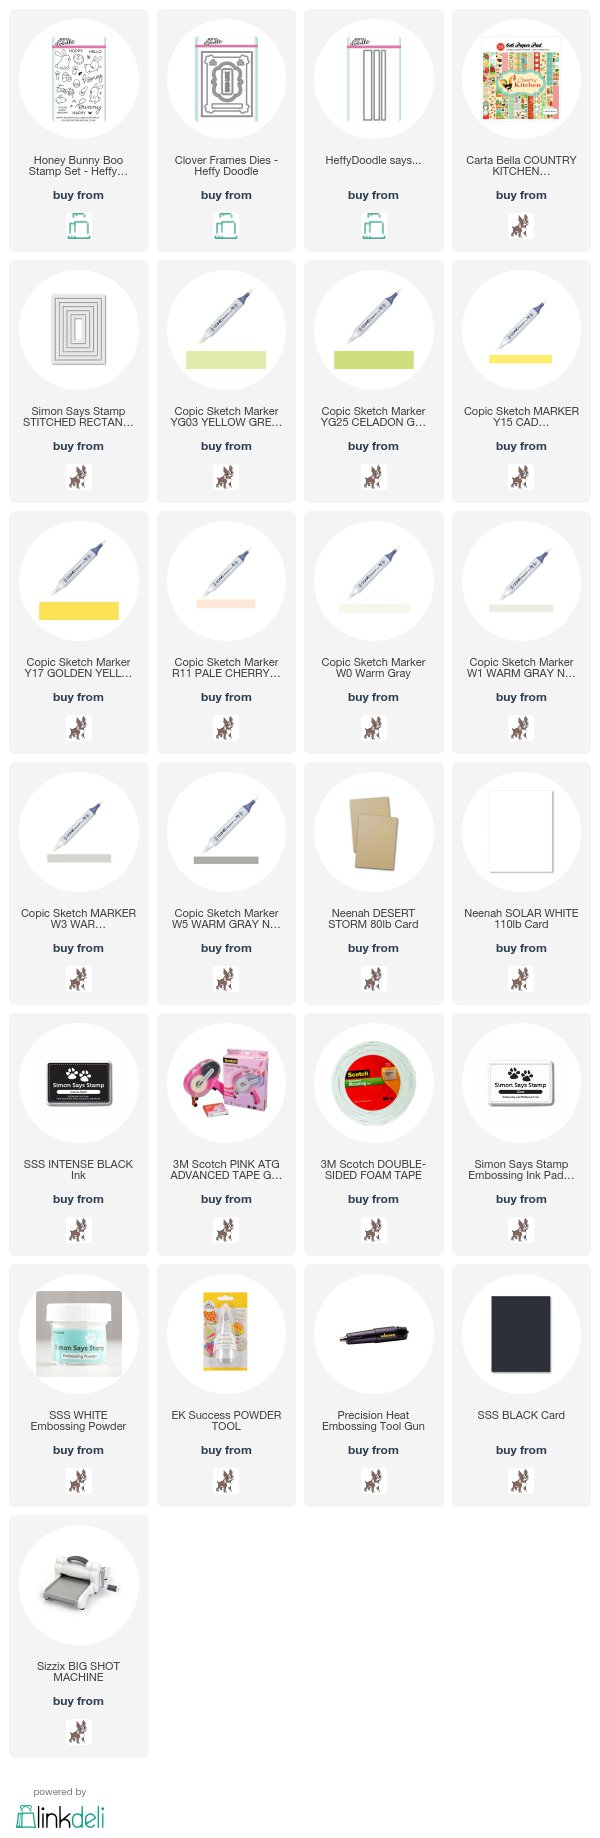
For this card, I started off by coloring lots of the adorable images from the new Honey Bunny Boo Stamp Set, and die cutting with the coordinating dies. I then wanted a place to nestle these cuties, so I die cut a frame from Clover Frames Dies once from white, and once from kraft, then pieced the two together for contrast.


I stamped my sentiment, then used the FABULOUS new Strips of Ease to die cut it out nice and straight. The beauty of these dies is that you can see through them, so with a skinny sentiment like this I didn't have to worry about stamping it perfectly straight. Then you can line up the sentiment inside the die, and die cut a perfect strip! LOVE these!


I finished off by layering everything together, using bits of foam adhesive for some of the elements to give some fun dimension, then layering the entire thing together on a panel of lovely floral paper!


Product links are all below - including affiliate links where possible, which simply means if you use one of the links below that I receive a small commission at no additional cost to you. Thanks so much for stopping by! Have a wonderful day!!!


Ornate Blessings - Spellbinders Large Die of the Month Club

Good morning! I'm back today to share another card using the past Spellbinders Large Die of the Month set from October. It is so very lovely - and I had tons of fun! You can read all about their different kit options HERE - lots of options to check out!


For this card I used the mail large ornate frame to create my card. It's hard to see in the photos, but I used the plain square to die cut out the center of the frame, then backed it with vellum for a soft effect. I layered some thin gold glitter washi tape around the edges of the inside of that frame, and secured them down with machine stitching (since washi doesn't always stick super securely to vellum!).


I trimmed a card base to fit behind the inside of the frame - that way nothing detracts from that intricate detail, but I still have somewhere to write a note or message.


Around the edges of the frame, I decided to add a little touch of extra gold - sort of a gilded effect. I dipped the edges in an embossing ink pad, then sprinkled on gold embossing powder and heat embossed it. LOVE this effect so much!


Finally, I die cut a couple of the floral images in both gold cardstock and black cardstock, and adhered them together slightly offset, before mounting with foam adhesive on the front of the card. I die cut the word from anther Spellbinders Die Set - Blessings Vine Frame also from gold and black cardstock, again adhering them together slightly offset for a shadow effect. I glued that directly on my cardfront, and then finished off with several clear droplets from Pretty Pink Posh - including one each in the centers of the flowers!


Product links are all below - including affiliate links where possible, which simply means if you use one of the links below that I receive a small commission at no additional cost to you. Thanks so much for stopping by! Have a wonderful day!!!


Ombre Stencil Backgrounds - on the RC Blog

Good morning! I've got a post and video on the Reverse Confetti blog today sharing how I used Reverse Confetti Stencils and Inks paired up with white embossing paste to create fun ombre backgrounds! You can check the post out HERE!


Thanks for stopping by! Have a wonderful day!


Tuesday, January 30, 2018

Hope is Stronger - Spellbinders Large Die of the Month Club


Good afternoon! I intended to get this post written up earlier today - but busy day caught up with me and slowed me down until now! Surely I'm not the only person that happens too? Haha! Anyway - I recently had the privilege of playing with a past Spellbinders Large Die of the Month set from October. It is so very lovely - and I had tons of fun! You can read all about their different kit options HERE - lots of options to check out! I have another card to share tomorrow - but thought I'd start with my favorite today!


For this card, I started by die cutting one of the floral frames from a panel of watercolor cardstock, and saving the main negative, I pulled the die cut image out and watercolored it in with my Daniel Smith watercolors. I then fit it back in place and created a Shaker Window with it.


Product links are all below - including affiliate links where possible, which simply means if you use one of the links below that I receive a small commission at no additional cost to you. Thanks so much for stopping by! Have a wonderful day!!!


Monday, January 29, 2018

Thank You For Your Kindness - RC Floral Card

Good morning! I have a card to share today using some of the most recent Reverse Confetti Release! One of my favorite sets is the Something Wonderful Stamp Set - and I used it on this card with the coordinating Something Wonderful Confetti Cuts:


I heat embossed that gorgeous floral image in gold, then die cut it with the coordinating dies. I die cut a circle from Midnight cardstock using Falala Circles Confetti Cuts, and added a white heat embossed sentiment from Banner in Bloom, a set released last year. 


I mounted the floral image with foam adhesive, then added the circle with foam adhesive over a panel paper from the newest 6x6 Paper Pad, Forever My Love. Finished off with a few Sparkling Clear Flat Confetti from Pretty Pink Posh!


Here are the Reverse Confetti products I used on this card - click on the picture if you want to learn more about any of these items!


Also linking this up with this week's SSS Wednesday Challenge - Layer It Up:


Product links are all below - including affiliate links where possible, which simply means if you use one of the links below that I receive a small commission at no additional cost to you. Thanks so much for stopping by! Have a wonderful day!!!


Saturday, January 27, 2018

Scandinavian Distress Colored Stencil Background


Good morning! The other day I shared a card using the newly released Folk Dance Stencil that was part of the brand new Simon Says Stamp Love Release. Today I have another card to share using it for a different technique to get this fun colored background that makes me think even more of  Scandinavian art!


I first applied White Embossing Paste to my Smoke Gray Cardstock, masking off the edges to leave a border. I let it dry (although I want to try it again without drying it) and then smooshed some distress ink on a non-stick mat, dampened it with water, and painted it on to selected areas with a paintbrush. It took a VERY long time to dry (which is why I want to try it on damp embossing paste). I ended up smudging one spot (AHHHH!) but was able to hide it under my sentiment strip. Lucky save, since this took a while! Whew!


I added a heat embossed sentiment from the previously released You Got This on a strip of Dark Chocolate Cardstock, and mounted that with foam adhesive over the background (hiding my oops!).


I then mounted the entire panel on a white cardbase. I wish I could show you the texture on this card - it is SOOO fun and unique! And I love the pops of colors as well.


Product links are all below - including affiliate links where possible, which simply means if you use one of the links below that I receive a small commission at no additional cost to you. Thanks so much for stopping by! Have a wonderful day!!!


Friday, January 26, 2018

More than Words can Say - LID Heart Script Die


Good morning! Dropping by again this morning with another card with the most recently Lil' Inker Designs Release! This Love You More Than Words Script Heart Die is just so fun and the perfect size for a focal point on a card as well!


I did some ink blending for my background, combining both Oxide and normal Distress Inks in Fossilized Amber. It's fun to mix and match them! I then die cut that panel using Stitched Mats: Rectangles. I also added some water splatters and white paint splatters, then die cut the word out of SSS Audrey Cardstock and attached it over the top. Once the glue dried and it was firmly attached, I added a good coating of Tonic Crystal Glaze for a bit of dimension and shine. A Precision Tip is VERY helpful for this - would be quite difficult otherwise! 


Product links are all below - including affiliate links where possible, which simply means if you use one of the links below that I receive a small commission at no additional cost to you. Thanks so much for stopping by! Have a wonderful day!!!


Silhouetted Night Sky Gnomes


Good morning! Dropping by with another card I made a little while ago with a new (at the time!) release from Unity Stamp Company called Showing Up Gnome! I love coloring images in unexpected ways - and this scene was so fun to create using Gray Copics for a night feeling with the star background paper!


Here is the Quick Tip video sharing how I put this together:


The pattern paper was from an older paper in my stash - I know there are similar papers in many 6x6 paper pads, so this would be easy to recreate. Or you could create your own watercolor galaxy background as well! I have a post HERE that shows how I put one of those together recently if you want more info on that.


Product links are all below - including affiliate links where possible, which simply means if you use one of the links below that I receive a small commission at no additional cost to you. Thanks so much for stopping by! Have a wonderful day!!!


Thursday, January 25, 2018

Believe - See Through Shaker on the W&W Blog

Good morning! Dropping by with a little peek at a card that was posted on the Winnie and Walter Blog a couple days ago! The post-Creativation fog prevented me noticing and posting sooner! You can see more details HERE!


Thanks for visiting! Have a great day!

Here For You - Neutral Floral Background

Good morning! Dropping by this morning with ANOTHER card using the gorgeous new Simon Says Stamp Release that went live several hours ago and features more love and Valentine theme stamps and dies - appropriately named LOVE! Today's card features a GORGEOUS new background stamp, as well as a BEAUTIFUL new word die!


I started off by creating the background. I stamped the new Cosmos Background Stamp on some Smoke Cardstock using my MISTI for a nice clear impression, then heat embossed with Nuvo Shimmering Pearl embossing powder. I was originally going to color in a bit with colored pencils, but fell in love with the way it looked as is and didn't want to ruin that!


Next, I die cut the new Here For You word die 3 times from Black cardstock, and layered them together for a thicker, more dimensional sentiment. I used the same glue pen to attach it to my card, then heat embossed some more sentiments from the previously released stamp set You Got This on thin strips of Black Cardstock.


I finished off by using a bit of Hickory Smoke distress ink to blend around the outside - which works beautifully since the embossing resists the ink keeping the image sharp and perfect! I mounted that panel on a white cardbase, and finished off with a few white enamel dots. Check out the dimension on that sentiment just by cutting it out of the cardstock 3 times and layering it up:


I'm also linking this up to this week's Word Art Wednesday Challenge - Anything Goes:


Product links are all below - including affiliate links where possible, which simply means if you use one of the links below that I receive a small commission at no additional cost to you. Thanks so much for stopping by! Have a wonderful day!!!