Showing posts with label Heat embossing. Show all posts

Friday, November 6, 2026

Cozy Hedge Hug - Simon Says Stamp Joy For You Release

Hello! I've had so much fun playing with the BRAND NEW Simon Says Stamp Joy For You Release, that I thought I'd pop in and share another card! Lots of fun little layers on this little card, and that little hedgehog is so cute, I wanna squeeze him!


I actually started off with the Four Flakes set, an older stencil set that got it's own coordinating dies in this release. I ink blended 3 of the snowflakes from the set using Field, Cranberry, and Tropic inks, then added a layer of Pearlescent Distress Texture Paste before removing the stencil. I set those aside to dry before die cutting! For the background, I used the new Wintertime Ornaments embossing folder, then ink blended some of the leftover inks on my blending brushes in select areas of the background where I decided to place the snowflakes. I stamped the image and sentiment from Hedge Hugs in black ink, then clear heat embossed for some shine before die cutting those as well. I rounded off one corner in the embossed panel and on the cardbase, then adhered everything with foam adhesive, trimming the excess off, before adhering that panel onto my card front. Finished off with a few Clear Dazzling gems for sparkle! Here are more more photos of the finished card:


Product links are all below - including affiliate links where possible, which simply means if you use one of the links below that I receive a small commission at no additional cost to you. Thanks so much for stopping by! Have a wonderful day!!!


Thursday, November 5, 2026

Gift Tag Ornaments - Simon Says Stamp Joy For You Release

Hello again! I've got more to share using the BRAND NEW Simon Says Stamp Joy For You Release! This time I'm sharing some cute little gift tags, that also kind of double as ornaments. They came together so quickly - and you can even find these little wooden stars at Simon Says Stamp for a great price!


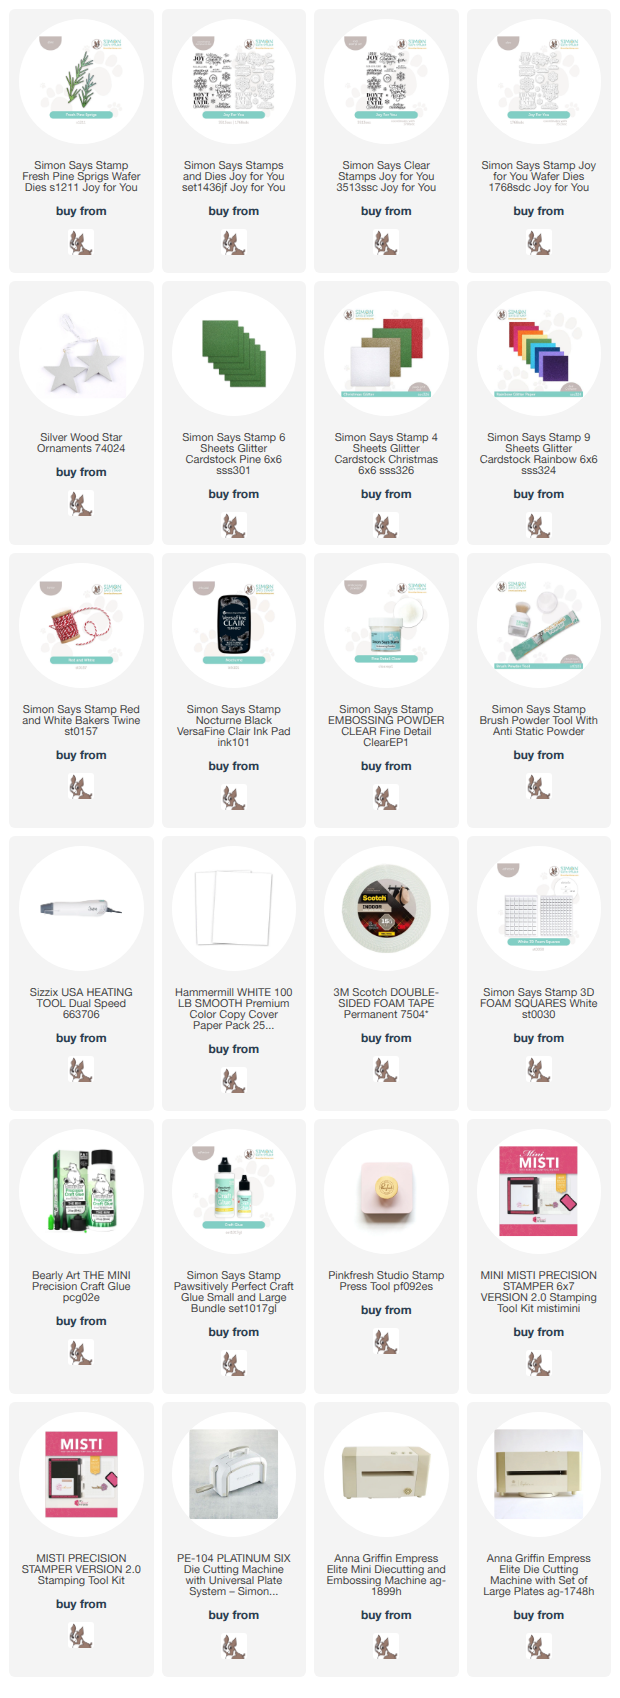
I started off by choosing two sentiments from the Joy For You set that fit the sizes of the stars well, and stamped in black and clear heat embossed before die cutting out. I pulled out the set of Silver Wood Star Ornaments, and die cut a couple of the new Fresh Pine Sprigs dies from the appropriately named Pine green glitter cardstock, layering those on with liquid glue. I popped the sentiments over the top with foam adhesive, and some extra liquid glue to make sure they would stay secure. I finished off by tying some Red Baker's Twine at the top! Here are more photos of the finished set:


Product links are all below - including affiliate links where possible, which simply means if you use one of the links below that I receive a small commission at no additional cost to you. Thanks so much for stopping by! Have a wonderful day!!!
 

Friday, October 30, 2026

Winter Woods Holiday Season - Tim Holtz October coordinating die release

Hello! I'm dropping in again today to share another card using one of the dies sets that are featured as part of the new sets available exclusively at Simon Says Stamp to coordinate with older Tim Holtz stamp sets! I stuck with the Christmas theme for this card, but this design would be perfect for a masculine birthday card if you just switch out the sentiment! I love a good masculine design - they can be so hard sometimes!


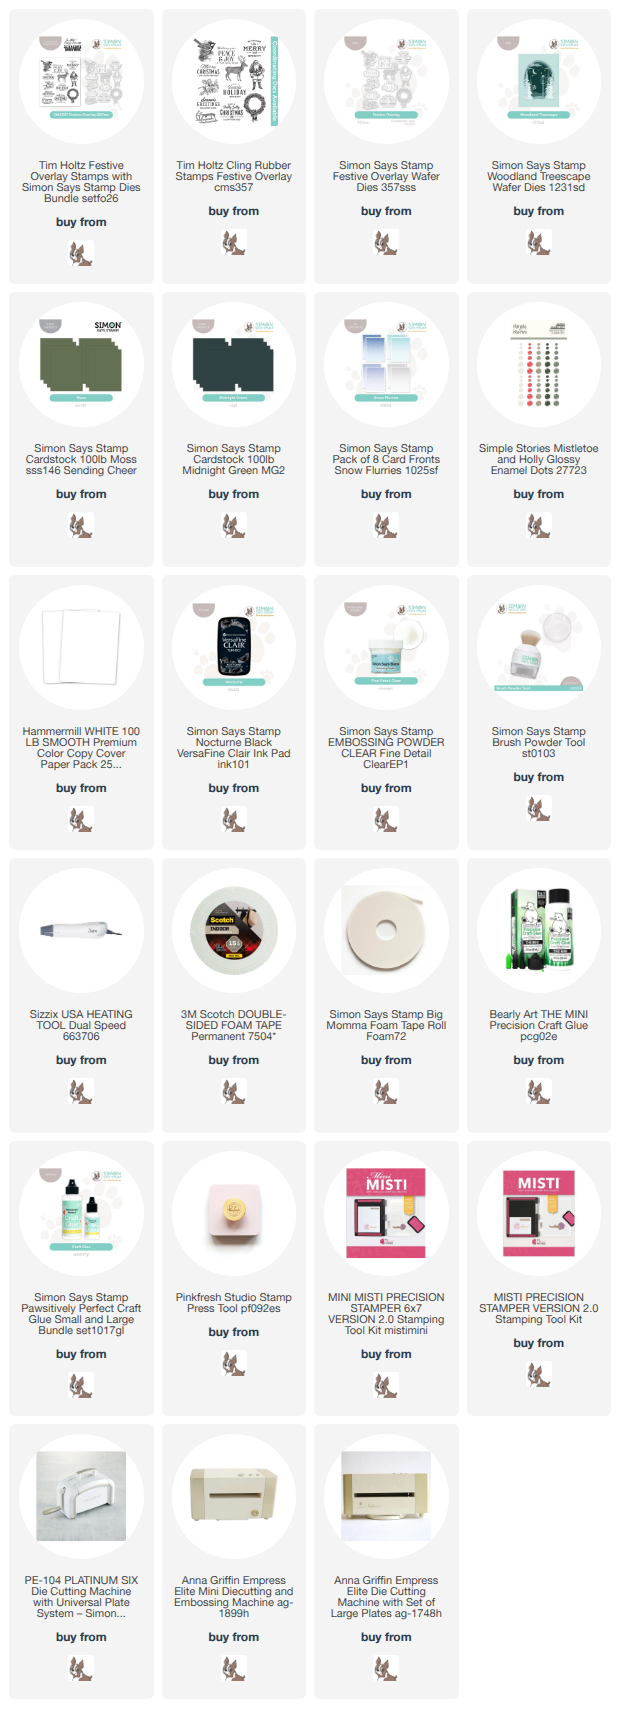
For this card I stamped both the deer and sentiment from the Festive Overlay set in black and clear heat embossed for some shine before die cutting. I created the background using some of the layers of the Woodland Treescape die and both Moss and Midnight Green cardstock - those two colors work BEAUTIFULLY together! I tucked one of the preprinted Snow Flurries panels in gray for the background, then layered them up with thin foam adhesive for a bit of dimension. I added the sentiment and the deer, and then tucked a few perfectly coordinating enamel dots around the scene! Here's a closer look:


Product links are all below - including affiliate links where possible, which simply means if you use one of the links below that I receive a small commission at no additional cost to you. Thanks so much for stopping by! Have a wonderful day!!!


Saturday, October 24, 2026

Rustic Wood Holiday Wall Art - Tim Holtz October coordinating die release

Good morning! I'm dropping in today to share a fun holiday decor project using one of the dies that just released exclusively at Simon Says Stamp to coordinate with an older Tim Holtz stamp set! These new dies are a game changer if you love these rubber stamp sets, and it has been so fun to see SSS gradually roll these out. I love the detail you can achieve with coordinating dies, versus fussy cutting - not to mention how much easier it is! This particular stamp set is so fun for a faux watercolor look, and being able to die cut makes all the layering possibilities so much more fun!


I started off by creating all of my "watercolor" elements using the appropriately named Winter Watercolors set. I inked up each image with various colors of distress inks (Candied Apple, Fired Brick, Fossilized Amber, Evergreen Bough, Pine Needles, and Gathered Twigs), then misted it with water before stamping onto watercolor paper. Once I had lots of them stamped and had given them time to dry, I die cut them all out to allow for easy layering. I grabbed some Crafter's Companion Basswood to use as my base for the project. I ink blended around the edges with Gathered Twigs distress ink, then swiped my Ground Espresso distress ink pad directly over the edges, swiping in slightly. This gave additional texture to the wood. I also added some black splatter over the top. Once that dried, I arranged all the floral pieces, adhering in place with liquid glue. I stamped and heat embossed a bird and a sentiment from the Festive Overlay set, one in white on black cardstock, one stamped in black and clear heat embossed. The bird I blended some ink around the edges to soften the white color and make it blend in to my project better. I tucked those on, adhering with foam adhesive and liquid glue to hold it in place securely. I grabbed another piece of that wood and sandwiched a piece of white ribbon between the two pieces to created something to hang it up with, then finished off with some Collage Medium applied to lots of little places, then sprinkled Chunky Rock Candy glitter over it. This gave it a lovely bit of sparkle! Here are lots more photos of the finished piece:


Product links are all below - including affiliate links where possible, which simply means if you use one of the links below that I receive a small commission at no additional cost to you. Thanks so much for stopping by! Have a wonderful day!!!


Friday, October 23, 2026

Cozy Fall Corner - Simon Says Stamp

Hello! Today I've got a soft and dreamy card to share that celebrates the cozy feeling of fall! I used some recently released items from Simon Says Stamp that were waiting to get put to use, and had fun with heat embossing, ink blending, and layering!

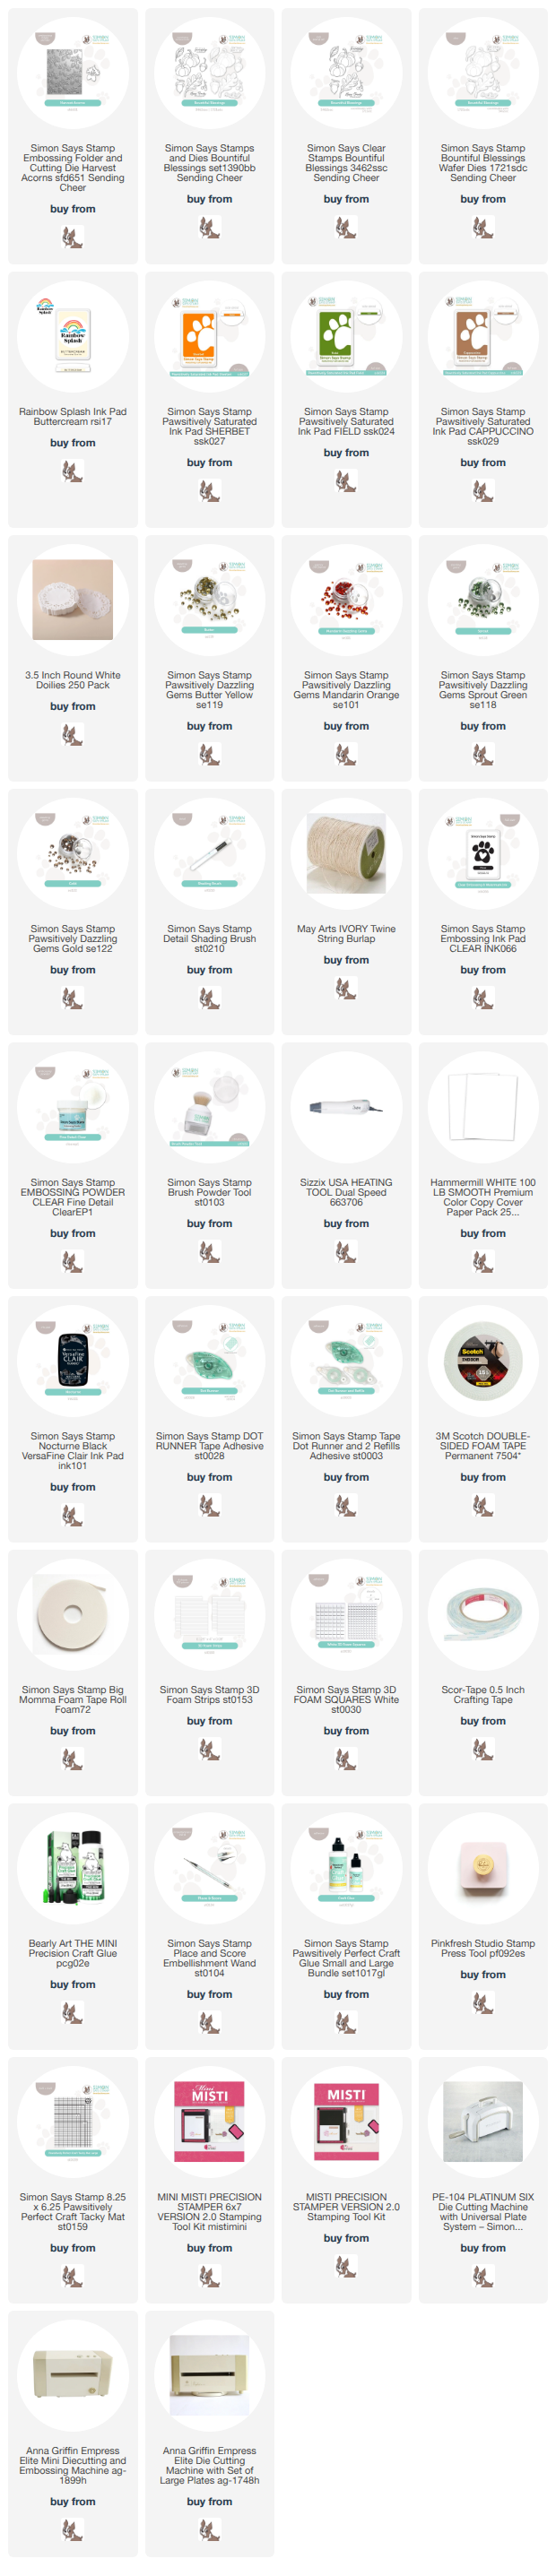
I created the background first, using the Harvest Acorns embossing folder on white cardstock, then swiping my Buttercream ink pad directly over the surface of the debossed side - this gives a lovely reverse image, and I love the soft and creamy tone of the Buttercream ink! Next, I heat embossed several images from the Bountiful Blessings set in clear on white cardstock, then ink blended over the top with Sherbet, Field, and Cappuccino inks to make the heat embossed lines magically appear, since they resist the ink. It's a fun and quick way to add color to these images! I tucked a doily around the embossed panel after trimming it down, then adhered that to my white cardbase on the lower right corner. I arranged my images on top with foam adhesive, then popped a sentiment up over the top. Finished off by tying some twine bows around the pumpkin stems, then a hearty sprinkle of Dazzling Gems in Mandarin, Sprout, Gold, and Butter! Here are more photos of the finished card:


Product links are all below - including affiliate links where possible, which simply means if you use one of the links below that I receive a small commission at no additional cost to you. Thanks so much for stopping by! Have a wonderful day!!!


Thursday, October 22, 2026

Serene Gray and Gold Card - Tim Holtz October coordinating die release

Hello! I'm dropping in today to share a card using one of the dies that just released exclusively at Simon Says Stamp to coordinate with an older Tim Holtz stamp set! These new dies are a game changer if you love these rubber stamp sets, and it has been so fun to see SSS gradually roll these out. I love the detail you can achieve with coordinating dies, versus fussy cutting - not to mention how much easier it is! Today's card is an serene and elegant color combo, and I just love how it turned out. Who knew how pretty gray, gold, and white are all together?!?
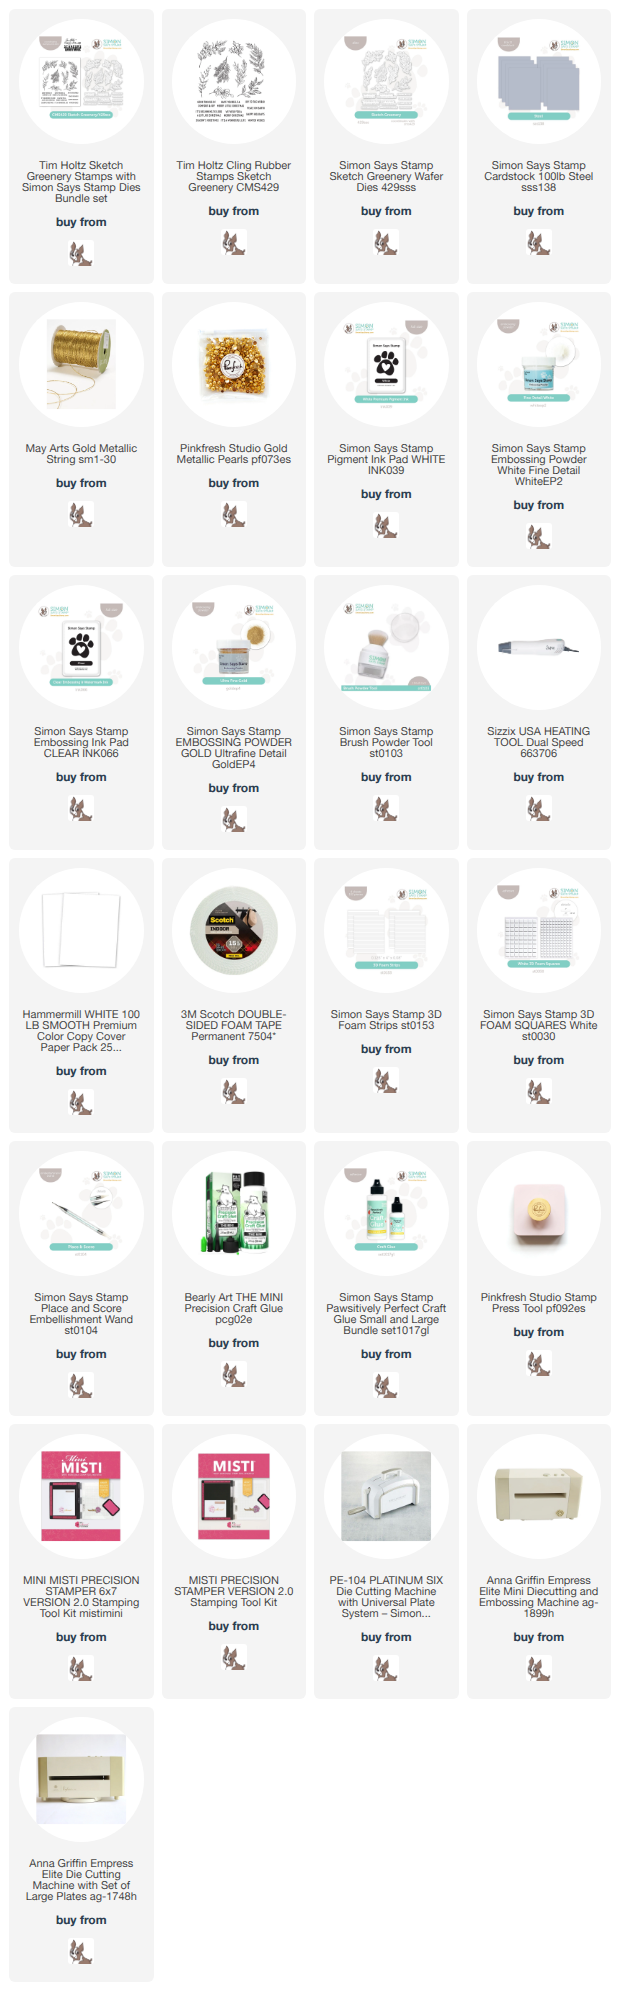

I started off by stamping and heat embossing one of the Sketch Greenery stems in white on Steel cardstock. As I die cut them out and set them on my leftover paper, I realized how pretty they were stacked tone on tone! So I trimmed down a panel of that same cardstock to tuck them around. Before adhering them down, I wrapped some May Arts gold cord around the panel, and tied it behind, taping in place. I added the greenery pieces with foam squares, trimming off any overhang, then mounted that panel with more foam on a white cardbase. I heat embossed a sentiment from the same set in gold on more of that same color of cardstock, die cut, and adhered with more foam. Finished off with just a few Metallic Gold pearl trios tucked around the sentiment! Here's a closer look at the final card:


Product links are all below - including affiliate links where possible, which simply means if you use one of the links below that I receive a small commission at no additional c


Tuesday, October 20, 2026

Gina K October 2026 Release Cards for Simon Says Stamp

Hello! I'm popping in with a few projects to share that I created with the newest Gina K Release that is now available at Simon Says Stamp! I received a few items from the release, and had fun putting this trio of light and airy cards with a definite early spring feel! Scroll to the bottom of this post to see all the projects I created in more detail.


I created these cards using a mix of Ivy Frame, Leafy Frame, and On the Inside sets. I did some heat embossing, and used a soft palette of blue, green, a touch of yellow, and gray. Some twine for texture, splatter for interest, and gems for sparkle help finish them all of! All the supplies are linked at the bottom of this post - and here are lots more photos of the finished cards:


Product links are all below - including affiliate links where possible, which simply means if you use one of the links below that I receive a small commission at no additional cost to you. Thanks so much for stopping by! Have a wonderful day!!!