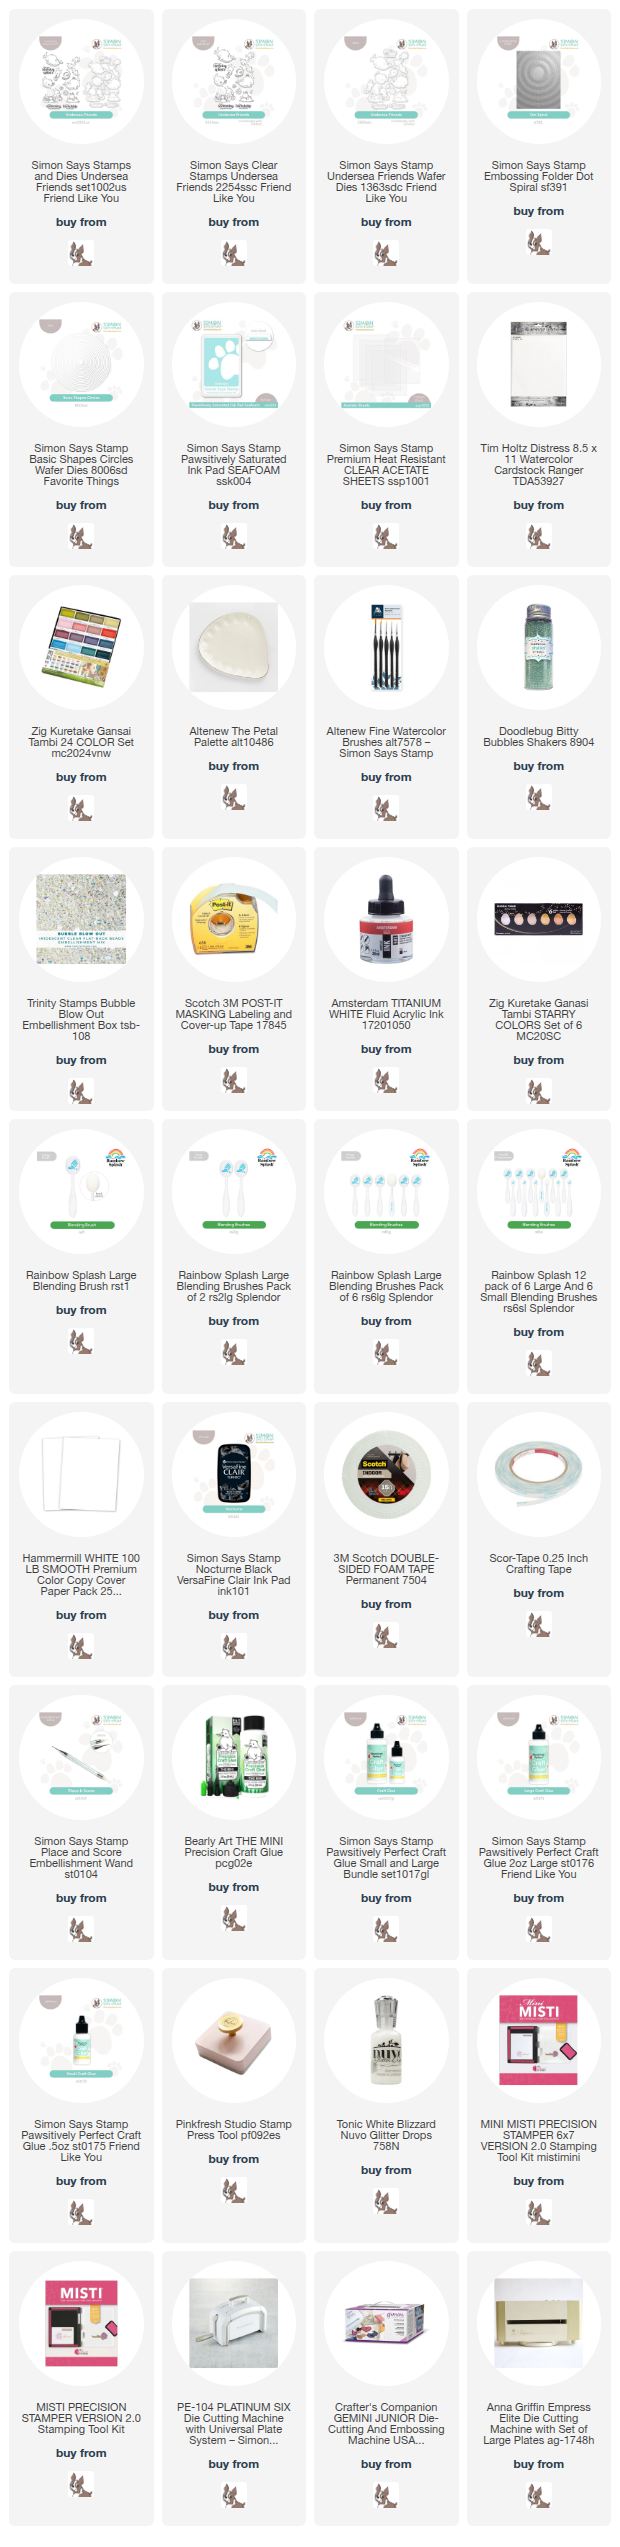
Good morning! Today I've got a sweet little ocean theme shaker card using lots of supplies from Simon Says Stamp - those little bubble shaker elements are SOOO incredibly cute, and I love them in this little scene!

I stamped an image from Undersea Friends on watercolor paper, then watercolored in the scene in soft colors with my Gansai Tambai watercolor palette, and then added some sparkly glitter glue to parts of the scene. While that dried, I created the window. I used Dot Spiral 3D embossing folder on white cardstock, then cut a perfect window out of it with Basic Circle dies. To merge the two pieces together, I added a bit of soft ink blending with Seafoam ink on the embossed panel - it coordinated perfectly with the watercolor I used for the background on my scene, and made it feel like the scene was coming out of the shaker and onto the outside of the card! I created the shaker element, and filled it with Doodlebug Bitty Bubbles embellishments - they are darling! Added a sentiment from the Undersea Friends set, as well as a few Trinity Bubble Blow Out embellishments on the outside to carry the theme fully through. Here are more photos of the details on this card:


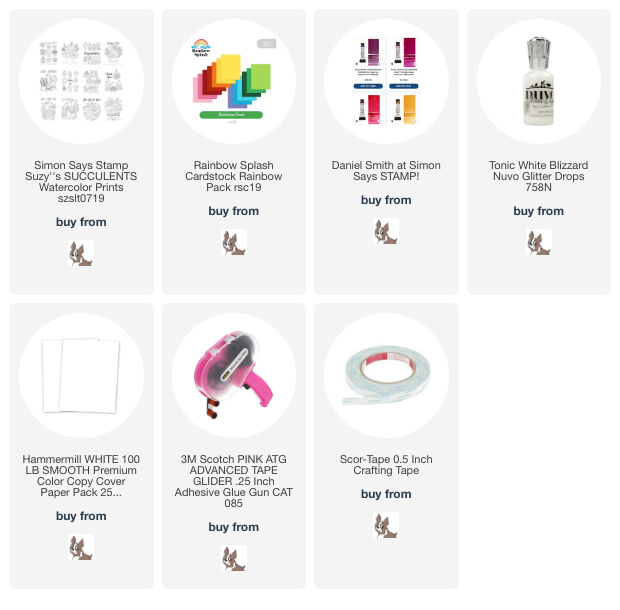
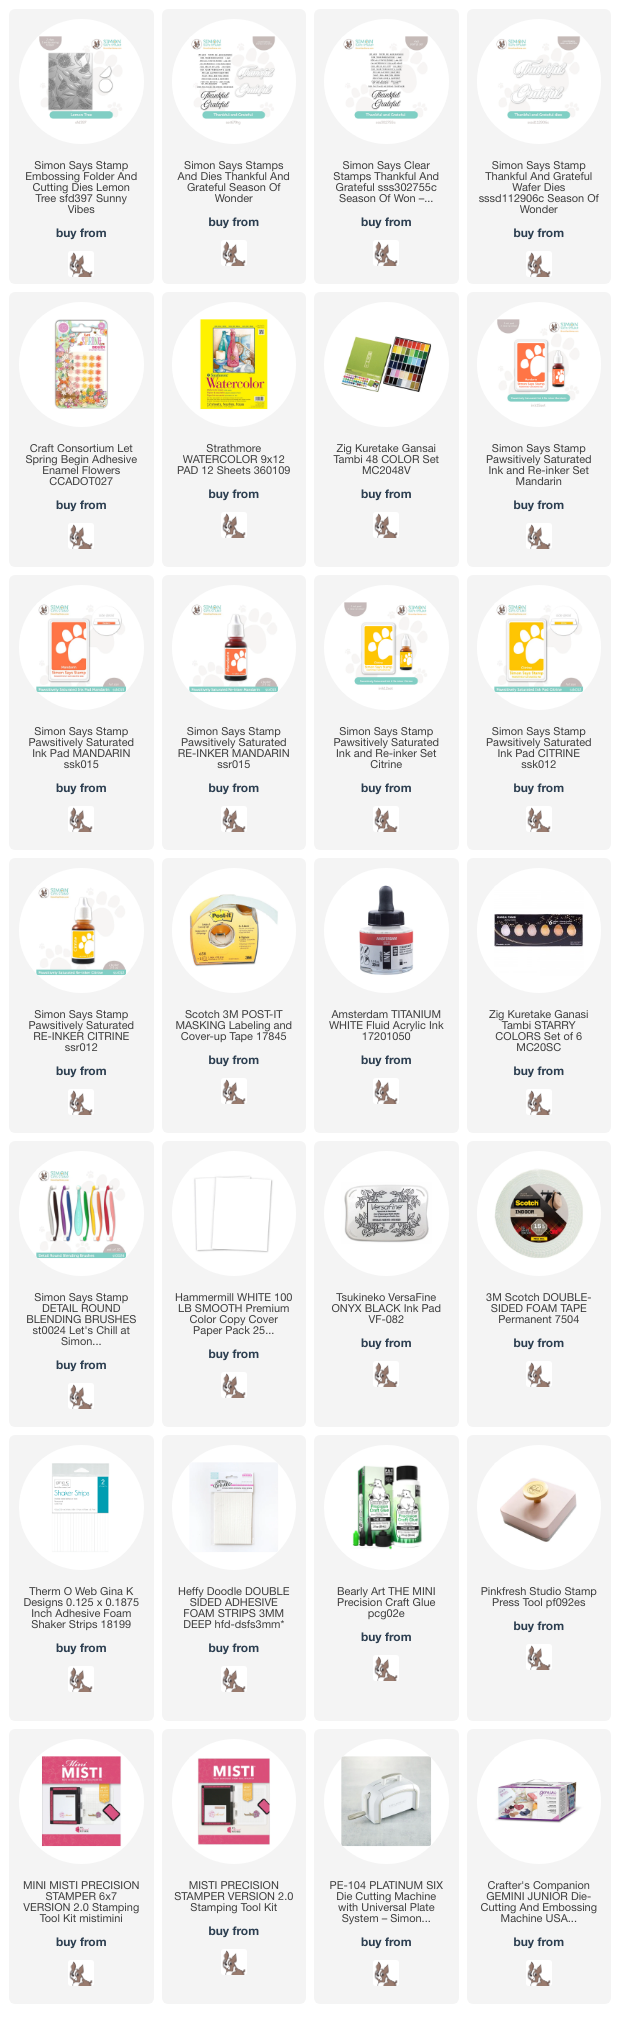
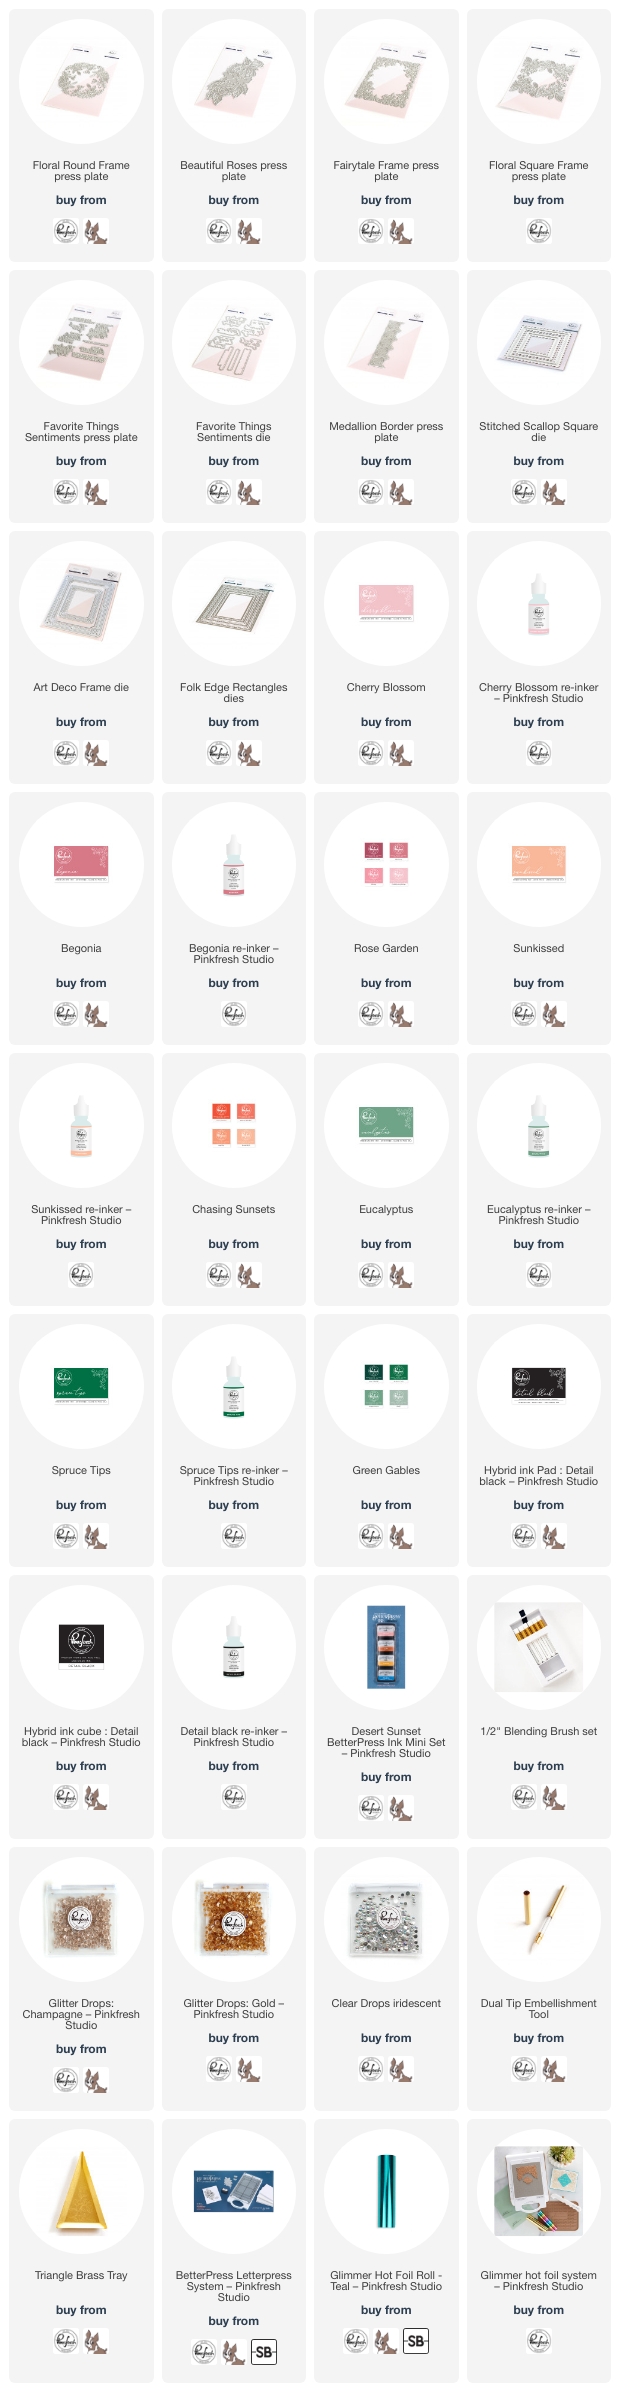
Product links are all below - including affiliate links where possible, which simply means if you use one of the links below that I receive a small commission at no additional cost to you. Thanks so much for stopping by! Have a wonderful day!!!