Friday, July 25, 2025

Modern Vintage Holiday Cards - Simon Says Stamp

 Hello! Today was the next installment of the amazing Create Together classes with Simon Says Stamp - and this one featured the fabulous Cathy Zielske as the instructor (you can catch the replay HERE!)! I thought it would be fun to create a little additional inspiration, featuring some of the items from the kit, and mixing in a few little extras to stretch the supplies and give a different look. I love how these have a Vintage feel, but with a modern twist with the brighter colors and light airy tones!


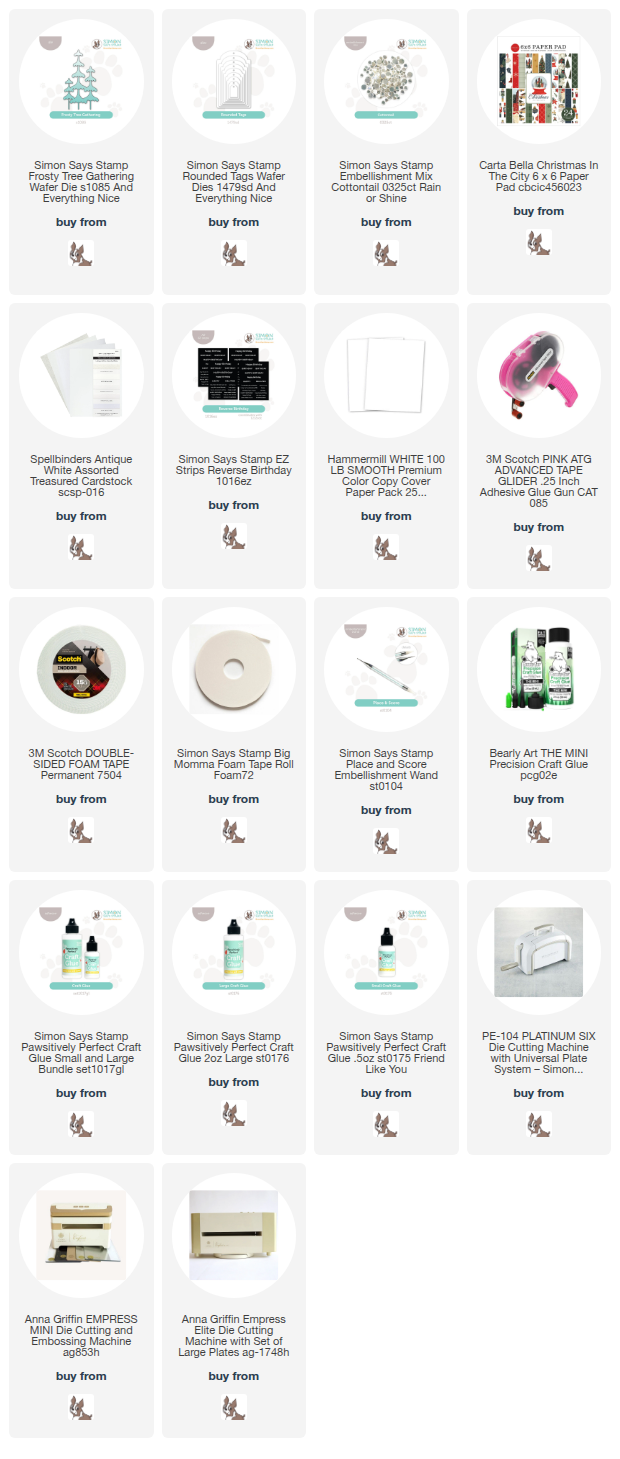
I started off with the beautiful Festive Bough Pattern stencil. I used ink colors from the kit - Cabbage, Artichoke, Surf, and Ocean, then added a few additional colors - Rhubarb, Apple, and Cranberry. I used two tones of ink for most of the stencil layers to add shading and depth - the only exception was the layer with the berries, which obviously were a bit small for that! I took that panel, and trimmed it in half diagonally so I could create two cards with one panel. I added some soft ink blending around the edges using Latte ink to soften the colors and add the vintage feel. I stamped the White Christmas Text background stamp on my white cardbases in that same Latte ink, then used it to blend around the edges yet again to pull it all together. I added the stencil panels, and used thin foam adhesive strips just along the diagonal edge, and adhesive tape for the rest of it - this helped that part pop up and have a little extra dimension (I left one of the foam pieces with it's backing until I tucked the tag in). Once those two pieces were adhered together, I added a healthy dose of White Splatter Medium to the entire panel for even more vintage goodness! While that dried, I die cut some Nested Tags, and used the leftover ink on my brushes to add a bit of color to them. The sentiments are from Making Spirits Bright, stamped in Ocean and Cranberry ink for the large ones, and black for the secondary. I adhered everything together using foam adhesive as needed, added a twist of Vivant gold cord to the top of the tags, rounded off one corner on each card, and finally, added a little row of Dazzling Gold Gems along the diagonal edge! Here are more photos of these two cards:


Product links are all below - including affiliate links where possible, which simply means if you use one of the links below that I receive a small commission at no additional cost to you. Thanks so much for stopping by! Have a wonderful day!!!

Thursday, July 24, 2025

Playful Daisies - Simon Says Stamp

 Hello! I've shared a few cards over the past week using a fun die from Simon Says Stamp, and today I'm wrapping it up with what might be my favorite of them all! It isn't any particular flower, but I love the bright, fun, and playful color scheme!


I used (big surprise here!) Tilted Daisies die, and Privet Branch die to add leaves. I used white cardstock for the petals, and two colors of Concord & 9th cardstock for the centers, stems, and leaves. I blended a bit of Pucker and Artichoke ink on the colored parts to add some depth and shading. I also used that Pucker ink to add a bit of color to my background - I used a blending brush to add a touch of color to two corners of a panel of watercolor paper, then misted with water, and let the color blend, soften, and fade for a soft watercolor background. I set that aside to dry, and die cut a border on a panel of white cardstock using one of the Delicate Stitched Borders dies. I stamped my sentiment on there using Inside Greetings 1 and Sunflower Garden, then popped that up with foam on my background. I tucked and arranged the flowers, adhering them with liquid glue, then added a sprinkle of Dazzling Gems in Mandarin. Finished off with some Nuvo Blizzard glitter drops on the centers of the flowers. Here is a closer look at this card:


Product links are all below - including affiliate links where possible, which simply means if you use one of the links below that I receive a small commission at no additional cost to you. Thanks so much for stopping by! Have a wonderful day!!!


Wednesday, July 23, 2025

Black-Eyed Susan Style Daisy Cards - Simon Says Stamp

Hello! If you have been following along with my cards using one particular die from Simon Says Stamp, well...today I have the next installment! This time I used that same die to create another flower - this time a Black-Eyed Susan!


Once again, I love how just switching up the colors on this Tilted Daisy die made it look like something ENTIRELY different - and a few leaves again from Privet Branch die just give them an entirely different look as well! Like the last cards I shared, I used all colored cardstock from Concord & 9th Jewels and 2025 color mix, then blended ink on in Honey, Woodsy, and Artichoke to add some shading and depth. My grip mat was very helpful for that! I used Kraft cardstock for the cardbases, and added a bit of ink blending around the edges of one, and the some around the center of the other one. I grabbed a panel of Eggshell cardstock, and die cut a window using Petal Tipped Labels - then used the negative space as a window, and the die cut frame as a panel on the other card. I tucked and arranged the stems and blooms on there, then added a rounded corner on one, and a good dose of White Splatter medium for some texture. Added sentiments from Vintage Blooms, stamped in black on yellow cardstock, then heat embossed with clear powder to make them pop. Finished off with a few Dazzling Gems in clear for a touch of sparkle! Here is a closer look at these cards:


Product links are all below - including affiliate links where possible, which simply means if you use one of the links below that I receive a small commission at no additional cost to you. Thanks so much for stopping by! Have a wonderful day!!!


Monday, July 21, 2025

Echinacea Style Daisy Cards - Simon Says Stamp

Hello! I had so much fun with those pastel daisy cards I shared a couple days ago (you can see them HERE) - that I pulled out that same die from Simon Says Stamp, and went a little crazy over the weekend creating totally different styles with it (I'll be sharing a couple more designs this week that I created - stay tuned)! I love how that floral design is super versatile, and perfect for a variety of different floral styles. Today's cards feature one I have growing in my yard - Echinacea, also known as purple cone flower! 


I love the slightly more vintage feel these cards have, in contrast to the fresh and clean pastels with bright white daisies that I shared first! For these, I cut all the Tilted Daisy flower layers from colored cardstock, and then did a bit of ink blending on each one to add shading and depth. Cardstock was from Concord & 9th Jewels and 2025 color packs, and I used two shades of cardstock for the flower layers. I added shading with the following inks: Honey, Cabernet, Galaxy, Artichoke, and Woodsy - using my Grip Mat to hold them in place while blending. I then used some of those same ink colors to do some ink smooshing on watercolor paper to make a simple background for the flowers. I also die cut Privet Branch from the same colored cardstock, and trimmed individual leaves off to add to the stems to give them a different look. I added some splatters to the blooms with White Splatter Medium that recently released, and then added sentiments using I'm Sorry Sentiments and Bad Day Good Vibes sets. Finished off with a few Lilac Dazzling Gems for perfectly coordinating sparkle! Here is a closer look at each of these cards:


Product links are all below - including affiliate links where possible, which simply means if you use one of the links below that I receive a small commission at no additional cost to you. Thanks so much for stopping by! Have a wonderful day!!!


Saturday, July 19, 2025

Frosty Glittery Birthday Duo - Simon Says Stamp

 Hello! Today I'm throwing it back to some older supplies from Simon Says Stamp, paired up with some glittery ombre cardstock that is so pretty! I tried it both ways, as the die cut panel, and as the backing for the die cut panel.


I started off with the Starburst Plate die, and cut it one time from one piece of the Crafter's Companion Ombre Glitter cardstock, and once from white cardstock. I then reversed which went behind each of those panels. The glitter cardstock is a little tricky to die cut, but adding a panel of bubble wrap helped it cut so much better! I added a cluster of birthday sentiments from Birthday Basics stamp set - I thought it was fun to add several sentiments instead of just one, and really let them shine! I finished off with LOTS of Dazzling Clear gems in fun starburst clusters using the pattern of the cover plate. While it took a while to adhere them down, I love the finished effect of all the sparkle! Here is a closer look at both of these cards:


Product links are all below - including affiliate links where possible, which simply means if you use one of the links below that I receive a small commission at no additional cost to you. Thanks so much for stopping by! Have a wonderful day!!!