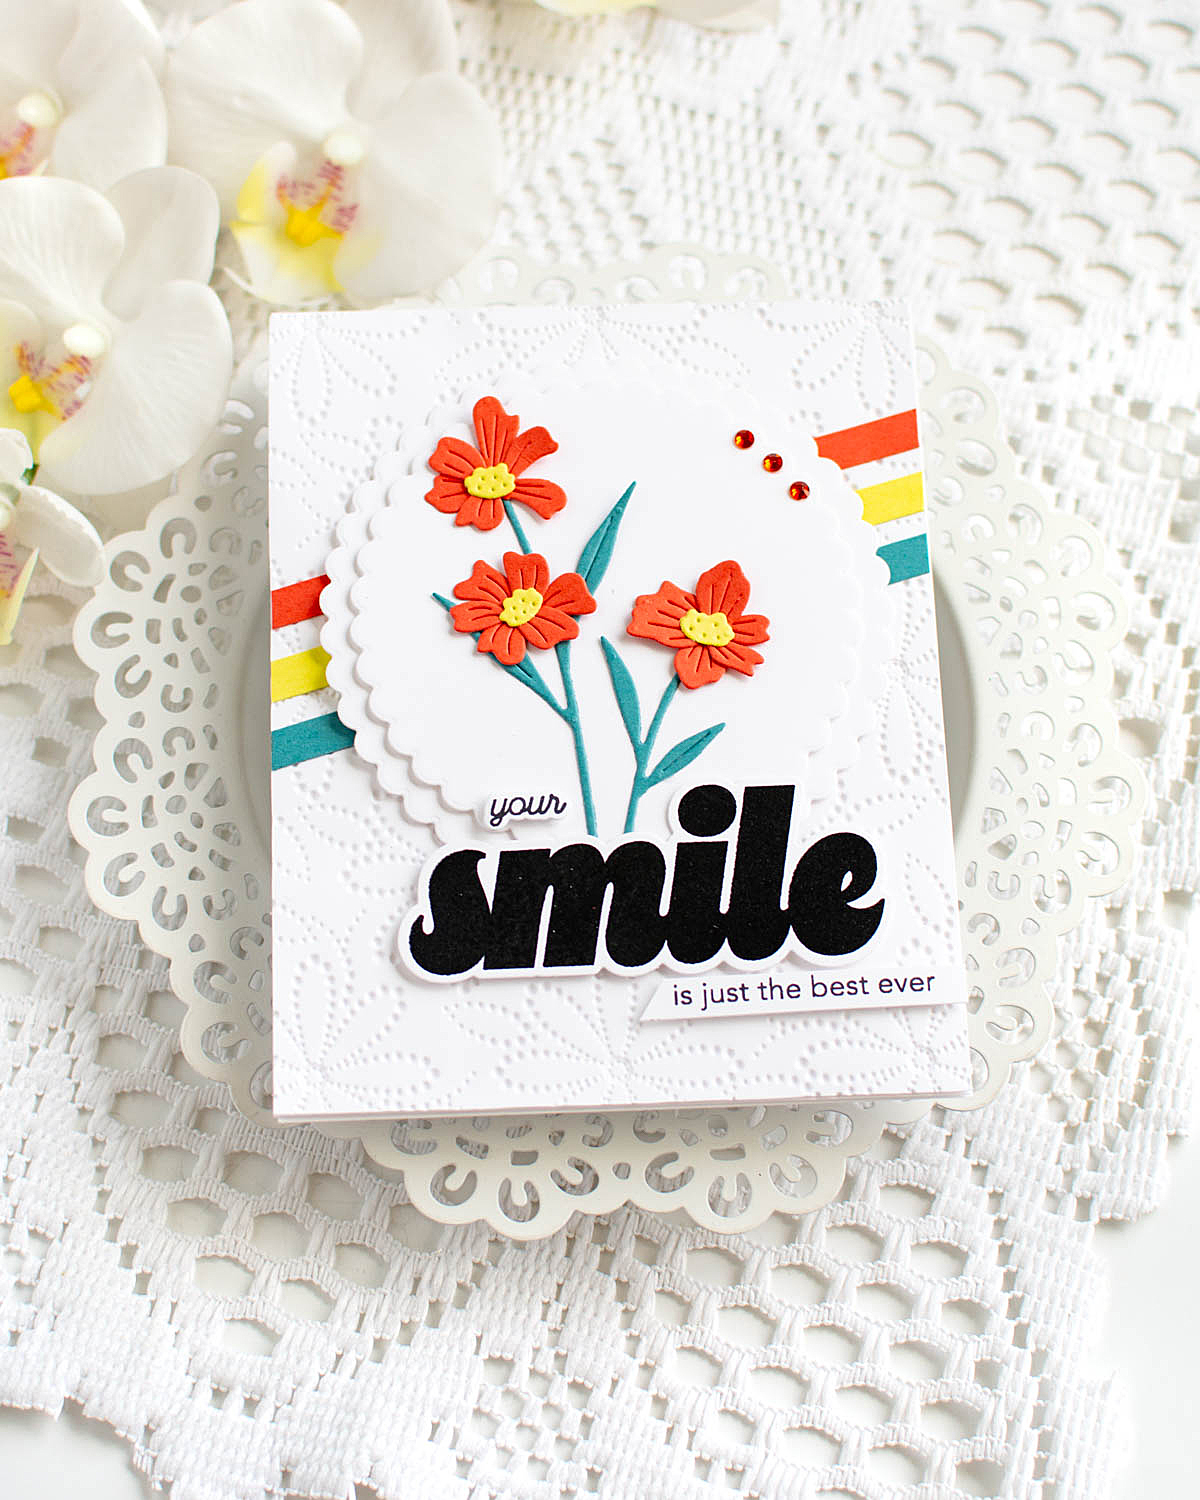
Hello! I'm stopping by today with another fun card using the Simon Says Stamp Friend Like You Release! Like yesterday, this card features another embossing folder from the release, and it also has a nautical theme! This time I created a shaker card though!

I started off with the Sunshine Sailboat on white cardstock, and did some ink blending with Cadette and Surf inks, then added white splatters with Spellbinders White Opaque Watercolor splatter, and set it aside to dry. While it dried, I created the shaker element using the new A2 Arches die set. I filled it with 3mm clear sequins for lots of lovely sparkle! I added a few Trinity Bubble Blow Out embellishments in the top corner, and then added sentiments from the Smile stamp and die set to finish off! Here is a closer look at this finished card:


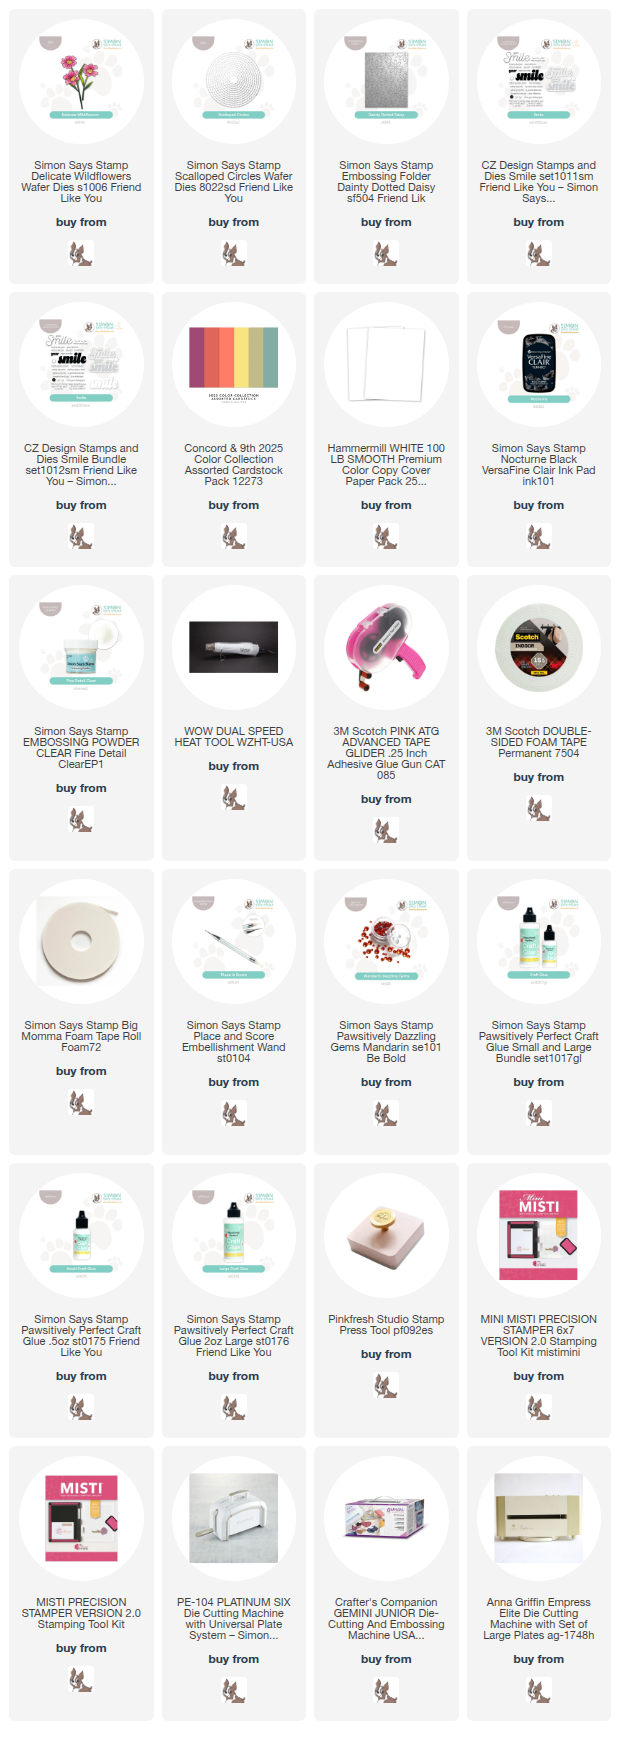
Product links are all below - including affiliate links where possible, which simply means if you use one of the links below that I receive a small commission at no additional cost to you. Thanks so much for stopping by! Have a wonderful day!!!