Good morning! Today is an amazing blog hop to celebrate Pinkfresh Studio's December 2020 Stencil and Die Release! You aren't going to want to miss a stop along the way - TONS of inspiration and prizes up for grabs! YAY!
For the release, Pinkfresh is offering free US Shipping for all orders over $50 - as well as an amazing discount of 30% off on all FULL SIZE ink pads! Perfect timing, since these are so very amazing for this stencil release! You can find all of the inks
HERE!
As always, I went a bit crazy with this release - I'm just going to apologize in advance for a SUPER photo heavy post! I think I may have surpassed even my usual size release post - but these stencils were so super easy and fun to put together gorgeous cards in no time at all, that I just had a hard time stopping! So...let's get started, shall we?
This first card uses the gorgeous new Overlapping Leafy Wreath Layered Stencil with it's coordinating dies. This is such a game changer to have stencils with coordinating dies!
I layered the wreath in a rainbow of bright sherbet colors - Sparkling Rose, Sunshine, Apricot, and Raspberry Bliss and mounted it with foam adhesive on a simple white cardbase.
I added a sentiment with Lea's Ornate Upper and Lower case dies, and Simply Sentiments: You stamp set, then finished off with a few coordinating Crystals in the lower right corner. Aren't these colors SOOO fun and happy?!?
Next up, I softened up the colors to a bit more pastels, but still with a bright pop of color!
This uses Enchanting Meadows layering stencil - which also has a coordinating die. I stenciled this one using Ocean Breeze, Aquamarine, Mermaid Cove, Coral Reef, and Sweet Mustard.
I added a frame behind it using one of the Essentials: Stitched Scallop Rectangles, with some different colors of pattern paper tucked behind it in layers.
I added a background of Essentials: Diagonal Stitched Plaid, trimmed down to mount onto a soft blue cardbase, then finished off with a heat embossed sentiment from Floral Notes.
Next up, we have a more one layer design:
This uses the unique Seamless Floral Panel Stencil. What is fun about this stencil is that as the name implies, it can be used for a seamless effect on a larger card - such as a slimline! I kept it just to an A2 card here.
I stenciled this one with Ocean Breeze, Aquamarine, Tidal Pond, Fresh Pear, and Key Lime. I added a gold frame using the same Essentials: Scallop Stitched Rectangles as the last card, but the larger frame.
Sentiment on this one is heat embossed right over the image using Every Good Thing stamp set, then mounted all of it on a coordinating card base.
This next card is a slimline design that pairs up two stencils from the new release that work perfectly together!
I started off with the first layer of the Mountainscape stencil and simultaneously used the fun new Cloudbuilder stencil with a huge rainbow of blue inks: Sky Blue, Summer Shower, Seaside, Blue Jay, Storm, and Stargazer. Serious cloud layers going on here!
I moved onto the next layer of the stencil and added the snowdrifts using Regal Kiss - I can never resist the idea of "purple mountain majesty" - you know?
Next, using the final layer of the stencil, I added the trees with Evergreen ink, the moon with Sweet Mustard and a bit of sparkly clear Nuvo Drops, and the stars with some white embossing paste. I added more Nuvo drops to the top of the hills and mountains, then finished off with a sentiment from Through the Woods heat embossed on a strip of black cardstock before mounting the entire panel on a gray cardbase.
Next up a super simple one layer card...
Something about the new Argyle Stencil just seems perfect for a nice neutral guy card, don't you think?
I did it with Misty Coast and Rocky Slope inks, then used Detail Black ink to add a large bold sentiment with Scripted Bold Sentiments and a little help from Simply Sentiments: Hello.
I kept started to add more layers or something, but decided to just keep this one super simple!
And from that guy card - we head back to all girly and feminine!
This card features the fun Floral Circle Print stencil with some soft colors - Sweet Mustard, Apricot, Ballet Slipper, Coral Reef, and Meadow.
I die cut Stitches Die from some yellow cardstock, trimmed it down slightly, and did some ink blending around the edges using Sweet Mustard ink to add a bit of shadow around the edges.
The sentiment is a combination of Sentiment Suite: You die - with a bit more of that yellow ink blended on the bottom - and a supporting sentiment from You Are Amazing, heat embossed on a bit of black cardstock. Finished off with a few sparkly white jewels!
This next card is one that was created on Facebook Live last week - you can watch the replay
HERE if you would like more info on this card:
This card (and the next one) both feature one of my favorites from this release - Hanging Garden layering stencil. This version uses Mint, Meadow, Emerald City, Sweet Mustard, and Blue Jay inks.
Sentiment is a combination of Phrase Builder: Hello and Sending Love and Hugs - some die cut, and some stamped.
Front panel was die cut with Essentials: Diagonal Stitched Rectangles, and a sprinkle of jewels added before adhering with foam on an ivory cardbase.
This next version is the exact same card, just made in advance with a slightly different color combo.
For this card, I used the same greens as above, but then used Sparkling Rose and Apricot for the flower layers.
Sentiments and outer frame dies are identical, and this one is also finished with a few sparkly jewels in coordinating colors.
Which color combo do you prefer?
And finally...here is a look at the card that was supposed to be for yesterday's Facebook Live! Due to technical difficulties, we had to postpone, and are hopefully going to be doing it this morning at 10AM PST - there will of course be a giveaway, and we always have tons of fun...so I hope you will stop by
HERE and join us!
This was created using another favorite from this release - Daisy Wreath stencil which also has a coordinating die. I used Soft Lilac, Candy Violet, Fresh Pear, and Olive ink for the layers of this one.
Background was created with another new stencil - Diamond Plaid - and Summer Shower and Seaside inks.
I die cut the frame with Essentials: Ornate Banner Die set,, and the sentiment is from Incredibly Grateful stamp set. Mounted everything with foam adhesive on a coordinating card base, and added a few sparkly jewels to finish this one off!
GIVEAWAY INFO:
Make sure and leave a comment before you leave for a chance to win a $25 gift certificate to
Pinkfresh Studio! All winners will be chosen and posted on the
Pinkfresh Blog on Friday, December 18, 2020 - so make sure and check back to see if you were a winner! Winners must check that page and claim their prize within 2 weeks.
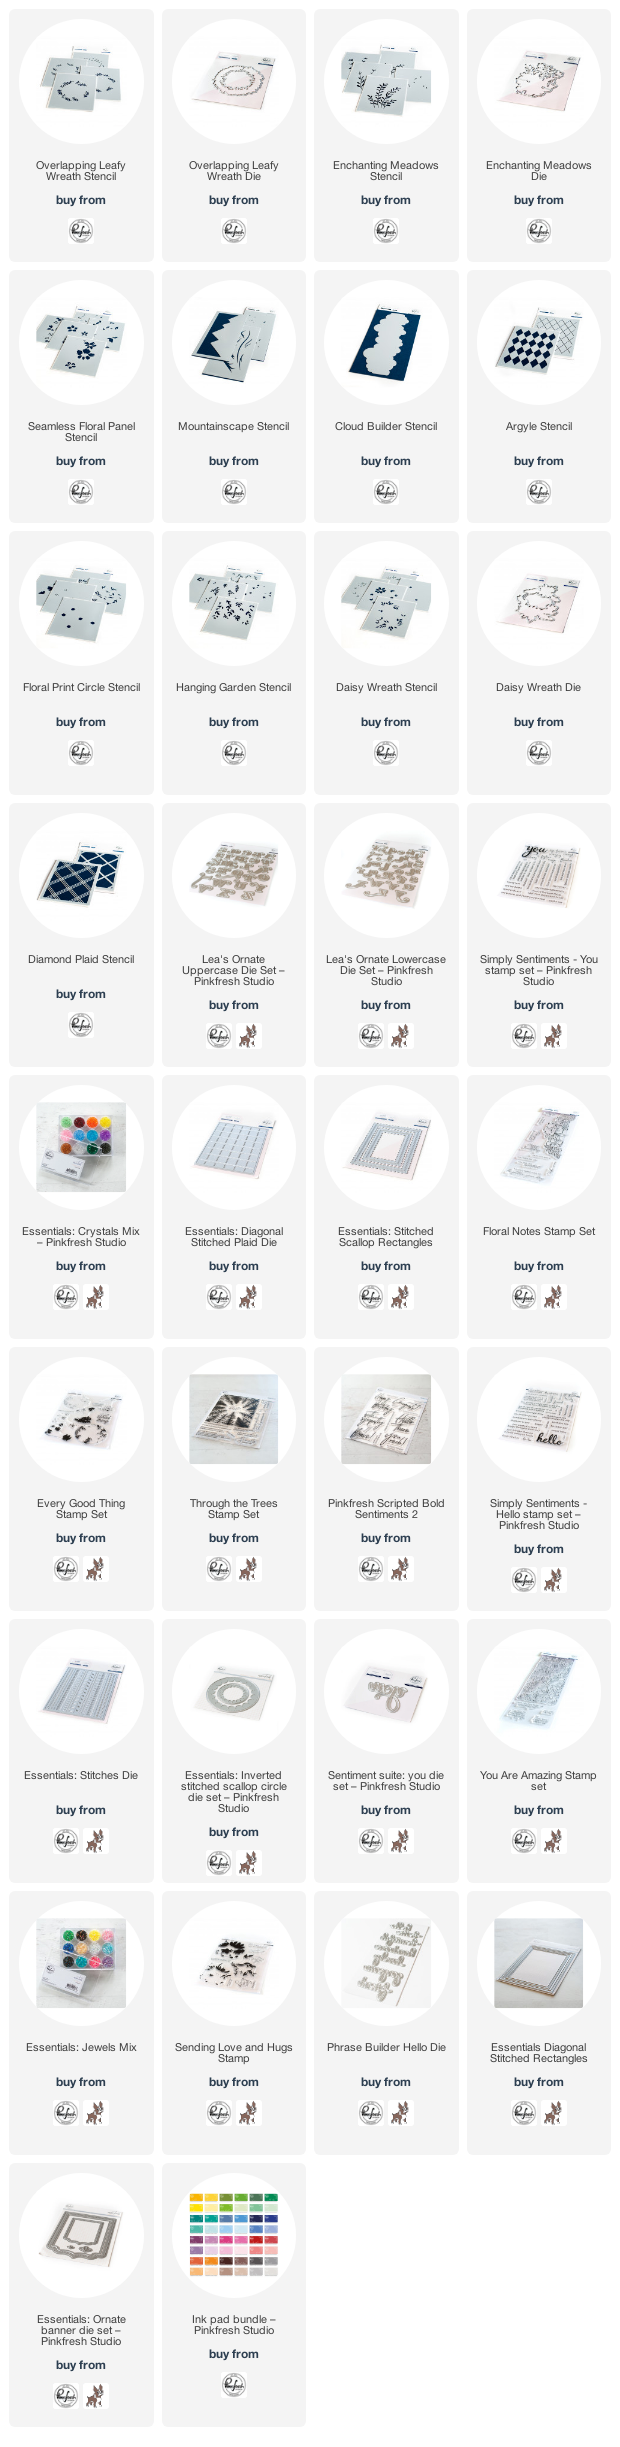
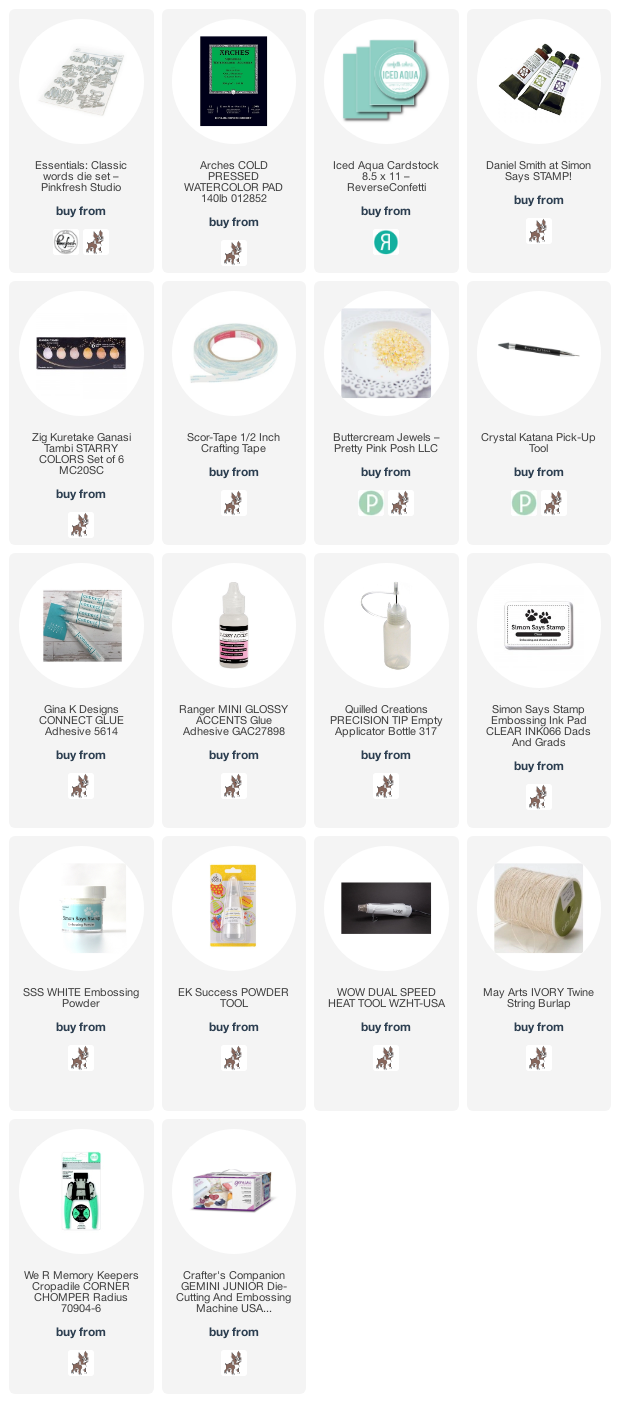
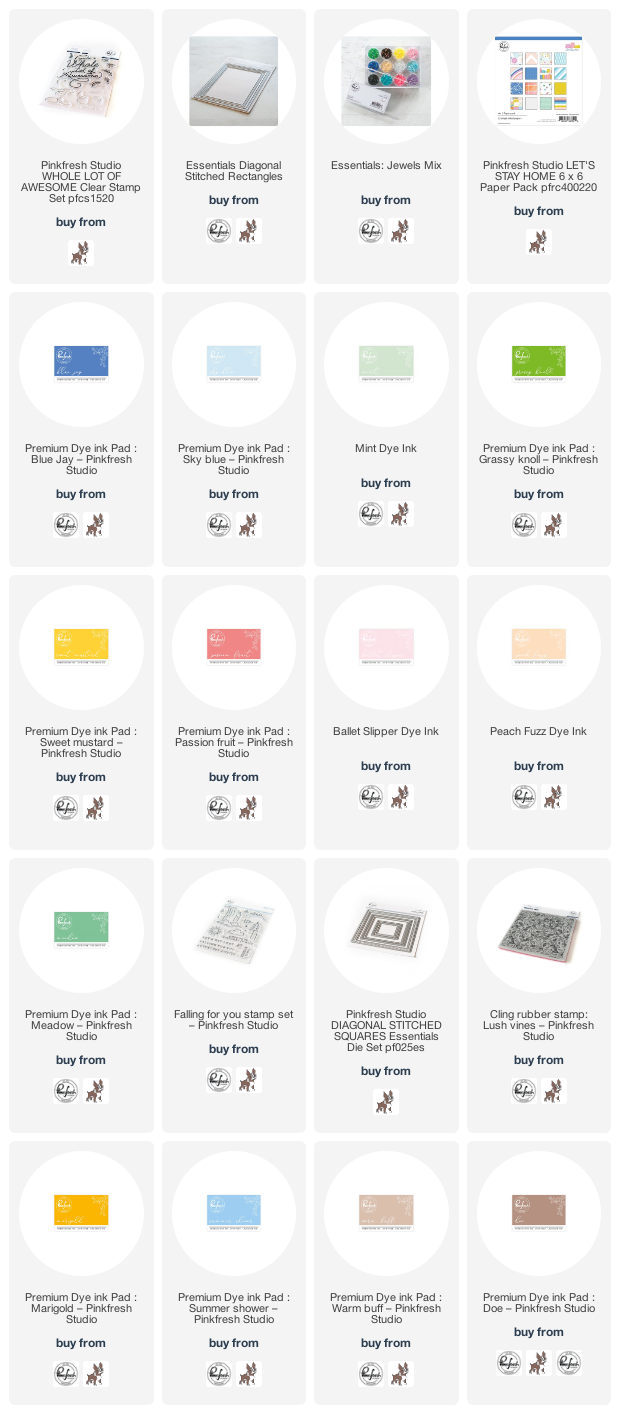
Here is the entire blog hop line-up so you don't miss a single stop - and product links are below - including
affiliate links where possible, which simply means if you use one of the links below that I receive a small commission at no additional cost to you. Thanks so much for stopping by! Have a wonderful day!!!