
Good morning! I'm popping in to share a little set of cards I made last month and never got around to posting, using a die from the DieCember release from Simon Says Stamp - a fun word die, secondary sentiment stamp, and some fun plaid paper made these cards come together so quickly!

The Make a Wish wafer die is the perfect size for a focal point on a card - for these, I die cut it from matte gold cardstock as well as white cardstock, and adhered those layers together slightly offset for a shadow effect. I then die cut the shadow layer from vellum to add a touch of softness to set it off from the background.

I then die cut some rectangle panels from MFT Joyful Plaid 6x6 paper pad - I just love a pretty pattern paper, and plaids are one of my favorites! These made a great base for my die cut sentiments.

I adhered each of those with some layers of paper scraps to add a touch of dimension, but not as much as full on foam panels. It was also a great way to use up some scraps. Another alternative is the Simon Says Stamp Big Momma foam tape roll - it is thinner than most foam adhesive rolls, and I love using it when I want slightly less dimension!

I used thin foam strips on the back of each of the die cut sentiments to adhere them in place over those foam panels, hiding it behind the more solid die cut parts so it didn't show through the vellum layer.

I wanted to add some secondary sentiments, so I pulled out my Tiny Words Birthday stamp set, and chose a few that worked well with the large main sentiment. I trimmed those down into thin strips, and also adhered those with thin foam strips.

They still just needed one tiny thing - so, I pulled out some of my Pinkfresh Studio Glitter Drops and added one in a coordinating color to each of the dots on the "i" in the sentiment. It's a little thing, but I love how it just elevates the design on these!

I also wanted to mention that I used Simon Says Stamp Basic Rectangle dies to cut out the plaid paper. You can easily just trim the pattern paper down as well. I love the finished edge you get with a die cut, and it also allowed me to center the plaid where I wanted before cutting.

You can also add as much or as little dimension to this design as you like! I tried to keep it more reasonable on these - since I wanted to be able to pop them in the mail easily if I wanted.

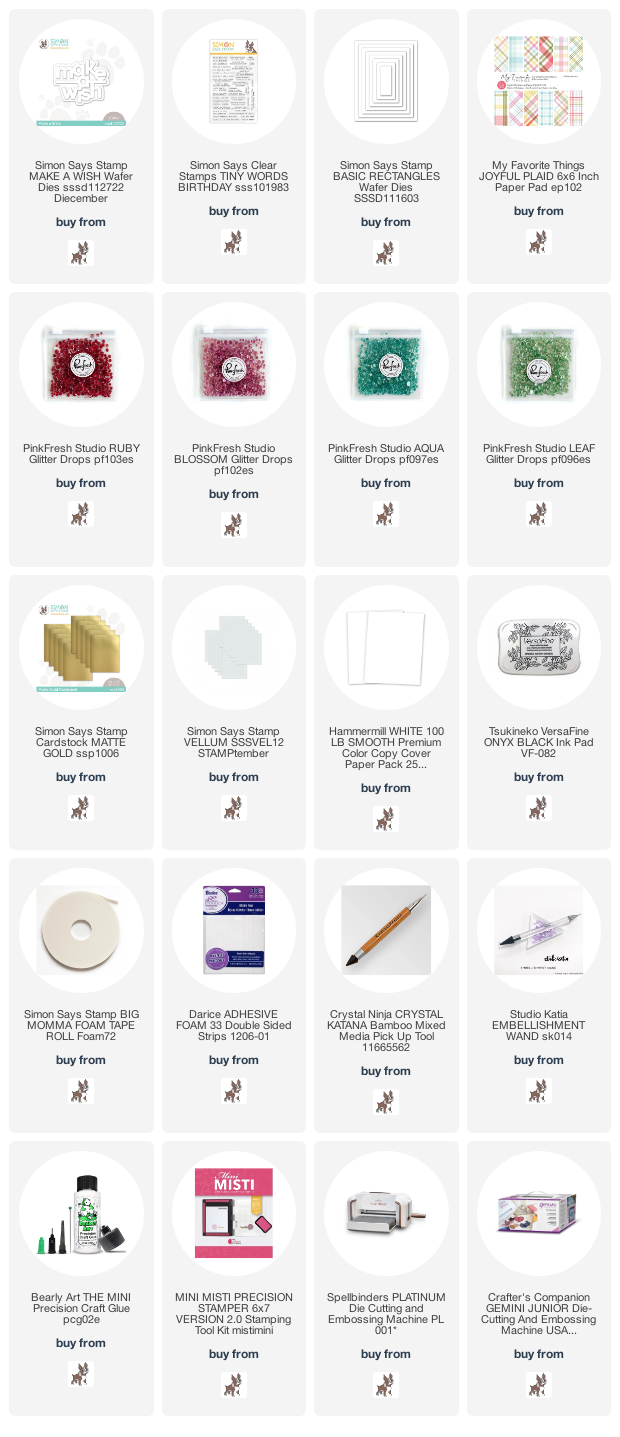
Product links are all below - including affiliate links where possible, which simply means if you use one of the links below that I receive a small commission at no additional cost to you. Thanks so much for stopping by! Have a wonderful day!!!
No comments:
Post a Comment