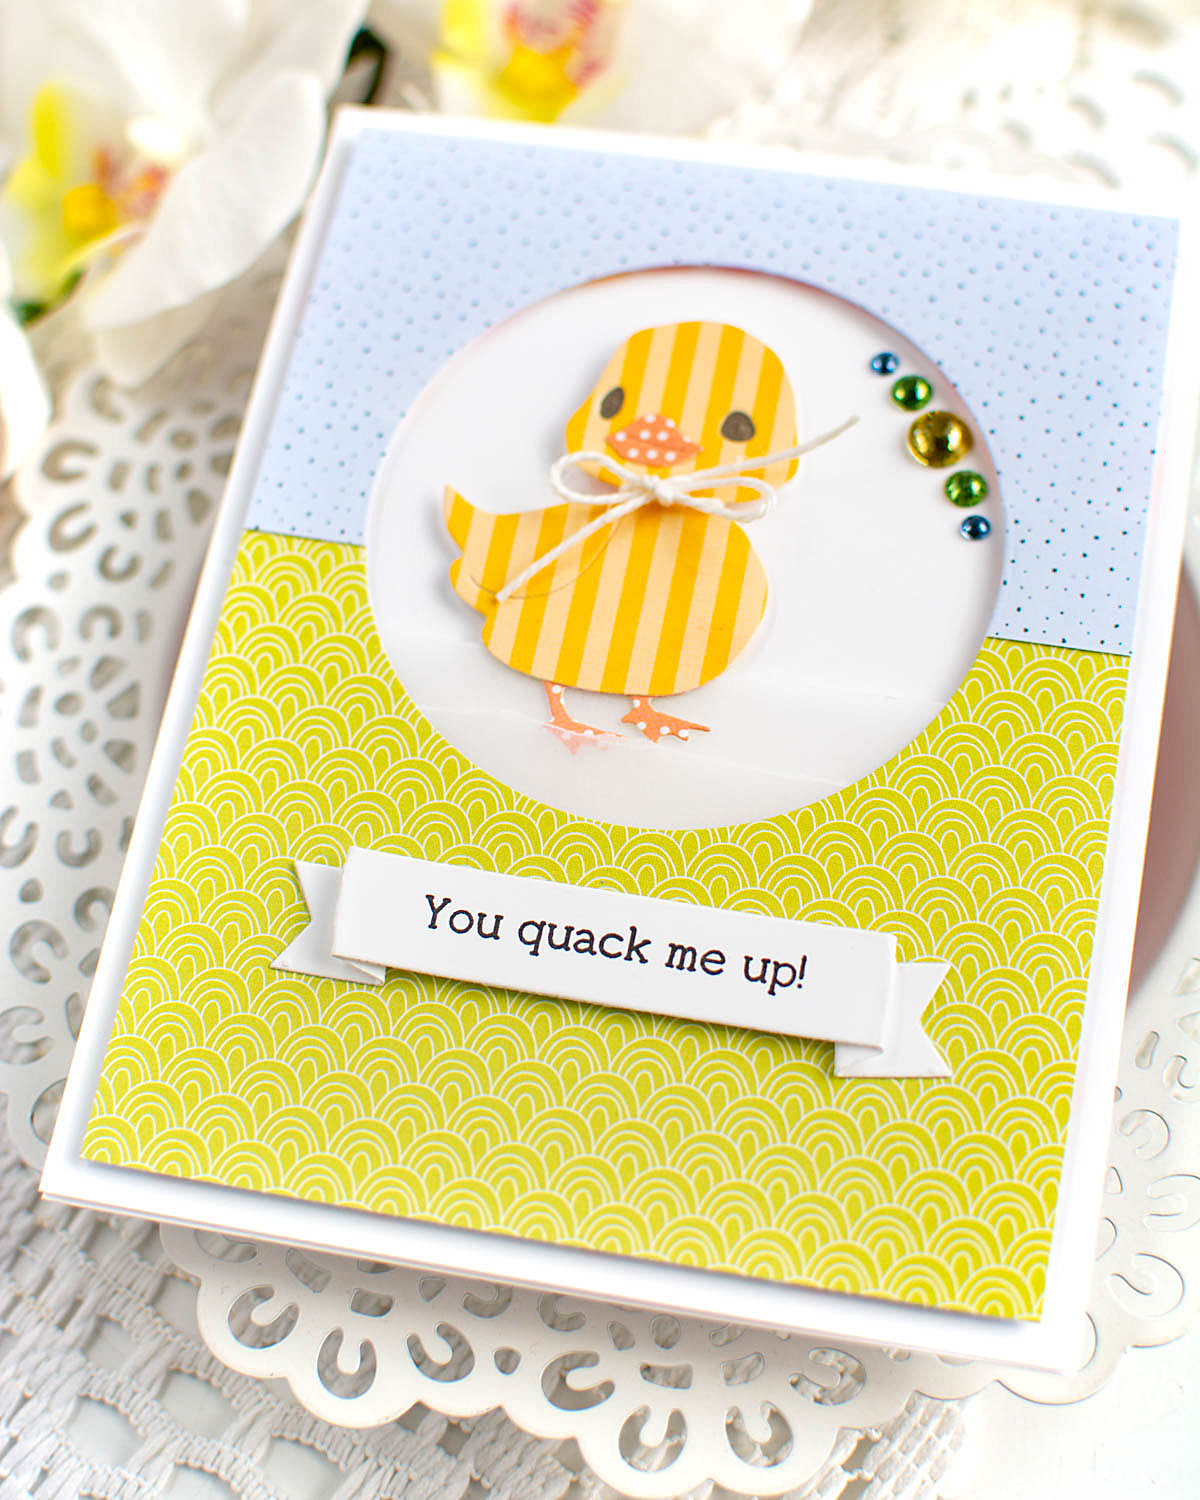
Hello! I had a bit of time to play this weekend, and randomly started putting together a few items I had leftover from other projects, or just items that I hadn't ended up using for one reason or another. All supplies are from Simon Says Stamp, and it was super fun to give them some new life!

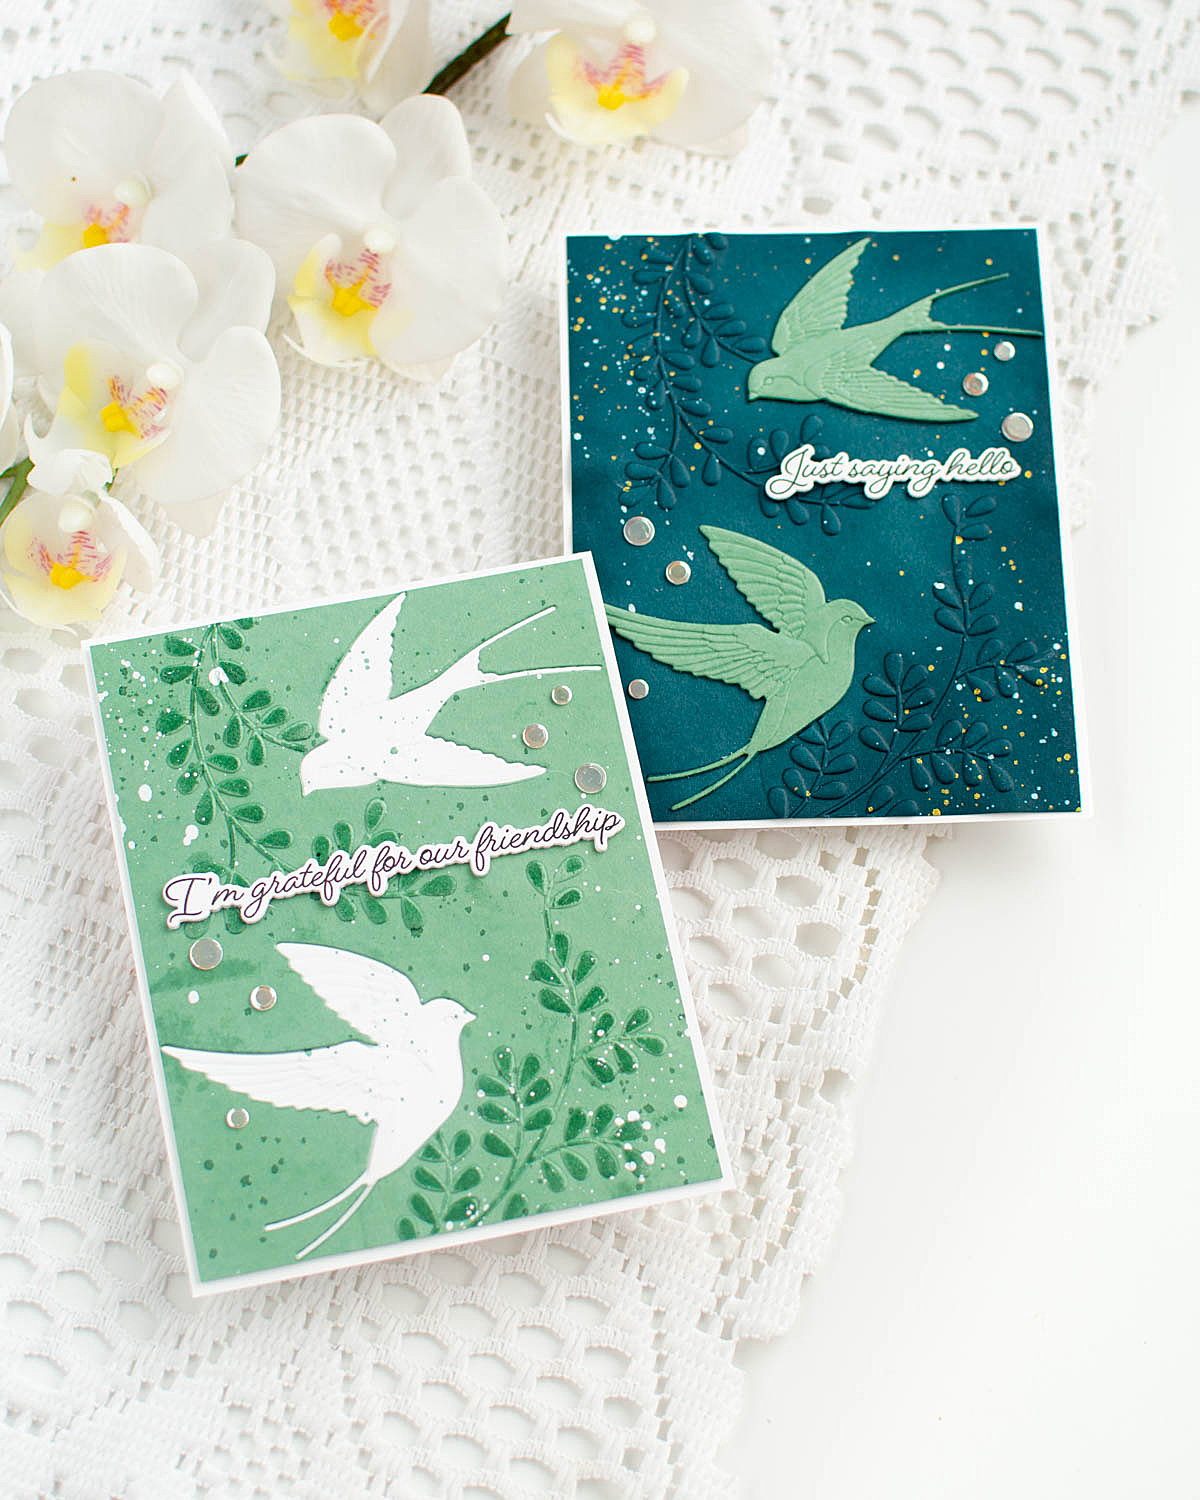
I started off with an embossed background using Pinnacle Hearts on white cardstock for some simple background texture. I layered together a couple of circles die cut with Basic Circles from white and black cardstock, then layered over some leftover stamped and die cut florals from Blessings at Easter. They were stamped in Zest, Apple, Amethyst, Surf, and Dublin inks. Sentiment was a mix of the top sentiment from Loving Thoughts, and the larger sentiment at the bottom from Just a Note Notes, and I matted that one in black cardstock as well. Tucked some black and white baker's twine in there, tied in a bow, and popped a dot of Nuvo Drops in Blizzard in the center of each flower, then finished off with a few Surf Dazzling gems to finish off! Here is a closer look at this finished card:


Product links are all below - including affiliate links where possible, which simply means if you use one of the links below that I receive a small commission at no additional cost to you. Thanks so much for stopping by! Have a wonderful day!!!