Showing posts with label Tim Holtz Distress Oxide Ink. Show all posts

Saturday, June 13, 2026

Ocean Seahorse Scene - Tim Holtz June coordinating die release

 Hello! Today I'm popping in with another card using the June 2026 installment of Tim Holtz coordinating dies that released recently from Simon Says Stamp! Today's card is more repetition - one of my favorite things with this release apparently! But this time a fun underwater scene!  


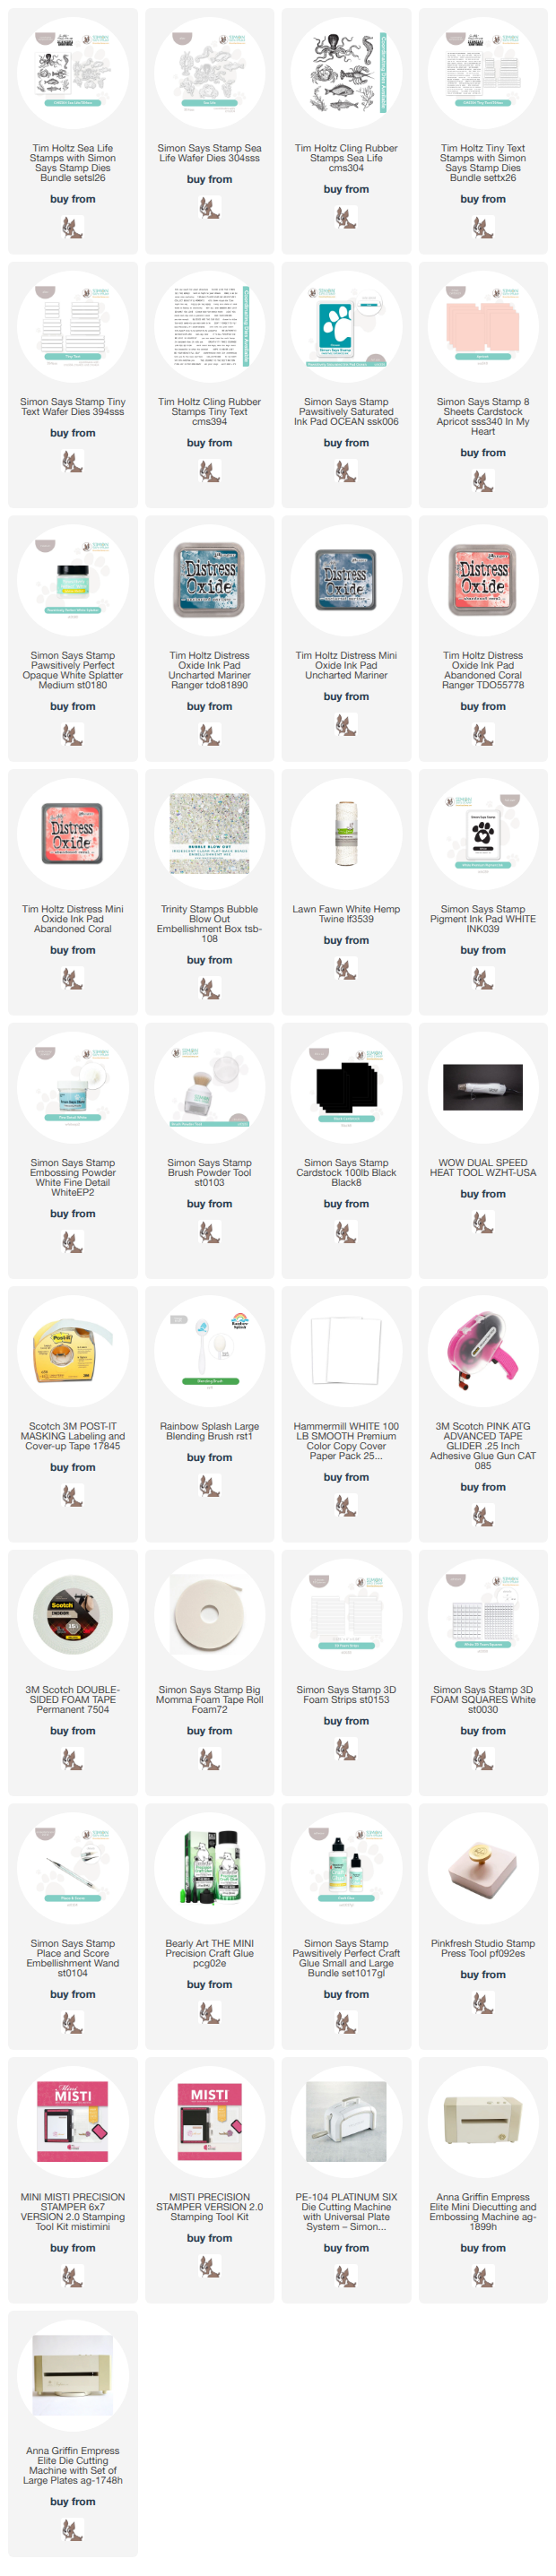
For this card, I used the Sea Life set, and stamped the seahorse 3 times with Abandoned Coral distress oxide ink, and the coral a few times with Uncharted Mariner distress oxide ink, then die cut them with the new coordinating Sea Life die set. I ink blended some SSS Ocean ink on a panel of white cardstock, creating a gradient that was deeper at the base and faded off towards the top, and added some white splatter over that for texture. Once that dried, I arranged all the elements, trimming off the excess coral pieces as needed. I stamped and heat embossed a sentiment from Tiny Text in white on black cardstock to make it pop, then die cut that with the (also new!) Tiny Text coordinating die set. I mounted that panel on a cardbase created with Apricot cardstock, wrapped some white twine around the card and tied in a bow, then added a heavy sprinkle of Trinity Stamps Bubble Blow Out embellishments to complete the underwater feel! Here are more photos at this fun scene:


Product links are all below - including affiliate links where possible, which simply means if you use one of the links below that I receive a small commission at no additional cost to you. Thanks so much for stopping by! Have a wonderful day!!!

Sunday, March 29, 2026

Bold Happy Birthday - Simon Says Stamp April 2026 Card Kit

  Good morning! Somehow this card slipped through the cracks, and I realized I hadn't shared it! It's using the (unfortunately sold out) April 2026 Simon Says Stamp Card Kit - A Little Artsy! Fortunately, you can still get lots of the elements separately, so this card would be easy to put together anyway if you wanted to! 

This month's kit has lots of bold and bright elements and some creative twists! The included stamp set by the same name has some coordinating dual use stencils included for lots of fun techniques. There are some rub-ons, pattern paper, twine, distress paint, black splatter, and that's all not to mention the cardstock, overlays, and mini distress oxide inks! And, there are  some great add on items available that coordinate wonderfully with this kit.

The monthly card kit has even more perks now when you sign up for the Subscription service! There is a video HERE you can watch to learn more! 


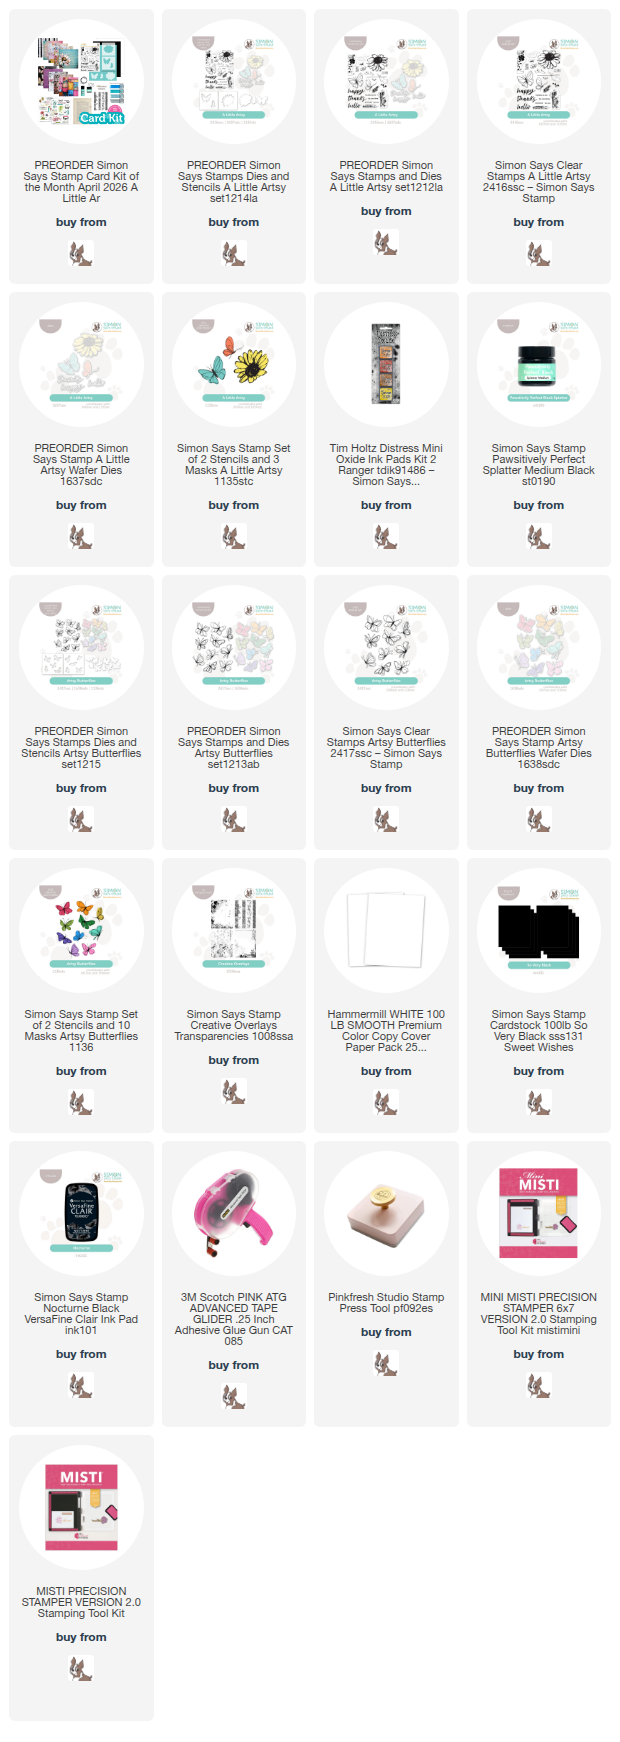
I started off by stamping the large floral from the A Little Artsy stamp set on a panel of white cardstock. I first used the mask in the stencil set for the flower, and swiped the set of Distress Oxide ink cubes in my kit out from the flower in a sort of sunburst pattern. I then swapped out and used the stencil, and stamped some of the little detail stamp images using the same inks. I also stamped some of the fun border details stamps around a couple edges, and stamped a sentiment at a diagonal. Finally, I masked out the sentiments, added a touch of Black Splatter, then matted in a bit of black cardstock and mounted on a white cardbase! Here is a closer look at this finished card:


Product links are all below - including affiliate links where possible, which simply means if you use one of the links below that I receive a small commission at no additional cost to you. Thanks so much for stopping by! Have a wonderful day!!!


Tuesday, March 3, 2026

Easter Floral Bunny - Simon Says Stamp Limited Edition Easter Card Kit

 Hello! I'm dropping by with a card tonight using the BRAND NEW and Limited Edition Easter Card Kit from Simon Says Stamp! This kit is full of fun products to mix and match together!


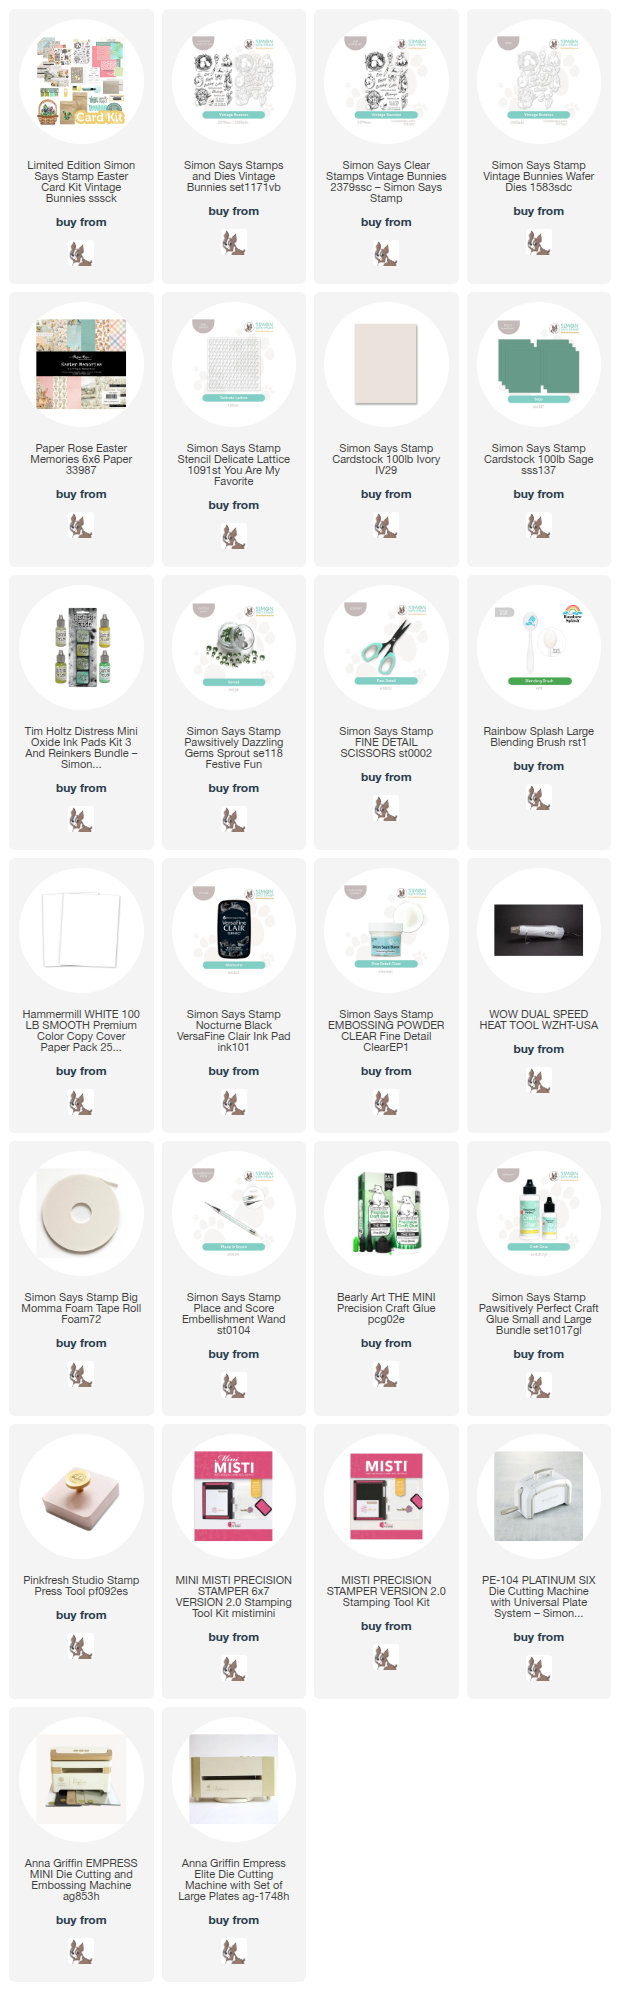
I always love a good pattern paper, so when I saw this pretty one from the Easter Memories paper pad with the sweet bunny tucked in the florals, I knew I wanted to use it! I fussy cut two corners of the paper to add to my cardbase. I created a cardbase out of some of the Ivory cardstock in the kit, and then added some interest to that cardbase with the included Delicate Lattice stencil in the kit and some of the distress oxide cubes. I stenciled in the opposite corners of where I was going to adhere the pattern paper, fading off as I came towards the center. I added the pattern paper with foam adhesive, then heat embossed a bow from the Vintage Bunnies stamp set in the kit on a different little piece of the pattern paper in the kit, heat embossing it with clear powder after stamping with Nocturne ink. I used the coordinating dies (available separately) to die cut that image, as well as the "Easter" sentiment, die cutting it an extra time from the Sage colored cardstock in the kit for a small shadow element. I stamped the secondary sentiments directly on the cardbase, then added the shadowed "Easter" with foam adhesive. Finished off with a few Sprout Dazzling Gems for sparkle! Here are more photos of the finished card:


Product links are all below - including affiliate links where possible, which simply means if you use one of the links below that I receive a small commission at no additional cost to you. Thanks so much for stopping by! Have a wonderful day!!!


Tuesday, November 4, 2025

Holiday Blog Hop with Tim Holtz stamps and Simon Says Stamp coordinating dies

 Good morning! I'm super excited today to be joining a fun blog hop featuring a few more cards that use some new dies that Simon Says Stamp just released to coordinate with previously released Tim Holtz stamp sets! There are so many fun techniques that are possible when you add coordinating dies! I shared a couple other cards yesterday with other sets in this release - if you're interested, you can check those out HERE!

The first card I'm sharing uses a fun colored cardstock technique for creating a unique background!


I stamped the fun candy cane image from Tattered Christmas several times on some pretty red cardstock with Nocturne ink, then heat embossed with clear embossing powder for some fun shine. I die cut each of them, then just die cut white cardstock with no stamping the same number of times, adhering them together with a slight offset for a fun shadow effect. I then popped those up with foam on the same color cardstock panel. I added a layer of white behind it, then a pretty scallop edge cut with A2 Scalloped Rectangles dies. I added the sentiment, stamped in black and die cut, some white gel pen accents, and then a heavy does of white pearls sprinkled around the background! Here is a closer look at this card:


Next up - another version of using lots of images to create a background!


This card uses the cute Holiday Things set - I chose 3 images, stamped them each several times with a specific color of Distress Oxide ink on white cardstock, then die cut with the coordinating die. I arranged them on a panel of kraft cardstock, trimming off any parts of overhang, then I popped them up on foam adhesive in the planned arrangement, before matting on a Dark Chocolate background for a framing effect. Added a sentiment from Scribbly Christmas, heat embossed in white on black cardstock, then a generous sprinkle of Dazzling Gems in Gold to add some sparkle! Here are more photos of this card:


And finally - jumping from more traditional and rustic holiday colors, to the bright and happy pastels!


These little trees in Scribbly Christmas are so cute! I stamped 6 different ones, using distress oxide inks in tone on tone distress oxides on coordinating cardstock colors. I then sprinkled on clear embossing ink and heat set for some fun shine. I die cut them all out, then put each card together. The top card I used the distress oxide cubes to swipe on a panel of cardstock, and then adhered the trees in alternating colors at the bottom with foam adhesive. The second one I used Snowflake Burst Pinpoint cover plate die for a background, and added the trees with foam adhesive slightly overlapping each other. I used coordinating tones of colors cardstock to add stripes to the cardbase, and popped that panel over top. I added stamped and die cut sentiments from the set, and used lots of Dazzling Gems in Clear to embellish! Here are more photos of these finished cards:


Here is the entire blog hop list - hop along for tons of amazing inspiration!

Heather Hoffman (you are here)

Product links are all below - including affiliate links where possible, which simply means if you use one of the links below that I receive a small commission at no additional cost to you. Thanks so much for stopping by! Have a wonderful day!!!



Monday, November 3, 2025

Christmas Magic with Tim Holtz coordinating dies - Simon Says Stamp

Hello! I'm super excited today to share a couple cards that feature some new dies that Simon Says Stamp is releasing to coordinate with previously released Tim Holtz stamp sets! The two cards I'm sharing today both have a unique feature that I love - the die cuts part of the image, but leaves a background uncut, which is PERFECT for fun layering techniques!


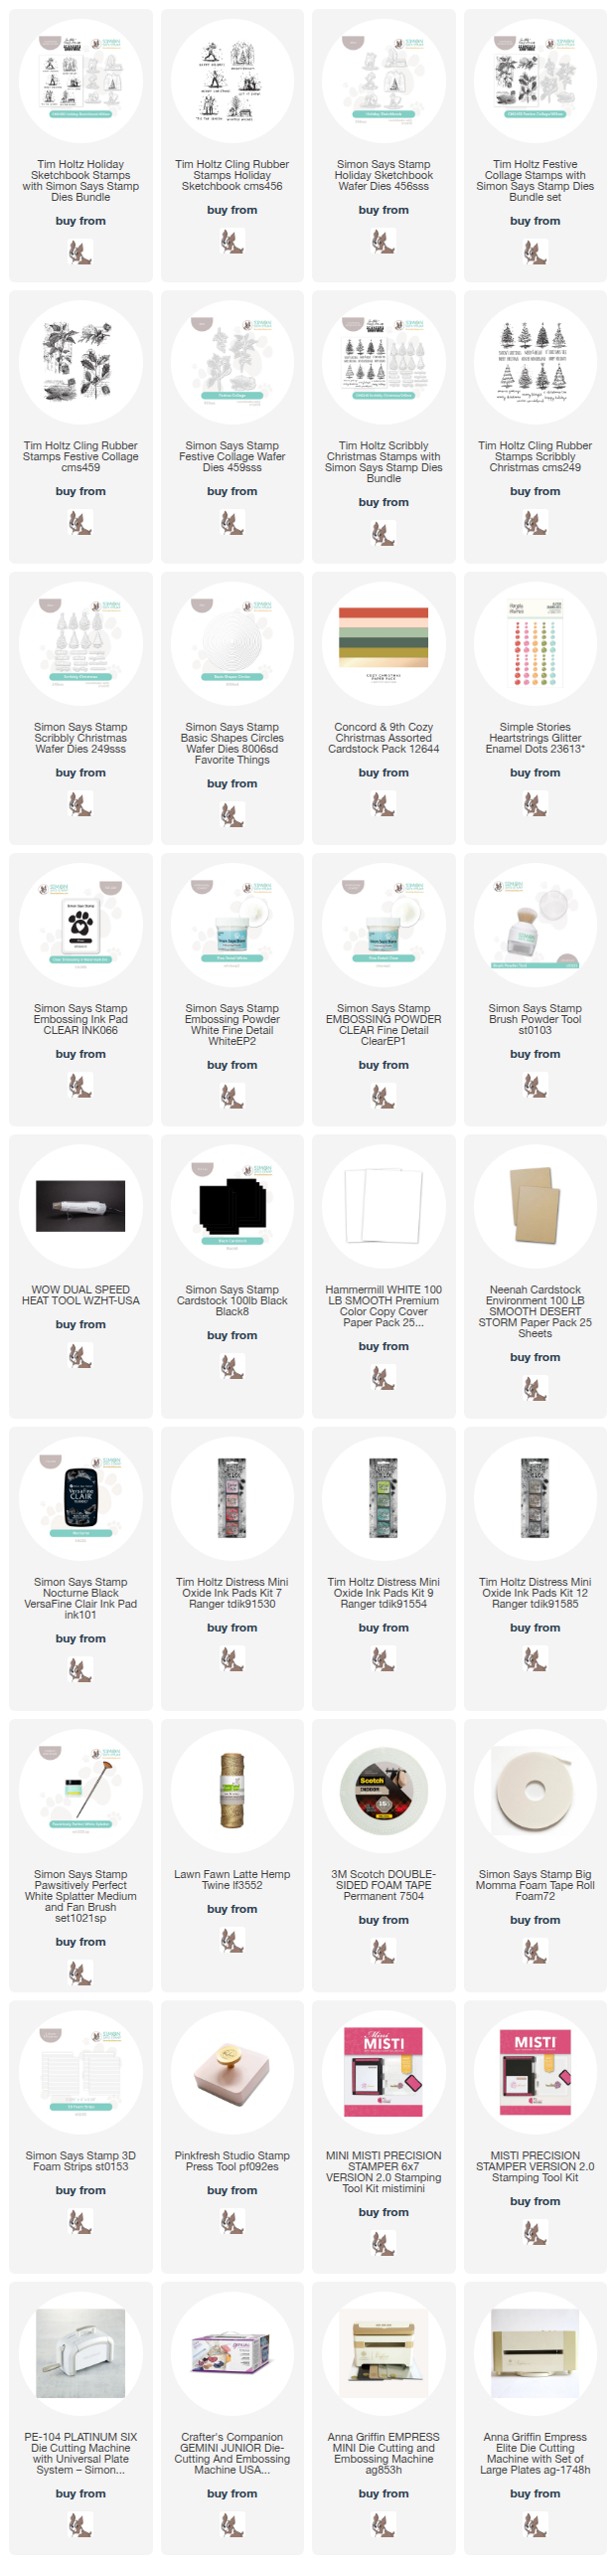
This first card might be my favorite of the ones I made for this release - and I made a total of 6 cards! I die cut some circle windows from a panel of white cardstock using SSS Basic Circles dies, then stamped 3 images from Holiday Sketchbook in black ink on the white cardbase to fit under the windows. I then stamped each of those images in black on different colors of cardstock, and heat embossed them with clear ink for a touch of shine. I then popped those up with foam over the stamped images (don't you love how the background of the falling snow is simple black on the background?!?), then popped that front circle panel over top with more foam adhesive. I stamped and heat embossed 3 sentiments from the same set, trimmed them into banners, and added them next to each image. Finally, I added some coordinating glitter enamel dots sprinkled around the sentiments! Here is a closer look at this card - keep scrolling down to see the next one!


This next one is more rustic and artistic to contrast with the bright, modern, and CAS design of the last one!


For this one I used some kraft cardstock as the base, and stamped the image from Festive Collage with Distress Oxide ink cubes. I used Gathered Twigs, and some Ground Espresso - partially ink blending for some subtle variation. I then stamped the image again, using Candied Apple and Evergreen Bough - using cubes made it easy to partially ink the image in two different colors. Once that was done, I die cut with the coordinating die - which just cuts the flower. This was super easy to pop up on the background for some fun dimension! Before I adhered it, I added some white splatters to the background, and tied a little Lawn Fawn twine bow around the flower. Finished off with a sentiment from another set with a newly coordinating die - Scribbly Christmas, also cut out with the coordinating die! Here are some more photos of this card:


Product links are all below - including affiliate links where possible, which simply means if you use one of the links below that I receive a small commission at no additional cost to you. Thanks so much for stopping by! Have a wonderful day!!!