Showing posts with label Tonic Cardstock. Show all posts

Friday, January 24, 2025

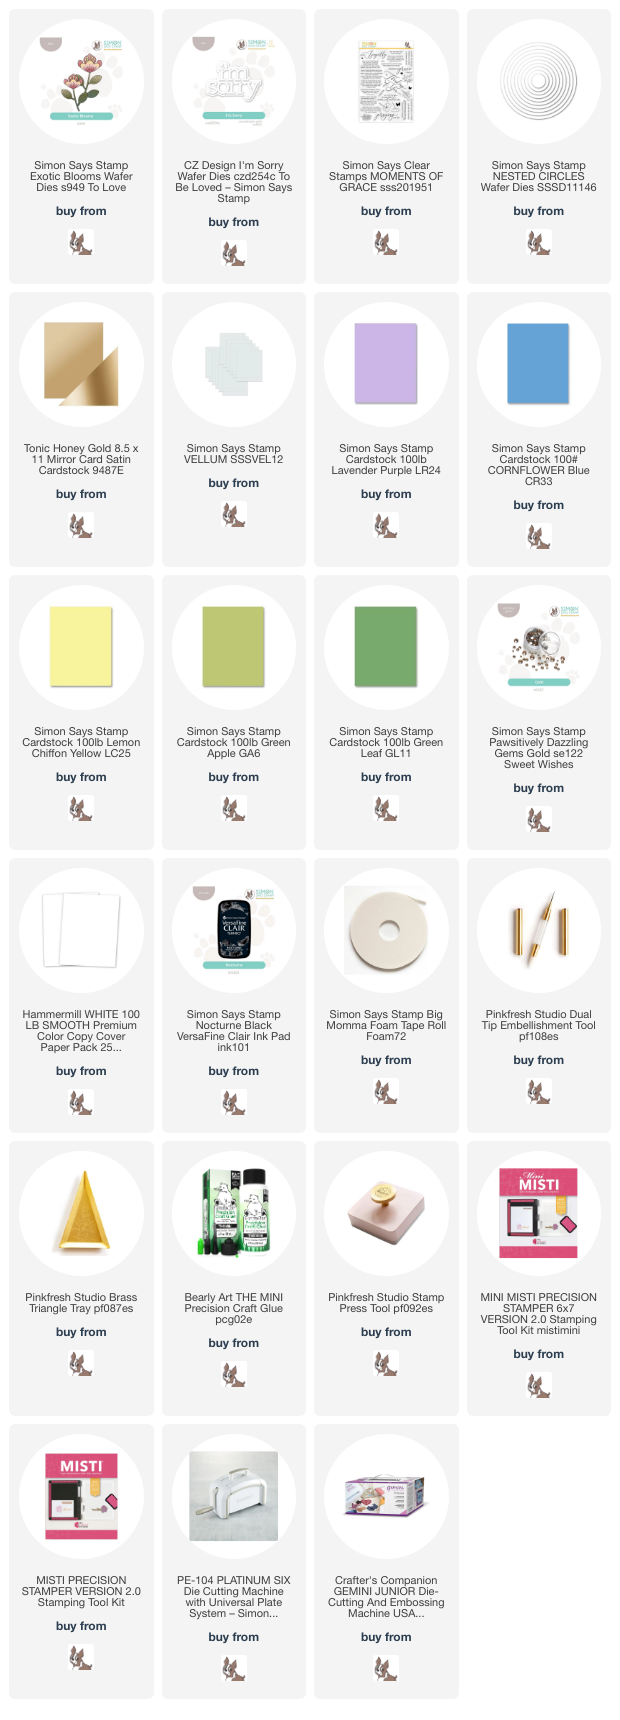
Floral I'm Sorry Card - Simon Says Stamp

Good morning! Remember the cards I shared yesterday using some fun supplies from Simon Says Stamp? Well, I mentioned that I had extra die cut florals that I saved to use on another project - this is what I ended up using those additional flowers on!


For this card, I used all those extra assembled florals from yesterdays card that were die cut with the Exotic Blooms wafer die from LavenderLemon Chiffon, and Cornflower cardstocks for the flowers, and with Green Apple and Green Leaf cardstocks for the leaves. I used Nested Circles to create a window in an A2 panel, and stamped my small sentiment from Moments of Grace stamp set so that it curved around the circle at the top left, as well as the secondary sentiment at the bottom. I popped it up with foam on my cardfront, then tucked all those flowers in, popping the bloom up with foam adhesive. I then layered over the larger sentiment die cut using I'm Sorry wafer die from satin gold cardstock and vellum for the shadow layer. Finishing touch was a few Dazzling Gems in Gold tucked around the frame! Here is a closer look at this card:


Product links are all below - including affiliate links where possible, which simply means if you use one of the links below that I receive a small commission at no additional cost to you. Thanks so much for stopping by! Have a wonderful day!!!


Monday, January 20, 2025

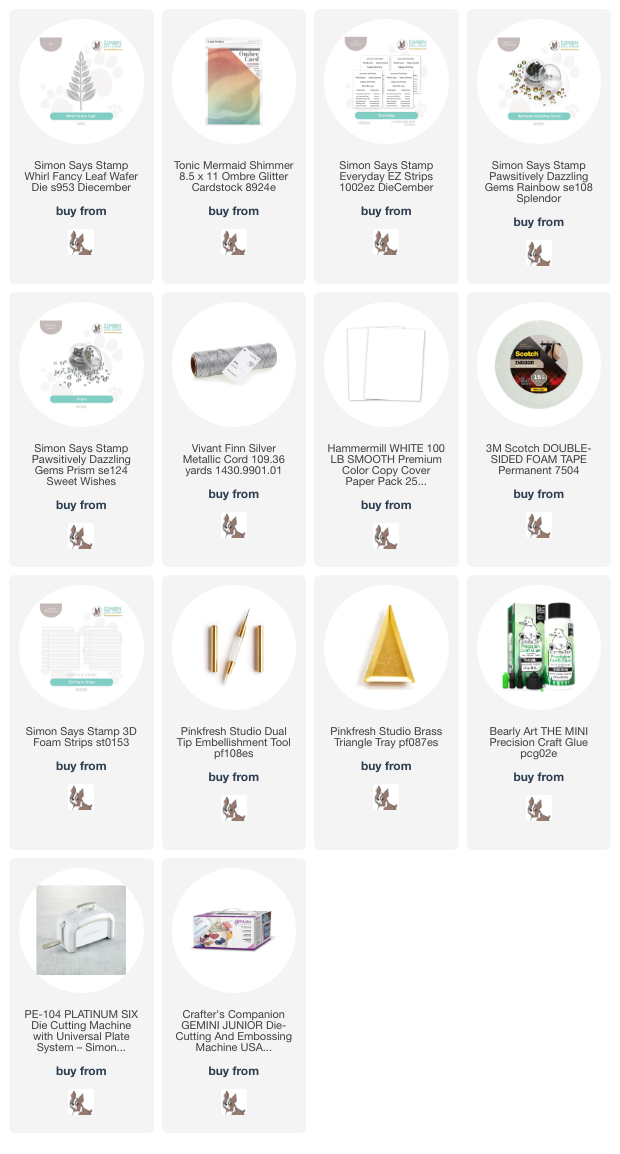
Ombre Glitter Leaf Cards - Simon Says Stamp

  Good morning! This past week I received a package with a few fun new supplies that I ordered from Simon Says Stamp - I couldn't wait to put some of these new (to me!) finds to use, and created these two cards!


So, first new find on these cards is that DELICIOUS Tonic Mermaid Shimmer Ombre Glitter Cardstock - I mean, seriously, so pretty!!! Because the sheets are 8 1/2" x 11", you mostly get either the top or bottom ombre on a standard cardfront. But, I wanted all of it, so I cut one A2 panel from the top and bottom, then trimmed them in half and fit them together. This made a perfect place to settle the Whirl Fancy Leaf die from the DieCember Release that I hadn't had a chance to use yet either. Then, this brings me to the next new find, that these photos just DO NOT do justice too. Dazzling Gems in Rainbow - and they are MAGICAL! I don't know why I hadn't seen them before. As you tilt them around, they have all the colors of the rainbow hiding in them. So fun! I used those for one card, then used a tried and true favorite - Prism - for the other card. Just for variety. :) Finally, I added sentiments from Everyday EZ strips sentiments, and a little bow with a recent favorite find - Vivante Silver Metallic Cord. Here is a closer look at these cards:


Product links are all below - including affiliate links where possible, which simply means if you use one of the links below that I receive a small commission at no additional cost to you. Thanks so much for stopping by! Have a wonderful day!!!


Tuesday, November 26, 2024

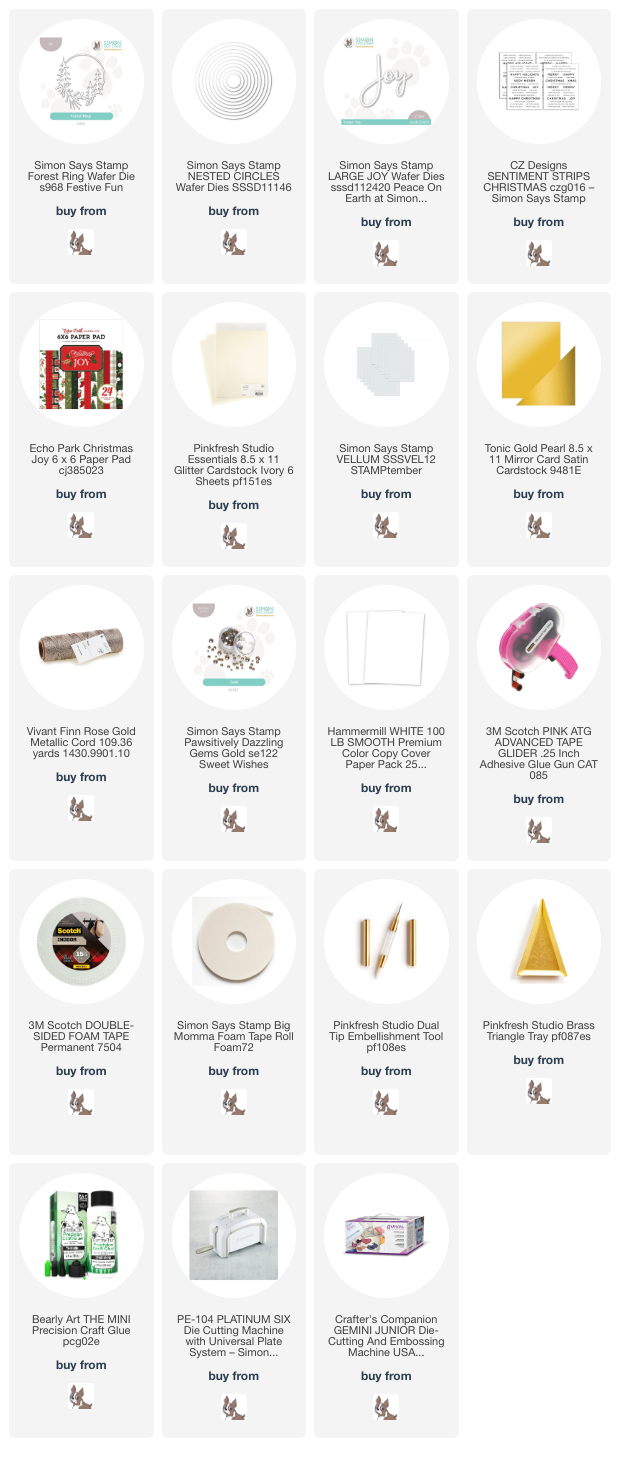
Joy to the World Layered Circles - Simon Says Stamp

 Good morning! Stopping by today with a fun layered card using some supplies from Simon Says Stamp - I mixed together a rather newly released die, with some older items, and pulled it all together with some lovely pattern paper!


I started off with the new Forest Ring die cut from ivory glitter cardstock, and then built everything around it. Pattern paper is from Echo Park Christmas Joy 6x6 paper pad, and I used Nested Circles to cut the red circle. The sentiment is built from Large Joy wafer die, cut from gold cardstock, and backed with vellum - then paired with some Christmas Sentiment Strips. I used some torn edge vellum and white cardstock to add some interest over the green pattern paper for the background, as well as a bow with some gorgeous Vivant rose gold thread that I fell in love with recently as well. Finished off with a few Dazzling Gold Gems. Here is a closer look at the finished card:


Product links are all below - including affiliate links where possible, which simply means if you use one of the links below that I receive a small commission at no additional cost to you. Thanks so much for stopping by! Have a wonderful day!!!


Thursday, July 27, 2023

Pinkfresh Studio July 2023 Stamp, Die, and Stencil Release

 Good morning! Today is the blog hop to celebrate Pinkfresh Studio's July 2023 Stamp, Die, and Stencil Release! You aren't going to want to miss a stop along the way - TONS of inspiration and prizes up for grabs! YAY! You can find links to all of the new release items I used on today's cards at the bottom of this post!


This release isn't super large, but I still managed to create several cards to share with you today!


This first card uses the adorable new All Kinds of Wonderful set - I love the little whimsical wildflowers, and they are easy to use different colors on with the layering stencils. I used a mix of fun spring theme colors on my card, and then layered the new Dotted Chevron coverplate die on the cardbase for texture, the Secret Garden die over the top for more texture (all die cut from white), then finished off with a window cut from white cardstock using the largest Nested Arches. I tucked my florals in at the bottom, added the sentiment stamped in black from the set and die cut with the coordinating dies, and finished off with a few coordinating jewels. Here are some more photos of this first card:


Next up, a card featuring a new layering stencil set!


For this card, I first used the new Overlapping Triangles layering stencils in a bright summery color palette. I then used the Dotted Chevron coverplate die over the top of it to add some interest and texture. I framed it up with a Stitched Scallop rectangle cut from matte gold cardstock, and then heat embossed the florals from Thanks for Being There stamp set in white on vellum. I trimmed them down a bit to tuck into the frame in the corners - love the soft whimsical feel this gave! I took the parts I trimmed off, and layered them over the top for more texture - in total, I used two fully stamped floral images, but layered up it feels like more. Finished off with a sentiment from that set, heat embossed in gold and die cut with the coordinating die, and a few Matte Gold metallic pearls. Here are some more looks at this card:


And now it's time to focus on the fabulous new floral ephemera - as well as a couple other dies!


For this card, I once again used the Dotted Chevrons coverplate die (can you tell I kind of love it?!?). I used it directly on a Cream cardbase - without cut lines, I love that it has this added versatility. I used a tag from the new Shaker Tag Book die set as the base for my card, then arranged some florals over the top, and under one corner. I also used the pretty new Fall Leaf die cut from white to add some interest and texture, tucked under the larger floral. I stamped the sentiment in Warm Buff ink, die cut with the coordinating die, and added that on the top of the tag. To finish, I added some twine tied in a loose bow on the tag, and a few Sparkle and Shine Ombre Glitter drops sprinkled around the card! Here is a closer look at this card:


And finally, another card featuring that same ephemera!


For this card, I raided some of my stash of leftovers from other projects - I had that panel cut with the Stitched Diamonds coverplate die, with a window cut out of it using the Nested Hexagons die. I mounted that with foam over a soft pink cardbase, then tucked some florals around it - trimming any as needed (one of those I tucked under the top of the sentiment at the end). I added some leaves cut from the Shaker Leaves die from soft gold glitter cardstock, tucking them under the florals, and chose a sentiment from Foiled Sentiments 6 to add to the center. Finished off with some Peach Fuzz jewels for sparkle. Here are some more photos of this final card:


GIVEAWAY INFO:

Make sure and leave a comment before you leave for a chance to win one of 10 $25 gift certificate to Pinkfresh Studio chosen from comments left across the hop! All winners will be chosen and posted on the Pinkfresh Blog on Friday, August 4, 2023 - so make sure and check back to see if you were a winner! Winners must check that page and claim their prize within 2 weeks.

Here is the entire blog hop line-up so you don't miss a single stop - and product links are below - including affiliate links where possible, which simply means if you use one of the links below that I receive a small commission at no additional cost to you. Thanks so much for stopping by! Have a wonderful day!!!

You are invited to the Inlinkz link party!

Click here to enter