Friday, October 31, 2025

Glam Birthday Duo - Simon Says Stamp

 Good morning! I often make multiples of cards, but I generally vary something between the two. Today is the exception on these birthday cards using one stenciled panel, and various supplies from Simon Says Stamp. These cards were basically an excuse to use one new product that I had been itching to play with!


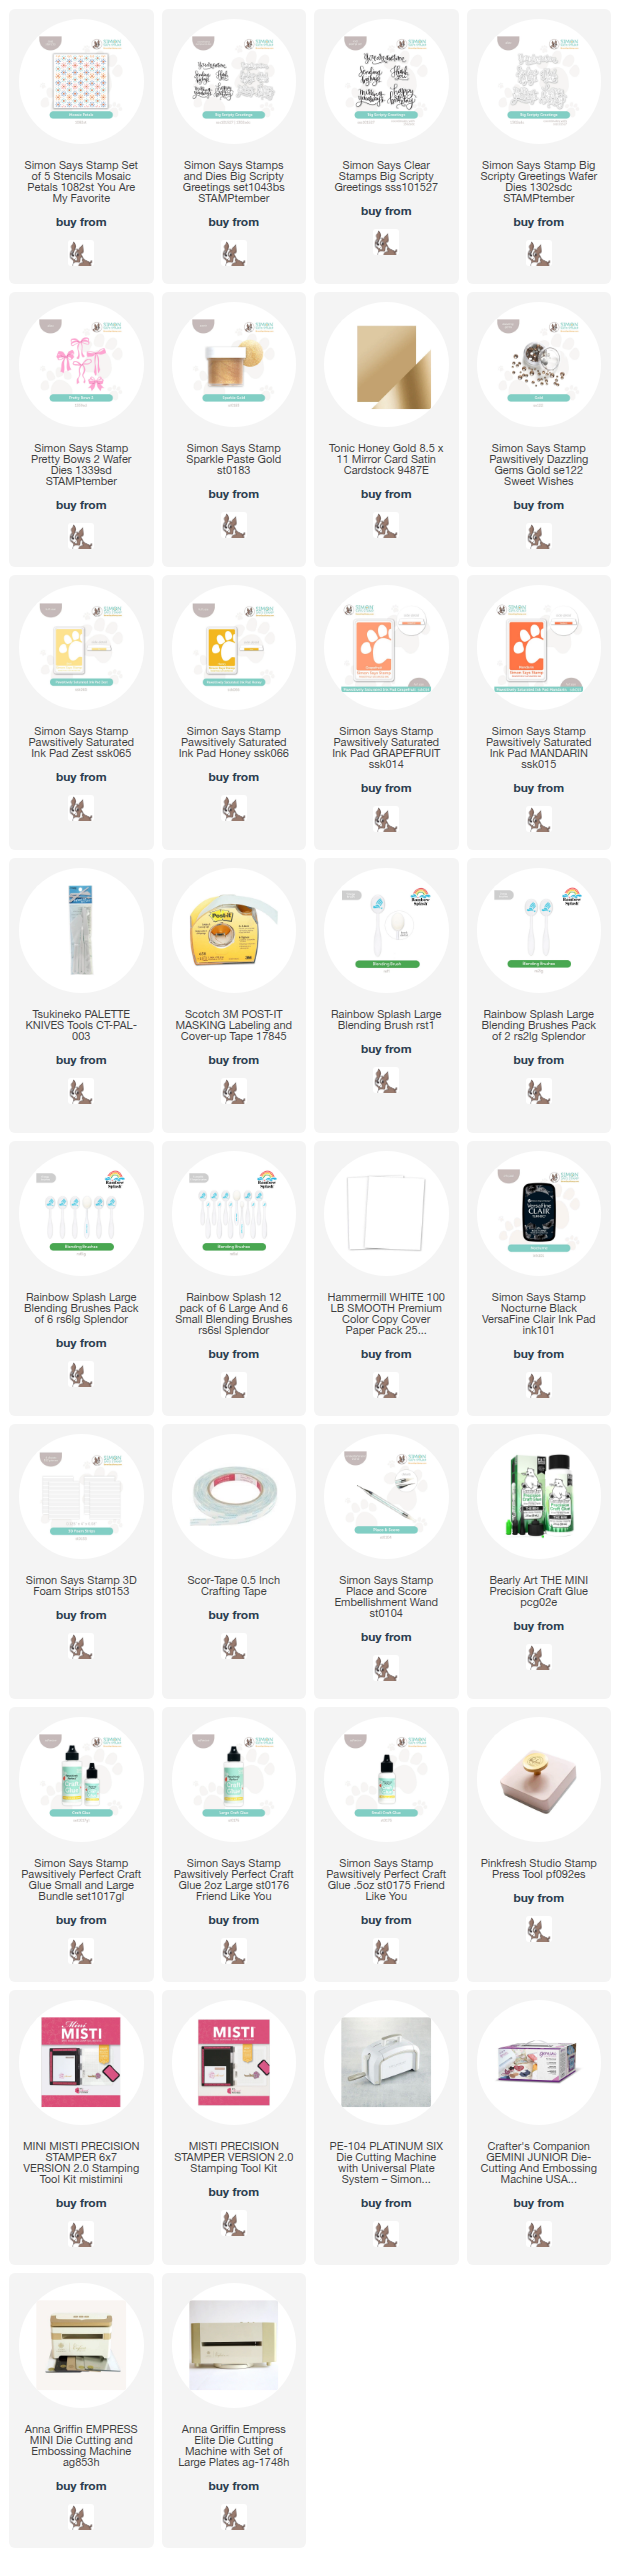
I started off by using a stencil I hadn't had a chance to use either - Mosaic Petals. I inked up the layers with Zest, Honey, Grapefruit, and Mandarin inks, then used the new Gold Sparkle Paste from SSS - and the photos don't do it justice! It is stunning! When I saw it, I fell in love, and hadn't had a chance to use it yet. It will definitely be a favorite! Anyway, once that panel fully dried, I cut it in half diagonally, then trimmed it to fit the front of an A2 card. I added a border of Honey Gold cardstock to make it pop off the background, and adhered it with sturdy adhesive, and a single foam strip along the diagonal edge to let just that part pop up for dimension. I added a sentiment from Big Scripty Greetings, a bow from Pretty Bows 2 cut from more Honey Gold cardstock, and then embellished with a sprinkle of Dazzling Gems in Gold to finish off! Here is a closer look at these finished cards:


Product links are all below - including affiliate links where possible, which simply means if you use one of the links below that I receive a small commission at no additional cost to you. Thanks so much for stopping by! Have a wonderful day!!!


Thursday, October 30, 2025

Jolly Santa Happy Christmas - Simon Says Stamp

 Good morning! Today I've got a card to share that I started with one idea in my head, and finished with it looking ENTIRELY different than I planned! I used a new embossing folder from Simon Says Stamp that has a coordinating die, and I love all the fun layers and textures on this card!


I originally started off with a pink cardstock embossed Santa Faces background, and the santa faces die cut first from white cardstock, then run through the embossing folder. The white was too stark on the pink background, so I decided to add some red ink blending with Cranberry Ink. Well...that ended up being a little heavier than I expected, and the image kind of got lost - so I almost scrapped them and started over, but decided I may as well try one more thing. I'm glad I did! I have an older embossing ink pad that I save for things like this, and once that ink blending had dried, I basically rubbed it directly over the embossed and ink blended santas. Most of the ink caught on the raised areas, and I sprinkled on clear embossing powder and heat set. I ended up with a lovely, glossy, vintage feeling set of Santa faces, with some variation in the colors - PERFECT! I embossed a white background, and tried the same embossing technique on that background, but realized the red Santa faces were still a bit bold on the white background. Out came the Snowflake Frame die, and I used several of the small snowflakes to die cut white glitter paper, and adhere over the embossed snowflakes for extra dimension, then popped the Santa's up with foam tape. Mounted the entire panel on an Ivory cardbase, added Reverse Vintage Christmas sentiment strips, and then embellished with Prism Dazzling Gems! Here is a closer look - you can see the shine and texture better on some of the close up shots:


Product links are all below - including affiliate links where possible, which simply means if you use one of the links below that I receive a small commission at no additional cost to you. Thanks so much for stopping by! Have a wonderful day!!!


Wednesday, October 29, 2025

Heartfelt Thanks Floral Trio - Simon Says Stamp

Good morning! I'm back today with some cards that feature lots of die cutting again - this time slightly older, but still dies from Simon Says Stamp that I had hadn't had a chance to put to use yet! As I often do, I cut way more things than I needed, and when they didn't fit on one card, I put together a set instead!


I started off by cutting the Jaunty Sunflower die 3 times each from different colors of Concord and 9th cardstock. I originally thought I might cluster them all on one card, but definitely underestimated their size! I cut the centers from Ivory glitter cardstock, and adhered them all together. I embossed some white cardstock panels with Thread Plaid 3D embossing folder for some texture, and adhered those with foam on cardbases created with Ivory cardstock. Before I added the florals, I decided to add some greenery, so I die cut the Eucalyptus Leaves a few times, then tucked and arranged everything, adhering with liquid glue. The sentiment was added using Small Thanks stamp and die set, and then I added some Butter Dazzling Gems to the centers of all the flowers to finish off! Here is a closer look at all these finished cards:


Product links are all below - including affiliate links where possible, which simply means if you use one of the links below that I receive a small commission at no additional cost to you. Thanks so much for stopping by! Have a wonderful day!!!


Tuesday, October 28, 2025

Cardinal, Holly, and Plaid card - Simon Says Stamp

 Good morning! Today I'm sharing a fun holiday card that uses some newer dies from Simon Says Stamp that I had hadn't had a chance to use yet. Paired with some yummy plaid paper - and I LOVE how they combined together on this card!


I started off with some Simple Stories Vintage Flannel Season pattern paper. Over the top of that, I layered off some partial white circles cut with Basic Circles die from white cardstock (these were actually leftover from another card that I'll be able to share in a week!). I then pulled out some Concord and 9th colored cardstock, and cut and assembled the fun Beautiful Cardinal die, and then used the Narrow Holly Cluster die to cut out several single holly leaves, a few of the berry sprigs, and lots of the plain berries. I layered it all together with foam adhesive, then added a sentiment from EZ Strips Reverse Vintage Christmas sentiments strips, and a few Clear Dazzling Gems for sparkle. After rounding off one corner, the final touch was some Glossy Accents on the berries for a touch of extra shine. Here is a closer look at all the fun elements on this card:


Product links are all below - including affiliate links where possible, which simply means if you use one of the links below that I receive a small commission at no additional cost to you. Thanks so much for stopping by! Have a wonderful day!!!


Thursday, October 23, 2025

Wrapped in His Love LIMITED Edition Simon Says Stamp Card Kit

Hello! Today I've got a few cards to share with you using a BRAND new LIMITED edition holiday card kit from Simon Says Stamp! This kit is the religious themed one, and I absolutely adore it! It is called Wrapped in His Love - and is packed with new products that are going to be so versatile!

I created a total of 3 cards - keep scrolling to see the others! For this first one, I used the fun Wrapped in His Love layering stamp set, paired with the A Starry Night die. I stamped the church in Aspen, Zest, and Gingerbread inks, and backed the starry background with some of the metallic cardstock in the kit. I fussy cut out the church (but there are coordinating dies for the stamp set to purchase separately!), and added a border along the bottom with some of the glitter paper in the kit, and a piece of white cardstock embossed with Swiss Dots embossing folder. Sentiment was created with a mix of the Joy to the World reverse sentiment strips and the Let Us Adore Him die. A bit of gold thread finished that card off! Here is a closer look at this first card (keep scrolling for details on the other two further below):


For these next two cards, I did lots of stamping with the Wrapped in His Love stamp set, this time in a more one layer fashion. I stamped the churches on the left with Butter, Artichoke, and Fawn inks, the one on the right with Honey, Terracotta, and Twilight. I added trees, snowflakes, sentiments, and the wreath with black ink, then trimmed the panels with A2 Rectangles dies to make sure everything was perfectly centered. I added a touch of that glitter cardstock behind that panel to mat it, then mounted on Ivory cardbases created with some of the cardstock in the kit. Finished off with a few Clear Dazzling Gems! Here are more photos and close ups of these two cards:


Product links are all below - including affiliate links where possible, which simply means if you use one of the links below that I receive a small commission at no additional cost to you. Thanks so much for stopping by! Have a wonderful day!!!