Saturday, March 28, 2020

I Still Love You - Simon Says Stamp Anniversary Card

Good morning! I don't know if you happened to see the anniversary card I posted yesterday (click HERE to view), but this was the second of the 3 I created! I used a similar layout, but some different colors, sentiments, and embellishments for a slightly different look - but mostly using the same Simon Says Stamp supplies!


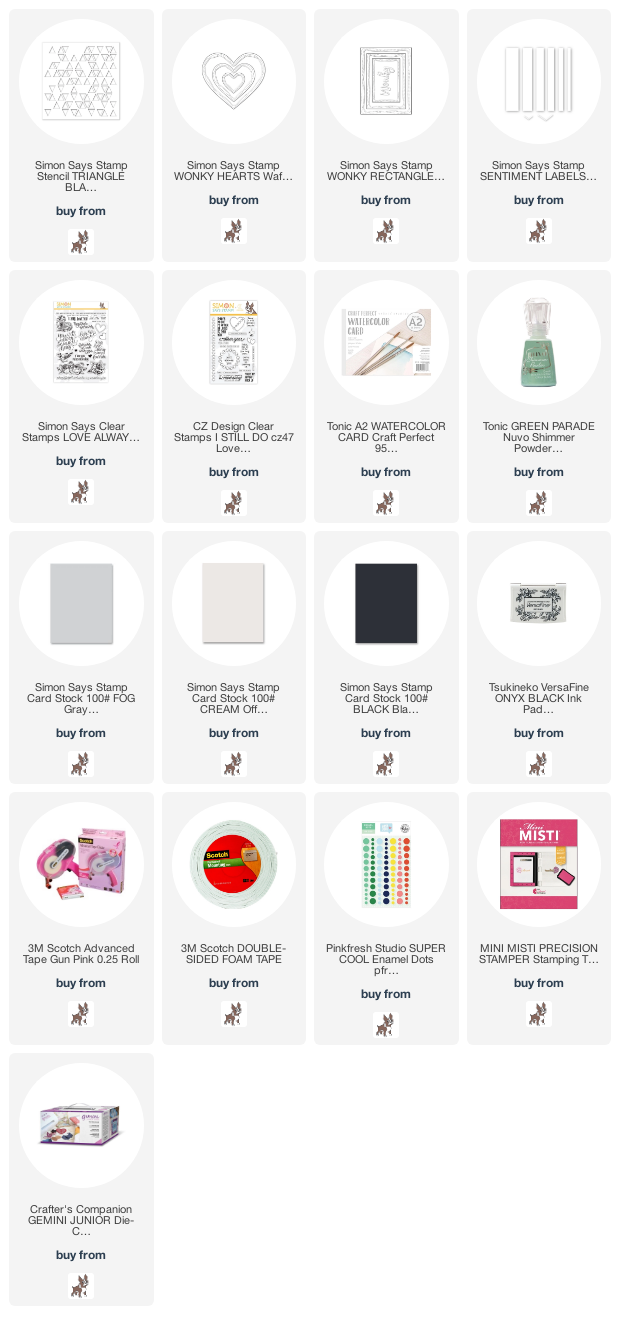
I started off by creating the pattern on the background with a the Triangle Blast stencil and my Green Parade Shimmer Powder - I love using shimmer powders with stencils! I used watercolor cardstock. layed my stencil over the top, dusted a bit of the shimmer powder over the stencil, then misted with water before removing the stencils.


Once that had time to dry nice and thoroughly, I chose a favorite part of the design and die cut the medium size of the Wonky Hearts dies from that panel, and then stamped a couple sentiments from both the Love Always stamp set and I Still Do stamp set by CZ Design on it. Love how perfectly they work together!


I created a card base from Fog cardstock, then die cut a Wonky Rectangle from Cream cardstock - just a bit softer than stark white cardstock, and felt like it fit the colors better.


I created a black banner for this one using a strip of black cardstock, and trimming the edges with a small die from Sentiment Labels Wafer Die, then layered everything together, adding the heart with some foam adhesive. I finished off with some enamel dots from the Pinkfresh Super Cool collection. Can you see the bit of sparkle from the shimmer powders? And yet it definitely feels like a masculine card still!


Product links are all below - including affiliate links where possible, which simply means that if you use one of the links below, I receive a small commission at no additional cost to you. Thanks so much for supporting my blog, and stopping by! Have a wonderful day!!!

Friday, March 27, 2020

Another Year Looks Good on Us - Simon Says Stamp Anniversary Card

Hello! You may have seen that a couple days ago I celebrated my 20th anniversary with my hubby! Well...even though our plans involved staying home and making a special dinner instead of anything more extravagant this particular year, you know I had to make a special card, right? So...I pulled out some of my favorite Simon Says Stamp supplies, and went to work! I actually made 3 cards...then chose this one as my favorite to give him.


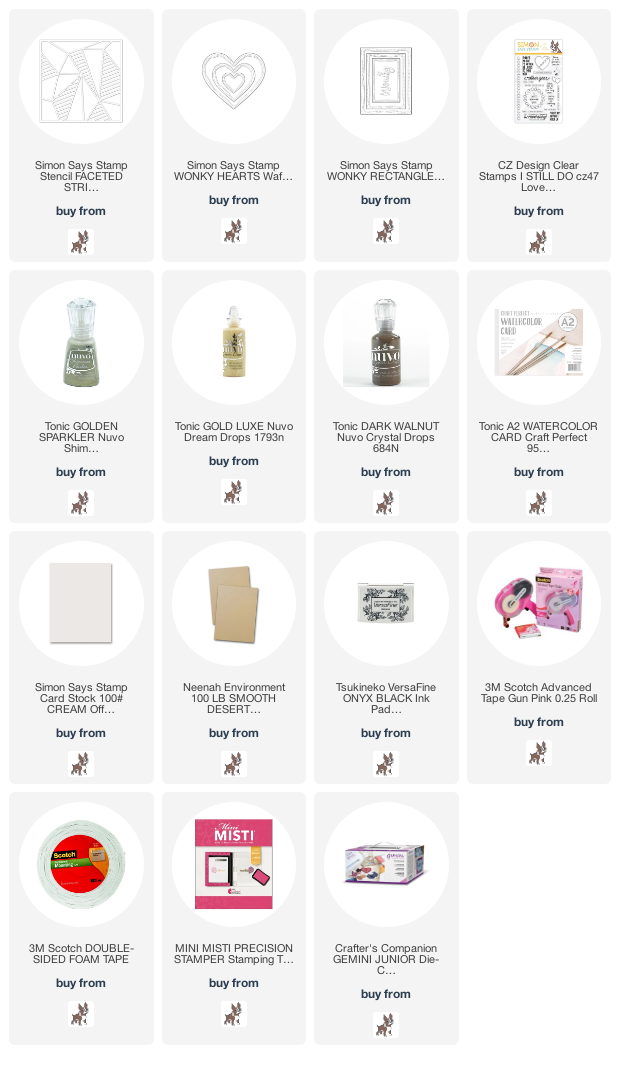
I started off by creating the pattern on the background with a the Faceted Stripes stencil and my Gold Sparkler shimmer powder - I love using shimmer powders with stencils! I used watercolor cardstock. layed my stencil over the top, dusted a bit of the shimmer powder over the stencil, then misted with water before removing the stencils.


Once that had time to dry nice and thoroughly, I chose a favorite part of the design and die cut the medium size of the Wonky Hearts dies from that panel, and then stamped several sentiments from the fabulous I Still Do stamp set by CZ Design on it. Love how perfectly they all fit together!


I created a card base from kraft cardstock, then die cut a Wonky Rectangle from Cream cardstock - just a bit softer than stark white cardstock, and felt like it fit the colors better.


Layered everything together, adding the heart with some foam adhesive, then finished off with some Nuvo Dream Drops in Gold Luxe, and Crystal Drops in Dark Walnut. Can you see the bit of sparkle from the shimmer powders? And yet it definitely feels like a masculine card still!


Product links are all below - including affiliate links where possible, which simply means that if you use one of the links below, I receive a small commission at no additional cost to you. Thanks so much for supporting my blog, and stopping by! Have a wonderful day!!!


Wednesday, March 25, 2020

Slimline Rainbow Heart Card - on the Reverse Confetti Blog

Good morning! I have a new edition of Wednesday in the Works on the Reverse Confetti Blog and YouTube Channel this morning - this week I'm trying to bring some bright and happy cheer into your world with some simple die cutting and layering to create this rainbow of hearts! I hope you'll pop over HERE and check it out for more details!


Thanks so much for stopping by - have a great day!

Monochromatic Floral Border Card - Pinkfresh Facebook Live Card

Good morning! Last Thursday was the day for our weekly Pinkfresh Studio Facebook Live! If you missed the Live video and want to take a peek, you can find it on the Pinkfresh Facebook Page - this week's video is available HERE. As always, there was one giveaway for someone who watched live, so make sure and pop in each week to win that live giveaway - 10 AM Pacific time on Thursday morning!

I have been trying to post info here the next day on the card (or cards) we make - for those that aren't on Facebook or maybe didn't see it over there - but thought I might switch things up and post the day before the NEXT Facebook Live, as a reminder that there will be one the next day. We'll see how it goes - and if this works better! So without further ado, here is a look at the card we created last week!


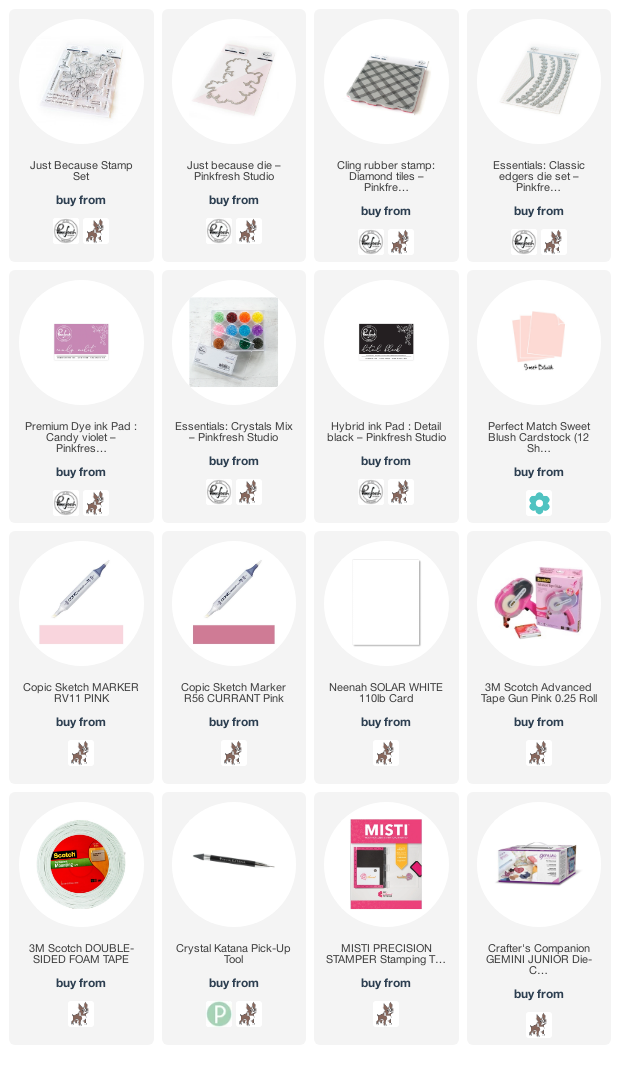
I love the simple colors of this card - and the pairing of the florals with that background stamp! Started off by coloring the beautiful floral image from Just Because - super easy coloring with only TWO Copic markers and a simple flicking technique. 


We stamped the Diamond Tiles background on some soft pink cardstock using Candy Violet ink - sometimes it is super fun to stamp with colored in on colored cardstock - just a unique and different variation.


We die cut a border on some white cardstock using Essentials: Classic Edgers die set, and layered that over the stamped background - adding the florals over the border with foam adhesive.


Finished off by stamping the sentiment in the top corner using our new Detail Black ink, and then added a few pink and purple crystals from Essentials: Crystals Mix to finish off!


Product links are all below - including affiliate links where possible, which simply means that if you use one of the links below, I receive a small commission at no additional cost to you. Thanks so much for supporting my blog, and stopping by! Have a wonderful day!!!


Tuesday, March 24, 2020

Background Stencils and Glitter Glitz Gel - Pretty Pink Posh

Good morning! I'm here today to share a couple cards using a couple of different Background Stencils from Pretty Pink Posh with Gina K Glitz Glitter Gel. I'm sharing two different ways to use these products together - both with lots of shimmer and sparkle!


Here is a video showing how I created these two cards:


If you watched the video - isn't that easy?


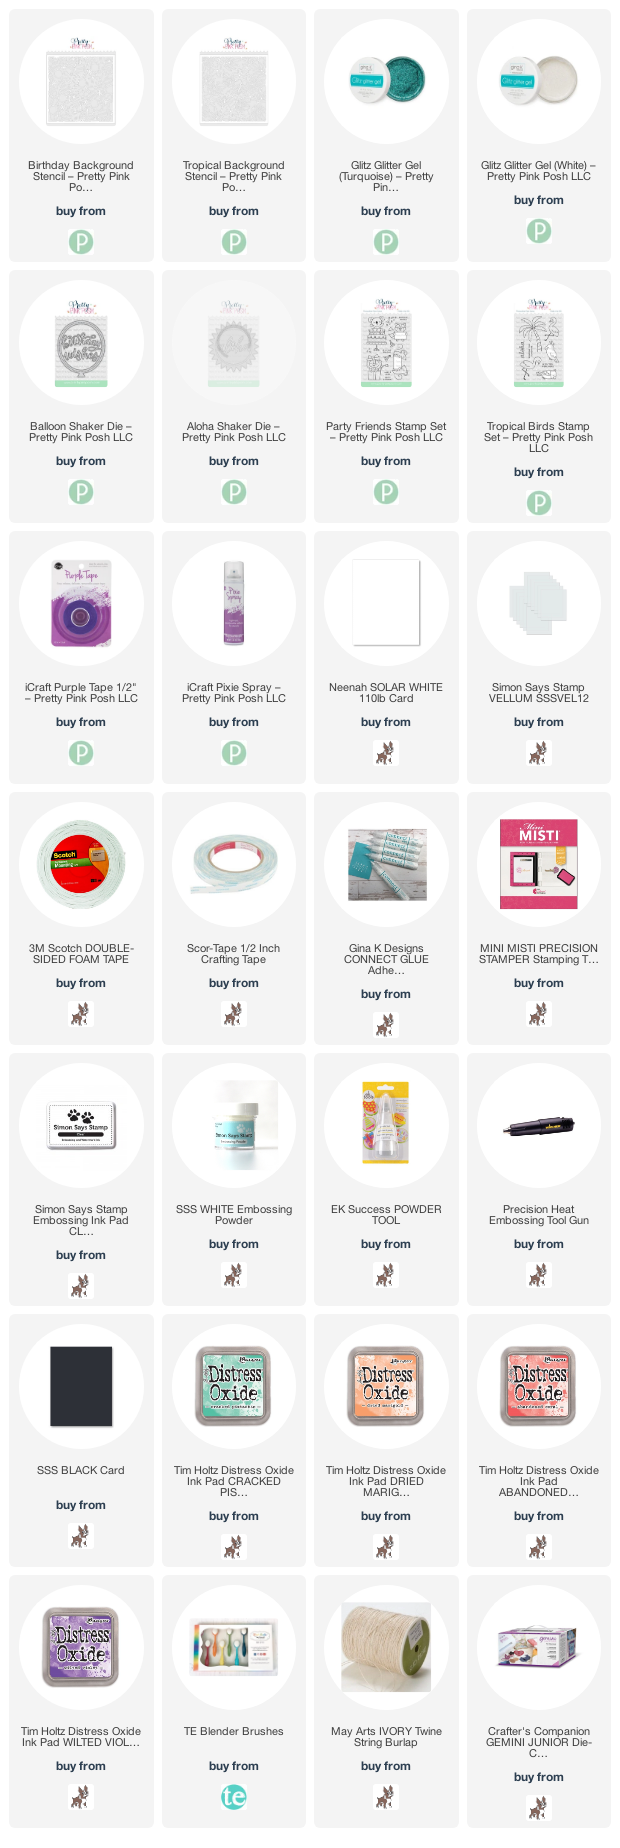
For this first card, I paired up the Birthday Background Stencil with Turquoise Glitz Glitter Gel, holding it in place with a bit of Purple Tape. SO fun and sparkly! Then I added the Balloon Shaker Die cut from white cardstock with a bit of vellum tucked behind to help those words pop. I also added a secondary sentiment using Party Friends stamp set, heat embossed on a bit of black cardstock. Final finishing touch was a bit of jute string tied around the bottom of the balloon.


The second version was created by attaching the Tropical Background stencil with Pixie Spray, then blending Distress Oxides in Cracked Pistachio, Dried Marigold, Abandoned Coral, and Wilted Violet over the background, then using White Glitter Glitz Gel over the background before removing the stencil. It dries sparkly and clear, so you can see that fun ink blending over the background! Finished this one off very similar to the first, but using the Aloha Shaker Die and Tropical Birds Stamp set for the additional sentiment.


I love the background stencils from Pretty Pink Posh - how they add such a fun look to your backgrounds! And pairing them up with Glitter Gels makes them even more fun - especially when you can think of more ways to use them! Which version is your favorite?


Product links are all below - including affiliate links where possible, which simply means that if you use one of the links below, I receive a small commission at no additional cost to you. Thanks so much for supporting my blog, and stopping by! Have a wonderful day!!!


Monday, March 23, 2020

Simple Impressionist Style Coloring - on the Unity Stamp Company Blog

Good morning! I'm back with another card for my series on the Unity Stamp Company Blog this morning! I'm so excited to be featuring the amazing Kit of the Month on Monday's on the Unity Stamp Company Blog! Since the Kit of the Month was the first thing I purchased from Unity, and what got me hooked to begin with, they hold a special place in my heart, so I'm super excited about this opportunity to give these kits some love! You can check out all the details HERE for today's card!


Thanks for stopping by today - have a WONDERFUL day!!!


Pinkfresh Studio March 2020 Essentials Slim Cuts Release Blog Hop

Good morning! Today is an amazing blog hop to celebrate Pinkfresh Studio's March 2020 Slimline Essential Die Release! You aren't going to want to miss a stop along the way - TONS of inspiration and prizes up for grabs! YAY! You also might want to pop over to the Pinkfresh Studio Facebook Page at 10 AM Pacific Time this morning - I will be going LIVE featuring some of the new releases, and there will be a gift certificate up for grabs as well!


You can also receive free shipping on any order of $35 or more through March 29th - so a great time to pick up anything you have your eye on!


So...on to my card to share today! Slimline cards are so fun and unique! And these are the first dies designed for this that I've seen!


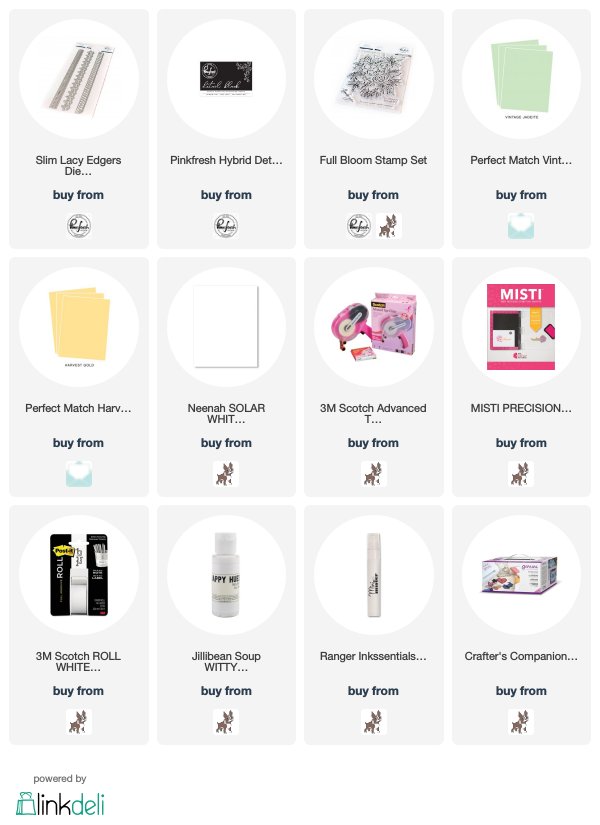
I've used the new Slim Lacy Edgers to create my card today - using one of the borders twice on white cardstock to create the perfect long lacy border.


I used a bold and fresh color combo along with the white to make it look extra crisp and fresh - I think it reminds me of daffodils or dandelions - two flowers that instantly make me feel like winter is over!


I stamped some florals on each end of the yellow panel using Full Bloom stamp set and another new release - Pinkfresh's new Hybrid Detail Black Ink! It is SOOO amazing - definitely my favorite!


I added my sentiment from the same stamp set, and then a few white splatters before assembling all the layers.


Make sure and leave a comment before you leave for a chance to win a $25 gift certificate to Pinkfresh Studio! All winners will be chosen and posted on the Pinkfresh Blog on Monday, March 30, 2020 - so make sure and check back to see if you were a winner! Winners must check that page and claim their prize within 2 weeks.

Here is the entire blog hop line-up so you don't miss a single stop - and product links are below - including affiliate links where possible, which simply means if you use one of the links below that I receive a small commission at no additional cost to you. Thanks so much for stopping by! Have a wonderful day!!!

You are invited to the Inlinkz link party!
Click here to enter