Wednesday, April 8, 2020

Reverse Confetti April Blog Hop - More March Release Cards

Good morning! Today is the day for the monthly creative hop with Reverse Confetti! I still have several cards to share from the March Release from Reverse Confetti (remember the ones I didn't get to post due to being stuck on vacation with the flu? Yep - those are the ones!). I still haven't finished posting, so I thought I'd just share several of them for the hop today!


This first card started out as just a shaker tag...then I decided to turn it into a card! I used both layers of the lovely Scallop Window Tag - cutting one tag solid, and the window out of the second card. I did some ink blending on the solid image using Baby Blue ink, then filled the shaker window with tiny iridescent confetti.


I added a sweet scene to the tag using Spring Bunnies, colored up with Copic markers and die cut with the coordinating dies. I also added some sheer white ribbon to the top of the tag.


I created a top folding cardbase from Mist cardstock, rounded off two corners, added some white paint splatters, then adhered my tag onto the card front. I decided to not add a sentiment, and just let it be a sweet scene note card - I can always add a sentiment later if needed!


This next card is a simple stamped wreath!


For this one, I stamped the main circle image from Choose Joy in Sand ink, and the flower using Flamingo and Grass ink. I die cut them all out with the Coordinating Dies.


My background was created with some pattern paper from the Sun & Sea 6x6 Paper Pad, and I used one of the negative cuts from Double Stitch Window Cover Panel for that white square on the front.


Stamped the sentiment so it would fit inside the wreath, then mounted the wreath with a bit of foam tape over the top. Added some wraps of twine to the cardfront, then mounted the front panel with foam again so that it left space for the twine behind it.


And finally - what else would be a perfect fit for the new Chalk it Up Stamp set, than heat embossing some of the images in white on black cardstock to mimic a chalkboard?


I chose several of the images, and added sentiments as well - heat embossing on Midnight cardstock, then cutting with the Coordinating Dies.


The background was created with Stitched Rays Cover Panel, with a bit of black splatters using my Licorice liquid watercolors.


Once those dried, it was simple to add my images with a bit of foam tape over the top!


Here are the Reverse Confetti products I used today - click on any image to go check it out in the Reverse Confetti Store:


Product links are all below - including affiliate links where possible, which simply means that if you use one of the links below, I receive a small commission at no additional cost to you. Thanks so much for supporting my blog, and stopping by! Have a wonderful day!!!


Product links are all below - including affiliate links where possible, which simply means if you use one of the links below that I receive a small commission at no additional cost to you. Thanks so much for stopping by! Have a wonderful day!!!


Monday, April 6, 2020

Storage and Organization Tips, and a Simple and Elegant Card - on the Unity Stamp Company Blog

Good morning! I'm back with another card for my series on the Unity Stamp Company Blog this morning! I'm so excited to be featuring the amazing Kit of the Month on Monday's on the Unity Stamp Company Blog! Since the Kit of the Month was the first thing I purchased from Unity, and what got me hooked to begin with, they hold a special place in my heart, so I'm super excited about this opportunity to give these kits some love! You can check out all the details HERE for today's card!


I'm also sharing a video of how I store and organize my kit of the month - check it out to see some simple tips and tricks!


Thanks for stopping by today - have a WONDERFUL day!!!

Sunday, April 5, 2020

Pinkfresh April 2020 Challenge - Sketch Inspiration

Pinkfresh Studios is kicking off a BRAND NEW April Challenge: Sketch Inspiration - paired of course with the option of a fresh and fun color combo! I hope you'll come play along for a chance to win some amazing prizes - you can enter cards OR scrapbook layouts!!! I loved the sketch so much, that I ended up creating a set of 3 different cards to share!


Here is the challenge info and inspiration photo:


Let's take a closer look at each one, shall we?


This first one features the beautiful Essentials: Ornate Label Frame - I love how delicate and detailed it is!


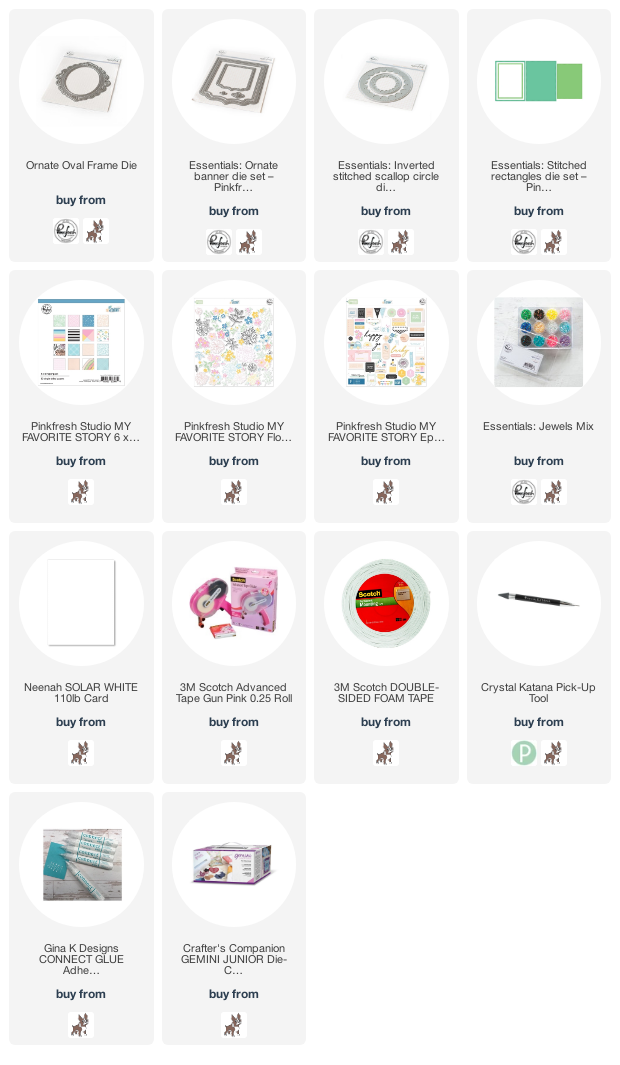
I used various pattern paper for these cards from My Favorite Story - each one die cut to size using Essentials: Stitched Rectangles.


This next one uses Essentials: Ornate Banners for the focal point. I love how you can change the entire look of it just by turning it the other way up - instead of a banner, it now looks like a lovely label!


I added some lovely floral embellishments to each of these cards using My Favorite Story Floral Ephemera - part of the scrapbooking collection, but equally lovely for cardmaking, don't you think?


I added the florals to each die cut element, then popped the entire piece up with foam adhesive for a bit of dimension.


This final one uses Essentials: Inverted Stitched Scallop Circles for the frame!


All of the sentiment came from My Favorite Story Ephemera set - also part of the Scrapbook collection.


I also saved some of the leftover pieces of pattern paper from trimming down the 6x6 paper for the cardfronts, and added these as strips across each card, alternating the colors.


Final finishing touch was to add some sparkly jewels from Essentials: Jewels Mix to each card. I am so tickled with how these came out! So fun to just layer and play with pattern paper, embellishments, and die cut frames. And this sketch was such a fun one as well!


Product links are all below - including affiliate links where possible, which simply means that if you use one of the links below, I receive a small commission at no additional cost to you. Thanks so much for supporting my blog, and stopping by! Have a wonderful day!!!


Saturday, April 4, 2020

Simon Says Stamp Staying Home Blog Party

Good morning! I'm super excited today to be part of an EPIC Blog Party! Simon Says Stamp put this part together so that we can all stay United in our crafting - even while some of us may be feeling super alone and isolated. While Simon Says Stamp is under a stay at home order in their home state, and unable to ship orders sadly, they are doing their best to keep inspiration flowing and hearts uplifted it the meantime! So get ready for a PILE of inspiration and joy coming your way from some awesome crafters! Make sure and head over to the Simon Says Stamp Blog for the full list of crafters participating!


I have two cards to share with you today - it was actually perfect timing, since I had just created these cards (inspired by the current situation in the world) when I got the email invitation to this event. So...I was all set and ready to share!

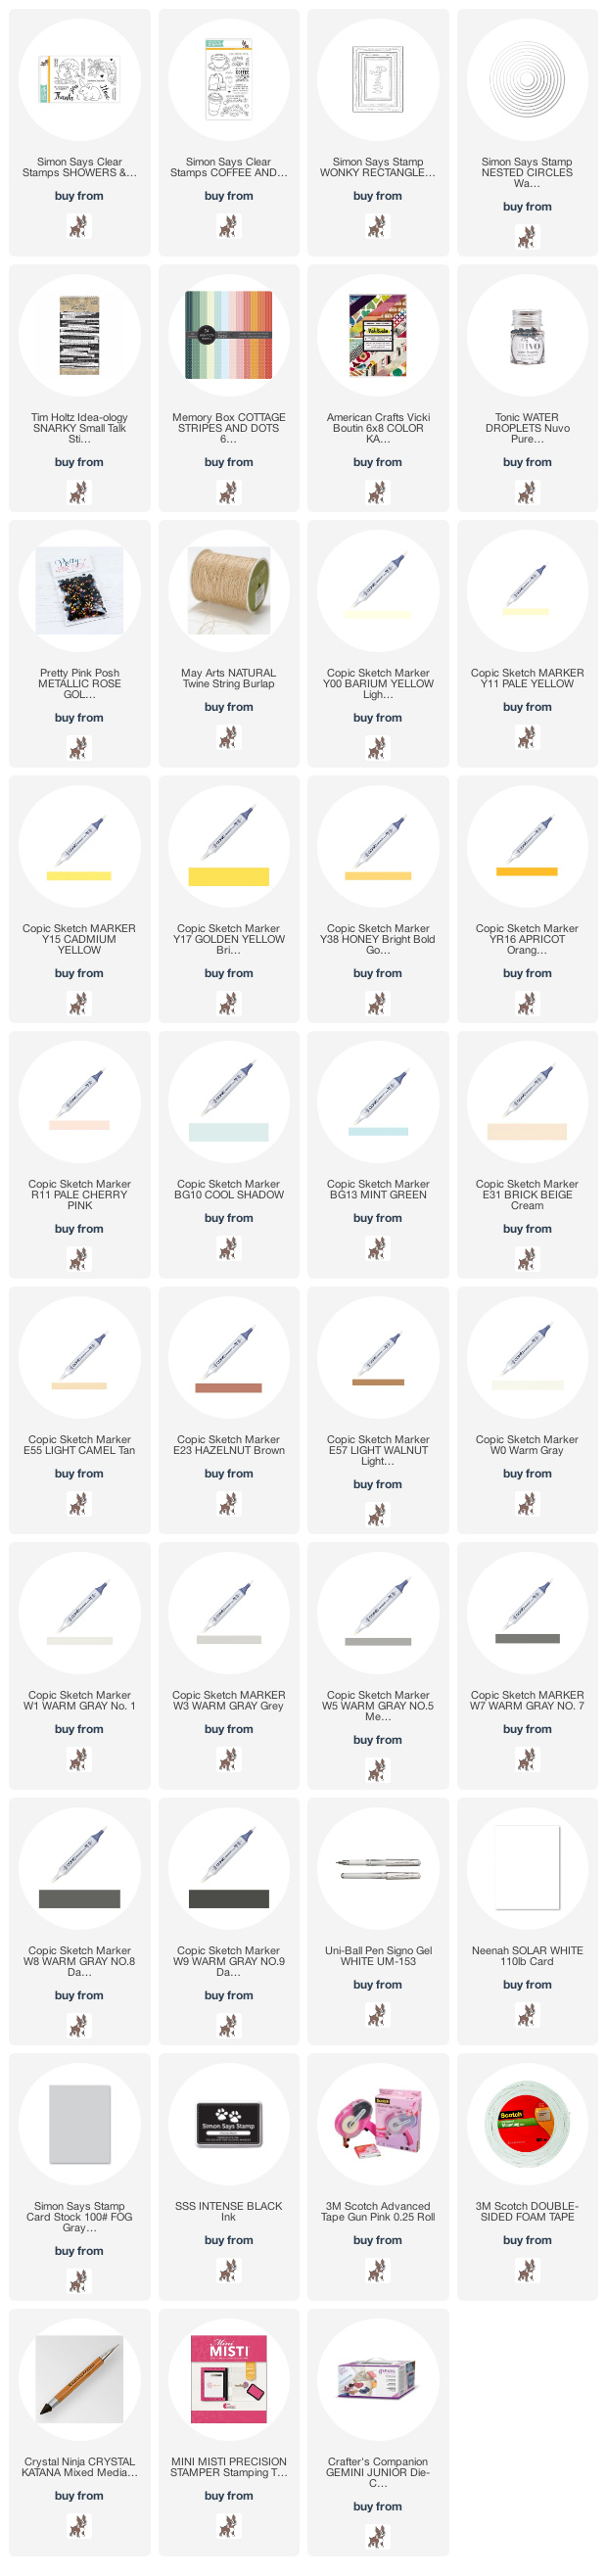
These cards actually started from the hilarious Tim Holtz Snarky Small Talk Sticker pack - I have had it for quite some time, and while I regularly look through them and laugh, I had yet to use them on a card. I thought we all could use a laugh, so I decided to put some of them to use on some cards using some fun images from Simon Says Stamp...so here is the first one!


Anybody else relate to this sentiment? Yeah...figured so! I thought it was perfect with this little carefree chick dancing in the rain from Showers and Flowers stamp set! Super fun to break that set out again, and I had lots of fun coloring the image up!


I set it in a negative of a die cut circle window of a panel of Memory Box Cottage Stripes and Dots pattern paper, also die cut with Wonky Rectangles dies, and mounted on a fog cardbase.


Finished off with the sentiment - which I mounted with foam adhesive - and a sprinkle of Tonic Water Droplets for some sparkly raindrops!


So if that last card was me...then this next card is most certainly for my husband! In fact, he chose the sentiment for this one! :)


I colored up the fun to go coffee cup from Coffee and Tea stamp set - trying to stick to nice, rustic, and manly colors.


I added some pattern paper along the bottom with a torn edge, and a bit of jute twine - tied in a knot, not a bow - to keep it more manly. Although in the end, I did give in and add a few jewels as embellishments. Almost succeeded in fully masculine design!


Mounted the coffee cup with foam adhesive, and added the sentiment across the top of my white card panel to finish off!


Product links are all below - including affiliate links where possible, which simply means that if you use one of the links below, I receive a small commission at no additional cost to you. Thanks so much for supporting my blog, and stopping by! Have a wonderful day!!!


Friday, April 3, 2020

Ethereal Floral Thank You - Pinkfresh Studio

Good morning! Today I'm sharing a card I actually made WAY back in January, but hadn't posted here yet! This uses some beautiful Pinkfresh Studio stamps, dies, and jewels for this soft ethereal card!


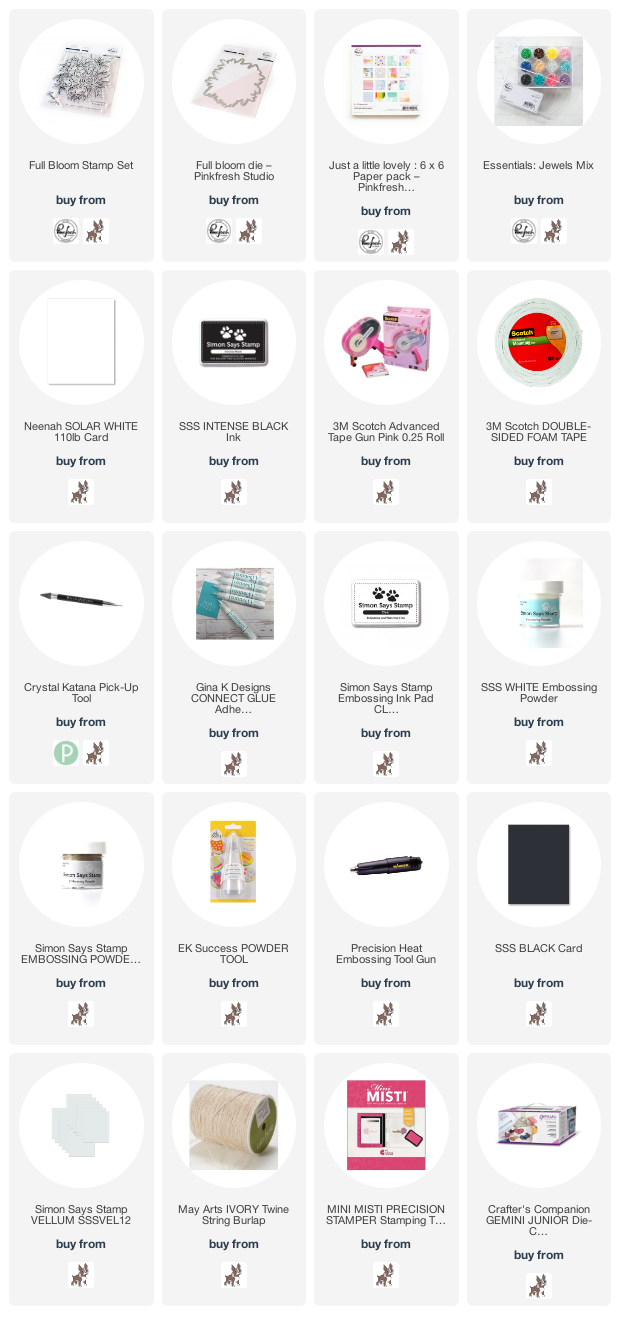
The main floral image from Full Bloom is beautiful heat embossed in gold on vellum, then die cut with the Coordinating Dies.


Some pattern paper from the 6x6 Just a Little Lovely paper pad is the perfect backdrop! You could also create your own watercolor background, but this made it super quick and easy.


I hid the adhesive for adhering the florals under the sentiment - heat embossed in white on black cardstock. Added some soft jute twine tied in a bow, and a few jewels from Essentials: Jewels Mix to finish this one off!


Product links are all below - including affiliate links where possible, which simply means that if you use one of the links below, I receive a small commission at no additional cost to you. Thanks so much for supporting my blog, and stopping by! Have a wonderful day!!!


Wednesday, April 1, 2020

Elegant Floral Card Combo - Pinkfresh Facebook Live Card

Good morning! Last Thursday was the day for our weekly Pinkfresh Studio Facebook Live! If you missed the Live video and want to take a peek, you can find it on the Pinkfresh Facebook Page - this week's video is available HERE. As always, there was one giveaway for someone who watched live, so make sure and pop in each week to win that live giveaway - 10 AM Pacific time on Thursday morning!
I have been trying to post info here the next day on the card (or cards) we make - for those that aren't on Facebook or maybe didn't see it over there - but thought I might switch things up and post the day before the NEXT Facebook Live, as a reminder that there will be one the next day. We'll see how it goes - and if this works better! So without further ado, here is a look at the cards we created last week!


This week we created a super elegant card set - and even though I don't have it pictured here, we also created a simple gift card holder that was super fun and easy! Go check out the video if you want to see more about that! :)


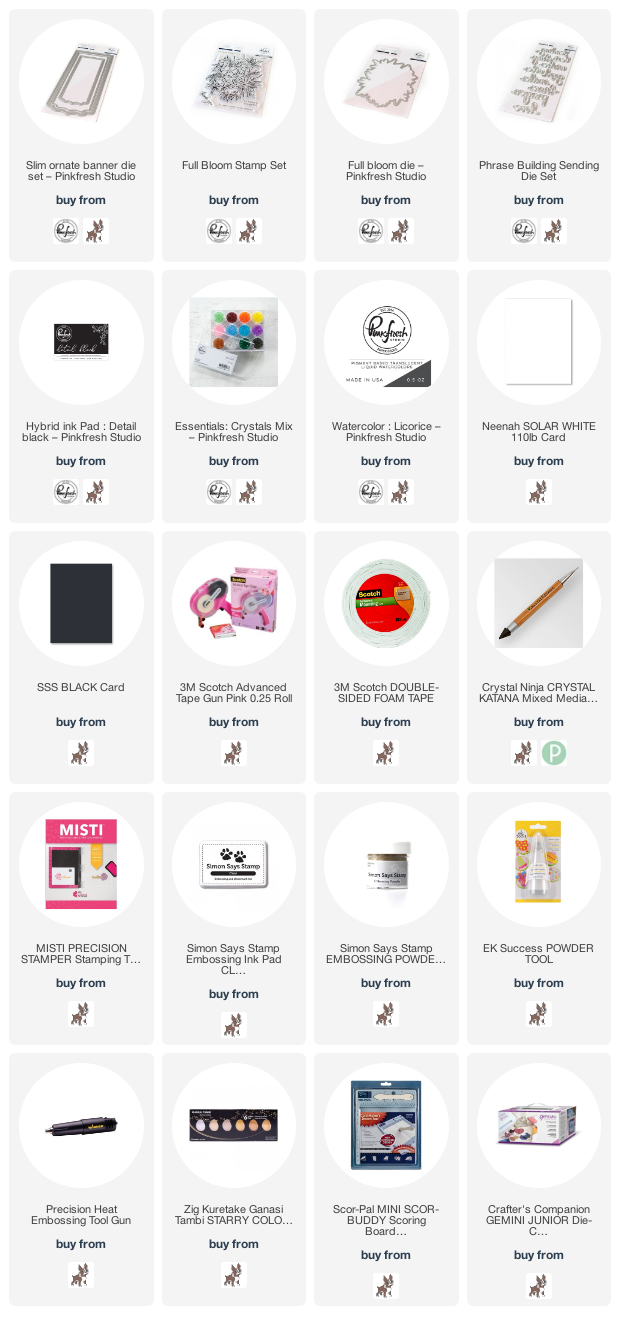
For both cards, we used the largest of the Slim Ornate Banner dies, cut from white cardstock. For the larger slimline design, we created a cardbase from black cardstock, and mounted it over the top. For the smaller card, we folded it in half to create a fun notecard size and shape card!


The small one has the image from Full Bloom stamped in the fabulous new Detail Black ink off the edge, and the sentiment added below. Finished off with a few gold splatters on this one for some sparkle and shine.


For the larger slimline, we heat embossed those same florals in gold on white cardstock, and die cut out with the coordinating dies. The background had a bit of black splatter added with Licorice liquid watercolors, and then we mounted the florals with foam adhesive over the top.


Finally, we added a sentiment underneath, die cut from Phrase Builder: Sending - and finished off with a few crystals from Essentials: Crystals Mix!


Product links are all below - including affiliate links where possible, which simply means that if you use one of the links below, I receive a small commission at no additional cost to you. Thanks so much for supporting my blog, and stopping by! Have a wonderful day!!!