Saturday, September 20, 2025

Big Bloom Birthday - Simon Says Stamp STAMPtember Inkon3 exclusive

Good morning! I'm back to share a card using the next of the special STAMPtember collaborations throughout the month! Each collaboration is with one of your favorite companies, is limited edition, and only available while supplies last. When it's gone, it's gone! Today's special release is one of TWO that are all being revealed today - this one is Inkon3


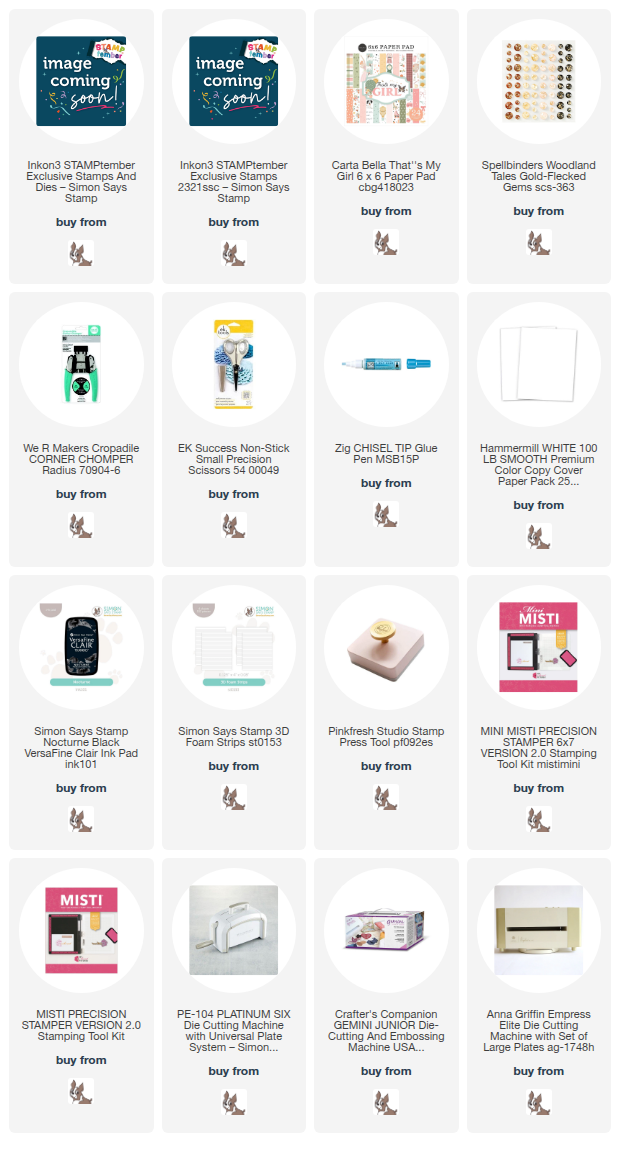
I hadn't done paper pieceing in some time, and this image just felt like it was calling out for the technique! The big beautiful bloom was perfect! I stamped it off the edge of my A2 white cardbase, then stamped it again on the same size pieces of pattern paper from Carta Bella That's My Girl 6x6 paper pad. I fussy cut the images out, then used a glue pen to adhere them over the stamped image. A super fun and detailed look, but fairly quick and easy to recreate! I stamped and die cut the sentiment, then popped it up with foam, rounded off one corner, and added a few coordinating Spellbinders Woodland Tales embellishments to finish off! Here is a closer look:


Product links are all below - including affiliate links where possible, which simply means if you use one of the links below that I receive a small commission at no additional cost to you. Thanks so much for stopping by! Have a wonderful day!!!

Winter Wishes Penguins - Simon Says Stamp STAMPtember Memory Box exclusive

 Good morning! I'm back to share a card using the next of the special STAMPtember collaborations throughout the month! Each collaboration is with one of your favorite companies, is limited edition, and only available while supplies last. When it's gone, it's gone! Today's special release is one of TWO that are all being revealed today - this one is Memory Box:


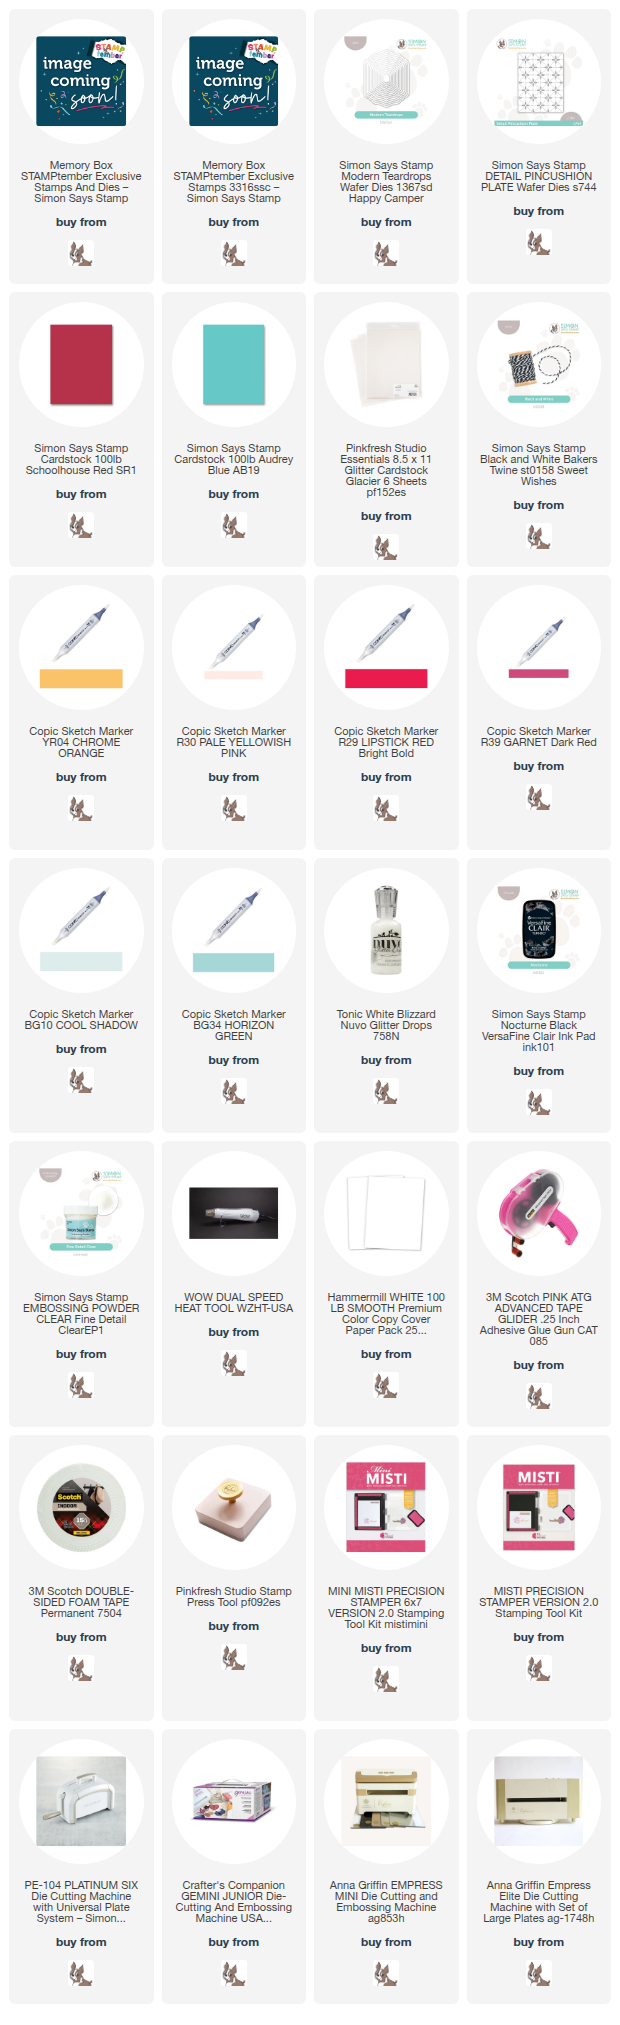
I had fun creating this snowy little scene! I stamped both the penguins from the set in black ink, and heat embossed with clear embossing powder, then die cut with the coordinating dies. I added some simple Copic coloring to the penguins, and then stamped and heat embossed the sentiment as well. I layered together a window die cut from one of the Modern Teardrops dies from Schoolhouse Red cardstock, a white Detail Pincushion plate layer over some Audrey Blue cardstock, and some Pinkfresh Glacier glitter cardstock at the bottom to ground the images. Added some Nuvo Blizzard glitter drops on parts of the image, then finished off with some Baker's Twine tied around the bottom of the card! Here are more photos of the finished card:


Product links are all below - including affiliate links where possible, which simply means if you use one of the links below that I receive a small commission at no additional cost to you. Thanks so much for stopping by! Have a wonderful day!!!


Wednesday, September 17, 2025

Golden Roses - Simon Says Stamp STAMPtember Pretty Pink Posh exclusive

 Good morning! I'm back to share a card using the next of the special STAMPtember collaborations throughout the month! Each collaboration is with one of your favorite companies, is limited edition, and only available while supplies last. When it's gone, it's gone! Today's special release is from Pretty Pink Posh:


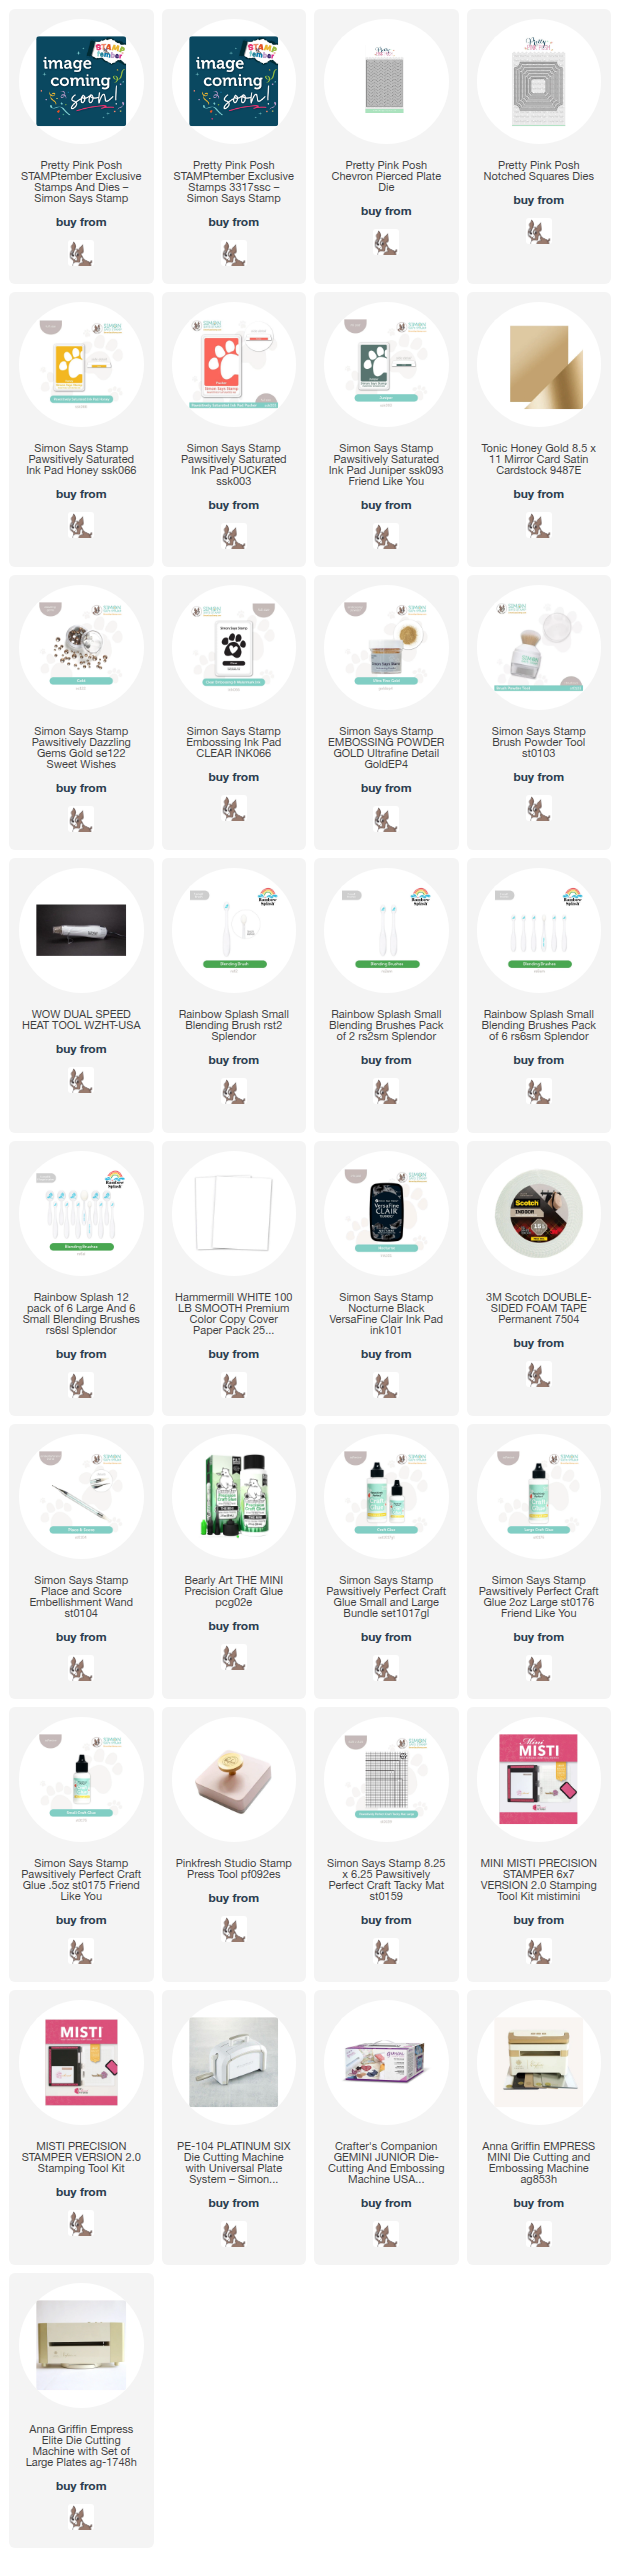
This set is lovely, and perfectly captures the style that Pretty Pink Posh is known for! I love that each of the florals and leaves are separate, to allow for so many options to arrange! I heat embossed them all in gold on white cardstock, die cut, then blended over the top using SSS inks in Honey and Pucker for the flowers, and Juniper for the leaves. I stamped each of the leaves two times, and the florals once. I didn't end up using every single one, but most of them! I used Chevron Pierced Plate for the background, and created a frame with Notched Squares from Honey Gold cardstock. I arranged my florals at the bottom of the frame, and finished off with some Dazzling Gold gems for even more sparkle! Here are more photos of the finished card:


Product links are all below - including affiliate links where possible, which simply means if you use one of the links below that I receive a small commission at no additional cost to you. Thanks so much for stopping by! Have a wonderful day!!!


Tuesday, September 16, 2025

Snowglobe Tags - Simon Says Stamp STAMPtember Mama Elephant exclusive

 Good morning! I'm back to share a set of tags using the next of the special STAMPtember collaborations throughout the month! Each collaboration is with one of your favorite companies, is limited edition, and only available while supplies last. When it's gone, it's gone! Today's special release is from Mama Elephant:


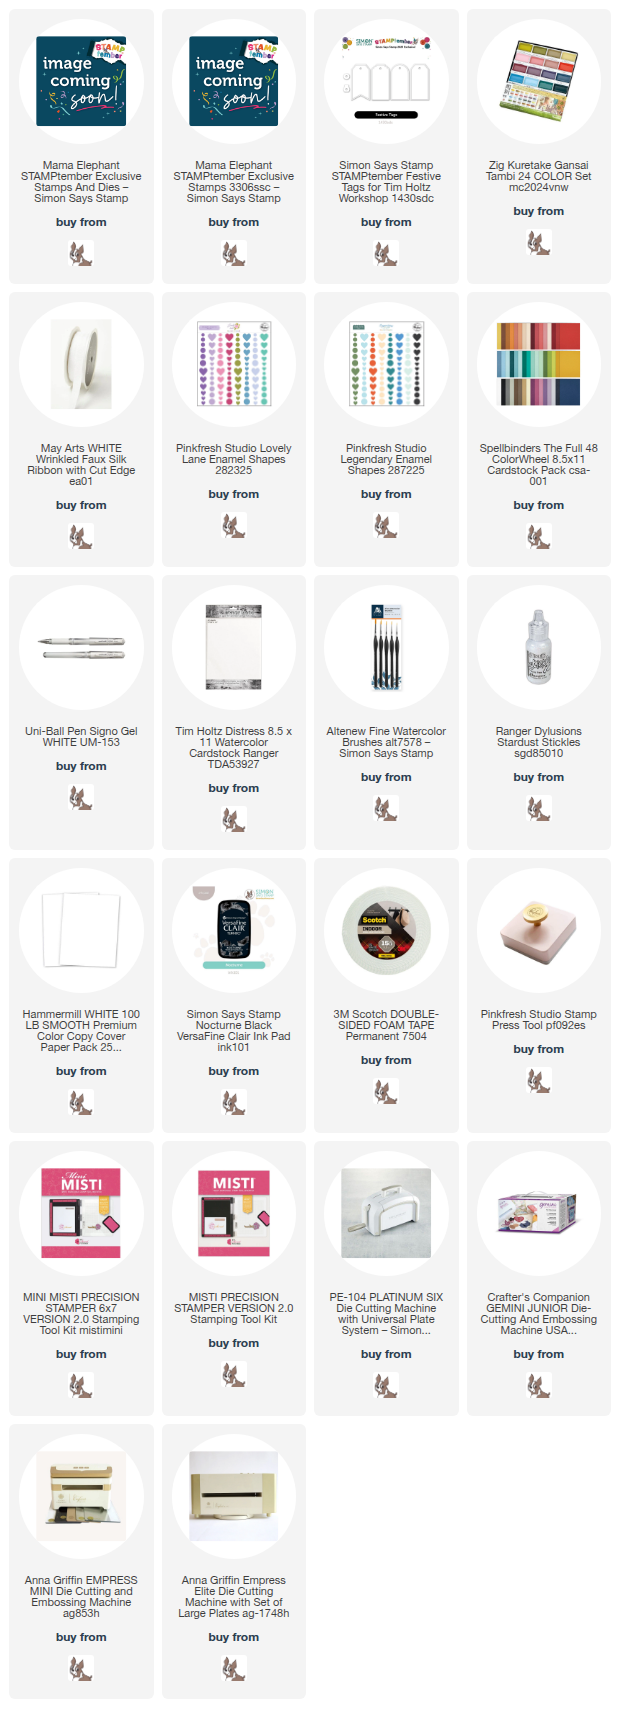
I couldn't pick an image in this cute set, so of course I stamped out 3 of them! I started off by watercoloring the images with my Gansai Tambai watercolors, then once they dried, cut them out with the coordinating dies. I thought about putting them on a card, but as I looked at them, I realized they would be perfect as tags! I die cut some tags using another STAMPtember special release, the Tim Holtz Festive Tags dies. I used fun colors of Spellbinders cardstock, then popped the images and sentiments up on the tags with foam adhesive. I added bows at the top using May Arts Faux Silk ribbon, a few Pinkfresh enamel dots, some dots with a white gel pen, and some sparkly elements with some Stickles. Here is a closer look at the finished set:


Product links are all below - including affiliate links where possible, which simply means if you use one of the links below that I receive a small commission at no additional cost to you. Thanks so much for stopping by! Have a wonderful day!!!


Monday, September 15, 2025

Merry and Bright - Simon Says Stamp STAMPtember Gina K Designs exclusive

  Good morning! I'm back to share a card using the next of the special STAMPtember collaborations throughout the month! Each collaboration is with one of your favorite companies, is limited edition, and only available while supplies last. When it's gone, it's gone! Today's special release is the much anticipated set from Gina K Designs:


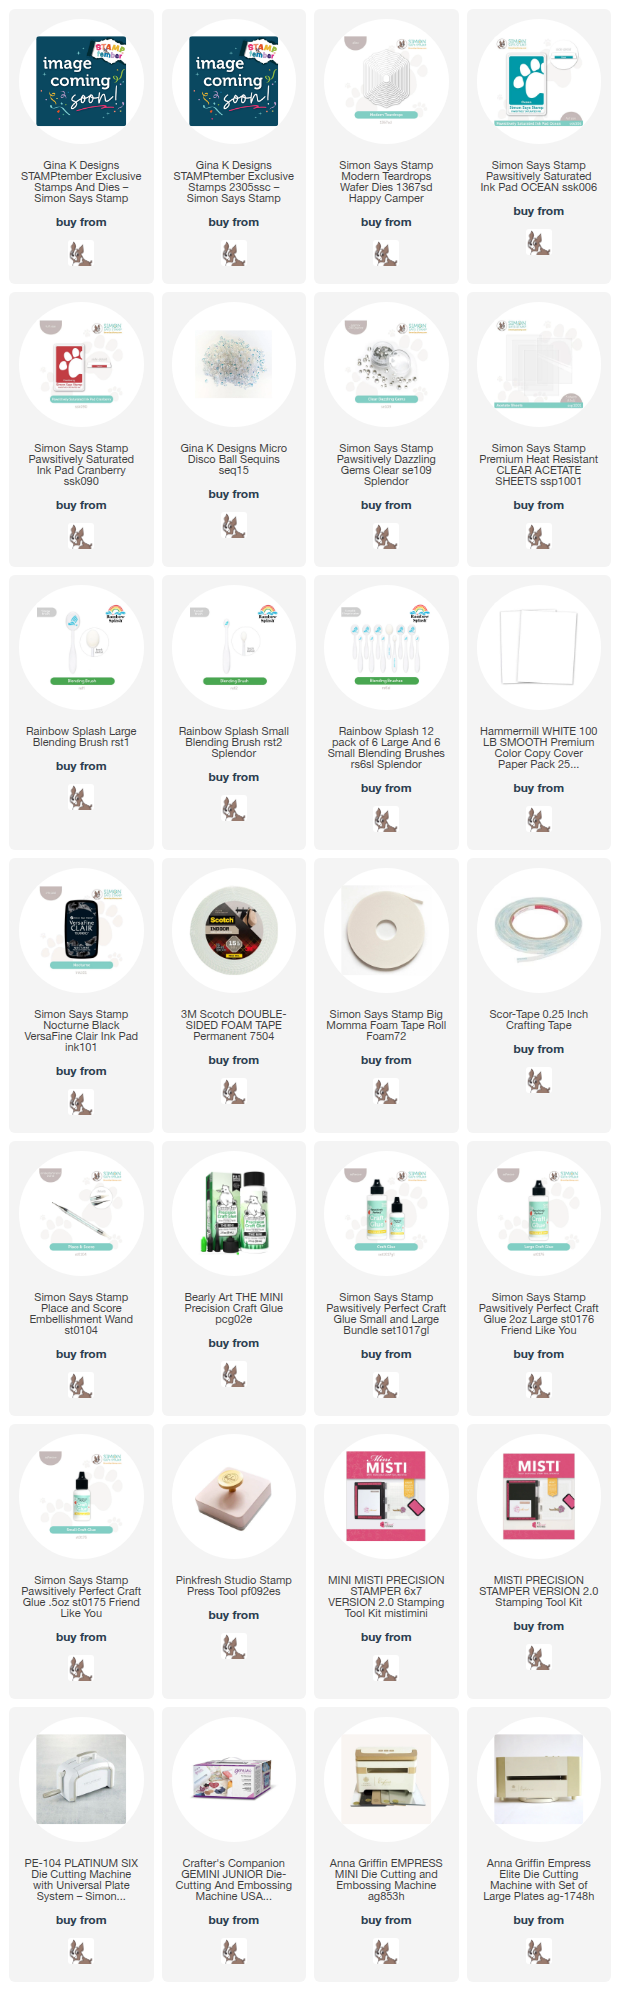
I decided to create a pair of shaker cards to share! Actually, I planned on making one, but couldn't decide which way I wanted to go with the colors...so I made both versions. Now I can't decide which one I like better! I started off by stamping the ornaments in Ocean and Cranberry inks a couple times each (I had one large ornament of each color leftover). I die cut them, then decided to soften the color ever so slightly, so ink blended over VERY lightly with the same color of ink. I created a shaker window with Modern Teardrop dies, and blended the same two colors of ink at the top of my cardbases. I filled the shakers with Micro Disco Ball sequins, and reversed the colors of the background with the ornaments for contrast. Added sentiments from the stamp set, stamped in black, die cut, and popped up with a bit of foam on the acetate. By necessity (thanks to inky fingers and a smudge on one card!), I added a few Dazzling Gems in Clear to the front of the cards - which did a lovely job of finishing off the sparkle! Here are some more photos of these two cards:


Product links are all below - including affiliate links where possible, which simply means if you use one of the links below that I receive a small commission at no additional cost to you. Thanks so much for stopping by! Have a wonderful day!!!


Saturday, September 13, 2025

Dreamy Pumpkin Backgrounds - Simon Says Stamp October Card Kit

Hello! I'm popping in to share my first cards using the newest October 2025 Simon Says Stamp Card Kit - Fall VibesThis month's kit is definitely bringing out the fall feels! The included stamp set has lots of fun tiny sentiments, (there is a matching die set available HERE as well)! there is an amazing layering stencil, 3D embossing folder, and that's all not to mention the embellishments, cardstock, and more! 
The monthly card kit has even more perks now when you sign up for the Subscription service! There is a video HERE you can watch to learn more! 


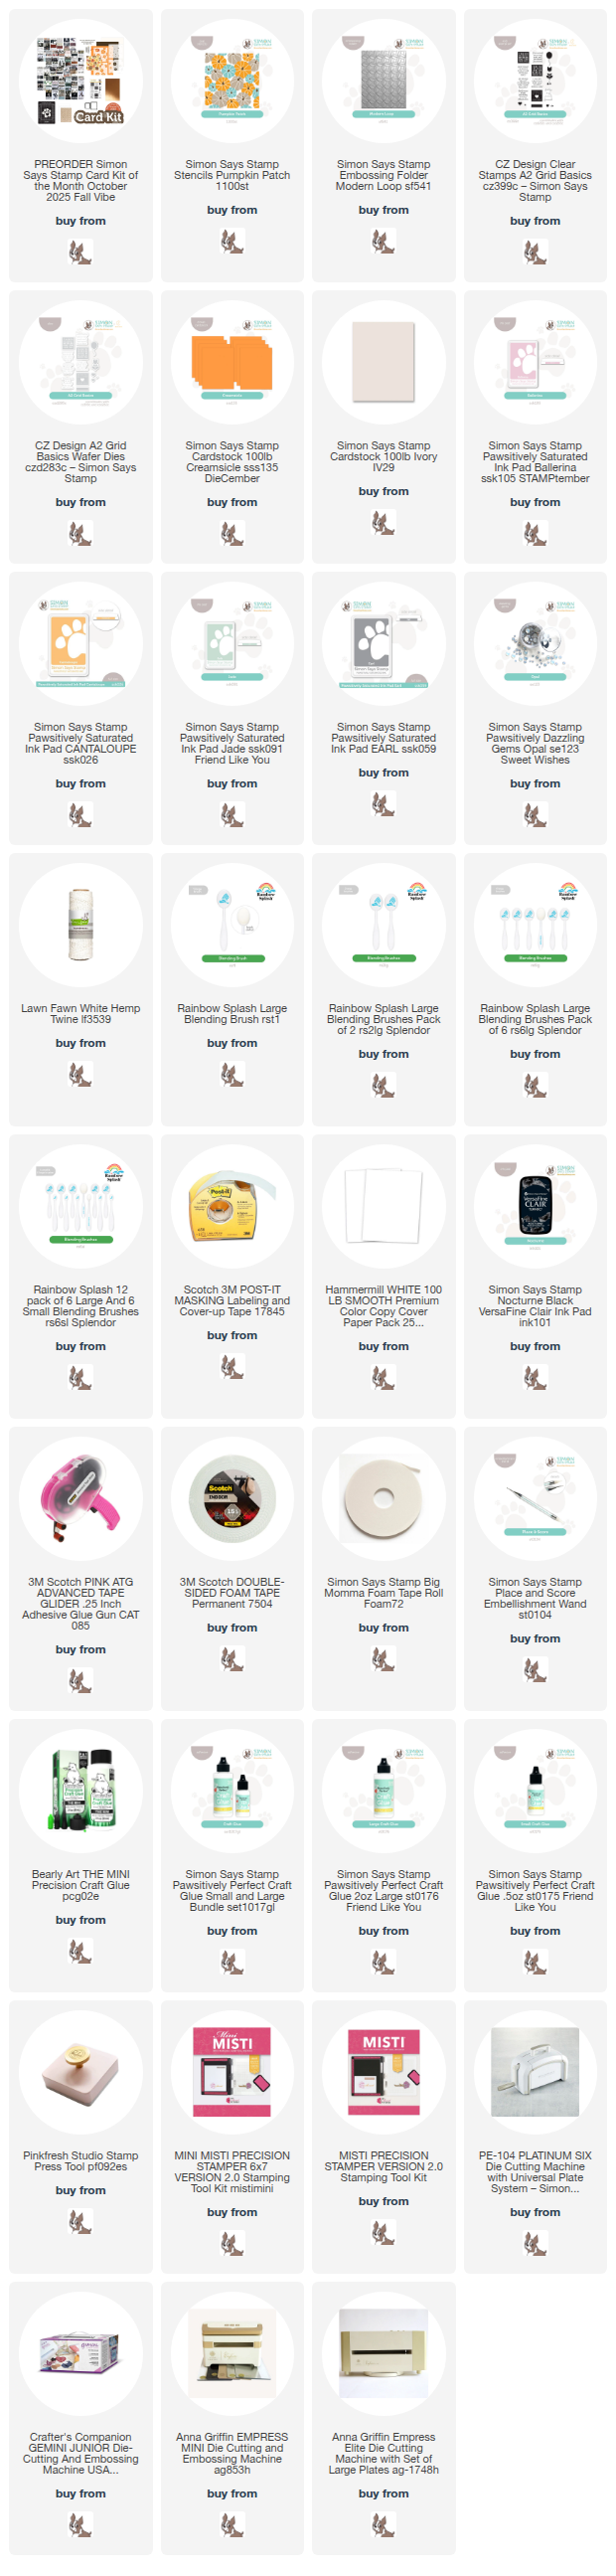
For these cards, I started off with that amazing Pumpkin Patch layering stencil, coloring it nice and softly with Ballerina, Cantaloupe, Jade, and Earl inks. I trimmed one panel, matted it with some of the Creamsicle cardstock in the kit, stamped a sentiment from the included stamp set, wrapped it in white twine, and layered with foam on a cardbase created with some of the Ivory cardstock in the kit. For the second card, I used the extra strip of that same stenciled panel, also adding a thin border of the same Creamsicle cardstock, another Ivory cardbase, and then added a panel of white cardstock that I used the Modern Loop 3D Embossing folder on. I also added some white twine to that one, stamped a bolder sentiment and trimmed it down to add. Finished off both cards with a few Dazzling Gems in Opal for the perfect soft and subtle sparkle! Here is a closer look at each of these finished cards:


Product links are all below - including affiliate links where possible, which simply means if you use one of the links below that I receive a small commission at no additional cost to you. Thanks so much for stopping by! Have a wonderful day!!!