Sunday, May 23, 2021

Welcome to a Free Hug - Simon Says Stamp

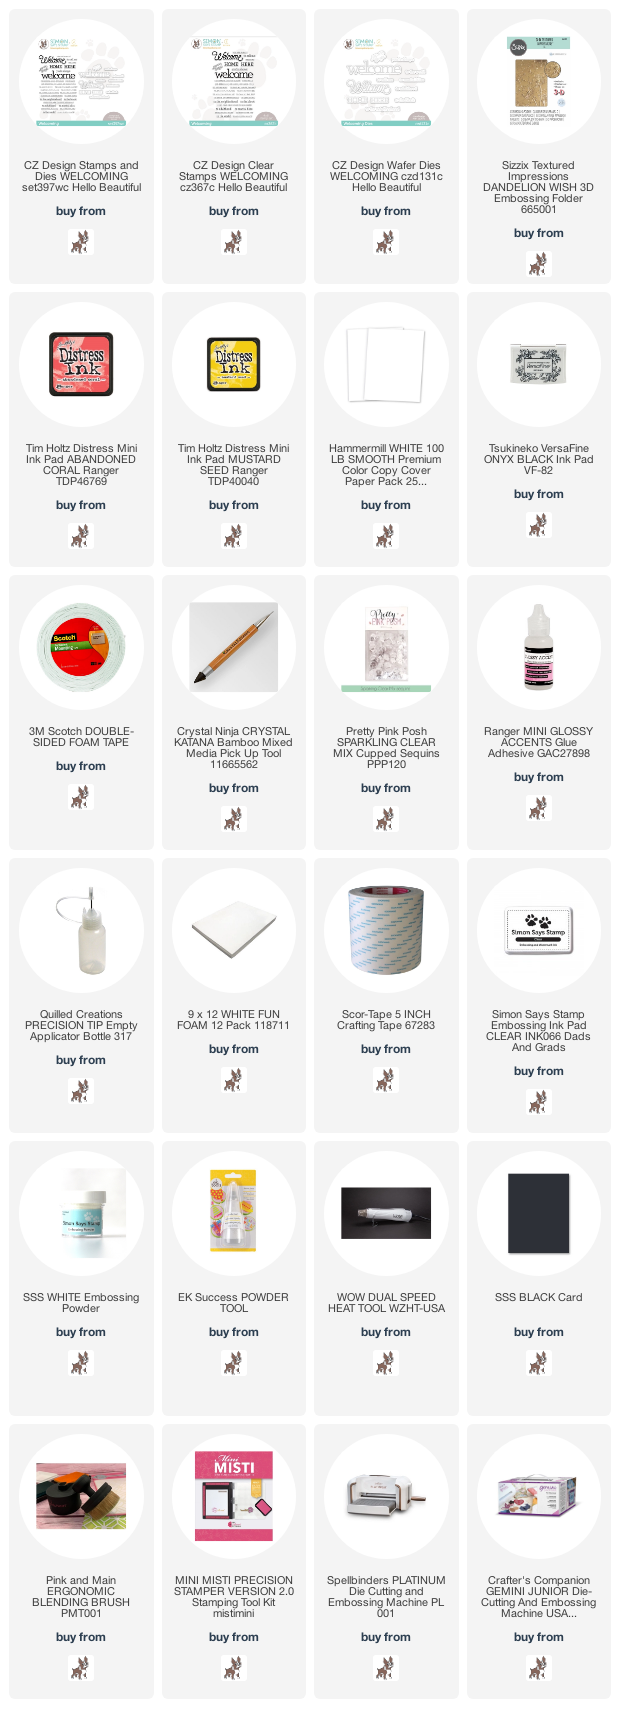
 Good morning! Happy to be dropping by this morning with another card using some goodies from Simon Says Stamp - I used this same sentiment stamp and die combo a few days ago - and this 3D embossing folder is one that came in the May card kit!


I started off embossing that Dandelion Wishes embossing folder from Sizzix - part of the May 2021 Card Kit from Simon Says Stamp. I then ink blended softly over the top of it with Abandoned Coral and Mustard Seed inks to make the embossing pop a little more. I added some water splatters for texture, then also smooshed the ink on my glass mat, picked up with a wet brush, and added a few additional splatters for texture.


Sentiment is from a current favorite set designed by CZ Design - Welcoming. It has a coordinating die to go with the stamp set, so super fun! I heat embossed part of the sentiment in white on black cardstock, then stamped the large "welcome" in black on white cardstock. I die cut out the first two parts of the sentiment, then trimmed the bottom sentiment down to a thin strip, trimmed to an angle on one end.


Mounted my main panel with foam adhesive on a white cardbase, then added the sentiments with more foam adhesive. You can never have too much dimension, right? Finished off with a few sparkly clear Pretty Pink Posh sequins tucked around!


Product links are all below - including affiliate links where possible, which simply means that if you use one of the links below, I receive a small commission at no additional cost to you. Thanks so much for supporting my blog, and stopping by! Have a wonderful day!!!

Friday, May 21, 2021

Happy Blooms - Pinkfresh Studio Instagram Release Hop

Good morning! Today I'm joining a fun Instagram Hop with Pinkfresh Studio to celebrate the brand new Happy Blooms scrapbook collection that popped into the Pinkfresh store today!. You can check that hop out HERE - there are lots of fun prizes, so don't miss stopping by! There are also a few sneak peeks at the upcoming Essentials Dies release on Monday, May 24th, so even more reason to check out the hop! As usual, I have more than one card to share with you - so let's get started! :)


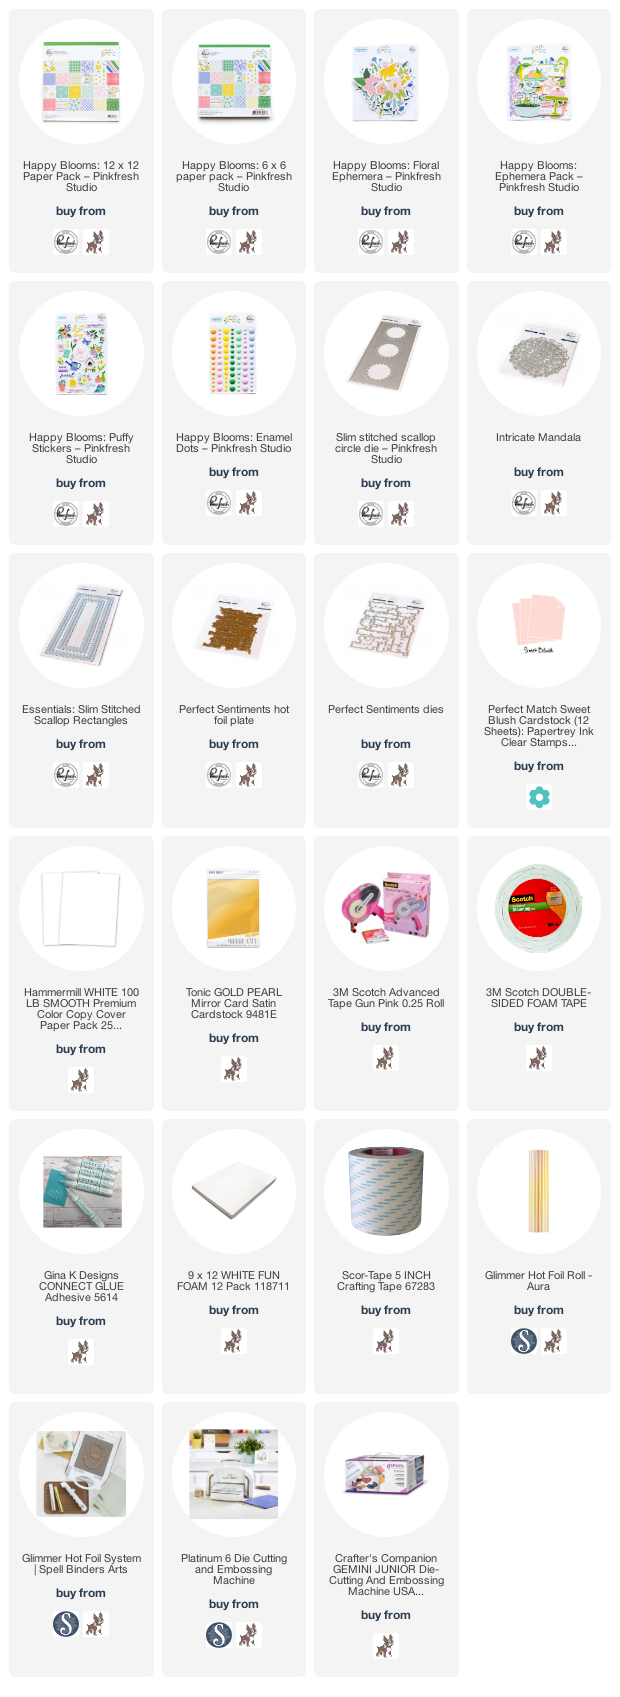
This first card is on the more clean and simple side - but made so easy with these lovely scrapbook style embellishments! I started off with a soft pink cardbase, then used Slim Stitched Scallop Circles die as a base layer to anchor my embellishments.


I added some flowers from the Floral ephemera into the top and bottom circle, tucking them under, then adding foam adhesive under the portion that came out, and curled up the edges of each piece for even more dimension.


Sentiment is from Perfect Sentiments (out of stock - but should be back in a couple of weeks hopefully!) - hot foiled, and then stacked up with a couple white die cuts for a sturdy piece, then popped up on foam for dimension.


I added a tiny butterfly from the Puffy Stickers, and a few Enamel Dots from the collection to finish this one off.


Did you notice the coordinating slimline envelope? Yeah...that might be a sneak peek of a new die that is coming next week - just sayin'! And it's perfect for Pinkfresh's gorgeous 12x12 pattern papers like this - for those of use who aren't generally scrapbookers. :)


And speaking of slimlines...mini slimlines are gaining popularity, and they might be the cutest thing EVER! So of course I had to create one of those as well!


If you peek at the first photo - you will notice THREE new Essentials dies sneaked in the photo - again, these will all be available in 3 days - sorry to tease, but at least I'm not keeping you waiting long!


I used two of the new essentials dies on this card - one for some of the 6x6 pattern paper, and one for a panel of white cardstock for the front. The butterfly is from the Floral Ephemera pack, and I adhered it just in the center with a touch of liquid glue, so the edges are free to float up a bit for dimension.


I added another hot foiled sentiment from the same set as above - Perfect Sentiments, a little additional sentiment from the Ephemera pack, and a few fun pink Enamel Dots to finish this card off! And do you see the adorable matching mini slimline envelope? Yep...coming soon!


Okay - and finally, the card that stretches me a bit - I'm still not sure if I love it. I tend to gravitate towards more clean and simple designs, but I also tried to stretch myself and add more layers and embellishments on this card!


This one actually started with the plan to make an A2 card - but it ended up growing beyond what would fit successfully. I used Intricate Mandala die cut from white as the main anchor of my card, and built around that.


We have some of the 6x6 pattern paper tucked under it with foam adhesive on the white cardbase, then some of the Floral Ephemera tucked under the edges of the pattern paper, as well as under the edges and over the top right side of the mandala.


That tiny adorable bee is from the Puffy Stickers - as well as the little leaf cluster under the sentiment, which is another hot foiled one from Perfect Sentiments as above.


Tucked a Slim Stitched Scallop Rectangle in there, die cut from some matte gold cardstock, and layered up with a couple die cut from white for extra dimension. Butterfly is also from the same Floral Ephemera pack, and a few enamel dots finish this one off as well!


Product links are all below - including affiliate links where possible, which simply means that if you use one of the links below, I receive a small commission at no additional cost to you. Thanks so much for supporting my blog, and stopping by! Have a wonderful day!!!


Thursday, May 20, 2021

You Make Me Happy - Simon Says Stamp June 2021 Card Kit

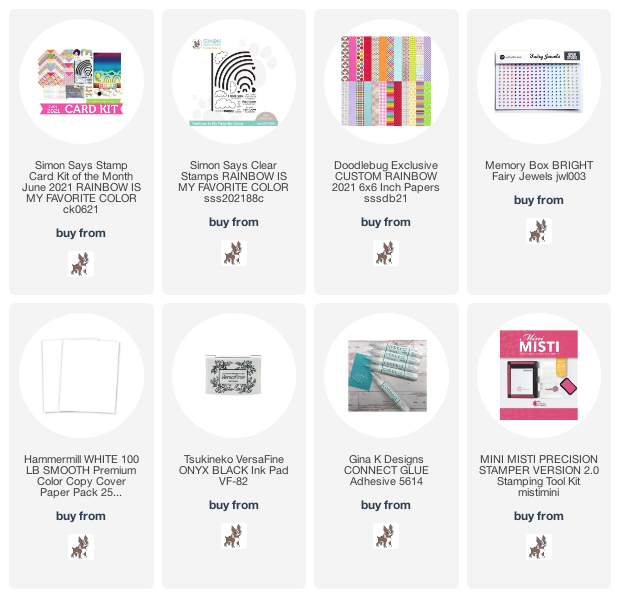
 Hello! I'm here today to share one final card using the BRAND NEW June 2021 Simon Says Stamp Card Kit - Rainbow is my Favorite Color! This kit is full of rainbow fun! The included stamp set by the same name has some fun rainbow building stamps and great sentiments, there is some lovely pattern paper, a sweet little rainbow die (that I'm using on my card today!) - that's all not to mention the cardstock, envelopes, and more!

Todays card is super simple and easy - and nearly one layer if you don't count those itty bitty jewels!


I first selected a rainbow of those fun Doodlebug pattern papers from the kit, and cut thin strips of them to glue onto my white cardbase at a fun angle across the front, then trimmed off the excess paper.


Next, I stamped a sentiment from the stamp set in the kit along the bottom, following the angle of the pattern paper to keep it cohesive. Then, I color coordinated some of the itty bitty adhesive backed jewels from the kit, and added a little row of all the colors on each side of the sentiment - just a bit of sparkly fun to finish this card off!


Here is a closer look at the entire kit contents - you can find all the details HERE:


Product links are all below - including affiliate links where possible, which simply means if you use one of the links below that I receive a small commission at no additional cost to you. Thanks so much for stopping by! Have a wonderful day!!!


Tuesday, May 18, 2021

Stenciling on Colored Cardstock - Pinkfresh Studio YouTube Live Card

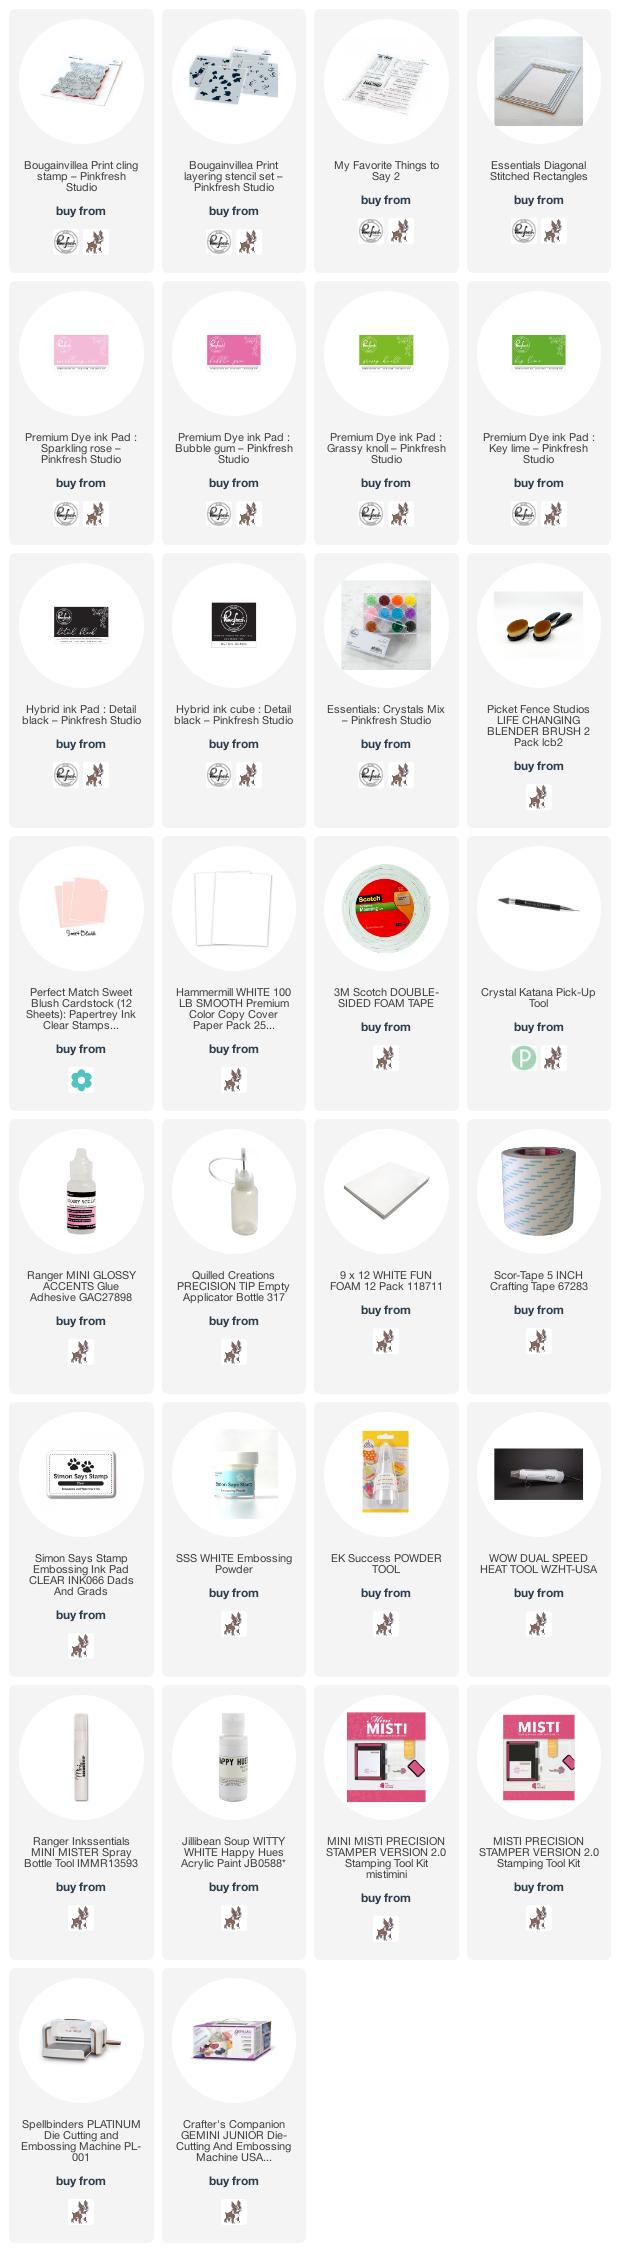
Good morning! Dropping by today to share a card I made a few weeks back for Pinkfresh Studio's YouTube Live - we've been doing lots of layering stencils lately, so it was fun to break out a newer layering stamp set for this time around! You can watch the replay HERE if you want to see more details.

This card was so much fun to create - using layering stencils with bright happy inks on colored cardstock, then a fun trick for heat embossing OVER the stenciled image with a cling rubber stamp.


While there is the gorgeous Bougainvillea hot plate to use - there is also this gorgeous cling rubber stamp, for those who aren't necessarily ready to jump into hot foiling. And it is equally gorgeous!


I first stenciled the background with the Bougainvillea layering stencils using Sparkling Rose, Bubble Gum, Grassy Knoll, and Key Lime inks, then heat embossed over the top with white. I used a little trick with acetate to line up the stamped image perfectly over the stenciling, since with a cling rubber stamp, you can't see through it like a clear stamp. You could also heat emboss first, then add the stenciling if you prefer.


I die cut that panel with Diagonal Stitched Rectangles, then added some white paint splatters before mounting with foam on a white cardbase.


Sentiment is from My Favorite Things to Say 2, stamped on a strip of white cardstock and trimmed into a banner shape, then mounted with foam adhesive on that background. A few sparkly Essentials: Crystals finish this card off!


Product links are all below - including affiliate links where possible, which simply means that if you use one of the links below, I receive a small commission at no additional cost to you. Thanks so much for supporting my blog, and stopping by! Have a wonderful day!!!


Welcome to a Cup of Sugar - Simon Says Stamp

 Good morning! Stopping by with a card that uses some items from the past two releases from Simon Says Stamp combined onto one clean and simple card!


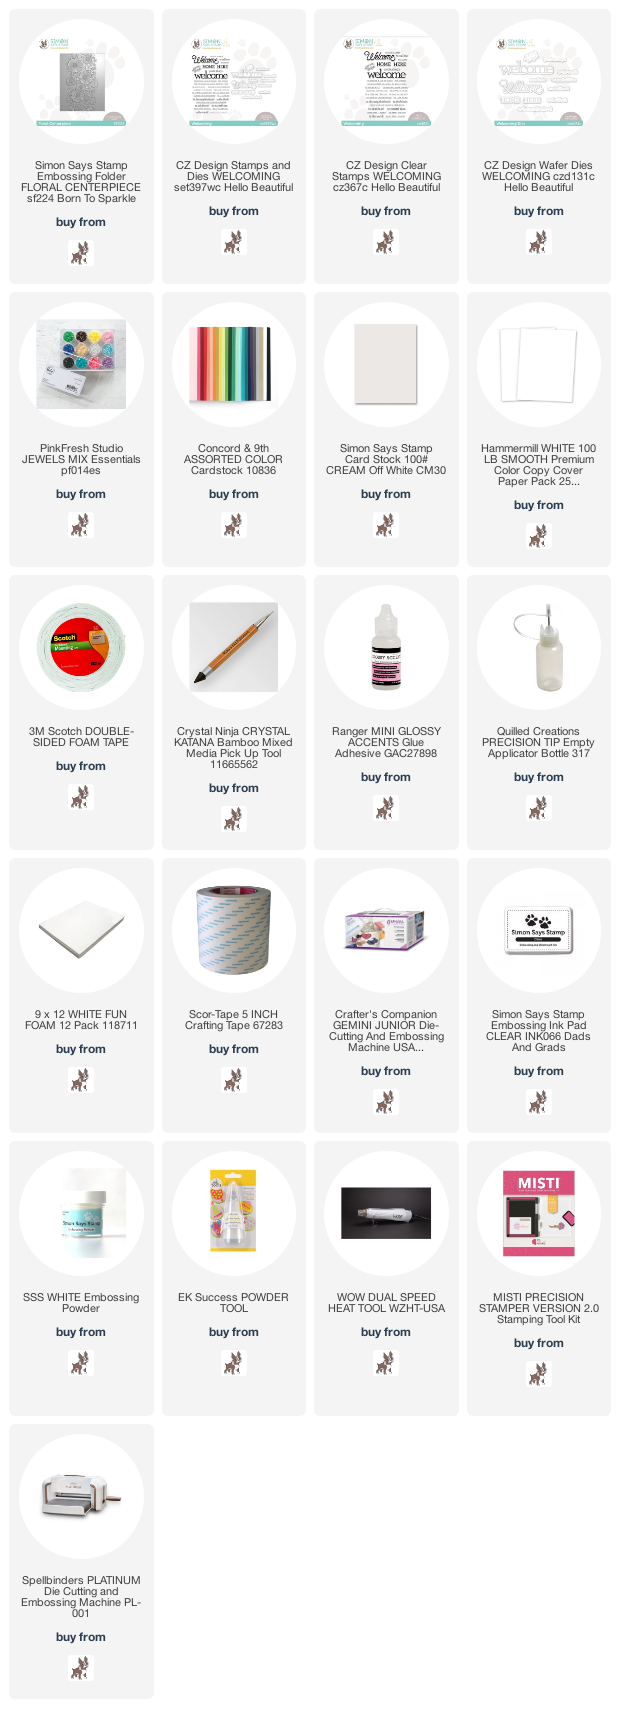
I loved the super fun and unique Welcoming stamp and die from CZ Design - some of the sentiments are super cute and fun! Like this one - how fun to give to a new neighbor - or one that you already know and love!


I heat embossed the sentiment in white on some fun and bright colors of Concord and 9th cardstock - I wanted most of my card to be neutral, but thought it would be fun to add this fun color combo with the sentiments. I also love that some of the words have coordinating dies - even more fun!


The background was simply a panel of white cardstock that I used the new Floral Centerpiece 3D Embossing Folder on - then tore the edges to create some texture, before popping up with foam adhesive on a Cream cardbase.


I added the sentiments with more foam adhesive over the top, and then finished off with a few Pinkfresh Studio Essentials Jewels in coordinating colors.


Product links are all below - including affiliate links where possible, which simply means that if you use one of the links below, I receive a small commission at no additional cost to you. Thanks so much for supporting my blog, and stopping by! Have a wonderful day!!!


Monday, May 17, 2021

Beachy Corner Card - on the Unity Stamp Company Blog

 Good morning! I'm back with another card for my series on the Unity Stamp Company Blog this morning! I'm so excited to be featuring the amazing Kit of the Month on Monday's on the Unity Stamp Company Blog! Since the Kit of the Month was the first thing I purchased from Unity, and what got me hooked to begin with, they hold a special place in my heart, so I'm super excited about this opportunity to give these kits some love! You can check out all the details HERE for today's project!


Thanks for stopping by today - have a WONDERFUL day!!!


Sunday, May 16, 2021

Rainbow Trio - Simon Says Stamp June 2021 Card Kit

 Hello! I'm here today to share a trio of cards using the BRAND NEW June 2021 Simon Says Stamp Card Kit - Rainbow is my Favorite Color! This kit is full of rainbow fun! The included stamp set by the same name has some fun rainbow building stamps and great sentiments, there is some lovely pattern paper, a sweet little rainbow die (that I'm using on my card today!) - that's all not to mention the cardstock, envelopes, and more! 

These rainbows were so fun to stamp - I couldn't just stop with one!


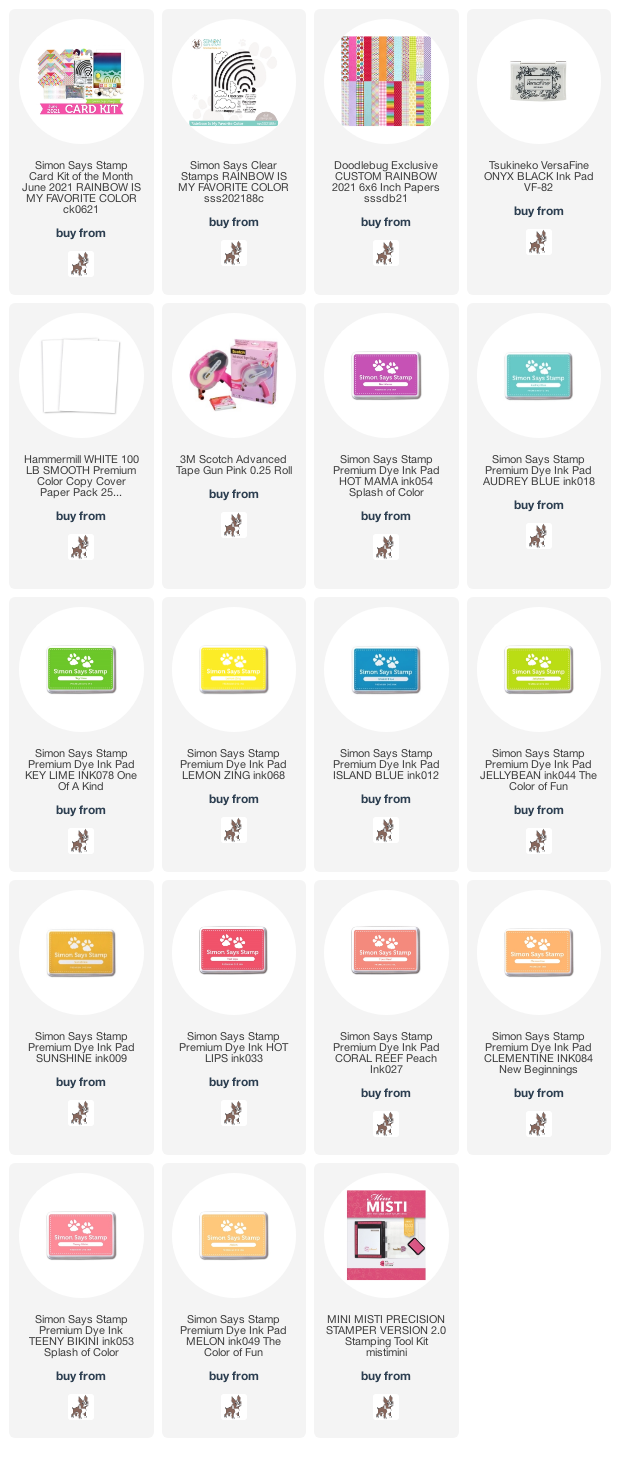
I used a variety of Simon Says Stamp inks (some of the colors included in the kit, and a few additinoal ones), and the magic of the MISTI with the Rainbow is my Favorite Color stamp set to line up each layer, and stamp multiples - so it was quick and easy to create several all at once! I kept the layers clean and simple, for a bright and graphic design - fun colors, and crisp black. Then tucked some of the pattern paper from the kit under each panel that I trimmed down narrower than my A2 card sizes, so the pattern paper shows on each side of the panel.


For this first one, I used Hot Mama, Audrey Blue, Key Lime, and Lemon Zing inks.


This second one uses a somewhat monochromatic color scheme of Coral Reef, Clementine, Teeny Bikini, and Melon inks.


And finally - this bright fun one uses Island Blue, Jellybean, Sunshine, and Hot Lips ink.


Here is a closer look at the entire kit contents - you can find all the details HERE:


Product links are all below - including affiliate links where possible, which simply means if you use one of the links below that I receive a small commission at no additional cost to you. Thanks so much for stopping by! Have a wonderful day!!!