Good morning! Remember the card I made the other day with the alcohol ink background and the beautiful Kindness Matters die from Simon Says Stamp? (click HERE to see it) Well...I started looking at the negative letters from the silver piece, and didn't want to let them go to waste - so...this card ended up coming together just from those pieces and wanting to use them! Kind of funny how that works sometimes!

I started off by cutting the Kindness Matters Die again from white cardstock, and piecing in the silver letters - even adding back in the tiny white pieces in the centers of certain letters.

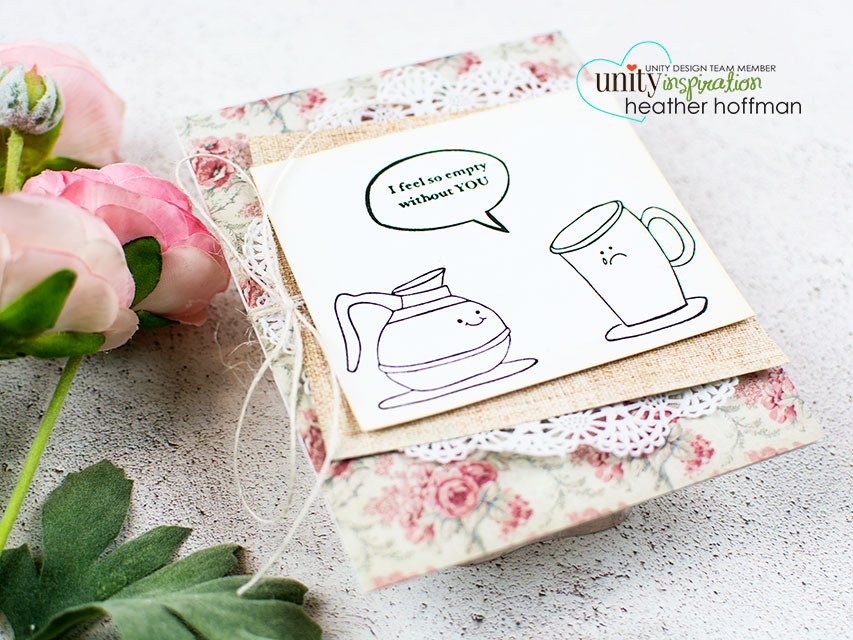
Then I stamped, softly colored, and fussy cut out the bunny from Showers and Flowers Stamp set (from a previous card kit - but available individually). I also added a pom-pom for the tail (that had also come in the kit). I also heat embossed an additional sentiment from the stamp set on a small piece of black cardstock.

I used some Lawn Fawn plaid pattern paper, die cut a partial circle out of the corner using Simon Says Nested Circles Dies, and fit some Green Apple Cardstock behind the negative piece.I layered all the elements in that circle, then finished off with a few White Gloss Nuvo Drops.

Also linking this up with the current Simon Says Stamp Wednesday Challenge - Anything Goes (they are having a Design Team call by the way as well - you may want to go check it out!

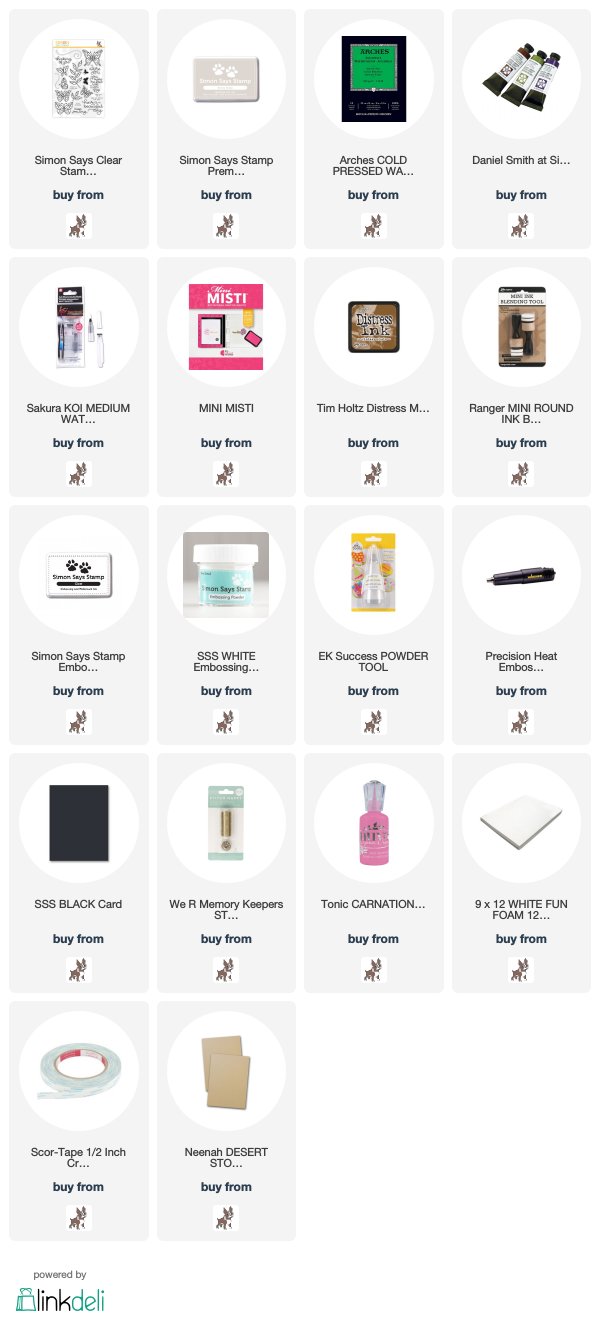
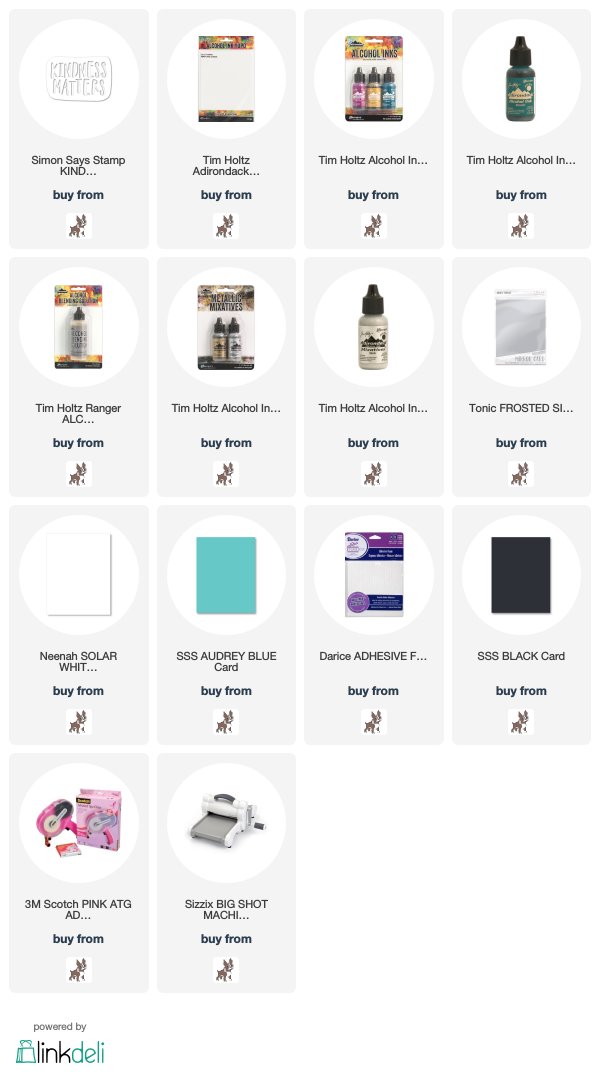
Product links are all below - including affiliate links where possible, which simply means if you use one of the links below that I receive a small commission at no additional cost to you. Thanks so much for stopping by! Have a wonderful day!!!