Thursday, February 29, 2024

Castle Wishes Cards - Simon Says Stamp

 Good morning! I have a couple cards to share with you using a mix of a few somewhat newer supplies from Simon Says Stamp - and creating a couple of magical princess cards! I thought the castle in the slightly newer Once Upon a Time stamp set would be fun to feature for some emboss resist - and I love the bright monochromatic effect on these cards in 2 different colors schemes! So fun to create!

I started off by die cutting a banner from Basic Banners dies, then lining up the castle image near the top of it, and heat embossing clear embossing powder. Then, I used two tones of Pawsitively saturated inks to blend over the top, which made that embossed image pop. I faded down to white at the bottom, and used that area to stamp my sentiment in crisp black. I added a few tone on tone sparkles from the stamp set in the deeper shade of ink already blended on. For the background, I used some panels embossed with the Dibble Tile embossing folder, and layered some strips of colored cardstock in coordinating colors at a diagonal behind the banner. Finished off with a few sparkly clear drops from Pinkfresh in coordinating tone on tone colors! Here are more photos of these finished cards:


Product links are all below - including affiliate links where possible, which simply means if you use one of the links below that I receive a small commission at no additional cost to you. Thanks so much for stopping by! Have a wonderful day!!!


Tuesday, February 27, 2024

Friend Shaker Card - Pinkfresh Studio Instagram Release Hop

Hello! Today I am part of a fun Instagram hop to celebrate the new Pinkfresh Studio February "Pure Joy" Release. There are giveaways up for grabs, so hop on over to check that out if you haven't yet! I have had so much fun creating with this release - yesterday was the blog hop, and I shared a LOTS of cards for that! Today I'm sharing a a fun die cut card I created on YouTube Live earlier this week with Lea Lawson using similar sets but in slightly different ways. You can watch that video HERE if you want to see more details!  

Here is the replay of the live video if you'd like to watch it here:


Product links are all below - including affiliate links where possible, which simply means if you use one of the links below that I receive a small commission at no additional cost to you. Thanks so much for stopping by! Have a wonderful day!!!


Monday, February 26, 2024

Pinkfresh Studio February 2024 “Pure Joy” Release

Good morning! Today is the blog hop to celebrate Pinkfresh Studio's February 2024 "Pure Joy" Release! You aren't going to want to miss a stop along the way - TONS of inspiration and prizes up for grabs! YAY! You can find links to all of the new release items I used on today's cards at the bottom of this post! We are starting off 2024 with a great release - can't wait for you to see it all! 


We also have a special freebie promo to celebrate the release! You can get the Gatsby Frame hot foil set for FREE with any $50 or greater purchase, while supplies last! No code needed - it will automatically be added to qualifying orders. 


All right - now that we've gotten past all the introductory information, how about we get to the cards with the new release! I only have 2 cards to share today - I'm blaming that on all the preparations needed for our last Create and Connect Cardmaking Event that was this past weekend - there just wasn't as much time as I would have liked to create all the cards in my head!

First up - I have this card using a fun new stencil and die combo:


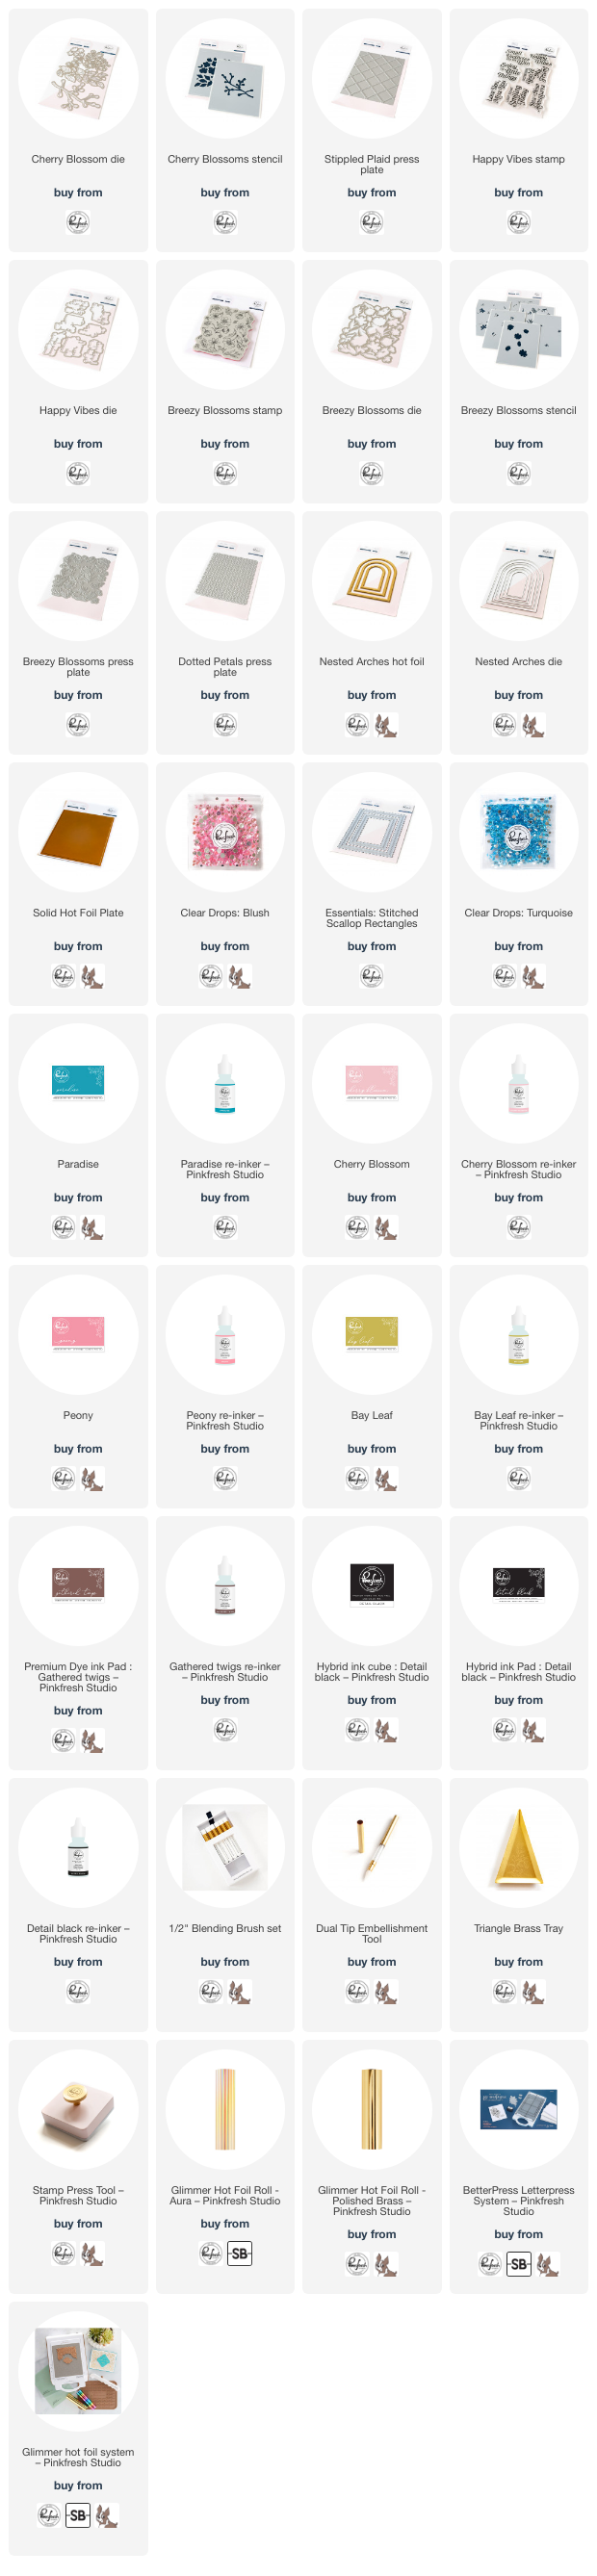
We released a new concept of dies last month, and the new Cherry Blossoms set follows up on this - a layering stencil to quickly add color to multiple layers, then coordinating dies with details to cut those out - so you can quickly and easily create textured floral elements! Super fun! I layered them over a background created with the new Stippled Plaid press plate - and since press plates work so beautifully for hot foiling,  I used it to create a foiled background. I also added a Nested Arch to tuck my cherry blossom branch into, and added a sentiment from the new Happy Vibes sentiment set! A few Clear Drops in Blush finish this card off! Here are some more photos of the finished cards:


Next u - I used one press plate with the Betterpress plate, and a different one to hot foil! Love the options!


The new Breezy Blossoms stamp set is going to be super popular I know! I used the press plate with Paradise ink, then used the coordinating die to cut out all the little pieces. The background was created with the new Dotted Petals press plate, also hot foiled for this one. Sentiment is another one from the Happy Vibes stamp set, and I added a Scallop Stitched Rectangle to frame it all up. A few Clear Drops in Turquoise finish this card off. Here are more photos of this card:


GIVEAWAY INFO:

Make sure and leave a comment before you leave for a chance to win one of 10 $25 gift certificate to Pinkfresh Studio chosen from comments left across the hop! All winners will be chosen and posted on the Pinkfresh Blog on Monday, March 5, 2024 - so make sure and check back to see if you were a winner! Winners must check that page and claim their prize within 2 weeks.

Here is the entire blog hop line-up so you don't miss a single stop - and product links are below - including affiliate links where possible, which simply means if you use one of the links below that I receive a small commission at no additional cost to you. Thanks so much for stopping by! Have a wonderful day!!!

You are invited to the Inlinkz link party!

Click here to enter

Sunday, February 25, 2024

Sending Love Tulip Trio - Simon Says Stamp Splendor Release

Good morning! I wanted to pop by today to share a cute little mini slimline card using a stencil from the new Splendor Release from Simon Says Stamp - I felt like it was a super cute one to do in a repeating pattern, and a mini slimline was the perfect size canvas for it!


I used the new Tulip Stem stencils, starting with the greenery, since that was the widest part, so it would be easiest to plan my spacing from that part. Then I layered on the upper floral parts - I miscalculated the height, and it cut off the top of the flowers (oops!) - but I ended up kind of liking the effect anyway, so I just went with it. I needed to soften the start white of the background, so I used some residual ink on the brushes to add some soft color in the same tones to just add the lightest of color on the background at the top and bottom. I stamped a sentiment from two different stamp sets in black on the stenciled image, and then added a few ombre glitter drops for a touch of sparkle. If it wasn't for those, this would even be a one layer card! Here are some more photos of the finished project: 


Product links are all below - including affiliate links where possible, which simply means that if you use one of the links below, I receive a small commission at no additional cost to you. Thanks so much for supporting my blog, and stopping by! Have a wonderful day!!!


Tuesday, February 20, 2024

Vintage Floral Layer Cards - Simon Says Stamp March Card Kit

  Hello! I'm popping in to share a couple more cards using the new March 2024 Simon Says Stamp Card Kit -  Mix and Match Butterflies! This month's kit is full of fluttery fun! The included stamp set by the same name has some lovely butterfly images and sentiments, and there is a coordinating die for one of the butterflies! There is also a fun embossing folderlovely pattern paper and some cute embellishments...that's all not to mention the cardstock, envelopes, and more! 

The monthly card kit has even more perks now when you sign up for the new Subscription service! There is a video HERE you can watch to learn more!


For these cards I mostly focused on the fun Tim Holtz acetate ephemera and the pattern paper. I layered those up, and decided to use acetate to attach them together. To add a bit more interest, I used the tiny heart die in the kit on the matte gold cardstock, and added those with the staples through all 3 layers. I also tucked my stamped sentiments under one of those hearts, and attached it on the outer edge with a bit of foam adhesive. I finished off with some of the cute gems in the kit, and adhered it all to a white cardbase! Here are more photos of these cards:


Here is a closer look at the entire kit contents - you can see it all HERE:


Product links are all below - including affiliate links where possible, which simply means that if you use one of the links below, I receive a small commission at no additional cost to you. Thanks so much for supporting my blog, and stopping by! Have a wonderful day!!!