Good morning! Since I was traveling again when my kit arrived, then arrived home to the bustle of Christmas preparation, I'm a little late sharing my cards, but wanted to pop in with a second one using the (fairly new!) January 2022 Simon Says Stamp Card Kit - Snow Love! This month's kit is all about the wintery snowflakes, with lots of fun embellishments! The included stamp set by the same name has some punny snow sentiments and some lovely snowflake images, a gorgeous and intricate snowflake die, there is a pack of lovely color blend cardstock, a full size Pawsitively Saturated ink pad, some sparkly glitter paper, metal embellishments, Glossy Accents and water brush...that's all not to mention the cardstock, envelopes, and more!
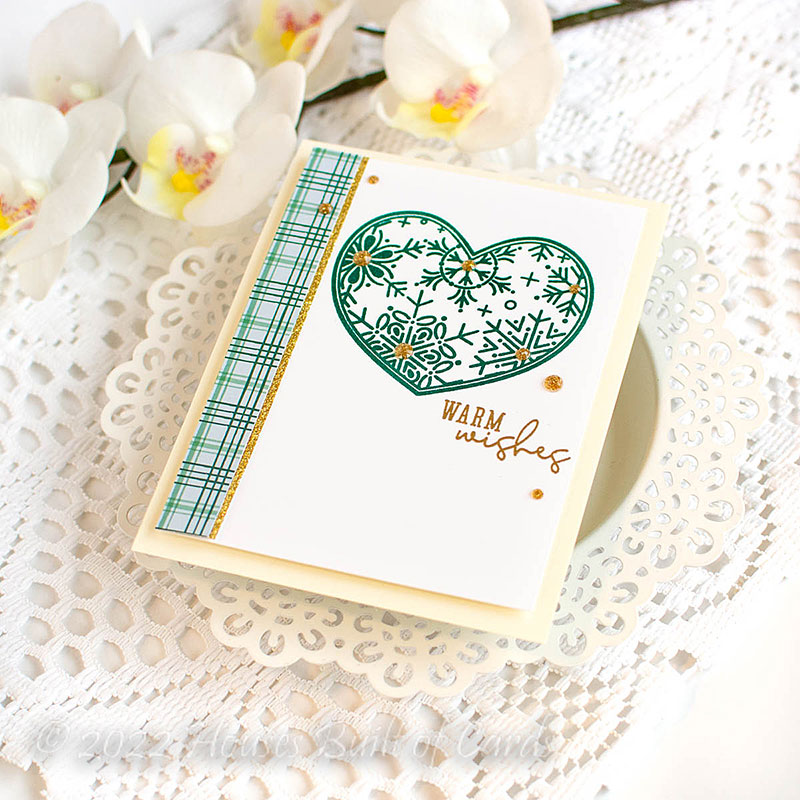
Today I'm sharing a second card, featuring slightly more masculine tones, and you know I love a touch of good plaid pattern paper!
I actually started off by stamping that cute snowflake heart with the included Aegean Pawsitively Saturated ink that is included in the kit. I stamped it several times with my MISTI for a nice juicy image, then heat embossed over it with clear embossing powder to add a touch of shine.
Underneath that, I stamped my sentiment from the stamp set, heat embossing it in gold.
I went looking for pattern paper that would match, and discovered that this plaid paper scrap leftover from another card earlier this month was a perfect match! It just needed a touch of gold to make it shine so I added a bit of gold glitter paper underneath, leaving a bit peaking out.
I popped that panel up with some foam adhesive on an Cream cardbase (I so love white and cream together for neutral contrast!), and then finished off with a sprinkling of Pinkfresh Gold Glitter Drops.
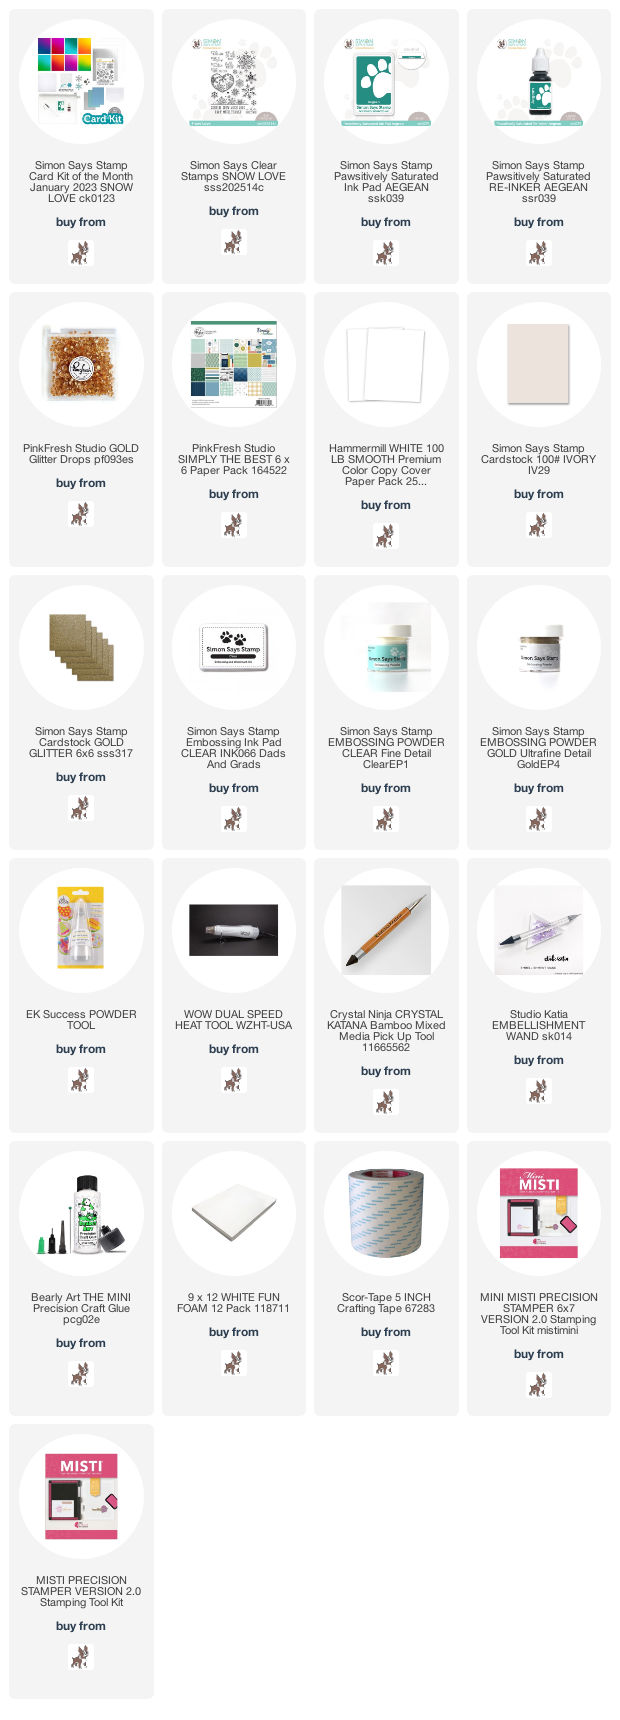
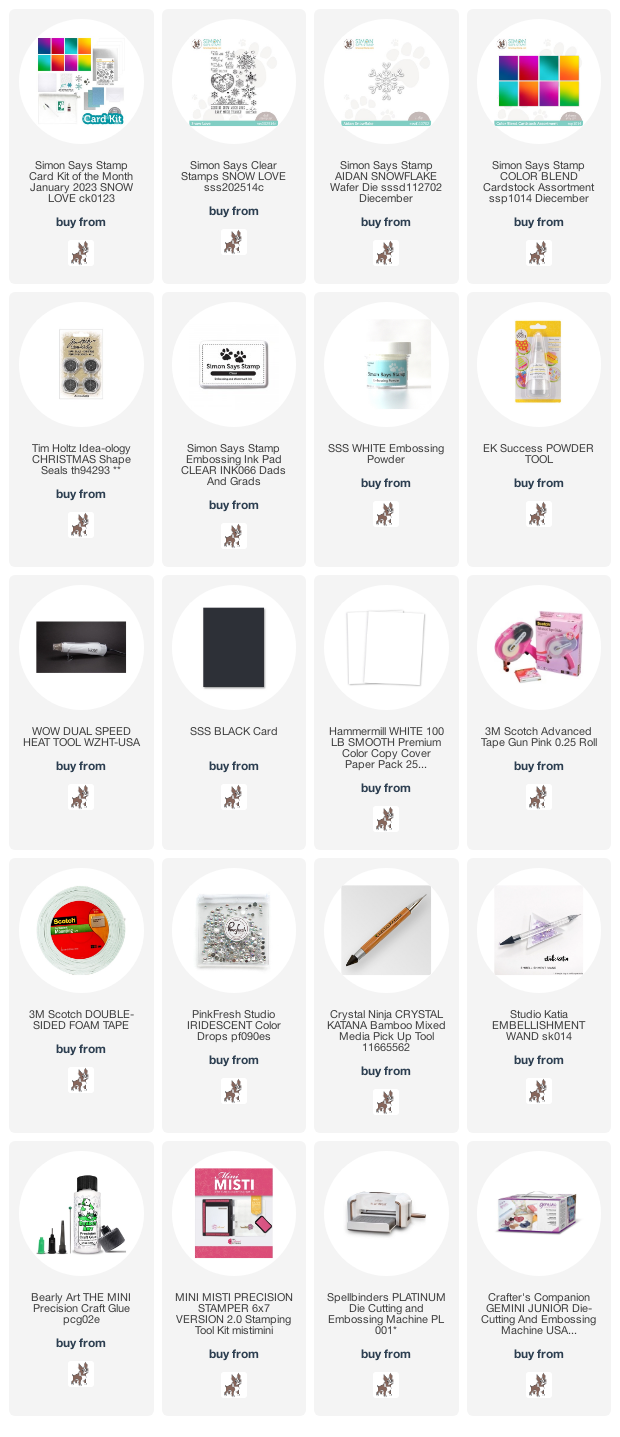
Here is a closer look at the entire kit contents - you can see it all HERE:
If you haven't picked up your kit, there is still time! :)
Product links are all below - includingaffiliate links where possible, which simply means if you use one of the links below that I receive a small commission at no additional cost to you. Thanks so much for stopping by! Have a wonderful day!!!
Good morning! I'm doing my best to catch up posting ALL the final cards from previous Pinkfresh Studio's YouTube Lives - and unless I've forgotten something, I think this is the LAST one! This one is truly a catch up one, since it is from a couple months ago. And, as I have sometimes done before, I created this one card live, then also created a second one with the leftover pieces. Keep scrolling to see the other one! You can watch the video replay HERE if you want to see more details and watch these cards come together.
Here is the replay of the live video if you'd like to watch it here:
I had fun with the combo of oranges and rich teal tones on this card!
I created a deep teal cardbase, and used the Stitched Diamonds cover plate to add some detail to the background. Thanks to the fact it doesn't have a cut edge on it, I could use it directly on the cardbase which was fun!
I used Nested Diamonds hot foil and one of the Satin Metallic foils to create a diamond frame, using the Nested Diamonds dies to cut the outer edge only, and popped it up on the background.
I used the Go For It hot foil plate to foil the flowers, then colored them in with the coordinating layering stencils. I used oranges for the florals, then a mix of aqua and blue for the greenery - which mixes together beautifully!
I used liquid glue at the base of the florals, then a touch of foam adhesive behind each of the flowers for dimension.
Sentiment is heat embossed with the Go For It stamp set, then die cut with the coordinating die, and of course, popped up with foam adhesive! Finished off with a few Peach Fuzz jewels to embellish! Love how they fit on there super neutral, but add a touch of sparkle!
Of course, I had to use the Solid Hot Foil plate to foil the reverse of the florals and the diamond, and then I needed to use those on a card as well! I also was able to use the negative cut from the diamond on the first card.
I used the Stitched Diamonds coverplate die on the cardbase again, then attahced the negative cut from the first card over the top with foam adhesive.
I die cut both sides of the solid foiled Nested Diamond to tuck into that frame space. Before adhering it, I tucked in the solid foiled florals, trimming the bottom as necessary so they would fit.
The frame was added with foam adhesive again, and I tucked most of the tops of the florals over the top edges of the frames, using foam adhesive as needed.
For the sentiment on this one, I actually used the Sentiment Suite: Thank You die, using vellum for the shadow layer, and actually die cutting the thank you from some of the center solid foiled pieces! Wonderful way to not waste, right?
I adhered that in the corner, using tiny dots of liquid glue under it to adhering it down.
Finished off with a few Matte Metallic Gold Pearls - they match the satin foil so perfectly!
I love how this is similar, but adds a certain elegance because it is completely white and gold!
Product links are all below - including affiliate links where possible, which simply means that if you use one of the links below, I receive a small commission at no additional cost to you. Thanks so much for supporting my blog, and stopping by! Have a wonderful day!!!
Good morning! I'm doing my best to catch up posting ALL the final cards from previous Pinkfresh Studio's YouTube Lives - this one is from just over a week ago, so not terribly long ago! I created this two for one design using the same layering stencils on both, but pairing it up with the coordinating stamp set for one of them! You can watch the video replay HERE if you want to see more details and watch these cards come together.
Here is the replay of the live video if you'd like to watch it here:
I used the beautiful Blooming Peony stamp set for this first card, heat embossed in gold. I love how it keeps with the soft color scheme, but also adds that lovely detail!
For both cards, I used a soft and fairy neutral color combo - since I was creating sympathy cards, I wanted the colors to reflect that.
For this first card, I stamped my sentiment in Detail Black, then die cut it with the coordinating die. I love that all the sentiments in this beautiful set have coordinating dies as well! I popped it up on a bit of foam adhesive of course.
The second card uses the exact same stencil and colors, just without the coordinating stamp set. It has a lovely softness - since the stencils have a layer for the background, it's like you can make your own pattern paper!
I almost changed my mind on the colors as I went along, and I do think the leaves would have looked lovely in green, but I'm kind of glad I stuck with the neutrals as planned. It has such a fun look that way! I also stamped my sentiment directly on the background this time, then trimmed the panel and popped up with foam on my white cardbase.
A few Champagne Glitter Drops to embellish, and these cards are finished!
Product links are all below - including affiliate links where possible, which simply means that if you use one of the links below, I receive a small commission at no additional cost to you. Thanks so much for supporting my blog, and stopping by! Have a wonderful day!!!
Good morning! Since I was traveling again when my kit arrived, then arrived home to the bustle of Christmas preparation, I'm finally just popping in to share my first card using the (fairly new!) January 2022 Simon Says Stamp Card Kit - Snow Love! This month's kit is all about the wintery snowflakes, with lots of fun embellishments! The included stamp set by the same name has some punny snow sentiments and some lovely snowflake images, a gorgeous and intricate snowflake die, there is a pack of lovely color blend cardstock, a full size Pawsitively Saturated ink pad, some sparkly glitter paper, metal embellishments, Glossy Accents and water brush...that's all not to mention the cardstock, envelopes, and more!
I have a bright and bold snowflake card to share today - and I love that the colors are a bit different than you would expect!
I had this idea to cut out negative spaces from the the pretty Color Blend cardstock in the kit using the included Aidan snowflake die. I forgot that it didn't add the details of the snowflakes until I actually cut one out - duh! But I was committed at this point, and didn't want to waste the paper. So I finished cutting the partial snowflakes out to create the design.
Then, I die cut more snowflakes from white cardstock to set INTO the negative spaces! Way easier than adding all those little negative pieces from the pink ones. I definitely do NOT have the patience for that! I just adhered them with tiny dots of liquid glue in the centers, leaving the edges of the snowflakes to float free for dimension.
I added a sentiment from the included stamp set, heat embossed in white on black cardstock, and trimmed down to a strip, then each word cut apart.
Not wanting to waste it, I used one of those snowflakes (the whole one - haha!) to embellish the envelope. I added the Christmas Shape seal to the center as well to make it extra fancy! It isn't adhered down yet - since obviously the card isn't in the envelope. :)
Here is a closer look at the entire kit contents - you can see it all HERE:
This would be so easy to create in all those lovely colors in the kit - I just didn't have time to do those all yet!
Product links are all below - includingaffiliate links where possible, which simply means if you use one of the links below that I receive a small commission at no additional cost to you. Thanks so much for stopping by! Have a wonderful day!!!
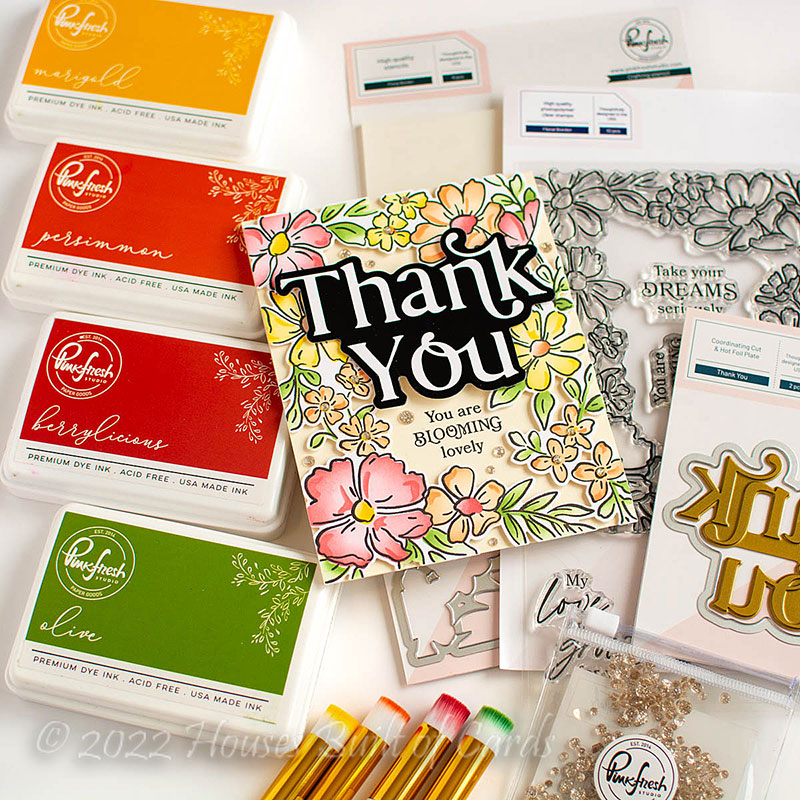
Good morning! Dropping by today to share a card I made last week for Pinkfresh Studio's Facebook Live. I used some of the newest release to make this colorful and fun design! You can watch the replay HERE if you want to see more details.
You can watch the replay here as well if you want to see it come together:
I used the beautiful Floral Border set - for this card I used the stamp, die, and layering stencils. It also has a gorgeous hot foil plate that can be used with the stencils and dies - but I wanted to show the stamp set a bit, since we had fewer examples using it that way.
I used the new mini blending brushes for these as well - those should be releasing sometime early in 2023 - we are excited about them! I used a fresh mix of colors to create the floral background - perhaps unintentionally inspired by my recent Hawaii trip! :)
The sentiment is from a new hot foil and die combo, and I used black foil and foiled both the original and the reverse image using the leftover foil. I ended up last minute switching to use the reverse foil on this card. I had a hard time deciding though!
I stamped a secondary sentiment in the center of the window under the main sentiment, using Detail Black ink.
Lots of foam adhesive on this card as well - of course!
And finished off with a few Champagne Glitter Drops in the centers of the small flowers, and then tucked a bit around the card.
Product links are all below - including affiliate links where possible, which simply means that if you use one of the links below, I receive a small commission at no additional cost to you. Thanks so much for supporting my blog, and stopping by! Have a wonderful day!!!
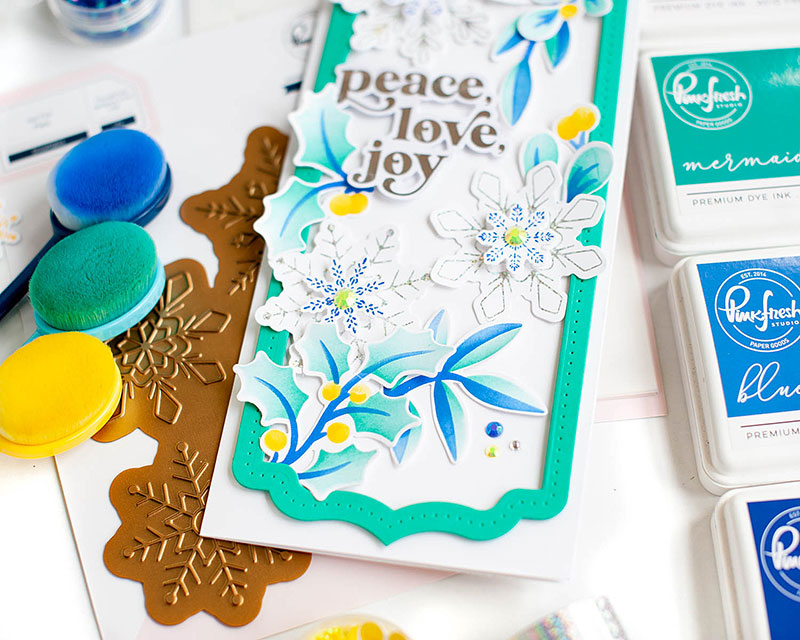
Good morning! Dropping by today to play some serious catch up! This is actually a card that Lea and I made TOGETHER for a fun surprise Pinkfresh Studio's YouTube Live when I was visiting her earlier this year. We worked really hard to keep the visit a secret, so I could pop on and we could do a live in person together - and we had far too much fun. Lea has posted this already, but I am woefully behind, and wanted to quickly post it before Christmas was over. You can watch the video replay HERE if you want to see more details and watch this card come together.
Here is the replay of the live video if you'd like to watch it here:
We split up the plan for this card - we chose a couple sets to combine, and decided to do a slimline design. I chose some fun non-traditional colors for our holiday greenery, and Lea chose some fun sparkly foil for the snowflakes.
I love mixing different color families, and this was no exception. Combining aquas and blues for the greenery was super fun! And I love the pop of happy yellow berries. So unexpected, but fun!
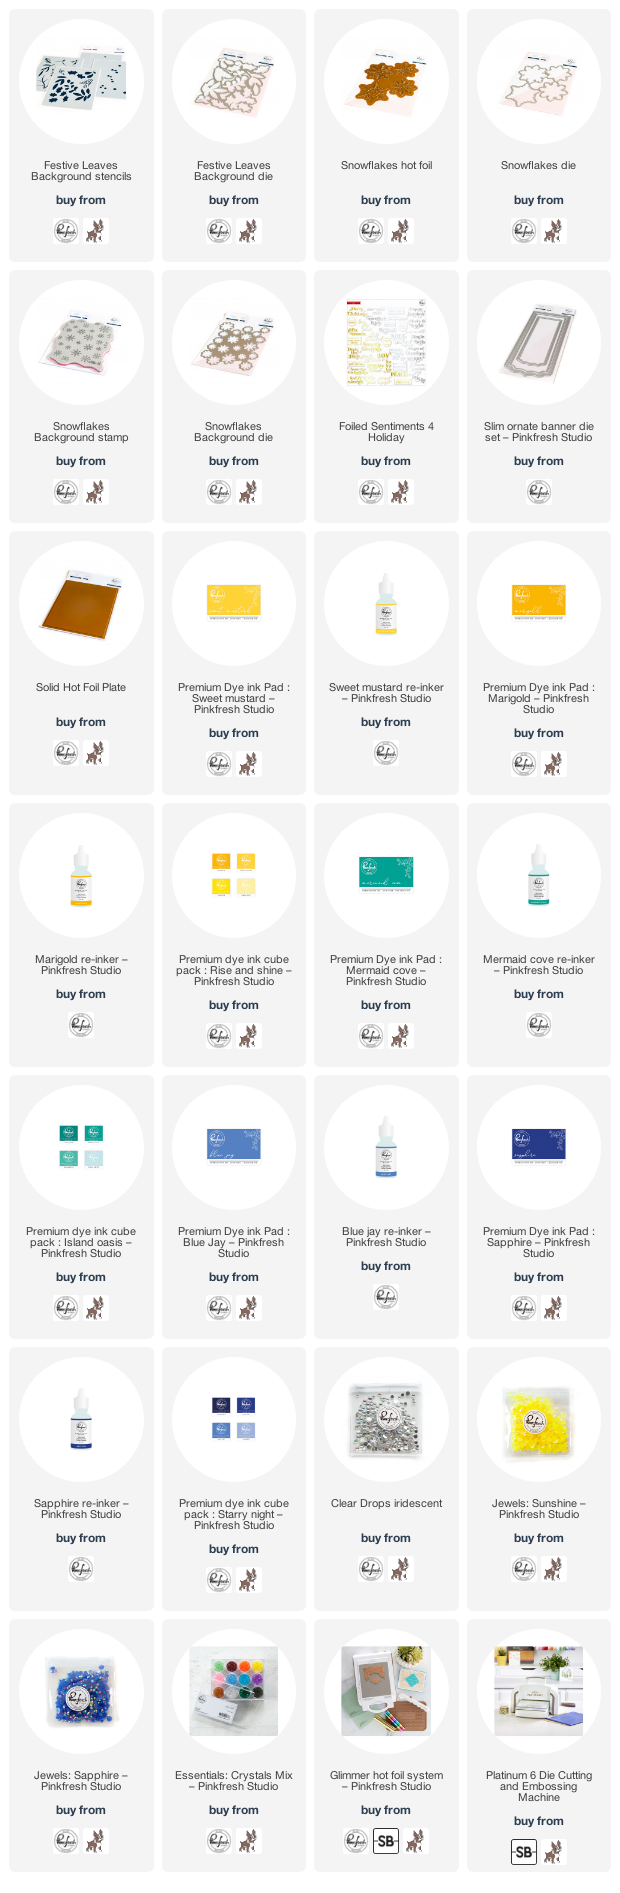
The snowflakes were foiled with silver holographic hot foil, and cut with the coordinating die. We added some little snowflakes to the centers of the larger ones to add a dimensional look, and added sparkly jewels as well.
We created a frame for our card with some aqua cardstock, and the Slim Ornate Banner die. It matched so fun and perfectly!
Sentiment was from the popular Foiled Sentiments - this time the Holiday version. I love how easy they make holiday cards!
We finished off with some sparkly trios of bling!
Product links are all below - includingaffiliate links where possible, which simply means if you use one of the links below that I receive a small commission at no additional cost to you. Thanks so much for stopping by! Have a wonderful day!!!