Friday, January 29, 2021

Be a Mermaid - Simon Says Stamp

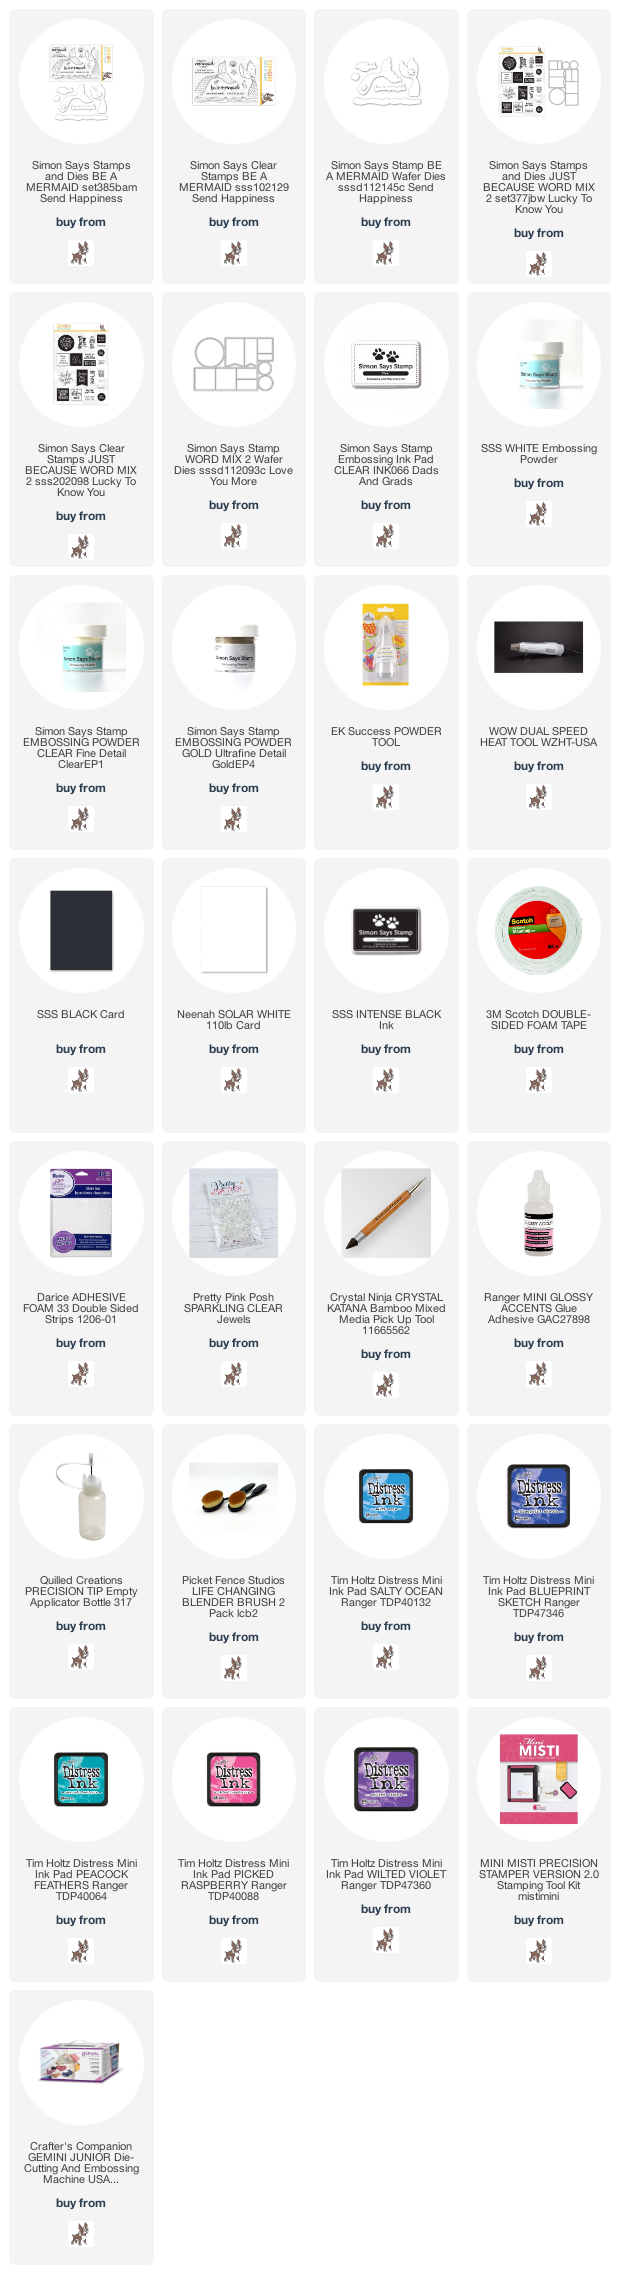
 Good morning! I'm stopping by this morning with a fun card using a super cute stamp set from Simon Says Stamp paired up with some bright distress ink blending and heat embossing for a fun and happy card!

I mostly used the fun Be a Mermaid stamp set and dies for this card - all heat embossed, and each one with a different color of embossing ink! The tails were embossed with gold embossing powder, and blended with Picked Raspberry and Wilted Violet distress inks.


The waves I heat embossed 3 times with clear embossing powder, and then ink blended one with Salty Ocean, one with Blueprint Sketch, and one with Peacock Feathers.


I layered the waves at the bottom on thin strips of foam adhesive, slightly overlapping each one. The center one I rotated around 180 degrees to provide some variation in the wave appearance. I then tucked the mermaid tails into different layers of the waves, adhered them down with liquid glue, and added foam adhesive to the top of the tails.


I heat embossed one of the sentiments from the stamp set that also has coordinating dies, and then added a secondary sentiment from Just Because Word Mix 2, cut out with the coordinating dies. Finally, I added a few Pretty Pink Posh Sparkling Clear Jewels to add the effect of bubbles - the perfect finishing touch!


Product links are all below - including affiliate links where possible, which simply means that if you use one of the links below, I receive a small commission at no additional cost to you. Thanks so much for supporting my blog, and stopping by! Have a wonderful day!!!


Wednesday, January 27, 2021

Butterfly Heart Sympathy Cards - Simon Says Stamp

 Good morning! I'm stopping by this morning with a couple cards using a stencil set from Simon Says Stamp that I hadn't yet had a chance to ink up - paired with my favorite sympathy stamp set to create a pair of simple sympathy or encouragement cards.


I also found myself pulling out the 3 newest Distress Ink colors to blend together - I always love new color combos, and thought it would be fun to mix and match with these.


For the first one, I blended Speckled Egg on the top, and Crackling Campfire on the bottom of the stencil. Since these colors were slightly brighter and happier, I mixed and matched a sentiment that was more encouraging than sympathy. Love that I can use the Moments of Grace stamp set for that kind of sentiment as well.


The second combo is slightly more muted tones - I still used Speckled Egg on the bottom half of the stencil, but used Rustic Wilderness for the top of the stencil. With the more muted tones of this one, I used a more directly sympathy sentiment for this one.


I kept both of these cards simple and one layer - I was tempted to add some embellishments, but decided to leave them absolutely one layer and easy to mail this time around.


Which color combo do you like best?


Product links are all below - including affiliate links where possible, which simply means that if you use one of the links below, I receive a small commission at no additional cost to you. Thanks so much for supporting my blog, and stopping by! Have a wonderful day!!!


Tuesday, January 26, 2021

Love, Hugs, and Birthday Wishes - Pinkfresh Studio Facebook Live Cards

Good morning! Dropping by today to share a card I made last week for Pinkfresh Studio's Facebook Live, as well as a card I made with the extra piece I had made as a sample element! You can watch the replay HERE if you want to see more details.  

This first card is the one we created on Facebook Live together - I love the soft and non-traditional colors for a bouquet - so fun! 


I blended the Garden Florals Layering stencils with Peach Fuzz, Coral Reef, Passion Fruit, Ocean Breeze, Aquamarine, Misty Coast, and Rocky Slope, then die cut them out with the coordinating dies. 


 We added some texture to the cardbase using Diamond Motif stencil, and Peach Fuzz ink to coordinate, and then layered together with one of the Essentials: Stitched Scallop Rectangles die cut from soft blue cardstock, and layered with two others die cut from white cardstock. Sentiment is from Love and Hugs stamp set, and a few sparkly jewels finish this first card off!


For the second card, since I had a spare one of the Garden Florals stenciled in advance, I decided to create a second card with that instead of wasting it!


For this one, I used a vertical format instead of horizontal as with the previous one. The fabulous Stitches background die is the perfect pop of texture, die cut with the largest Stitched Rectangle, and mounted on a soft gray cardbase.


I added the florals with foam adhesive, and a sentiment from Make a Wish that I heat embossed on a bit of black cardstock, then fussy cut out. Of course had to finish this one off with a few sparkly jewels as well!


What do you think of this color palette? What colors would you choose to use for this stencil? I also love the versatility of being able to use this stencil both on a vertical card (which seems the most obvious logical choice), and also on a horizontal card in a bit different way than you would naturally expect!


Make sure and put Thursday's on your calendar to join in our Facebook Lives with Pinkfresh Studios - one lucky participant wins a $15 gift card each week, and we have lots of fun chatting and crafting together - 10 AM PST/1 PM EDT time HERE on the Pinkfresh Facebook Page!


Product links are all below - including affiliate links where possible, which simply means that if you use one of the links below, I receive a small commission at no additional cost to you. Thanks so much for supporting my blog, and stopping by! Have a wonderful day!!!


Monday, January 25, 2021

Double Layer Embossing and Ink Blending - on the Unity Stamp Company Blog

Good morning! I'm back with another card for my series on the Unity Stamp Company Blog this morning! I'm so excited to be featuring the amazing Kit of the Month on Monday's on the Unity Stamp Company Blog! Since the Kit of the Month was the first thing I purchased from Unity, and what got me hooked to begin with, they hold a special place in my heart, so I'm super excited about this opportunity to give these kits some love! You can check out all the details HERE for today's card!


Thanks for stopping by today - have a WONDERFUL day!!!


Friday, January 22, 2021

Deer in the Woods - Simon Says Stamp Love You, Too Release

Good morning! I'm here to share a couple cards using a new stamp set from the NEW Love You, Too Release from Simon Says Stamp - paired up with a few previously released items. I absolutely love this new Forest Scenery stamp set, and thought it would be perfect to create some guy theme cards! 


I originally was planning to create these in two different colors schemes - but I fellin love with these soft greens and blues, and felt like they both worked so well for the guy theme I was going for. I'm sure I will play more with this stamp set in the future with more color combos!


For this first card, I added sentiments using Just Because Word Mix stamp and coordinating die - and Clean Lines Everyday for the smaller stamped supporting sentiment.


For this second one, the sentiment was stamped entirely with Clean Lines Everyday - love the basic sentiments included in this stamp set, and look forward to using them lots more in the future!


I used Pinkfresh Studio inks in Fresh Pear, Summer Shower, and Olive to stamp the trees, and die cut each panel with Stitched Rectangles dies.


Finished off by mounting each panel with foam adhesive on Ivory card bases. I love mixing white and ivory cardstock together lately - the tiny bit of contrast and soft color makes me so happy!


Product links are all below - including affiliate links where possible, which simply means that if you use one of the links below, I receive a small commission at no additional cost to you. Thanks so much for supporting my blog, and stopping by! Have a wonderful day!!!


Thursday, January 21, 2021

Pinkfresh Catch Up Cards

Good morning! So...I'm sadly and woefully late posting these cards - I just never quite got around to finish posting them here! They were actually created a year ago - in January 2020 for Creativation as samples for the tradeshow booth with the newest release. Since I didn't get them posted, I don't have info on every supply I used anymore...but I will try to get most of them linked up below. In the meantime - here are a whole bunch of photos to scroll through...and so I at least have them posted somewhere as a reference! 


Product links are all below - including affiliate links where possible, which simply means that if you use one of the links below, I receive a small commission at no additional cost to you. Thanks so much for supporting my blog, and stopping by! Have a wonderful day!!!