Showing posts with label Bakers Twine. Show all posts

Thursday, November 5, 2026

Gift Tag Ornaments - Simon Says Stamp Joy For You Release

Hello again! I've got more to share using the BRAND NEW Simon Says Stamp Joy For You Release! This time I'm sharing some cute little gift tags, that also kind of double as ornaments. They came together so quickly - and you can even find these little wooden stars at Simon Says Stamp for a great price!


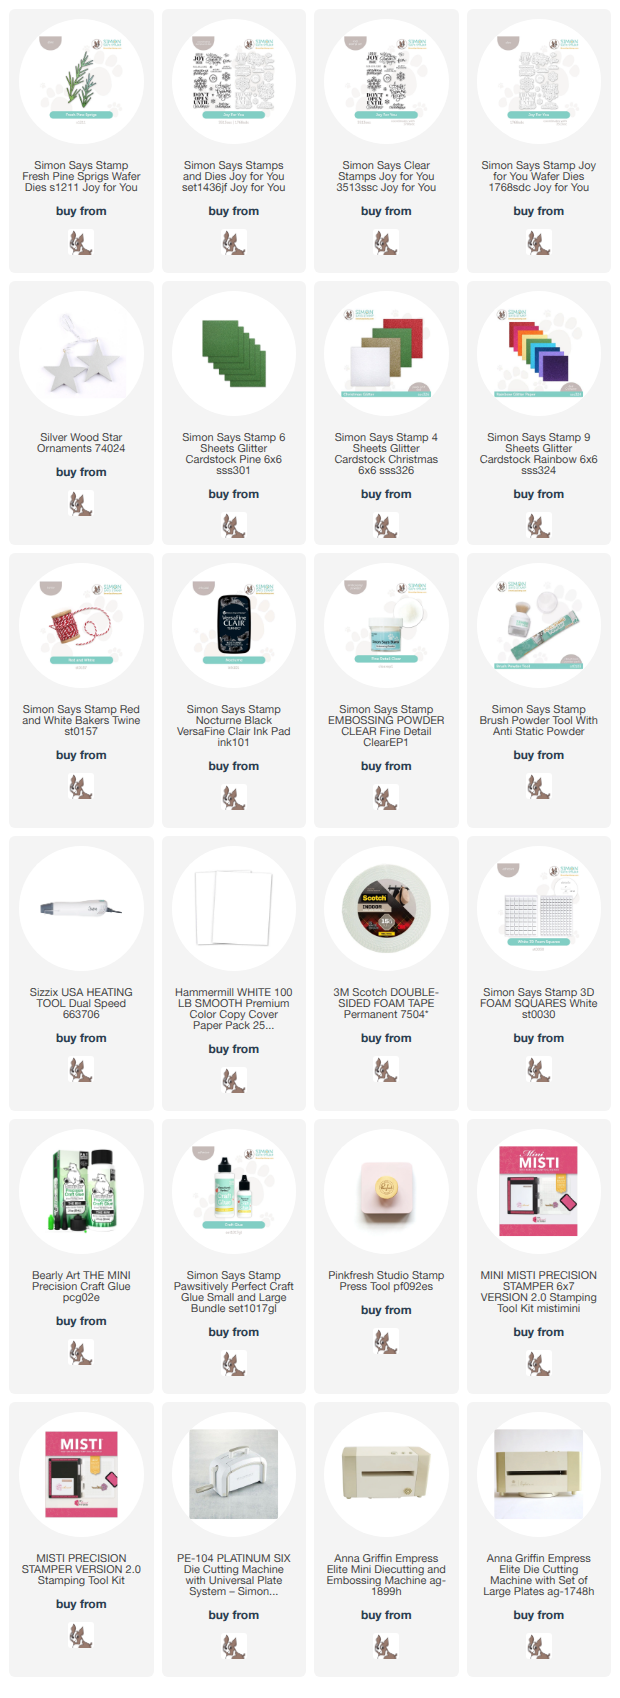
I started off by choosing two sentiments from the Joy For You set that fit the sizes of the stars well, and stamped in black and clear heat embossed before die cutting out. I pulled out the set of Silver Wood Star Ornaments, and die cut a couple of the new Fresh Pine Sprigs dies from the appropriately named Pine green glitter cardstock, layering those on with liquid glue. I popped the sentiments over the top with foam adhesive, and some extra liquid glue to make sure they would stay secure. I finished off by tying some Red Baker's Twine at the top! Here are more photos of the finished set:


Product links are all below - including affiliate links where possible, which simply means if you use one of the links below that I receive a small commission at no additional cost to you. Thanks so much for stopping by! Have a wonderful day!!!
 

Thursday, January 29, 2026

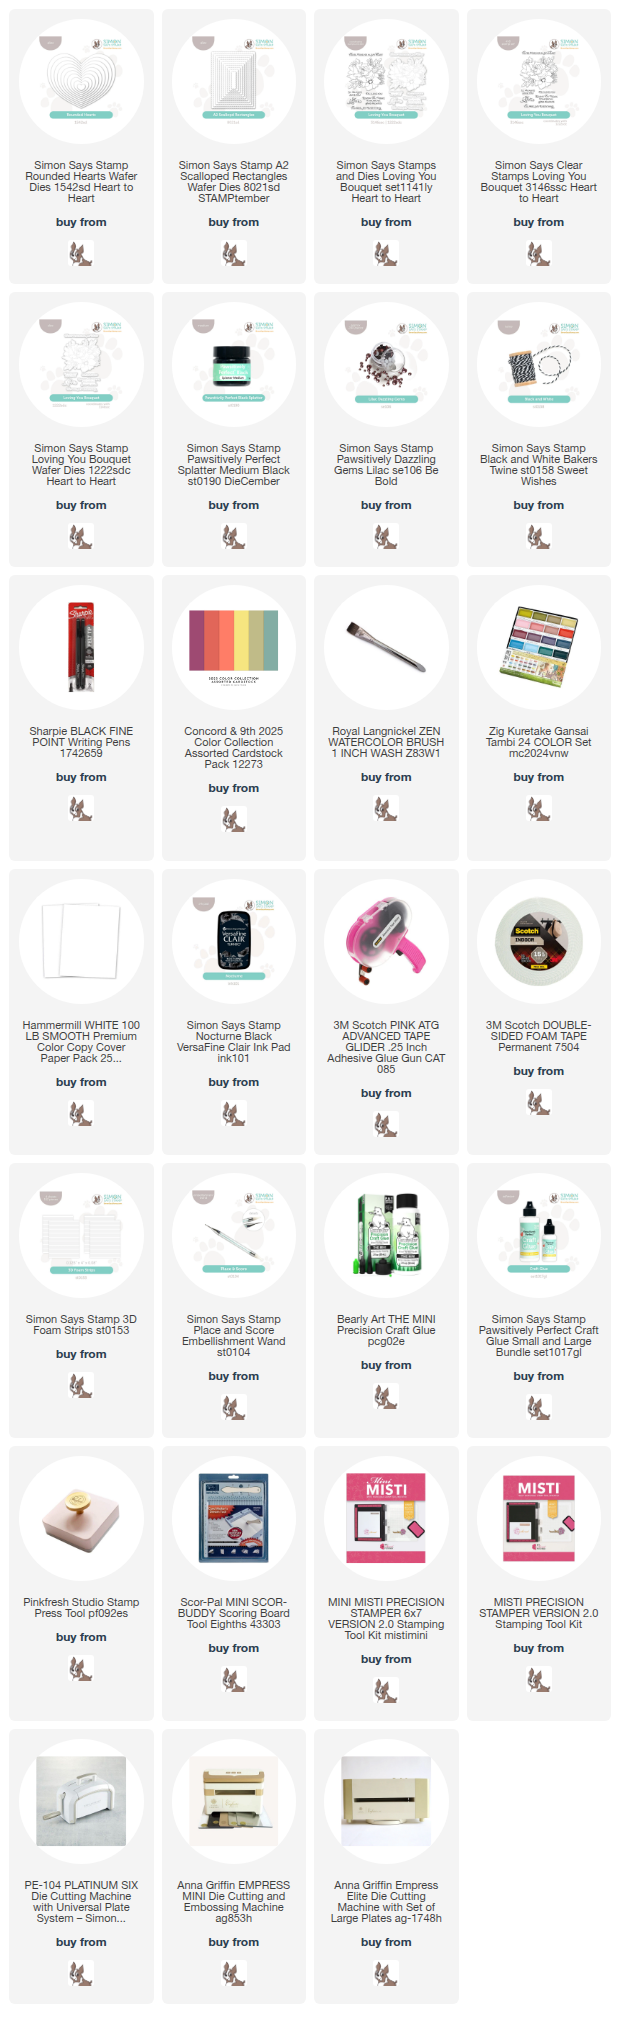
Forever in My Heart - Simon Says Stamp

Good morning! I've got a fun artsy-fartsy style card to share today, using lots of supplies from Simon Says Stamp, and branching out a bit more from my usual style! I had lots of fun creating this card!


This card started with my trying a random technique that sounded fun! I used one of the Rounded Hearts dies to cut from a panel of white cardstock, then used that as a stencil. On a panel of plain white cardstock (not even watercolor paper), I used my Gansai Tambai watercolors through the stencil. These watercolors function a bit as a gouache paint if you use less water, so I used a slightly damp wide paint brush, and 3 different colors to swipe over the stencil I created. I ended up with a touch too much moisture, so I didn't get as clean of lines as I had hoped for. Instead of giving up, I decided to run with that messy look! So I used a fine line Sharpie and drew some lines around the outside, drawing one as close to the edges as possible, one slightly inside, and one slightly outside. Then I added some black splatter to finish off the messy look. I loved how it turned out! I used a score board to add some scored lines for extra texture (hard to see in the photo), added a frame using A2 Scalloped Rectangles, tied arounds ome black and white baker's twine, stamped a sentiment from Loving You Bouquet, and finished off with a few Lilac Dazzling gems before adhering that entire panel on a coordinating cardbase created with Concord and 9th cardstock! Here are more photos of this fun and messy creation: 


Product links are all below - including affiliate links where possible, which simply means if you use one of the links below that I receive a small commission at no additional cost to you. Thanks so much for stopping by! Have a wonderful day!!!


Saturday, September 20, 2025

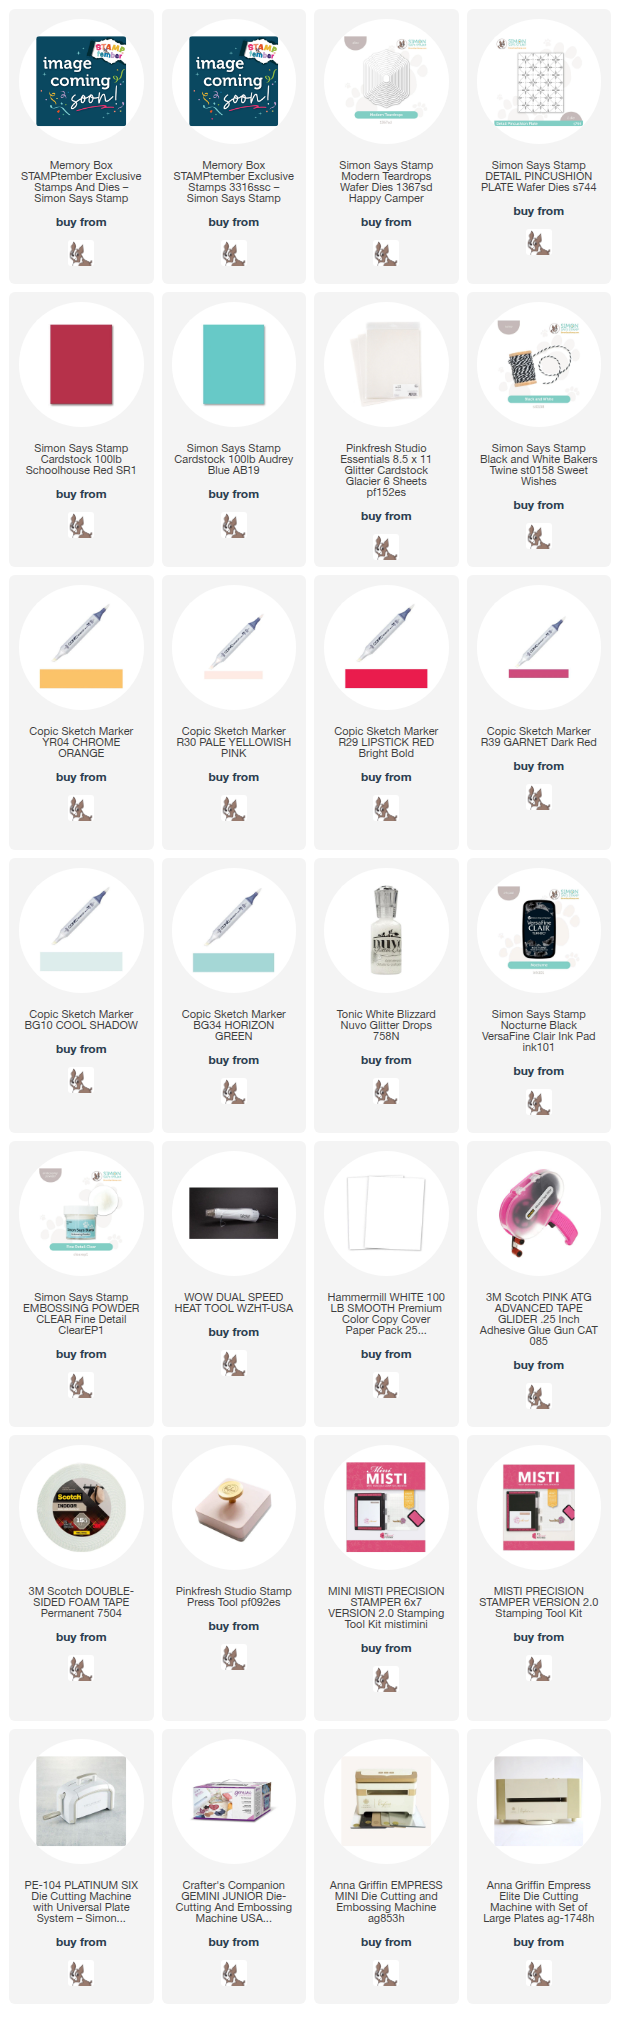
Winter Wishes Penguins - Simon Says Stamp STAMPtember Memory Box exclusive

 Good morning! I'm back to share a card using the next of the special STAMPtember collaborations throughout the month! Each collaboration is with one of your favorite companies, is limited edition, and only available while supplies last. When it's gone, it's gone! Today's special release is one of TWO that are all being revealed today - this one is Memory Box:


I had fun creating this snowy little scene! I stamped both the penguins from the set in black ink, and heat embossed with clear embossing powder, then die cut with the coordinating dies. I added some simple Copic coloring to the penguins, and then stamped and heat embossed the sentiment as well. I layered together a window die cut from one of the Modern Teardrops dies from Schoolhouse Red cardstock, a white Detail Pincushion plate layer over some Audrey Blue cardstock, and some Pinkfresh Glacier glitter cardstock at the bottom to ground the images. Added some Nuvo Blizzard glitter drops on parts of the image, then finished off with some Baker's Twine tied around the bottom of the card! Here are more photos of the finished card:


Product links are all below - including affiliate links where possible, which simply means if you use one of the links below that I receive a small commission at no additional cost to you. Thanks so much for stopping by! Have a wonderful day!!!


Friday, August 29, 2025

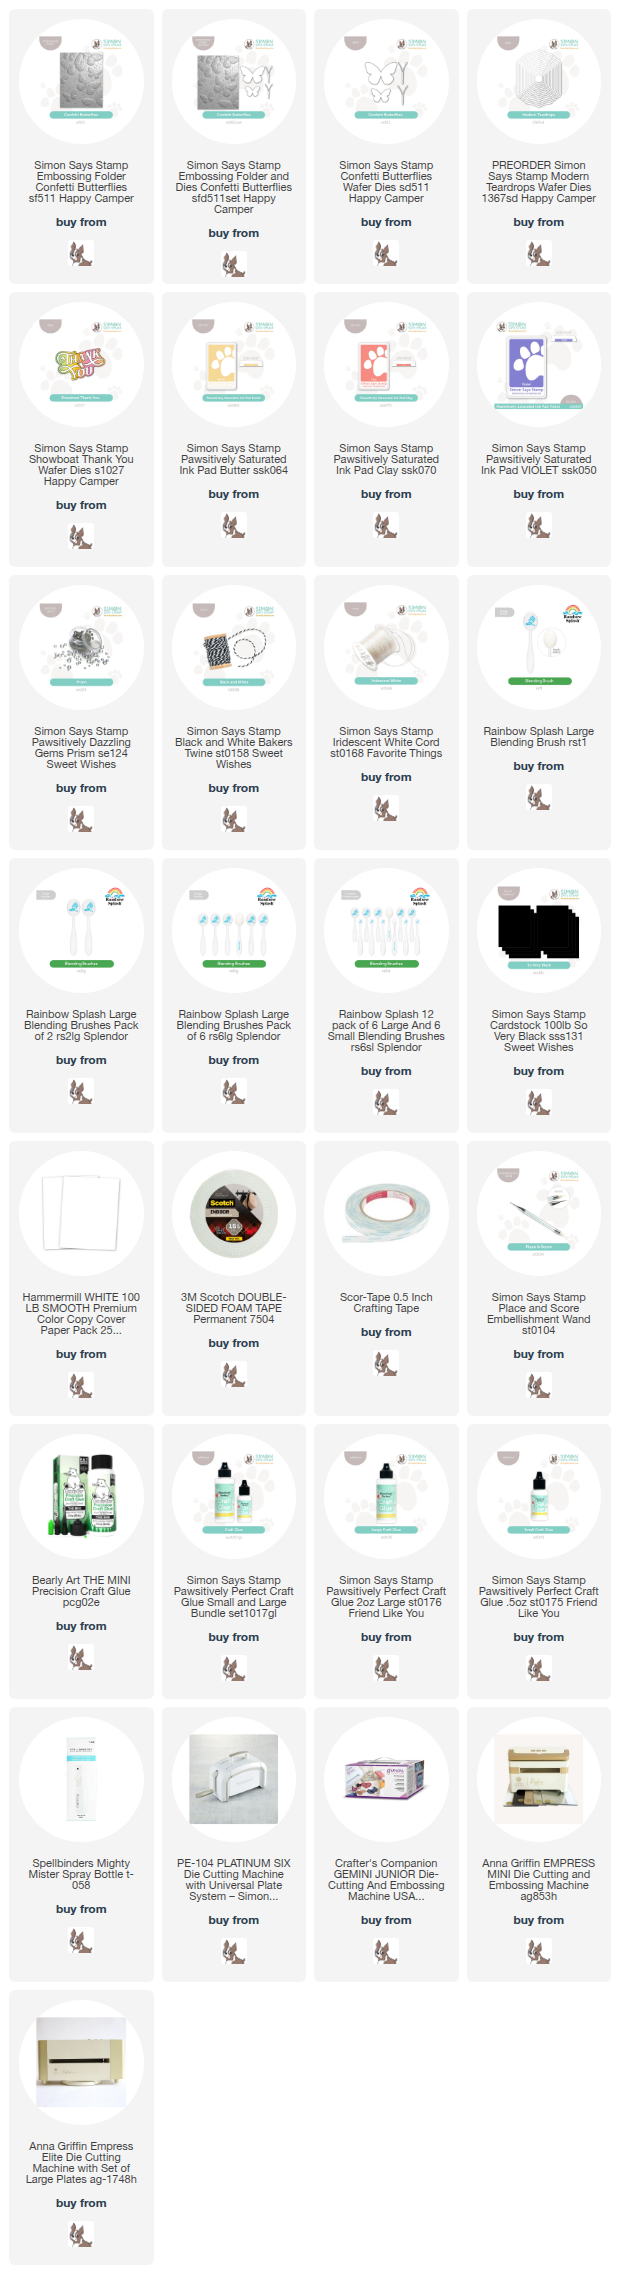
Butterfly Background Thank Yous - Simon Says Stamp

Good morning! Today I've got a couple of cards featuring an embossing folder from Simon Says Stamp, paired with some pretty ink blending and die cut sentiments! Isn't this color combo fun?!?

I started off with the Confetti Butterflies embossing folder, and embossed one full A2 panel of white cardstock, and then one panel that I first die cut with one of the Modern Teardrops dies. I lightly misted them with water before embossing, which allows for a deeper impression on the cardstock that I love! Once those dried, I grabbed a fun color combo of Pawsitively Saturated inks - Butter, Clay, and Violet (using a search for ombre gradients on Pinterest to give me some color inspiration). I blended the full panel softly with the color for a more pastel background, then on the die cut panel, I blended deeper to get a slightly more bold effect. For both of them, I used the back side of the embossed panels, which gives a different effect that is super fun! I used the negative from the die cut frame to create a window to put my whole panel behind, and then adhered the die cut background with foam adhesive on my cardbase. Sentiments are the Showboat Thanks die, using black cardstock for the shadow layer, and white for the main layer. Finished off with some Dazzling Gems in Prism on both cards, and then some Black and White Baker's twine on the bolder card, and Iridescent cord on the softer toned card. Here is a closer look at these finished cards:


Product links are all below - including affiliate links where possible, which simply means if you use one of the links below that I receive a small commission at no additional cost to you. Thanks so much for stopping by! Have a wonderful day!!!


Thursday, April 24, 2025

Tulip Get Well Soon Tag - Simon Says Stamp You Are My Favorite Release

 Hello! I've got another project to share today using the BRAND NEW You Are My Favorite Release from Simon Says Stamp - and instead of a card, I have a sweet little tag to share!


I love tulips - so I had to put this cute little image from the new I Love You a Bunch stamp set to work - and a tag seemed like the perfect place! I stamped with Copic friendly ink, then colored in with Copic markers (that have been neglected friends for far too long!). I used the adorable new Scalloped Floral Tag die, cutting the top part from Ivory glitter cardstock. I added some Ivory Faux Silk ribbon and a bit of Red Baker's Twine, a sentiment from Flowering Frame (another new stamp set), and a bit of sparkle to the blooms with Nuvo glitter drops in Blizzard! Here are more photos of this sweet tag: 


Product links are all below - including affiliate links where possible, which simply means if you use one of the links below that I receive a small commission at no additional cost to you. Thanks so much for stopping by! Have a wonderful day!!!


Monday, April 21, 2025

Birthday Stars - Simon Says Stamp

 Good morning! I needed another masculine card for my birthday stash, and since I also happened to have some items I hadn't had a chance to use yet, this seemed like the perfect combination! I used an embossing folder from a recent release, a die set that I recently ordered, and some pattern paper - all from Simon Says Stamp! 


I started off with the Nested Stars die set, and some pattern paper from Carta Bella 6x6 Mercantile paper pad. I used Radial Dots embossing folder for the background, embossed on white cardstock, then layered the stars in a fun pattern stacked on top of each other, and letting the edges curl up freely. I wrapped some Baker's Twine around the embossed panel, then added the stars with foam adhesive. Sentiment is from Birthday Basics, and a few coordinating Dazzling Gems in Royal, Lucky, and Sunbeam finish it off! Here are more photos of this bright and happy card:


Product links are all below - including affiliate links where possible, which simply means if you use one of the links below that I receive a small commission at no additional cost to you. Thanks so much for stopping by! Have a wonderful day!!!


Sunday, March 30, 2025

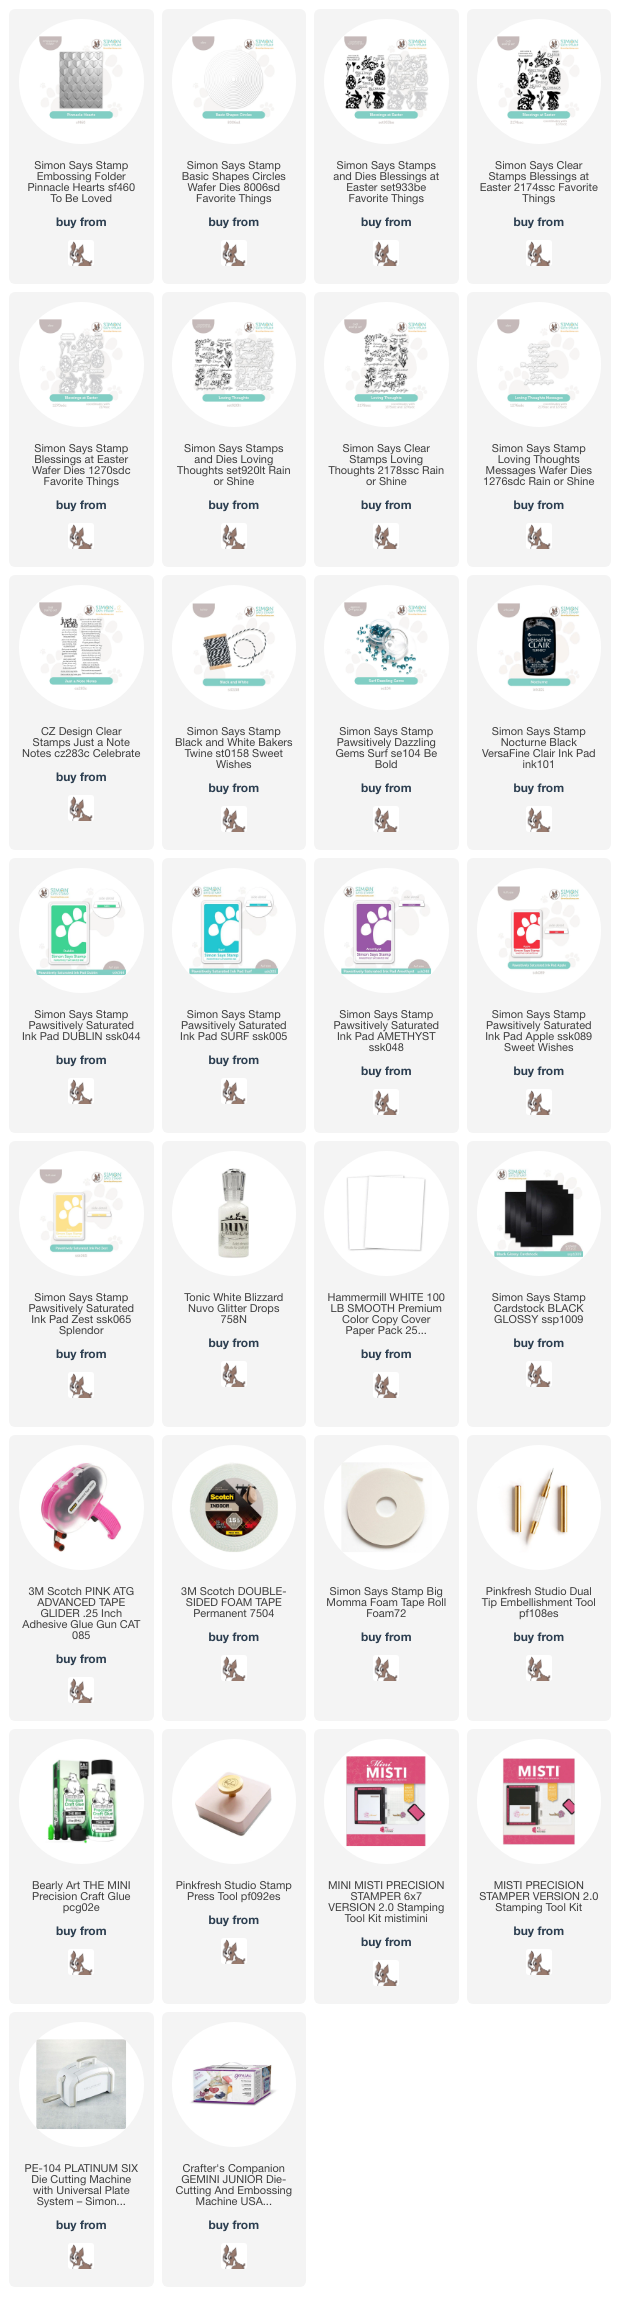
Love You Floral Circle - Simon Says Stamp

 Hello! I had a bit of time to play this weekend, and randomly started putting together a few items I had leftover from other projects, or just items that I hadn't ended up using for one reason or another. All supplies are from Simon Says Stamp, and it was super fun to give them some new life!


I started off with an embossed background using Pinnacle Hearts on white cardstock for some simple background texture. I layered together a couple of circles die cut with Basic Circles from white and black cardstock, then layered over some leftover stamped and die cut florals from Blessings at Easter. They were stamped in Zest, Apple, Amethyst, Surf, and Dublin inks. Sentiment was a mix of the top sentiment from Loving Thoughts, and the larger sentiment at the bottom from Just a Note Notes, and I matted that one in black cardstock as well. Tucked some black and white baker's twine in there, tied in a bow, and popped a dot of Nuvo Drops in Blizzard in the center of each flower, then finished off with a few Surf Dazzling gems to finish off! Here is a closer look at this finished card:


Product links are all below - including affiliate links where possible, which simply means if you use one of the links below that I receive a small commission at no additional cost to you. Thanks so much for stopping by! Have a wonderful day!!!