Showing posts with label Copics. Show all posts

Sunday, September 20, 2026

Pink and Main - Simon Says Stamp STAMPtember Collaboration

 Hello again! Popping in today with the next in line of the Simon Says Stamp STAMPtember Exclusive Collaborations! It's hard to believe the month is more than half over! Today's collaboration is with Pink and Main, and is the cutest little holiday sweater set! I had fun pulling out my somewhat neglected Copic markers to color a couple of these cuties up!


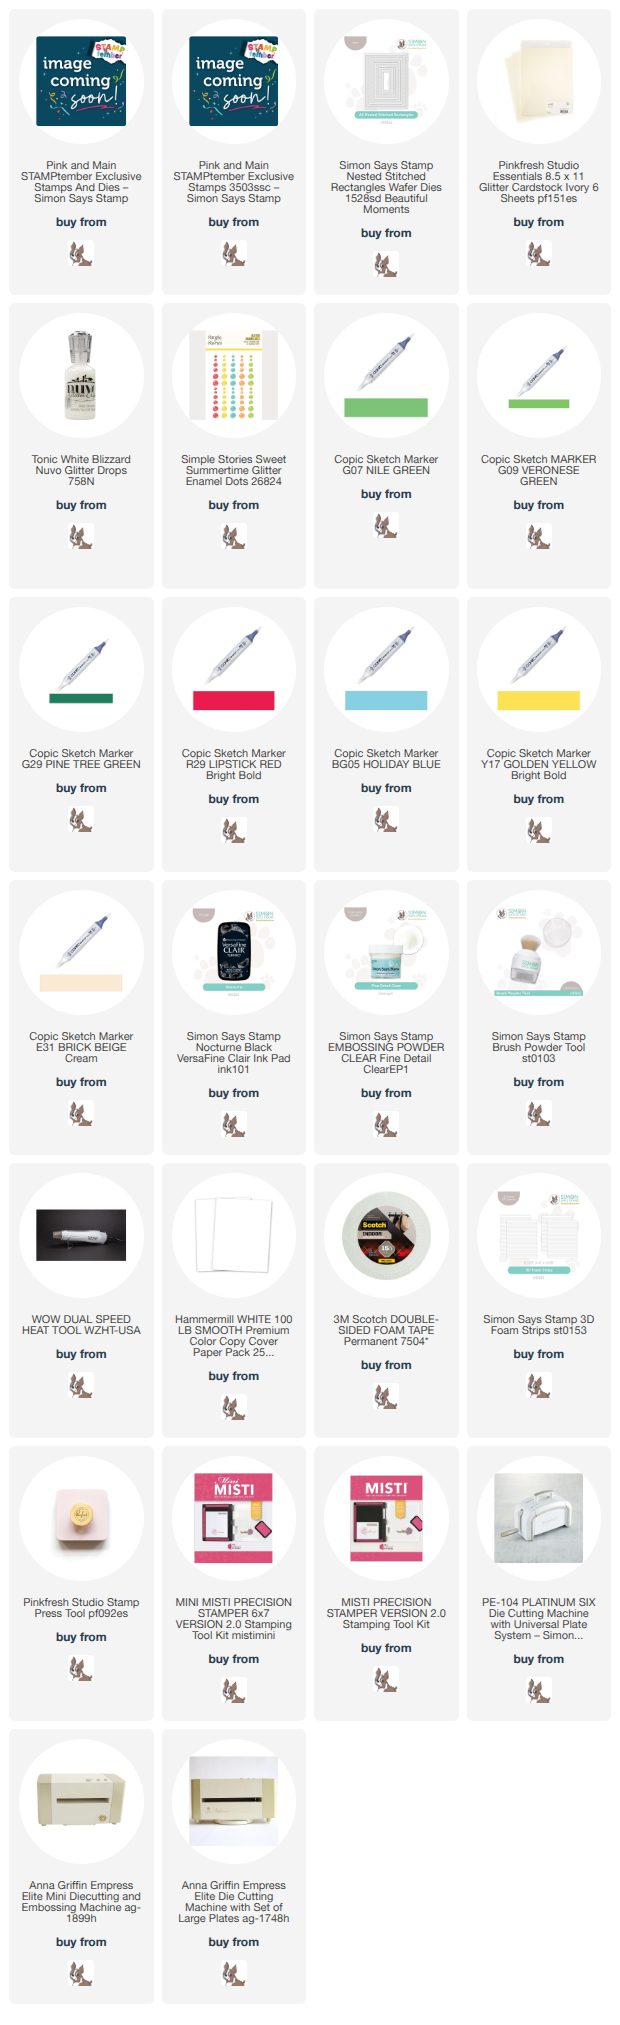
I started off by stamping one of the sweaters from Warm and Fuzzy twice in black and clear heat embossing, then coloring those in with Copic markers (colors listed below!). I also stamped a sentiment, then die cut them all out. I stamped that same sweater a couple extra times on a white cardbase to create a fun background, then popped the colored sweaters and sentiment up with foam adhesive. I created a frame with Ivory glitter cardstock and an A2 Stitched Rectangle die, then added a generous sprinkle of coordinating enamel dots to add some extra color. For a final touch of sparkle, I added Nuvo glitter drops to the light bulbs on the sweaters - scroll to the bottom of the post to see how fun that touch is! Here are all the photos of the finished card:


Product links are all below - including affiliate links where possible, which simply means if you use one of the links below that I receive a small commission at no additional cost to you. Thanks so much for stopping by! Have a wonderful day!!!

Wednesday, September 16, 2026

Warm Wishes Penguins - Simon Says Stamp STAMPtember Feature

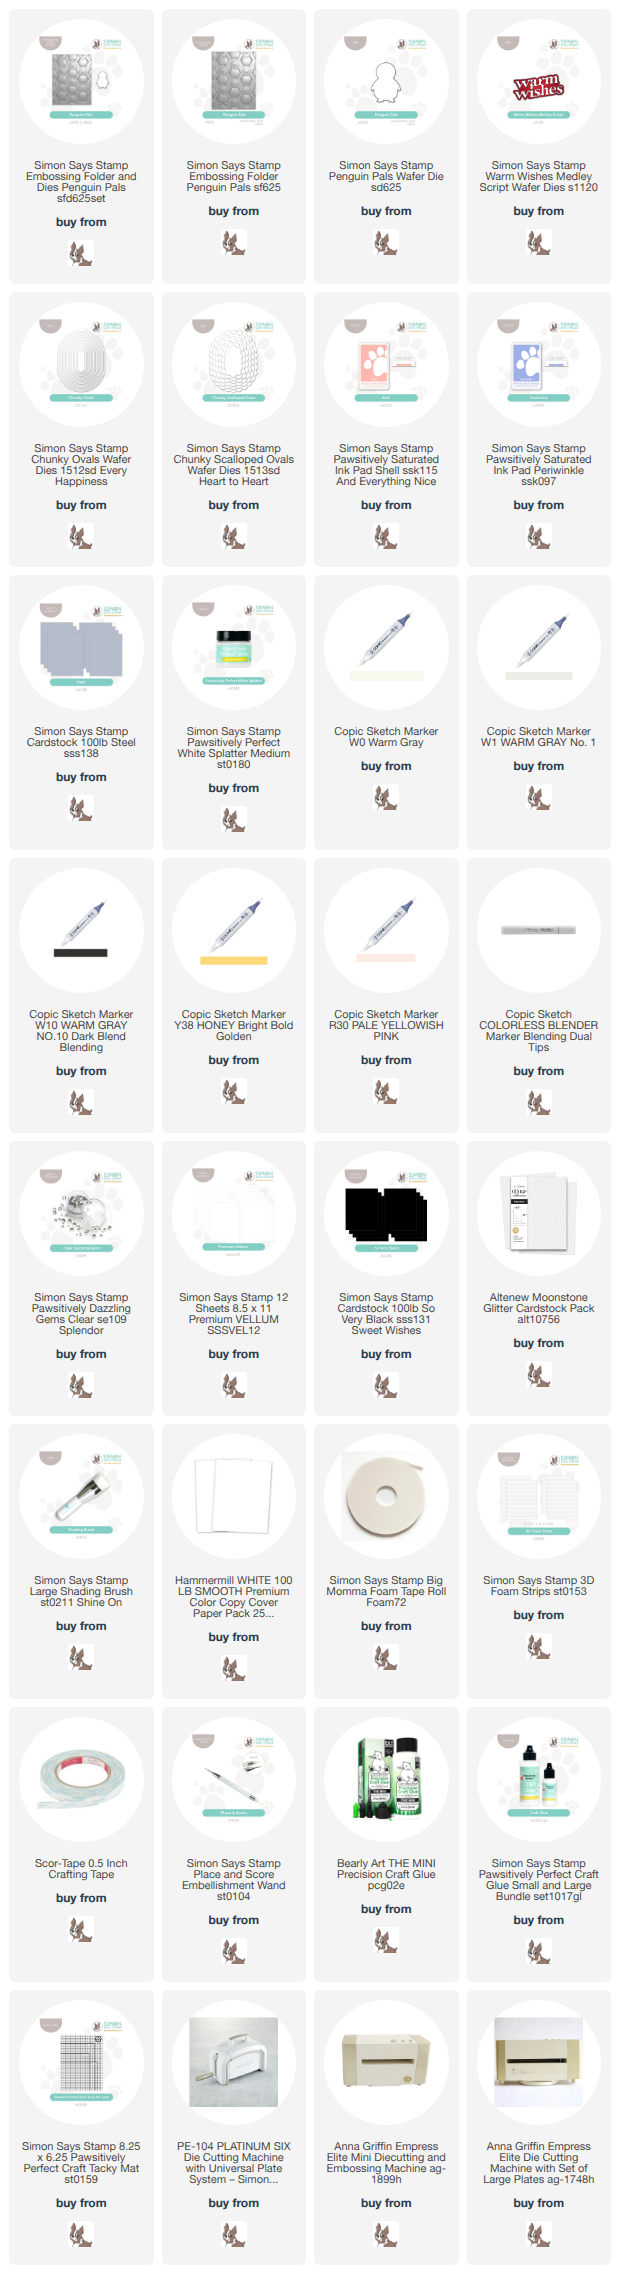
Hello! Today is a special STAMPtember surprise from Simon Says Stamp - and instead of a special collab or huge release, its a special mini release of embossing folders with coordinating dies, and a FLASH SALE (use COUPON code FAST to get discount!) on all  of them PLUS previously released embossing folders with dies! You can find them all tucked into this category HERE if you want to check out the options! I'm using one of the new sets to create this cute little card!


I started off by die cutting the Penguin Pals single die 3 times from white cardstock, then running it through the embossing folder. I then used Copic markers to carefully color the image in. I also used the embossing folder on a panel of Steel cardstock, and used the debossed side for my background. I cut a Chunky Scalloped Oval from white cardstock, then two sizes of Chunky Ovals dies - one from white cardstock, one from white glitter cardstock. On the white one, I blended Shell and Periwinkle inks and then added some white splatter. For the sentiment, I used Warm Wishes die and vellum and black cardstock. I tucked a couple of the penguins peeking out, and added a few Dazzling Clear gems to finish off! Here's a closer look:


Product links are all below - including affiliate links where possible, which simply means if you use one of the links below that I receive a small commission at no additional cost to you. Thanks so much for stopping by! Have a wonderful day!!!


Tuesday, September 15, 2026

Trinity Stamps - Simon Says Stamp STAMPtember Collaboration

Hello again! Back today to the Simon Says Stamp STAMPtember Exclusive Collaborations, and today's might be one of my favorites of the entire month! Trinity Stamps outdid themselves with this adorable cutie-pie set! I just wanna squish him!!!


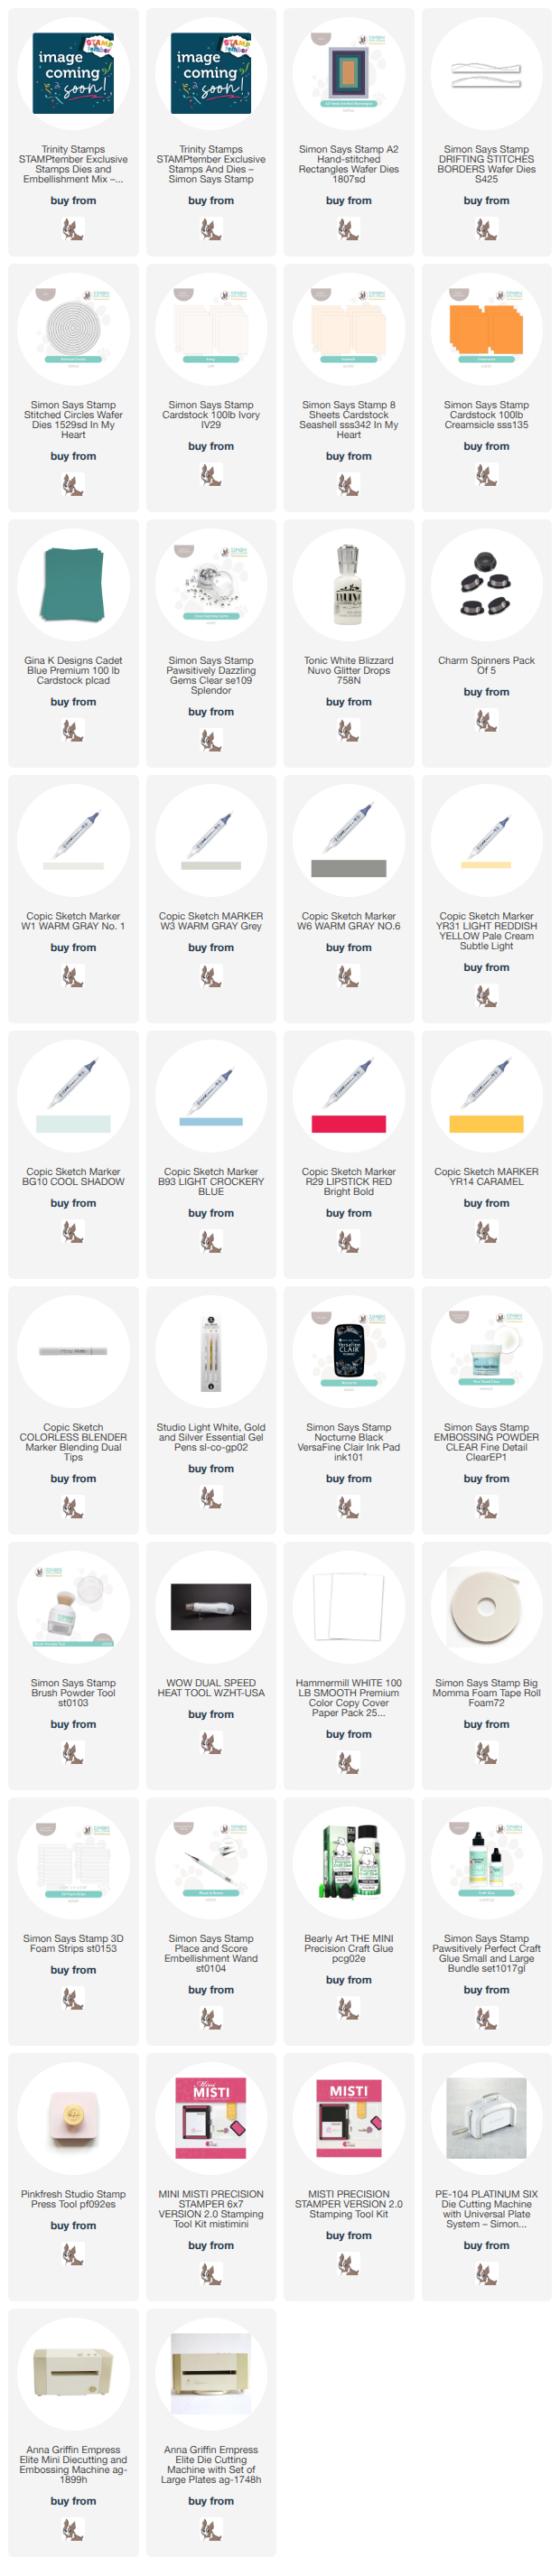
I was inspired by a fun color combo on Pinterest, and I love how fresh and fun it is! I stamped and clear heat embossed the adorable little yeti from Confetti Yeti, and colored him in with Copic markers (colors noted below in supply list). I die cut one of the Hand-stitched Rectangles from Seashell cardstock, and from Gina K Cadet Blue cardstock. I used a Drifting Stitched Border die to trim that down to create the ground, then trimmed a bit off the Seashell panel before adhering together. That way I could make my rectangle a bit shorter and leave room for my sentiment underneath. I added a Stitched Circle cut from Creamsicle cardstock, with one side trimmed off, then added my little yeti on a Charm Spinner to make it twirl for fun! Adhered everything on an Ivory cardbase, then added a few Clear Dazzling gems and some Nuvo glitter drops on the party hat and balloons for added sparkle! Here's a closer look at all the little details:


Product links are all below - including affiliate links where possible, which simply means if you use one of the links below that I receive a small commission at no additional cost to you. Thanks so much for stopping by! Have a wonderful day!!!


Sunday, September 13, 2026

Little Note of Thanks - Simon Says Stamp October 2026 Card Kit

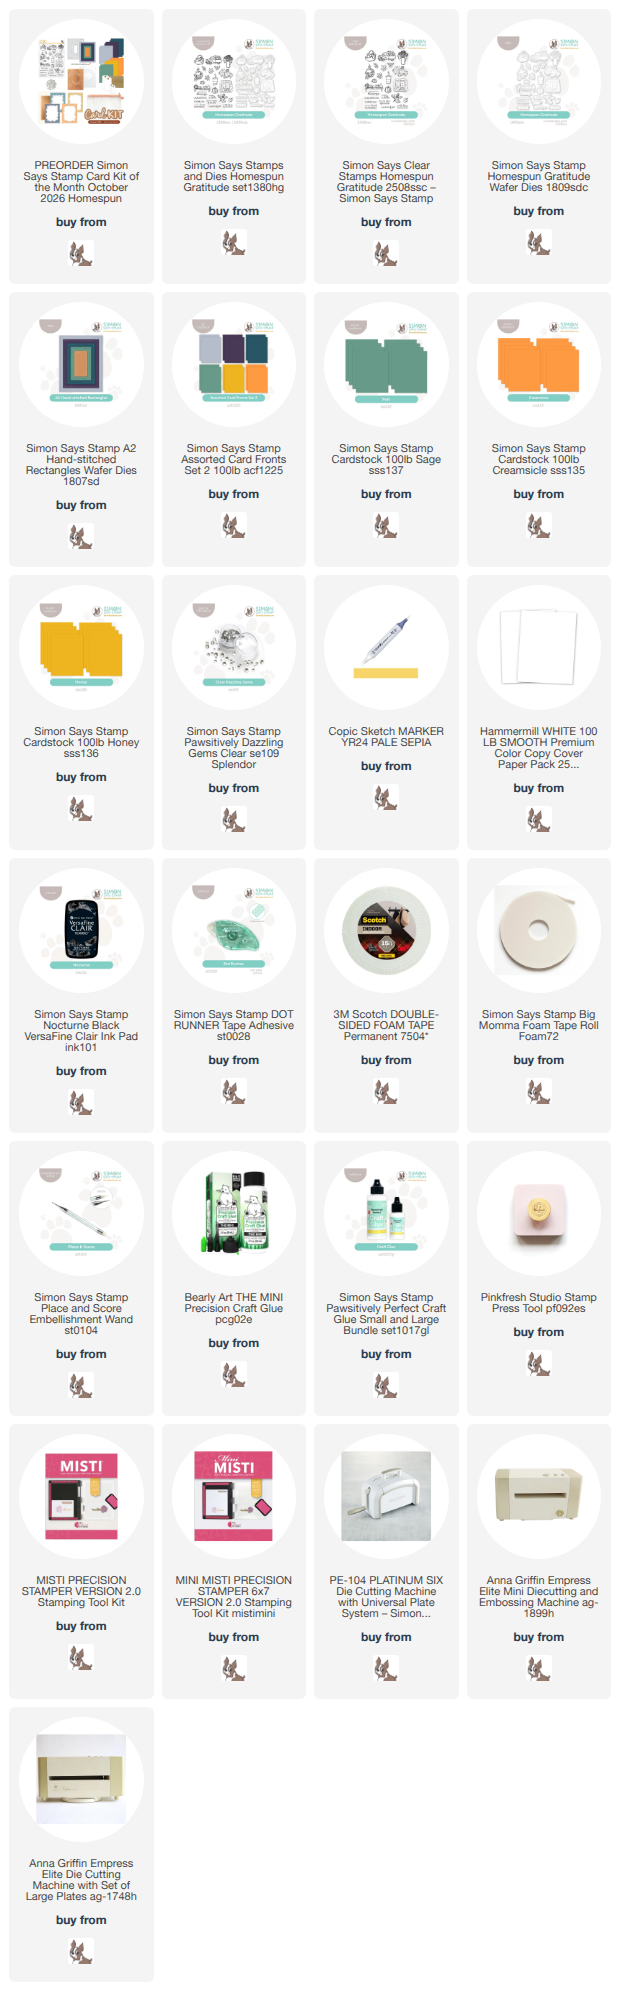
Hello! I'm dropping by to share my first card using the newest October 2026 Simon Says Stamp Card Kit - Homespun Gratitude! This month's stamp set in the kit has some adorable doodled images that are so versatile! There is also a fun 3D embossing folder called Verdant Wreath included, and some AMAZING stitched rectangle dies that are a new favorite for me. There are so many goodies in the kit! Including colored cardstock, gems, tags, printed patterned card fronts - and lots more! There are also a couple add on sets available in the store now!

The monthly card kit has lots of perks now when you sign up for the Subscription service! There is a video HERE you can watch to learn more!


This card is clean and simple, but I feel it fits the feeling of the adorable Homespun Gratitude stamp set in the kit. I just love the cute vibes of the design! Not to mention the amazing new A2 Hand-stitched Rectangles die set - that is definitely a new favorite that I will be using a LOT! I used some of the Card Front panels in the kit - specifically the Sage, Creamsicle, and Honey cardstock - on this card. I left the main image just stamped in black and white, then stamped and die cut the sentiment with the (available separately) coordinating die, cutting it a couple extra times from Honey cardstock to offset for a shadow effect. I colored some of the Clear Dazzling gems in the kit with a Copic marker to custom match them (something I've never tried before, but so fun!). A couple thin strips of that Creamsicle cardstock at a steep angle on the Sage background are the perfect finishing touch! Here are more photos:


Product links are all below - including affiliate links where possible, which simply means if you use one of the links below that I receive a small commission at no additional cost to you. Thanks so much for stopping by! Have a wonderful day!!!


Friday, September 11, 2026

Honey Bee Stamps - Simon Says Stamp STAMPtember Collaboration

Hello again! Can you believe it's time for yet another of the Simon Says Stamp STAMPtember Exclusive Collaborations?!? Today we are shining the spotlight on Honey Bee Designs with a unique and fun set! I couldn't choose just one of these lovely scripty frames, so I used a few to create a fun background on my card!


I started off by choosing 3 of the 4 frames in the Holly Jolly Frames set, and heat embossing them in gold on black cardstock, then die cutting them with the coordinating dies, both on the inside and outside. I cut the separate circle shape 3 times from Lipstick cardstock, and blended some Cranberry ink around the edges. After adding some black splatter to my cardbase, I arranged the frames on my card, and trimmed off the excess, then used the extra little pieces to tuck around the edges to fill those spaces a little bit, popping everything up with foam adhesive. I added those red pieces in the centers, then stamped and heat embossed the holly berry cluster 3 times, coloring with Copic markers. I added a stamped sentiment, tucked the colored images on each piece (adding some Nuvo glitter drops to the berries for a frosty effect), then finished off with lots of Dazzling Gold gems to finish off! Here are more photos of the finished card:


Product links are all below - including affiliate links where possible, which simply means if you use one of the links below that I receive a small commission at no additional cost to you. Thanks so much for stopping by! Have a wonderful day!!!


Monday, August 31, 2026

Flying By To Say - Simon Says Stamp

Good morning! Sneaking in today with one last card before we kick off STAMPtember for Simon Says Stamp - one of the most exciting month's of the year! This card is super interactive as well - it was my first time trying out Charm Spinners, and I'm in LOVE with how fun they are! If you check out my post today on Instagram I share a fun video of it in action!


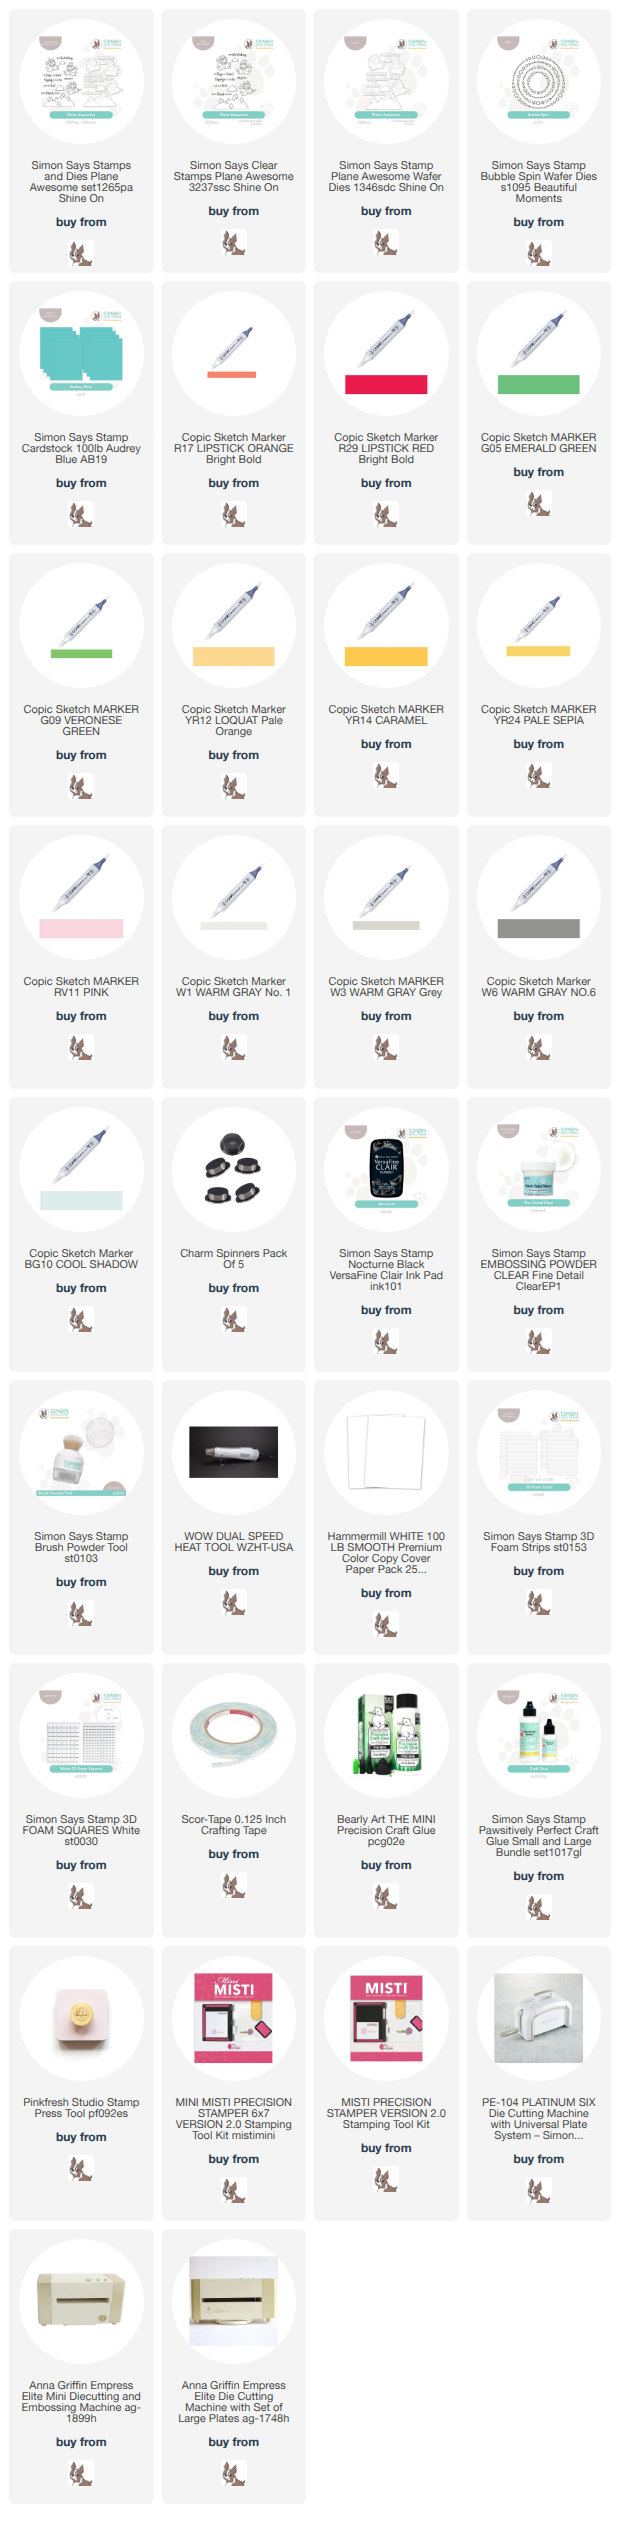
I started off by using the Bubble Spin die on a panel of Audrey cardstock, then mounting that directly onto my white cardbase. Next, I stamped all those images and sentiments from Plane Awesome in Nocturne ink, and heat embossed with clear ink, and die cut each one out. For the first sentiment, I carefully used scissors to trip off the word "hi" so that I could use the sentiments together. Next, I colored up the main images with Copics (all colors listed in the supply list below if you're curious!). I added the clouds and sentiments with foam adhesive, then added each of the fun little airplane images with Charm Spinners. I have used action wobbles in the past, but these are amazing! They spin so easily and smoothly, and aren't really any thicker than foam adhesive. So fun to play with! Here are more photos - the last one shows them spinning around a bit:


Product links are all below - including affiliate links where possible, which simply means if you use one of the links below that I receive a small commission at no additional cost to you. Thanks so much for stopping by! Have a wonderful day!!!


Monday, April 27, 2026

Guinea Be a Great Day - Simon Says Stamp

Good morning! Today is all about the cute and cuddly - and I always love a good pun! This darling set was part of the most recent Simon Says Stamp release, and since my daughters had guinea pigs when they were younger, there is always something nostalgic for me about them. The memories of their happy squeaks any time they heard the fridge opening and thought they were getting fresh veggie treats! They sure were cute!


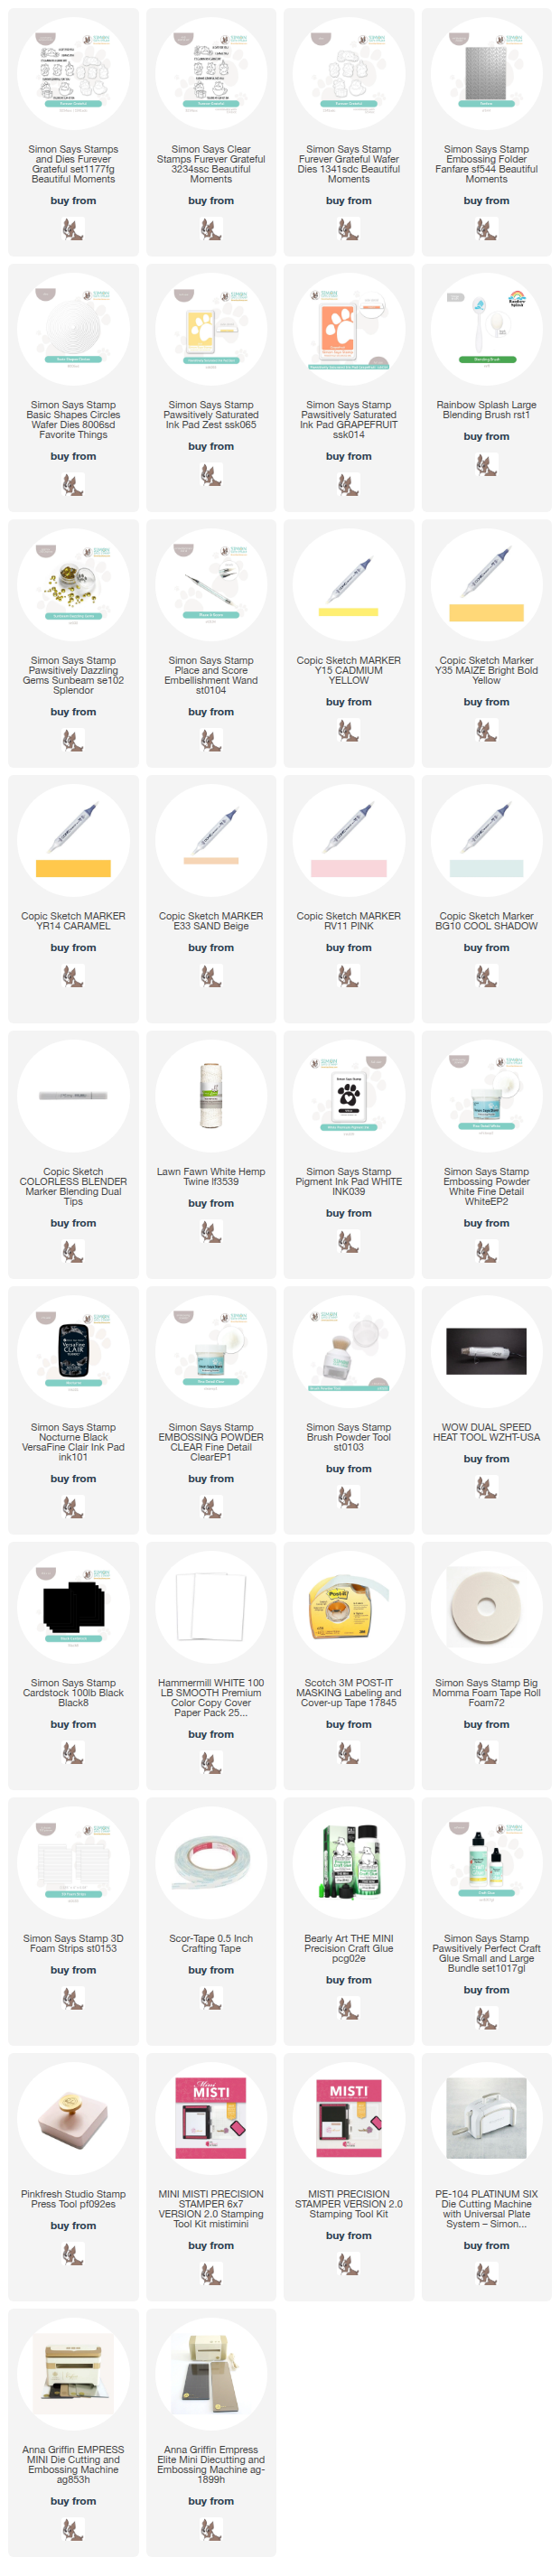
I started off by creating the background. I used a panel of white cardstock I had already embossed with the Fanfare embossing folder. I die cut a circle using Basic Circles, and used it as a mask while I ink blended around it with Zest ink, and then a bit of Grapefruit ink closer to the circle for shading and depth. I peeled that circle off (don't worry - it was pretty, and I saved it to use on another card that I'll share soon!). Next up, I stamped those darling critters from Furever Grateful, stamping in Nocturne ink and heat embossing with clear ink. At first I planned to leave them white, but they looked a bit too plain, so I did some simple Copic coloring (colors are linked below). I added them with foam adhesive in a little cluster on the bottom of the circle, then heat embossed some sentiments from the set, trimmed them into strips, and added them above. Finished off with a bit of Lawn Fawn white twine wrapped around and tied in a bow, then a few Sunbeam Dazzling Gems in a row on the upper edge of the circle! Here are more images of this punny little card: 


Product links are all below - including affiliate links where possible, which simply means if you use one of the links below that I receive a small commission at no additional cost to you. Thanks so much for stopping by! Have a wonderful day!!!