Showing posts with label Glossy Accents. Show all posts

Friday, October 2, 2026

Party Balloons - Simon Says Stamp

Good morning! Whew...September was fun, but what a busy whirlwind of a month! As we roll into October, I realized I have a card I created with the release from Simon Says Stamp at the beginning of last month, and haven't had enough time to catch my breath and get it posted. You can never have too many birthday cards, and this one is a bold and bright color combo with a bit of sparkly glitter for fun! 

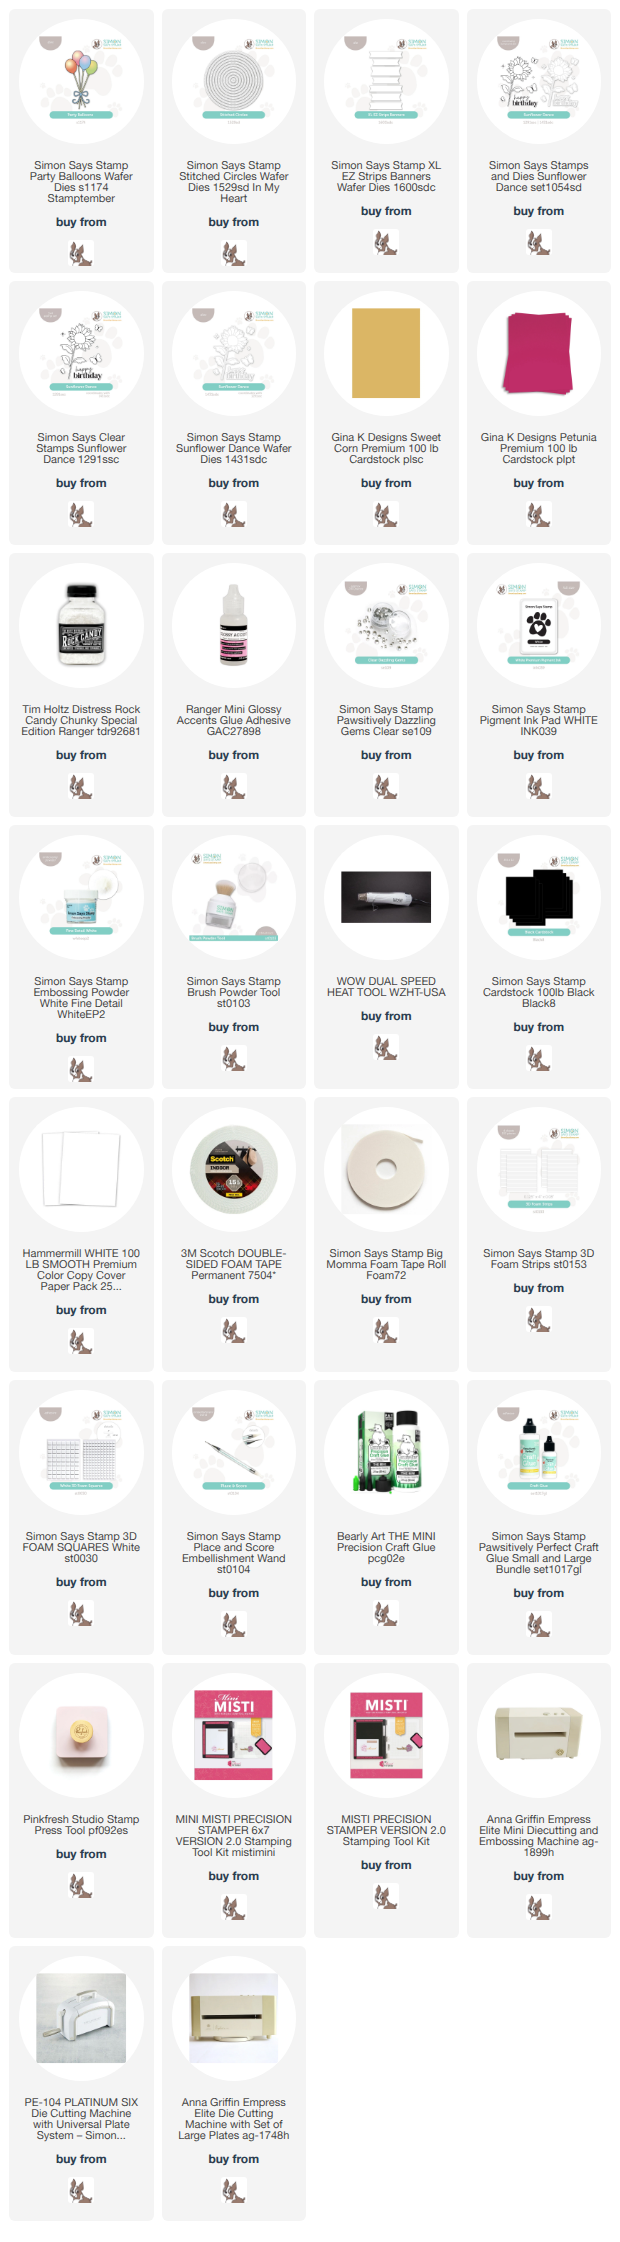
I started off with a partial cut of the largest Stitched Circles dies from Gina K Sweet Corn cardstock as a focal point on my white cardbase, and rounded off one corner of the cardbase. I then die cut and assembled the Party Balloons die using Black cardstock and Gina K Petunia cardstock. I added that onto my card, along with a plain die cut XL EZ Strips Banners, a heat embossed sentiment from Sunflower Dance, and a few Clear Dazzling Gems. I layered on a good coat of Glossy Accents on the balloons, then sprinkled with a heavy dose of Chunky Rock Candy glitter to finish off! Here are more photos of the finished card:


Product links are all below - including affiliate links where possible, which simply means if you use one of the links below that I receive a small commission at no additional cost to you. Thanks so much for stopping by! Have a wonderful day!!!


Tuesday, January 20, 2026

Shine Brightly - NEW Tim Holtz coordinating dies Release Hop

Good morning! I'm super excited today to be joining a fun blog hop featuring a another project using some new dies that Simon Says Stamp just released to coordinate with previously released Tim Holtz stamp sets! There are so many fun techniques that are possible when you add coordinating dies! I shared a a card yesterday that uses another set in this release - if you're interested, you can check it out out HERE!


I don't create a lot of non-card projects, but I've slowly been stretching myself out of my comfort zone, and some of these sets just seemed to lend themselves so well to that. So I grabbed The Inspector stamp and newly coordinating die to play with! This project could be used as desk decor or a gift for someone special who needs some encouragement!


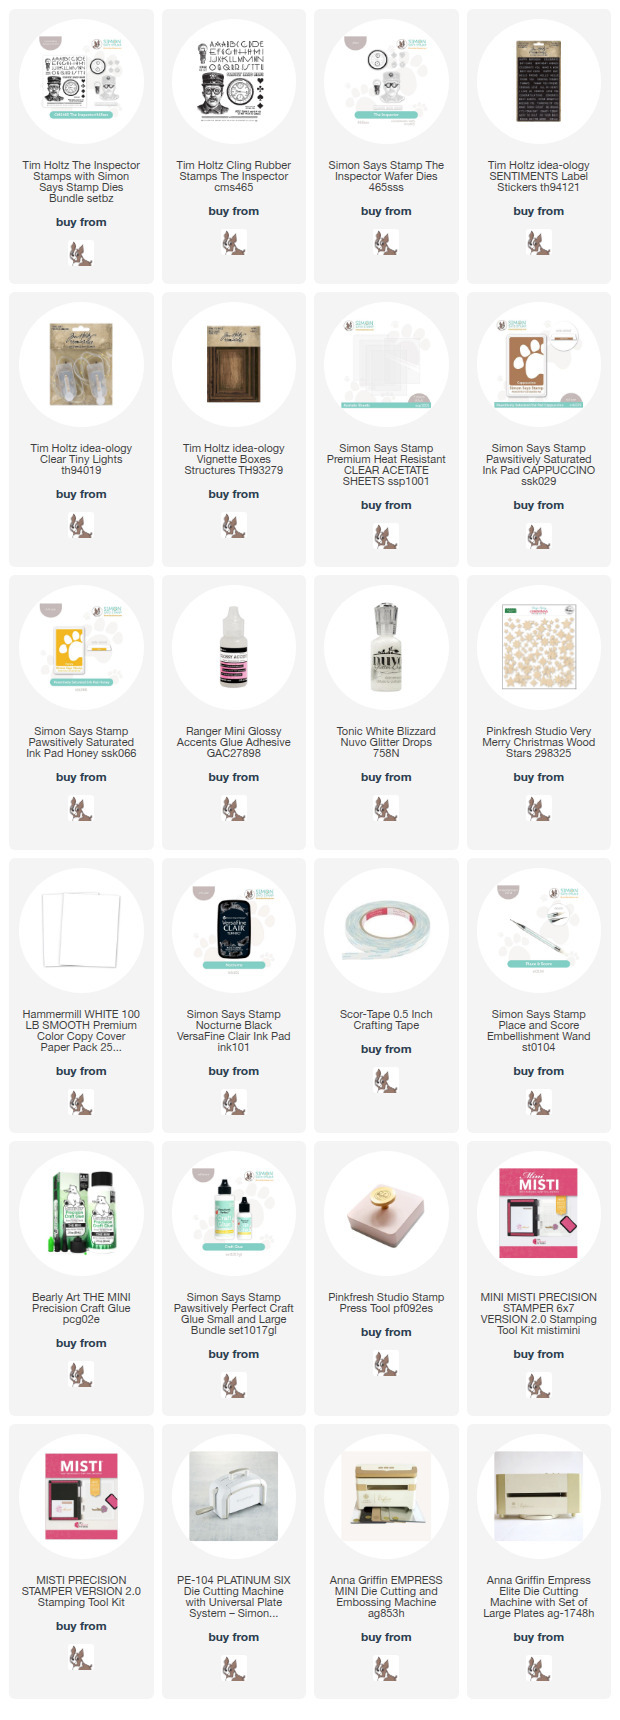
I started off by stamping the images from The Inspector stamp set, using Cappuccino ink for the inspector, and Honey ink for the light bulbs. I then stamped the portions with the smaller dies in black ink, and die cut everything before layering them together. To create the box, I used some Tim Holtz Clear Tiny Lights, tucked inside a Tim Holtz Vignette Box. I used some liquid glue to adhere acetate over the front of the box, and ran the cord for the lights out of the top and around to the back, so that the controls to turn the lights on and off are taped on the reverse of the project. I then adhered all the images to the acetate with liquid glue, and added a Label Sticker sentiment that I added on one of the dies from the set (I did some partial die cutting to make it the correct length). I also added some Pinkfresh Wooden stars to embellish, and added Glossy Accents to the centers of the glasses, and Nuvo glitter drops to portions of the light bulbs to make them sparkle a bit. Here is a closer look at the finished project!


Here is the entire blog hop list - hop along for tons of amazing inspiration!

Product links are all below - including affiliate links where possible, which simply means if you use one of the links below that I receive a small commission at no additional cost to you. Thanks so much for stopping by! Have a wonderful day!!!


Monday, December 1, 2025

Snowflake Ornament - Simon Says Stamp/Tim Holtz DieCember Surprise

Good morning! Today I'm sharing a project using a fun surprise freebie from Simon Says Stamp in partnership with Tim Holtz - free with any $30 purchase of Tim Holtz product! This fun 3D snowflake die was so fun to play with! There is also some NEW lightweight cardstock (that would work PERFECTLY for this die!) - but I used normal cardstock since I didn't have that in hand yet. :) 


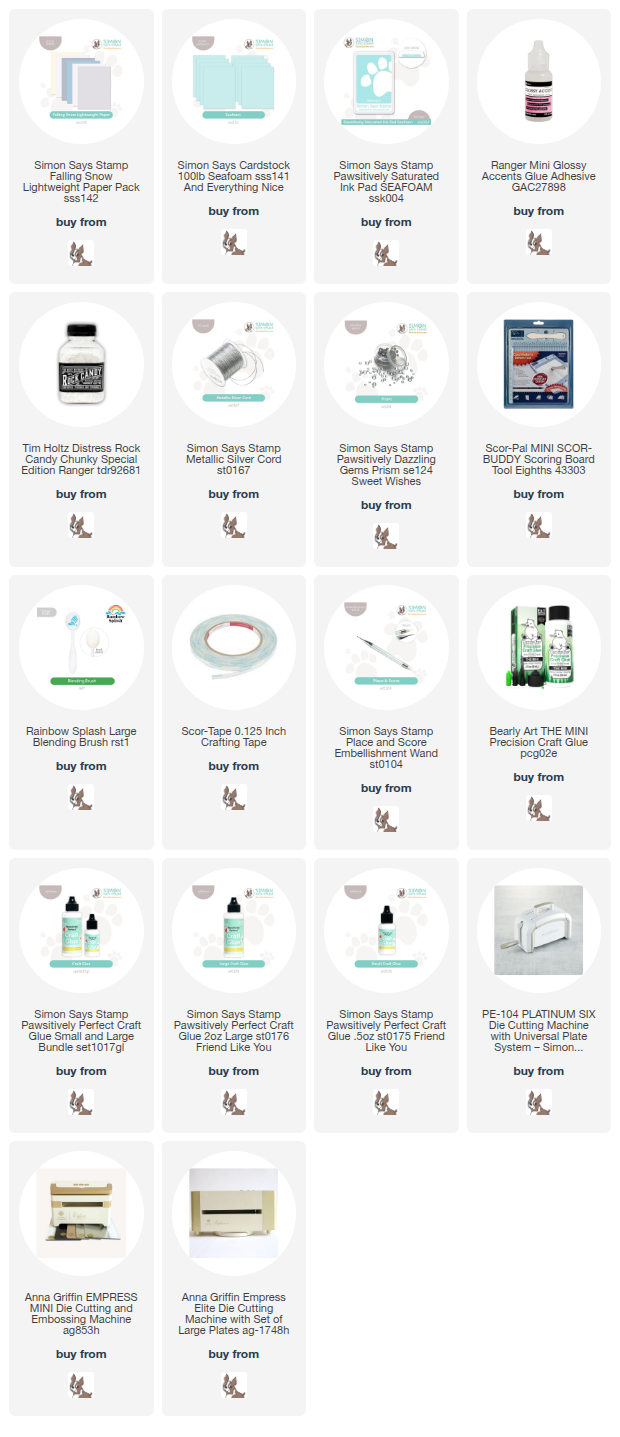
I die cut my snowflake from Seafoam cardstock - cutting the outer part 3 times, and the center pieces each one time. Before assembling, I scored the lines with my scoreboard - since the cardstock was heavier, this helped it to be able to fold easier. I also did a touch of ink blending around the outer edges with Seafoam ink. I then assembled it, using thin sturdy adhesive tape to hold the seams together. I used liquid glue to hold the center pieces on, and set something on top to hold it all together. Once that all dried, I added lots of Dazzling Gems in Prism to the center, a string of Silver Cord, and then used my finger to smudge on some Glossy Accents before sprinkling over Rock Candy chunky glitter for lots of sparkle! Here are more photos of this fun finished project! :)


Product links are all below - including affiliate links where possible, which simply means if you use one of the links below that I receive a small commission at no additional cost to you. Thanks so much for stopping by! Have a wonderful day!!!


Monday, November 10, 2025

Wrapped with Love Limited Edition Holiday Gift Giving Kit - Simon Says Stamp

 Hello! Today I've got a few cards to share with you using a BRAND new LIMITED edition holiday gift giving kit from Simon Says Stamp! While this kit is definitely geared towards gift packaging and tags (and I have a few tags to share below as well), I also couldn't resist making a set of cards witht he lovely pattern paper in the kit! Every beautifully packaged gift needs a card as well, don't you think?


These first cards are pretty much made up of lots of the pattern paper in the kit. The new Collaging Tile die is actually sized perfectly to fit some of the square elements in the pattern paper - so I used it to die cut out the center pieces on these cards, then trimmed other paper to mat behind or fit on my cardbases. I added some of the pretty red May Arts ribbon and Gold metallic string to embellish, and foam adhesive to pop the front panel up for dimension. Keep scrolling to see the tags I created - but here is a closer look at these cards:


Next up - more of that pattern paper, but this time mixed with a bit of the included stamp set! For these, I used the Collaging Tile die again, but a smaller one to cut out the main center pieces, then trimmed varying sizes of pattern paper to adhere behind it, trimming off anything that hung off the edge of the tag. I used the branch die from the Wrapped with Love stamp set with Pine ink, and stamped a bit of a border around the edges. For the left card, I kept the color more bold, and the right card I used more second generation stamping for a softer effect. I couldn't decide which style I liked better, so I did one of each! I added more of that red ribbon at the top, stapled in place, then embellished with Dazzling Clear gems. Finally, I applied some Glossy Accents in select areas, and sprinkled on the magical Rock Candy Chunky Glitter for lots of sparkle! I have one more set of tags below - but here is a better look at these tags and their sparkle:


These final tags are tiny and cute! I used the American Crafts Green Tags with sparkly twine, and stamped the floral image from the Wrapped with Love stamp set around the edges, and added some white splatter. I used a couple of the embossed and die cut Wrapped Up embossing folder pieces, cut from white cardstock, and with a bit of Apple ink blended over the top, and popped those up with foam, then added another sentiment from the stamp set. On the reverse (see the next photo), I stamped an additional sentiment and tiny bow image! Here are more photos of these finished tags:


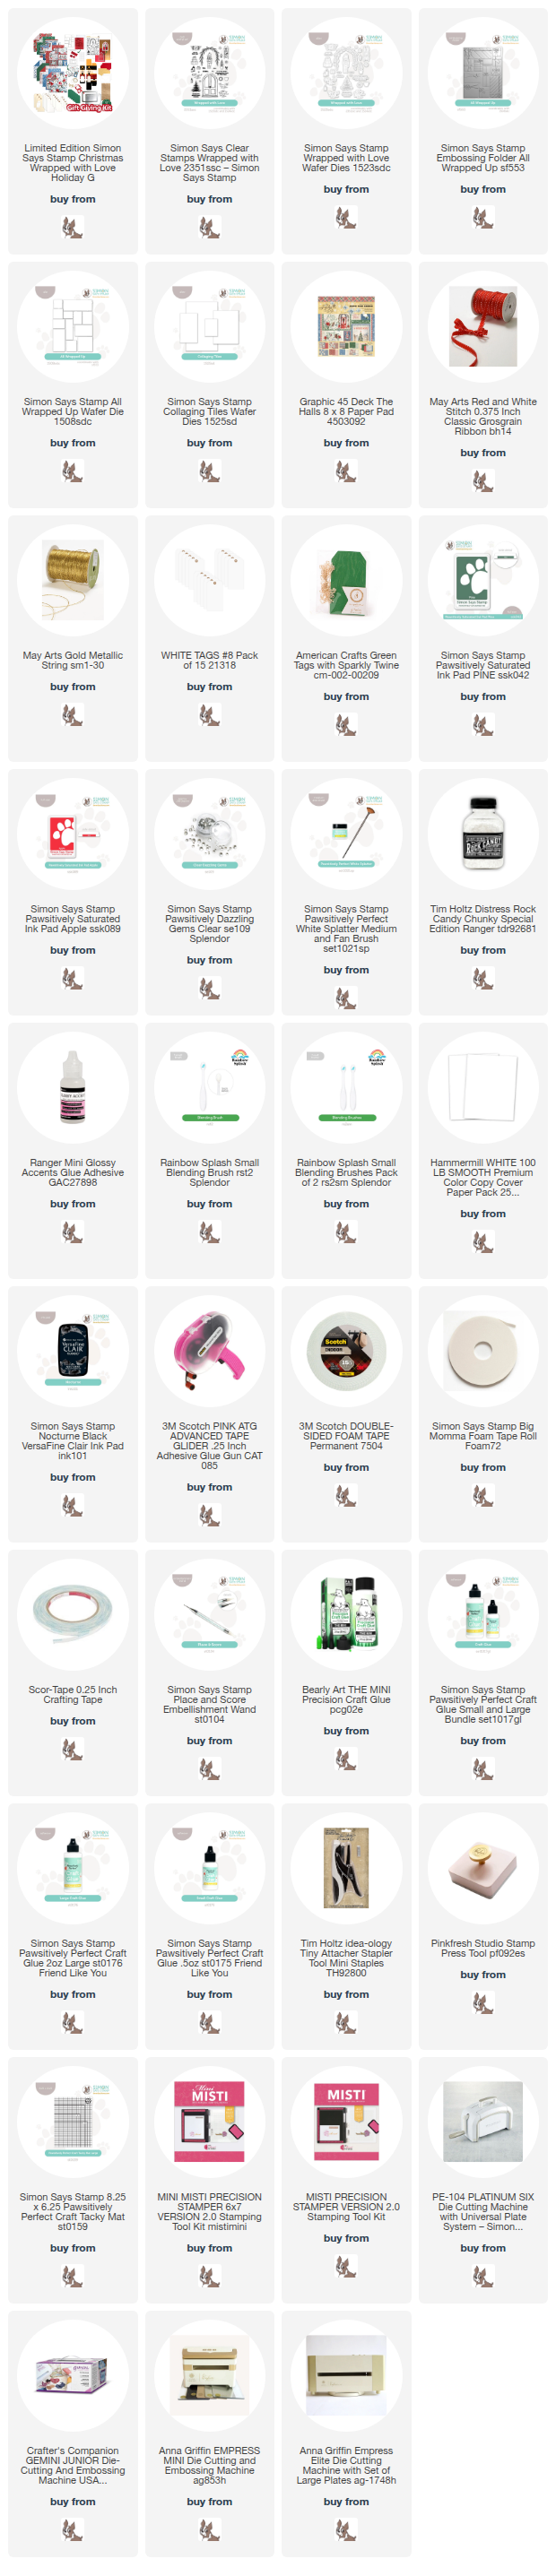
Product links are all below - including affiliate links where possible, which simply means if you use one of the links below that I receive a small commission at no additional cost to you. Thanks so much for stopping by! Have a wonderful day!!!

Monday, October 13, 2025

Lots of Thanks - Simon Says Stamp November Card Kit

Hello! I'm popping in to share my first cards using the newest November 2025 Simon Says Stamp Card Kit - Give Thanks! This month's kit is perfect for the month of November with a theme of thankfulness! The included stamp set has a fun image and several great sentiments for combining, (there is a matching die set available HERE as well), and then another sweet mini sentiment stamp set as well (also with a coordinating die available HERE). There is an amazing layering stencil with coordinating die, and that's all not to mention the embellishments, ink cubes, cardstock, and more! 

The monthly card kit has even more perks now when you sign up for the Subscription service! There is a video HERE you can watch to learn more!  


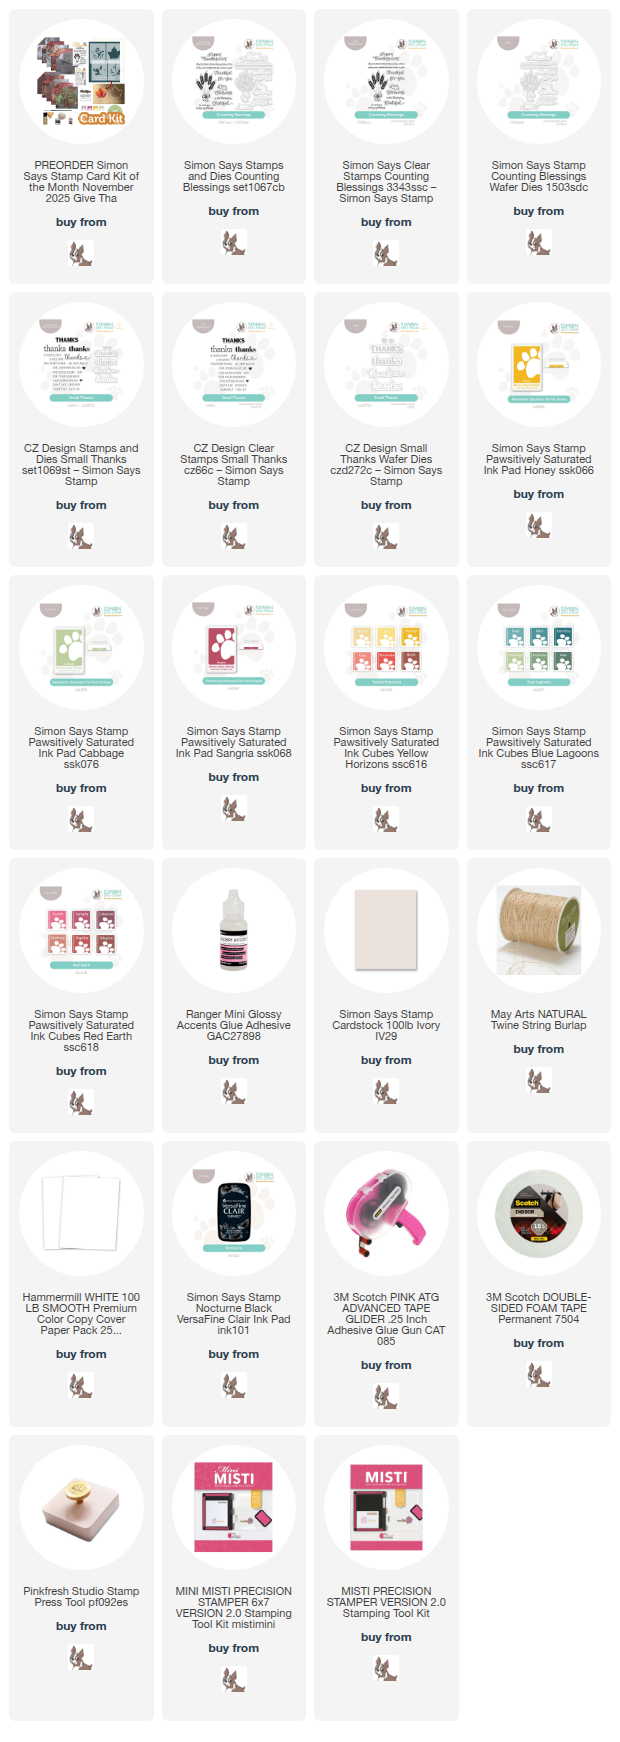
I started off my card by using 3 of the 4 ink cubes in the kit (Sangria, Honey, and Cabbage) to swipe directly on a panel of white cardstock. I swiped a couple times gently for lots of fun texture! I trimmed that panel down a bit, then added my main image from the Counting Blessings stamp set, and the sentiments from the Small Thanks stamp set. I also stamped a couple of the tiny hearts from that set int he same tone on tone ink colors over top of the ink swiping, then popped it up with foam adhesive to a cardbase created with the Ivory cardstock in the kit. Finished off by wrapping around some Jute String, and tying it in a bow, and carefully adding a touch of Glossy Accents on each of those tiny stamped hearts! Here is a closer look at this finished card:


Product links are all below - including affiliate links where possible, which simply means if you use one of the links below that I receive a small commission at no additional cost to you. Thanks so much for stopping by! Have a wonderful day!!!