Monday, May 31, 2021

Inset Circles Beach Scene Card - on the Unity Stamp Company Blog

  Good morning! I'm back with another card for my series on the Unity Stamp Company Blog this morning! I'm so excited to be featuring the amazing Kit of the Month on Monday's on the Unity Stamp Company Blog! Since the Kit of the Month was the first thing I purchased from Unity, and what got me hooked to begin with, they hold a special place in my heart, so I'm super excited about this opportunity to give these kits some love! You can check out all the details HERE for today's project!


Thanks for stopping by today - have a WONDERFUL day!!!


Saturday, May 29, 2021

Birthday Lighthouse - Spellbinders

 Good morning! I'm here this morning to share a couple of cards using the beautiful new Shine Your Light Hot Foil and Die combo that is part of the Sweet Cardlet II collection from Spellbinders - these hot foil plates are so unique and fun - perfect for masculine cards! And I recently ordered some cardstock from Spellbinders - and while I've loved how beautifully it die cuts, it also hot foils beautifully - and the colors are so fun as well! Hot foil can be so difficult to photograph though!


For this card, I didn't use all of the elements - I know I will later on another card, but I wanted a very simple and classic design. I used Cosmic Sky cardstock and gold foil to do the burst design, then did the lighthouse on white cardstock and die cut with the coordinating die.


Instead of using the sentiment included in the set - which is pretty fabulous! - I wanted to create a birthday card, so I went ahead and used the previously released Yana's Special Sentiments on Pomegranate cardstock, trimmed to a thin strip and hand trimmed into a banner shape.


Finally, I assembled the layers. I mounted the sentiment strip and lighthouse with foam adhesive on the blue panel, trimmed down. I used several layers of white cardstock to create some interest and dimension on the cardbase, all adhered down with a tape runner, but also curled the edges and corners up slightly for dimension. I then adhered the blue panel with foam adhesive for the final piece of dimension!


Product links are all below - including affiliate links where possible, which simply means that if you use one of the links below, I receive a small commission at no additional cost to you. Thanks so much for supporting my blog, and stopping by! Have a wonderful day!!!


Friday, May 28, 2021

Sunshine Celebrate - Pinkfresh Studio Facebook Live Card

 Good morning! Dropping by today to share a card I made yesterday for Pinkfresh Studio's Facebook Live. We mixed together some items from last week's Essentials Release - and paired it up with a couple items from the last couple releases. It was super fun playing with a color combo that was a bit different than I normally use. I was SOOO happy with how this card came out! You can watch the replay HERE if you want to see more details.


It was so fun how this card came to life - I keep getting braver and braver with lives - and had very little plan when I started! So I'm always as surprised as everyone with the results - haha!


I die cut the new Essentials Folk Edge Circles to form a frame shape - two times to layer together for a touch of dimension. I also used it to die cut the negative space in the yellow cardstock - this made a perfect place to tuck those florals over and under the frame.


The florals are from the fabulous Be Strong stamp, die, and stencil combo - part of Pinkfresh's unique designs that allow you to stencil, stamp, and then die cut all in one piece - and have all those layers at once - so nice and fast! 


Added a hot foiled sentiment using the recently released Celebrate hot foil plate and die combo, and finished off with a few sparkly jewels!


Product links are all below - including affiliate links where possible, which simply means that if you use one of the links below, I receive a small commission at no additional cost to you. Thanks so much for supporting my blog, and stopping by! Have a wonderful day!!!


Thursday, May 27, 2021

Monochromatic Deer Friend - Spellbinders

  Good morning! I'm here this morning to share a couple of cards using the beautiful new Deer Friend Hot Foil and Die combo that is part of the Sweet Cardlet II collection from Spellbinders - these hot foil plates are so incredibly sweet! And I recently ordered some cardstock from Spellbinders - and while I've loved how beautifully it die cuts, it also hot foils beautifully - and the colors were so fun as well!


While I've seen some darling cards made with this set and the images colored in, I thought it would be fun to hot foil on different colors of cardstock and layer together in monochromatic color schemes. I used a softer tone of Spellbinders cardstock to foil and die cut the deer images, then a darker shade to foil and die cut the floral images.


I used Essential Ovals etched dies to die cut the smaller white circle, then to add the dots on the background piece of ivory cardstock - and then managed to perfectly squeeze in a foiled line using Essential Duo Lines Hot foil plates.


I added a layer of the darker shades of cardstock behind the dots to help them pop, then added that onto my white cardbase. The white ovals had the sentiment included in the Deer Friend kit hot foiled directly onto it, then the deer attached with foam adhesive, before adding it with foam adhesive to the cardbase.


I added a secondary sentiment from previously released Yana's Special Sentiments, trimmed to a thin strip, and backed with some more of that deeper cardstock to make it pop. A few coordinating jewels and some jute twine tied in a bow and adhered above the deer finish these cards off!


Product links are all below - including affiliate links where possible, which simply means that if you use one of the links below, I receive a small commission at no additional cost to you. Thanks so much for supporting my blog, and stopping by! Have a wonderful day!!!


Wednesday, May 26, 2021

Sweet Bear Welcome Baby - Simon Says Stamp

 Good morning! Stopping by with a second card (click HERE to see the one I shared yesterday!) that uses a super sweet stamp set from Simon Says Stamp - I have had the stamp set for quite some time, and love and used it. But I recently purchased the dies to go along with it, because I wanted to use some of the other elements...and to be honest? I was far too lazy to cut all those elements out! Tell me I'm not the only one?!? I feel like this gave new life to this stamp set for me!


I first stamped lots of the adorable images from Woodland Whimsy on white cardstock with Copic friendly ink, then colored them in with very simple Copic colors. Next, I die cut all the elements with the coordinating dies (SUCH a time saver!) - and got ready to assemble them on my card!


I chose some soft pattern paper from Honey Bee Stamps 6x6 Fresh Brewed paper pad - isn't it the perfect combination of colors?


I used the negative space of the white circle from yesterday's card, die cut with Stitched Circles. I tucked some different pattern paper under the back of it, then added my bear with foam adhesive, and used liquid glue to attach the banner and all the little leaf elements.


I used my distress took to add some texture to the outer edges of the pattern paper, then used a white gel pen to add some tiny bits of embellishment to the images. Finished off with a loopy jute string bow glued on the top front!


Product links are all below - including affiliate links where possible, which simply means that if you use one of the links below, I receive a small commission at no additional cost to you. Thanks so much for supporting my blog, and stopping by! Have a wonderful day!!!


Tuesday, May 25, 2021

More Beautiful - Pinkfresh Studio Instagram Release Hop

 Good morning! Today I'm joining a fun Instagram Hop with Pinkfresh Studio to celebrate the brand new Release from earlier this week. You can check that hop out HERE - there are lots of fun prizes, so don't miss stopping by! I just love the new Essential Dies that released - they are also a perfect combination with some of our gorgeous washi tapes and dies - so I was super excited to put them together for this card!


I love how the Pinkfresh line of Stitched Scallop products use - each piece cuts two frames, with the scallops facing different directions. So you can use them separately, or together as I did on this card. 


I used the Indigo Vines washi tape, placed it on white cardstock, then die cut with  the coordinating dies. I used all the little elements for this card, tucking them in varying layers around the frame, changing the directions to add depth and dimension. Once I arranged them all together, I picked the whole thing up with Press and Seal saran wrap, added foam adhesive, and adhered it to my white cardbase. 


I stamped a sentiment in the center from Thankful for Friends stamp set - love that sentiment so much! Finished off with a few jewels in Stargazer, Sky Blue, and Glacier - did you know they are now available as individual refill pouches! Eek! Sooo fun and cute! You can find them all HERE.


Don't forget, there is also a shipping promo - FREE US Shipping with $50 purchase, or discounted shipping for our international friends. Details and coupon codes are on this graphic:


Product links are all below - including affiliate links where possible, which simply means that if you use one of the links below, I receive a small commission at no additional cost to you. Thanks so much for supporting my blog, and stopping by! Have a wonderful day!!!


Sweet Deer Welcome Baby - Simon Says Stamp

Good morning! Stopping by with a card that uses a super sweet stamp set from Simon Says Stamp - I have had the stamp set for quite some time, and love and used it. But I recently purchased the dies to go along with it, because I wanted to use some of the other elements...and to be honest? I was far too lazy to cut all those elements out! Tell me I'm not the only one?!? I feel like this gave new life to this stamp set for me, and I see using it LOTS in the future - I'm so thrilled with how this card came out! I have another one I also created and will share in the next day or two as well, so keep an eye out for that one.


I first stamped lots of the adorable images from Woodland Whimsy on white cardstock with Copic friendly ink, then colored them in with very simple Copic colors. Next, I die cut all the elements with the coordinating dies (SUCH a time saver!) - and got ready to assemble them on my card!


I chose some soft pattern paper from Honey Bee Stamps 6x6 Fresh Brewed paper pad - isn't it the perfect combination of colors?


I die cut a white circle with Stitched Circles to use as a base for my elements. I glued the deer in the center, using just a bit of liquid glue in the center of the body so the rest floats free for a bit of dimension. I did the same with the banner and the heart - then also with the florals arranged around the sides. LOVE how it feels as if it creates a wreath around the main image!


Used a white gel pen to add some tiny bits of embellishment to the images. Finally, a bit of jute twine wrapped around and tied in a bow finishes this card off!


Product links are all below - including affiliate links where possible, which simply means that if you use one of the links below, I receive a small commission at no additional cost to you. Thanks so much for supporting my blog, and stopping by! Have a wonderful day!!!


Monday, May 24, 2021

Distress Oxide Ink and Acrylic Paint Ocean Sky - on the Unity Stamp Company Blog

 Good morning! I'm back with another card for my series on the Unity Stamp Company Blog this morning! I'm so excited to be featuring the amazing Kit of the Month on Monday's on the Unity Stamp Company Blog! Since the Kit of the Month was the first thing I purchased from Unity, and what got me hooked to begin with, they hold a special place in my heart, so I'm super excited about this opportunity to give these kits some love! You can check out all the details HERE for today's project!


Thanks for stopping by today - have a WONDERFUL day!!!


Pinkfresh Studio May Essentials Release

 Good morning! Today is an amazing blog hop to celebrate Pinkfresh Studio's May 2021 Essentials Release! You aren't going to want to miss a stop along the way - TONS of inspiration and prizes up for grabs! YAY! 


As always, there is also a shipping promo - FREE US Shipping with $50 purchase, or discounted shipping for our international friends. Details and coupon codes are on this graphic:


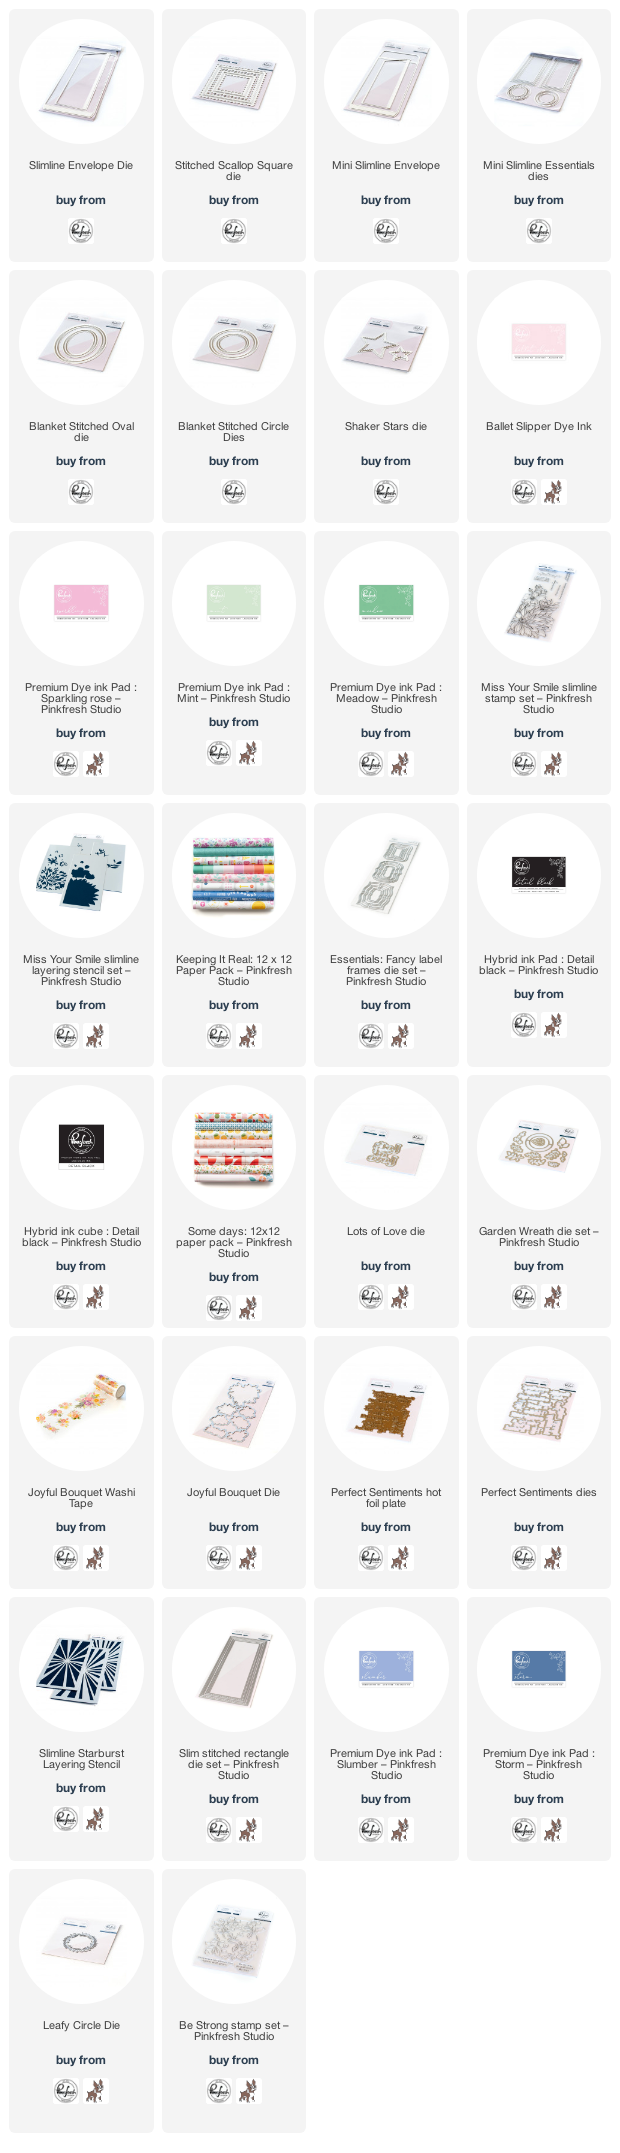
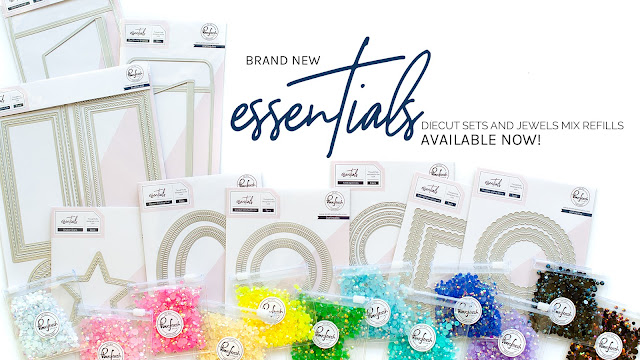
This release is all about the Essentials dies - and the super exciting new jewel refill pouches! So I was also able to mix and match some other recent and older releases on my cards, which was even more fun!


For this first card, I pulled out the previously released Miss Your Smile stamp and stencil combo. I stenciled it in soft pinks and greens, then heat embossed the image in white over the top. Love the soft look this gives!


I tucked it behind a panel of white cardstock that I die cut a window in using the new Blanket Stitched Ovals dies - love how it adds the stitching on the negative piece like this, so you can create a pretty window frame!


I added a heat embossed sentiment on some coordinating pink cardstock, then die cut it with Fancy Label Frames, and popped it up with foam adhesive. I also stamped some additional sentiments in Detail black ink on the front of the card.


I added some strips of pattern paper at the top and bottom - and that cute scallop edge? That is actually from the new Stitched Scallop Squares, tucked underneath. Fun, right? All mounted on a pink cardbase. A few sparkly white jewels finish off this card - and then of course, I had to create a coordinating envelope with the new Slimline Envelope die! These are so incredible and fun!


Now...I have been loving Slimline cards more and more lately - but I'm pretty sure there is NOTHING cuter than a MINI slimline! Eek...I could make those all day I tell ya!


I actually started off here by creating that fun lemon envelope using the new Mini Slimline envelope - then I had to make a card to match it, of course! I used the new Mini Slimline Essentials dies to die cut the white panel, then used the same set of Blanket Stitched Ovals as the last card (just the smaller oval) to create a window in the card front, and tucked a bit of the extra lemon pattern paper behind the window.


I added the large sentiment using the recently released Lots of Love die, using gold mirror cardstock for the shadow layer, and white for the letters. It is popped up with foam adhesive on my cardfront.


I added all the fun greenery using the Garden Wreath die set from the last release - and just layering and clustering different pieces together. LOVE the cute little flowers - so dainty and fun!


Finished off with a few sparkly jewels - and pretty much want to hold onto this card forever now! :)


Next up - these dies are PERFECT for mixing with some of Pinkfresh's beautiful washi and die combos!


For this card, I die cut a window from white cardstock using the new Blanket Stitched Circles - again, using the negative cut that created the beautiful window. I mounted it over some off-white cardstock to create a subtle difference in color.


I added some of the Joyful Bouquet washi, that was placed on vellum, then die cut with the coordinating dies. I added a hot foiled sentiment from Perfect Sentiments - and used a bit of liquid adhesive behind that to adhere the bouquet to my cardbase.


Of course - a few sparkly jewels finish this card off!


And finally - I have this card to share that I created last week for Facebook Live as a sneak peek of this release! You can watch the video HERE if you want to watch it come together:


The main star of the show on this card (haha - see what I did there?) is the fun new Shaker Stars dies! I used both the positive image (the white stars) as well as the negative spaces to create a couple small shaker elements on my cardfront.


The cute Leafy Circle die cut from gold cardstock was such a perfect fit around that large star, and perfectly framed my sentiment from Be Strong stamp set.


Background was created with Slim Layered Starburst stencil, and a splatter of gold to add some sparkle. I filled the shaker with some of the clear crystals, and some gold seed beads from my stash. And of course, finished off with a few sparkly jewels. I also tucked a couple gold leaves under the small stars - die cut from Garden Wreath dies.


GIVEAWAY INFO:
Make sure and leave a comment before you leave for a chance to win one of 10 $25 gift certificate to Pinkfresh Studio chosen from comments left across the hop! All winners will be chosen and posted on the Pinkfresh Blog on Monday, May 31, 2020 - so make sure and check back to see if you were a winner! Winners must check that page and claim their prize within 2 weeks.

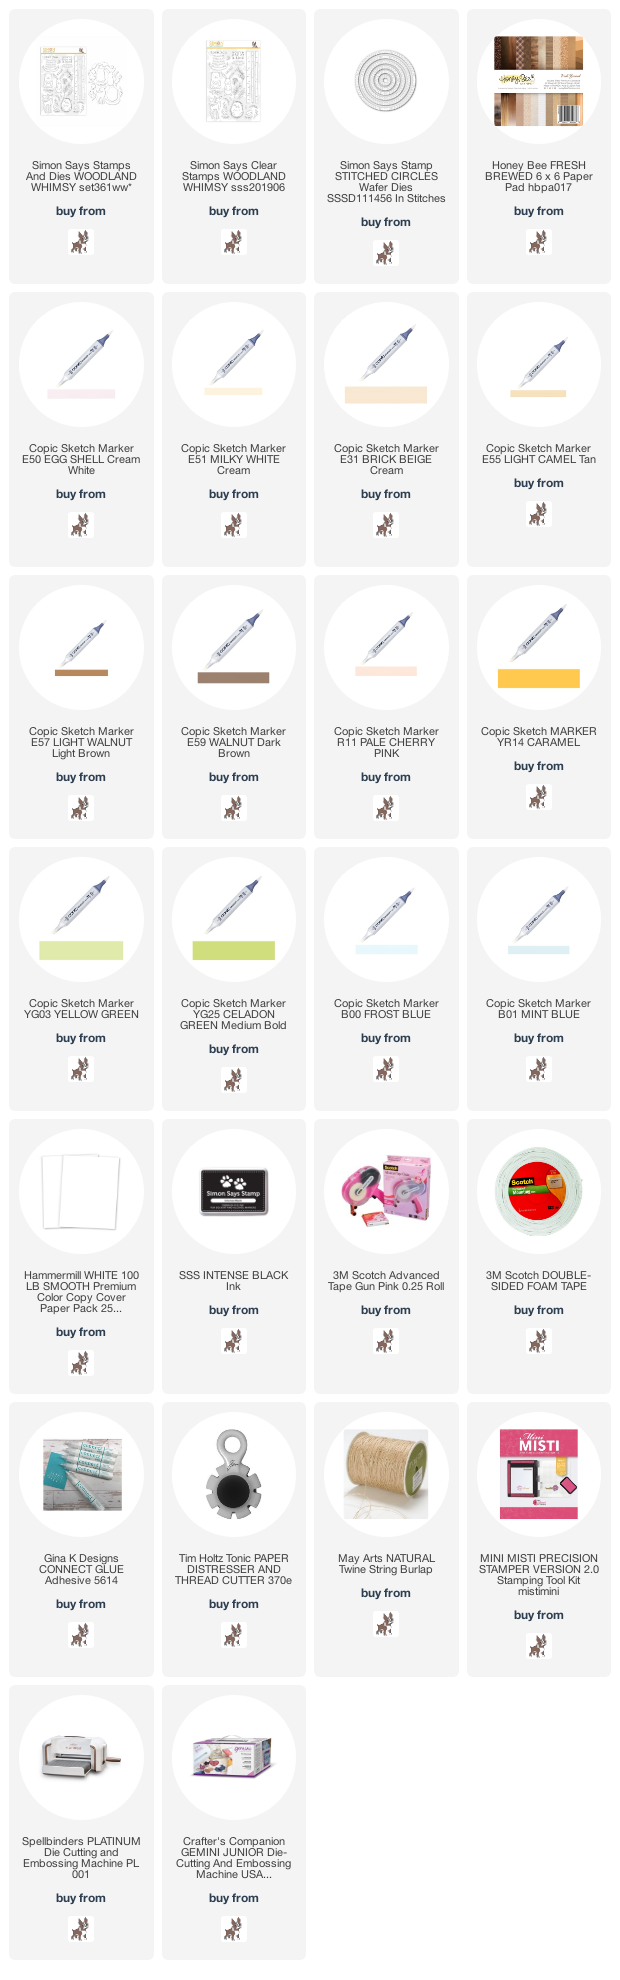
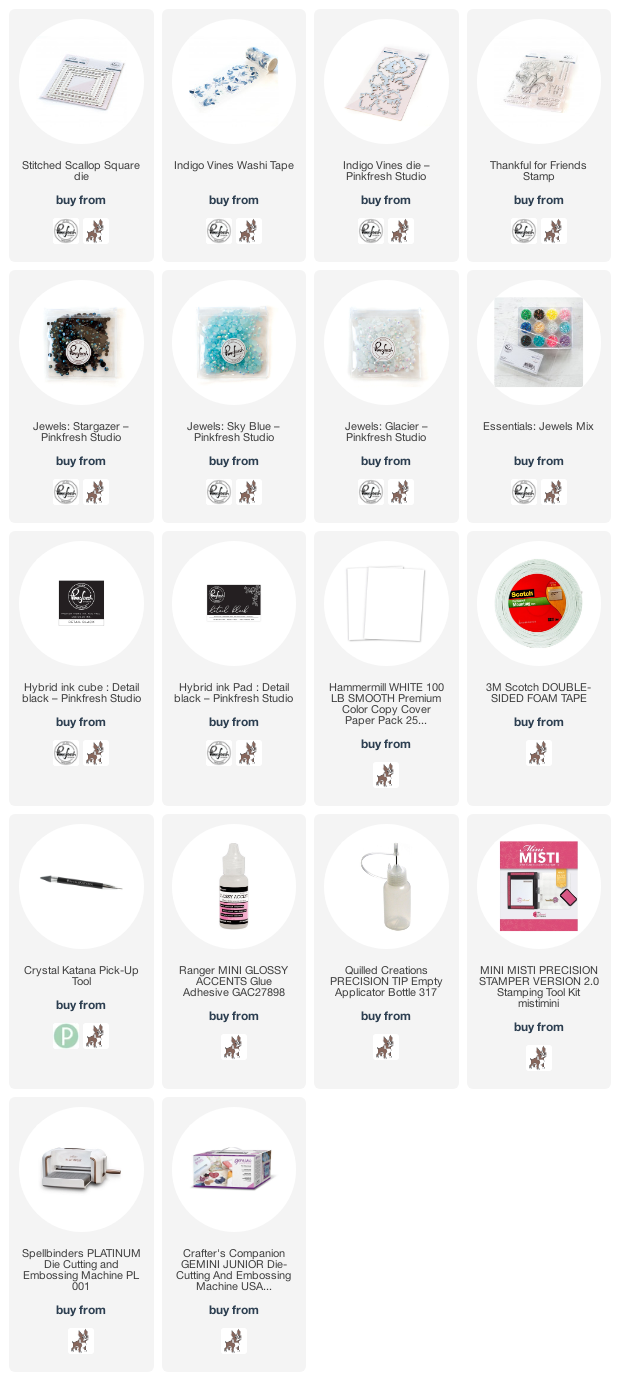
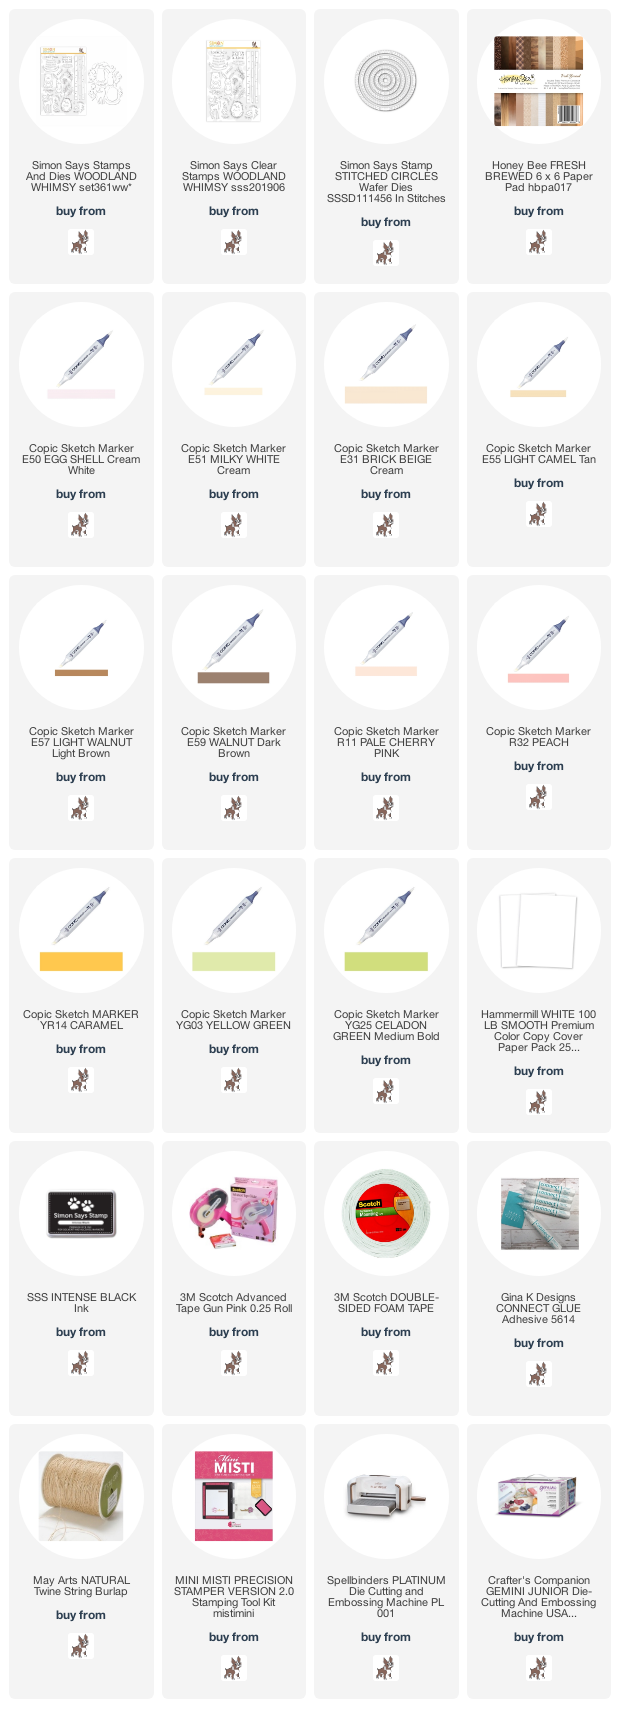
Here is the entire blog hop line-up so you don't miss a single stop - and product links are below - including affiliate links where possible, which simply means if you use one of the links below that I receive a small commission at no additional cost to you. Thanks so much for stopping by! Have a wonderful day!!!

You are invited to the Inlinkz link party!

Click here to enter