Wednesday, March 31, 2021

Scallop Edges Stencil 3 Ways - on the Pretty Pink Posh Blog

 Good morning! Just popping in with a little peek at a card set I have up on the Pretty Pink Posh blog and Youtube channel today! You can check it out HERE on the blog, or just watch the video on YouTube HERE!


Thanks for stopping by today - have a fabulous day!


Here for you Always - Simon Says Stamp Hello Beautiful Release

Good morning! I'm here today with another card using some of the Simon Says Stamp Hello Beautiful Release from a little over a month ago! This beautiful die makes a gorgeous base for this clean and simple design with lots of texture and interest - it was out of stock for quite a while, so I waited to share it until now!


The beautiful Spring Blooms Corner Wafer Die is so intricate and fun! I die cut it from a panel of white cardstock , and stamped a sentiment from another new set, Blooming Meadow on the panel.


To add some interest to my card, I adhered some pink cardstock to my white cardbase at an angle - placing it perfectly so that it would just cover the area behind the die cut - and letting it show off that jaunty angle around the rest of the card as well.


Finished off by mounting that panel with thing strips of foam adhesive over the cardbase, and then added a sprinkle of sparkly jewels around the edges, and in the centers and base of some of the flowers on the die cut pieces. Perfect touch of bling!


Product links are all below - including affiliate links where possible, which simply means that if you use one of the links below, I receive a small commission at no additional cost to you. Thanks so much for supporting my blog, and stopping by! Have a wonderful day!!!


Tuesday, March 30, 2021

Layered Butterfly Cards - Simon Says Stamp April 2021 Card Kit

Good morning! I'm back one more time with a couple more cards using the BRAND NEW April 2021 Simon Says Stamp Card Kit - Friendly Flowers! This kit is the perfect floral menagerie! The included stamp set by the same name some lovely sentiments and gorgeous floral images, there is some BEAUTIFUL pattern papersweet stickers - that's all not to mention the cardstock, envelopes, and more!

First up, this card is so simple, but totally dreamy with that lovely pattern paper!


I mostly just trimmed down the pattern paper to make this card - layering everything together, and curling up the edges a bit for some dimension - and leaving a white border along the outer edges of the card.


Sentiment is from the stamp set in the kit, heat embossed on a bit of black cardstock, hand trimmed to a banner shape, then mounted with foam adhesive.


Finished off with a tiny bow tied from jute string and glued on the top butterfly.


Second card had a few more layers and steps - but still made use of some more of the pattern paper! It was so gorgeous, I wanted to use it all!


I used a panel of vellum to add my stamping - the florals are from the stamp set, heat embossed in white and stamped off the top and bottom edges. Sentiment was stamped with Versafine Onyx Black ink, then heat embossed with clear powder. So much easier to work with than black embossing powder!


Layered that over the panel of pattern paper, adding tiny dots of liquid glue in strategic locations behind the flowers, and also directly behind where I added the bow. The bow was created with more jute string, and I added one of the pretty mini flair embellishments from the kit over the top.


Here is a closer look at the entire kit contents - you can find all the details HERE:


Product links are all below - including affiliate links where possible, which simply means if you use one of the links below that I receive a small commission at no additional cost to you. Thanks so much for stopping by! Have a wonderful day!!!


Monday, March 29, 2021

Layered Roses Full Bloom Card - on the Unity Stamp Company Blog

 Good morning! I'm back with another card for my series on the Unity Stamp Company Blog this morning! I'm so excited to be featuring the amazing Kit of the Month on Monday's on the Unity Stamp Company Blog! Since the Kit of the Month was the first thing I purchased from Unity, and what got me hooked to begin with, they hold a special place in my heart, so I'm super excited about this opportunity to give these kits some love! You can check out all the details HERE for today's project!


Thanks for stopping by today - have a WONDERFUL day!!!


Pinkfresh Studio March 2021 Cling Stamp, Stencil, Die, and Hot Foil Release

 Good morning! Today is an amazing blog hop to celebrate Pinkfresh Studio's March 2021 Cling Stamp, Stencil, Die, and Hot Foil Release! You aren't going to want to miss a stop along the way - TONS of inspiration and prizes up for grabs! YAY!


As always, there is also a shipping promo - FREE US Shipping with $50 purchase, or discounted shipping for our international friends. Details and coupon codes are on this graphic:


You know me...I always have lots of cards to share for the releases - so get ready for lots of projects, starting with this one that I created on YouTube Live last week as a sneak peek of the new release - you can view the video HERE if you want to see this card come to life!


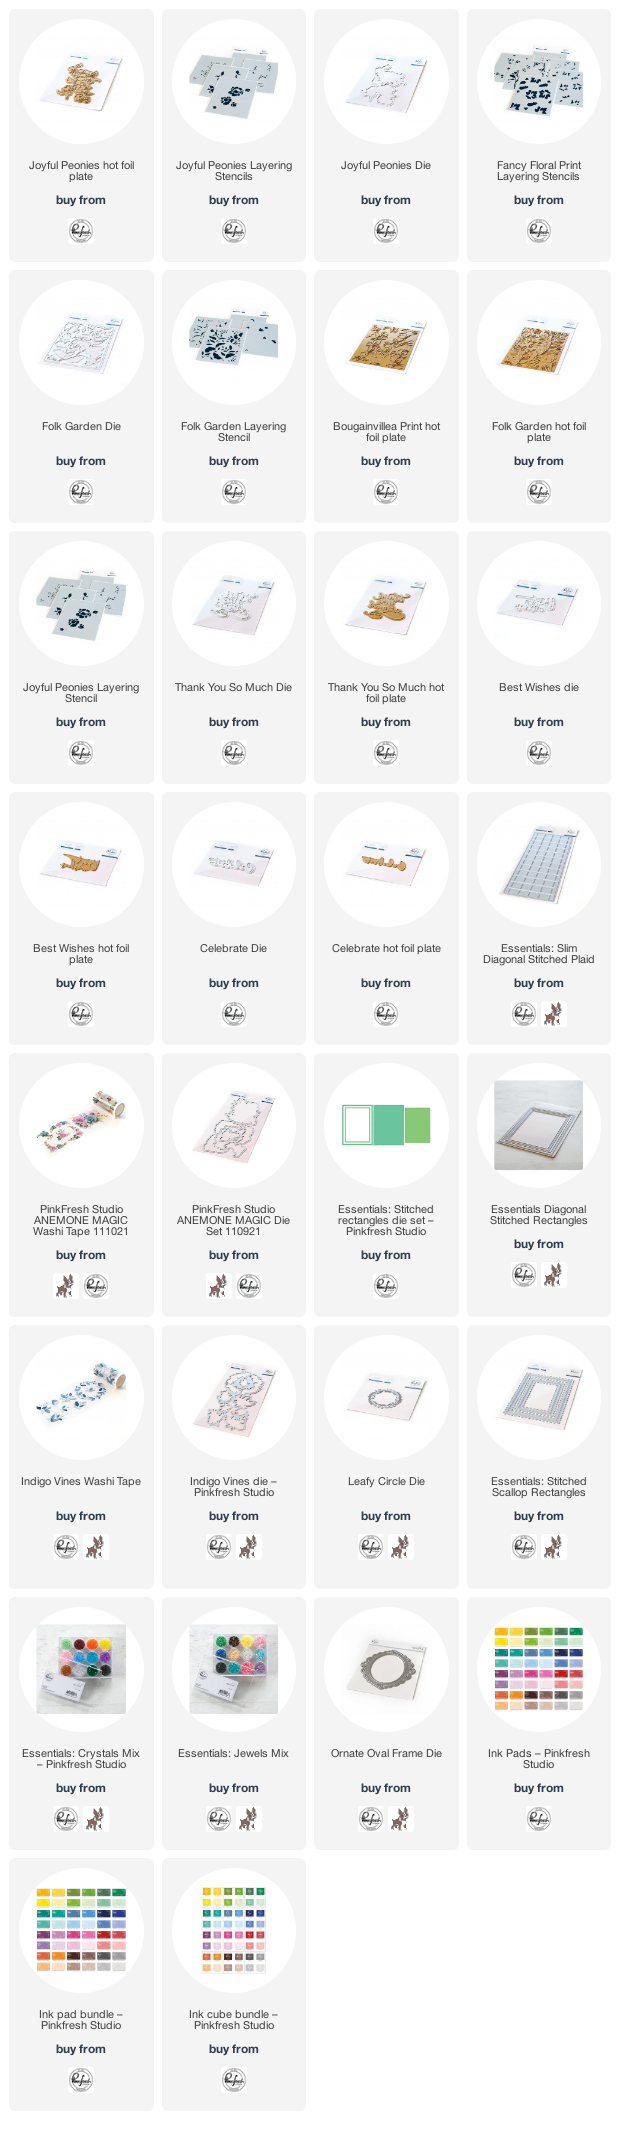
For this card I used the Joyful Peonies hot foil plate, paired up with the layering stencils, and the coordinating dies.


I used two of them together to create a slimline card, layered over Slim Stitched Plaid and on a pink cardbase.


Sentiment is the new Best Wishes hot foil plate and coordinating die, and a few Essentials: Crystals finish this card off!


Next up, I used the new layering stencil set - Fancy Floral Print layering stencil to create a shaker card!


This stencil is a 6 layer stencil - I used bold and bright pinks, purples, orange, and green to create a background. I added lots of white paint splatters for some additional texture.


I hot foiled the new Thank You So Much sentiment in purple on white cardstock, then used the coordinating die to create the shaker window in my stenciled panel.


I filled my shaker with some tiny sparkly confetti to finish it off and leave the sentiment visible through the window.


Next up, this simple card uses that same fabulous Thank You So Much die paired up with some washi from the last release to create a simple card.


This time I didn't use the coordinating die - just hot foiled that big beautiful sentiment on a white piece of cardstock, and trimmed it down with Essentials: Stitched Rectangles.


I then layered lots of the smaller elements from Anemone Magic washi tape, cut with the coordinating dies.


I layered some up with foam adhesive, and some directly on the card panel, trimming it off the edges to size it to the panel, and using all the scraps up as well. Finished off with a coordinating purple cardbase on this one!


Next up, sometimes all you need is some colored cardstock, and lots of shiny foiling and gold!


This elegant background pattern was created with the fabulous Bougainvillea Print hot foil plate on soft green cardstock. I trimmed that panel down and mounted over a panel die cut with Essentials: Diagonal Stitched rectangles from gold cardstock.


I hot foiled the new Celebrate hot foil plate and die cut with the coordinating die, and popped that on the card with foam adhesive.


I love how elegant and simple this design is!


And another card pairing up a new hot foiled sentiment with some of the washi release from earlier this month!


Other than the new sentiment - this card was entirely created from leftover or unused pieces on my desk! Totally not planned...I just had stuff sitting there, and started putting them together - and they just worked perfectly!


I used the lovely large wreath from Indigo Vines washi tape, die cut with the coordinating dies, and a tiny Leafy Circle cut from white cardstock.


I had one of the Essentials: Scallop Rectangles die cut from some slightly matte gold cardstock, and layered that over my white cardbase.


Finished off with that hot foiled Best Wishes hot foiled sentiment, die cut with the coordinating dies, and a few coordinating Essentials: Crystals. 


And finally, shaking up my normal color combos to create another hot foiled slimline card!


For this one, I used Folk Garden hot foil plate with it's coordinating stencils and die cut.


I also added an Ornate Oval frame, adding a bit of stenciled color to coordinate with the greenery.


Added that hot foiled Thank You So Much sentiment, die cut with the coordinating die, and of course add a few sparkly Essentials: Crystals to finish off! This photo shows a *little* bit of just how beautiful and shiny this hot foiling is:


GIVEAWAY INFO:
Make sure and leave a comment before you leave for a chance to win one of 10 $25 gift certificate to Pinkfresh Studio chosen from comments left across the hop! All winners will be chosen and posted on the Pinkfresh Blog on Monday, April 5, 2020 - so make sure and check back to see if you were a winner! Winners must check that page and claim their prize within 2 weeks.

Here is the entire blog hop line-up so you don't miss a single stop - and product links are below - including affiliate links where possible, which simply means if you use one of the links below that I receive a small commission at no additional cost to you. Thanks so much for stopping by! Have a wonderful day!!!

You are invited to the Inlinkz link party!

Click here to enter

Saturday, March 27, 2021

Kitty Mini Slimline Duo - Simon Says Stamp All the Feels Release Blog Hop

 Good morning! Excited today to be joining in on Day 2 of an incredible blog hop to celebrate the BRAND NEW All the Feels Release from Simon Says Stamp! Make sure and check out all the inspiration with this new release AND link up your creations as you receive your orders HERE in the Gallery created just for this release! And check out the graphic below to receive a FREE Love Your Guts die set with the coupon code below through March 28, 2021 as well - while supplies last (code expires at 11:59 PM EDT)!!!


Today I have my very first MINI slimline cards to share with you - and they were SOOO fun to create! I am created these at 3x6 size - not sure if that is the technically correct size, but I am in love with how sweet and cute this size of slimline is!


For this first card, I used the window portion of the Mini Slimline Window dies. I added some soft ink blending with distress inks to the top and bottom of my card base to add some interest, since my cardbase was white, as well as my die cut window. This helped the framing of the window to pop a little extra.


I popped that die up with thin strips of foam adhesive, and stamped sentiments in the top and bottom window using the new Inside Family Messages stamp set.


I stamped and colored the sweet kitties from the new Happy Meowther's Day stamp set - I didn't have the dies, so I fussy cut them out to attach in the center window, adding foam adhesive behind the portion that sits inside the window.


Finally, I added a few sparkly clear PPP sequins to add a touch of sparkle!


The next card uses very similar supplies - but this time I used the center portion of one of the windows!


I started this card off by stamping that cute kitty peeking around the corner on the outer edges of my card. Since the line that they are peeking around was shorter than my card edge, I used a ruler and fine line sharpie marker to complete the line from top to bottom on my card base. Then I colored the image up with Copic markers - adding some shading coming in toward the center of the card as well.


I did some coordinating ink blending over the center panel so it would match the Copic colors, and popped it on the front with foam adhesive, then added a secondary sentiment from the same stamp set, stamped in Dark Chocolate ink to tie in with the browns on the card.


Finished this card off with those same sparkly clear sequins as well!


And here they are together - these were so fun to create! I would love to hear if you have a favorite!


I also shared this card a couple days ago using some of this fabulous release - you can check out details on this card HERE if you want more info!


GIVEAWAY INFO:
Simon Says will be giving a $25 gift certificate to their online store at each stop along the hop - so make sure and leave a comment before you leave for a chance to win! Winners will be announced next Wednesday on the Simon Says Stamp Blog.

Simon Says Stamp Blog   

Debby Hughes

Laura Bassen

Amanda Korotkova

Heather Hoffman (you are here)

Bobbi Lemanski

Vicky Papaioannou

Bibi Cameron

Kathy Racoosin

Dilay Nacar

Mindy Eggen

Emma Williams

Seeka

Tina Smith

Product links are all below - including affiliate links where possible, which simply means that if you use one of the links below, I receive a small commission at no additional cost to you. Thanks so much for supporting my blog, and stopping by! Have a wonderful day!!!