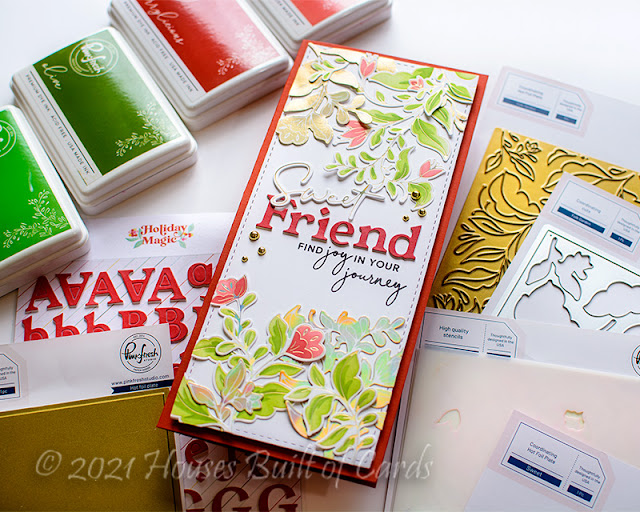
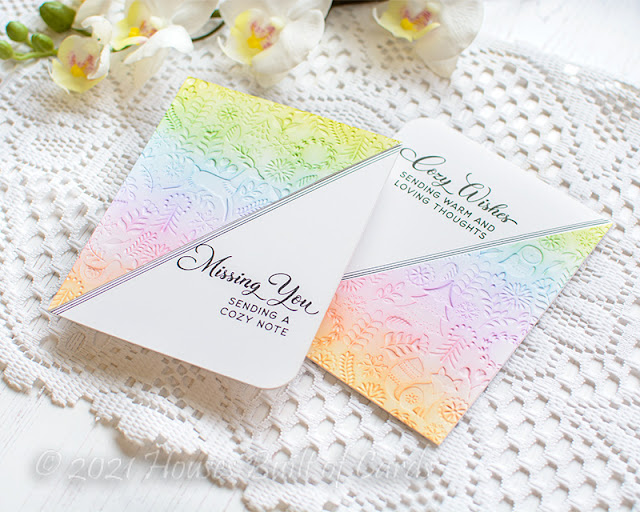
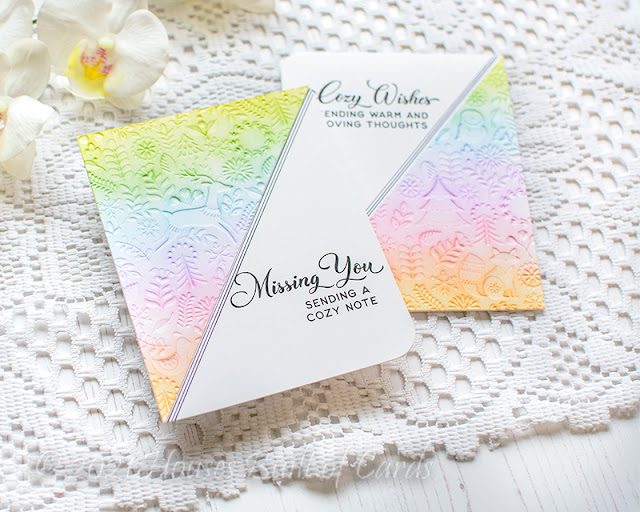
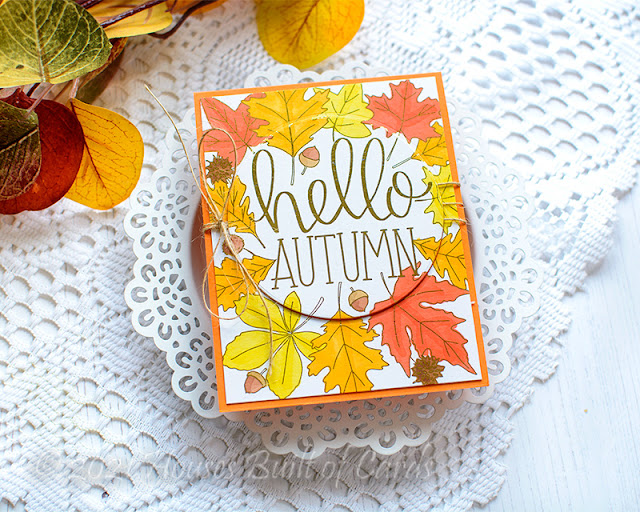
Good morning! I'm popping in today to share a another card using some fun supplies from Simon Says Stamp - I love the Printed Watercolor panels from Suzy's Doodles line - especially with the fun of adding hot foil to them since they are toner printed! You can watch a video I shared HERE or read details on my post HERE showing and explaining a way to hot foil toner prints without a laminator or Minc machine if you want more details!
While these cards are printed on watercolor paper, and therefore great for watercolors and similar techniques, they also are great with other coloring mediums! For this card, I used Copic markers after adding the hot foil to the image.

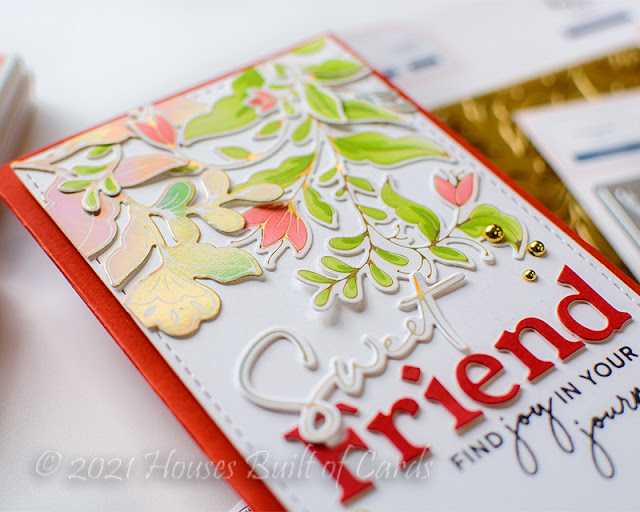
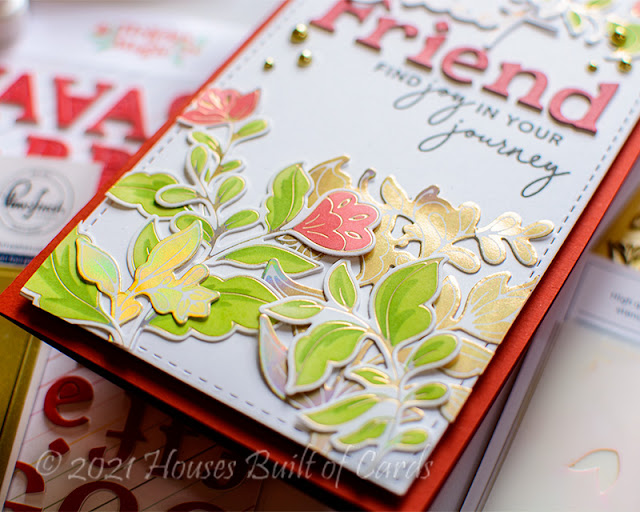
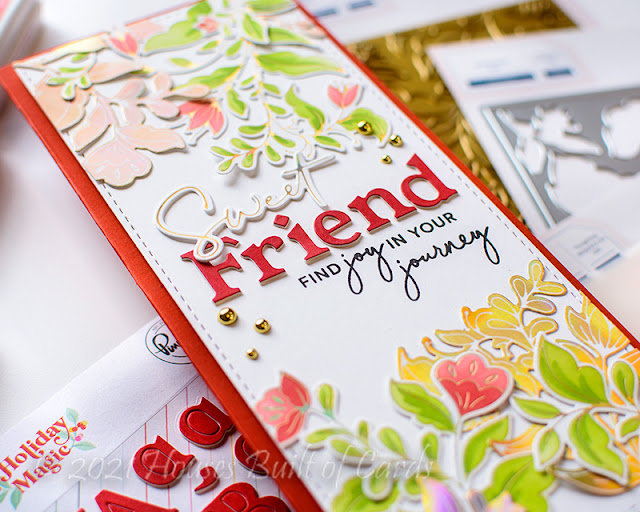
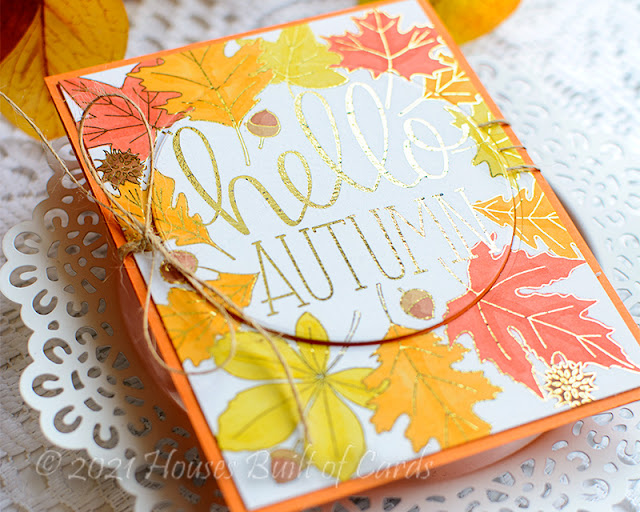
Hot foil is super hard to photograph, so I apologize that most of these photos are at an angle - it was the best way to show off that shine!
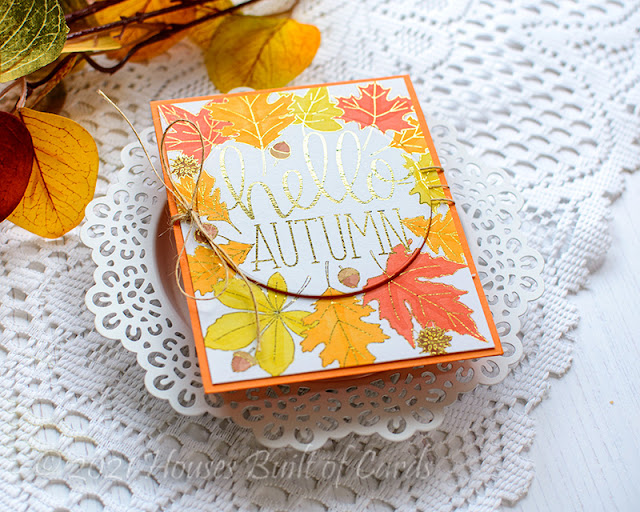
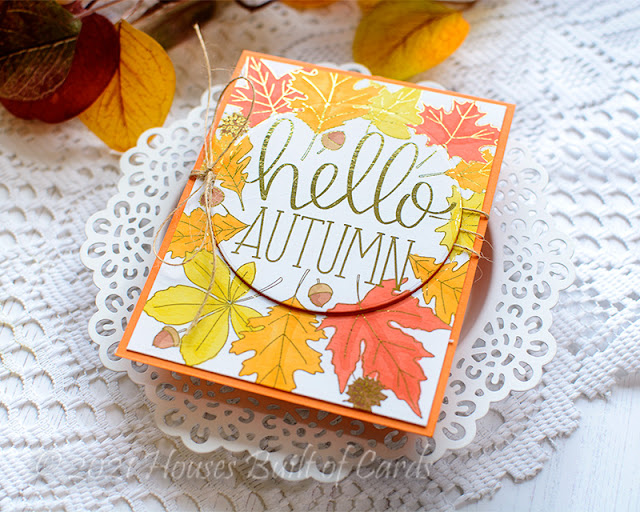
Once I had hot foiled and colored the image, I trimmed it down slightly, then die cut a circle from the center with a Basic Circle die.
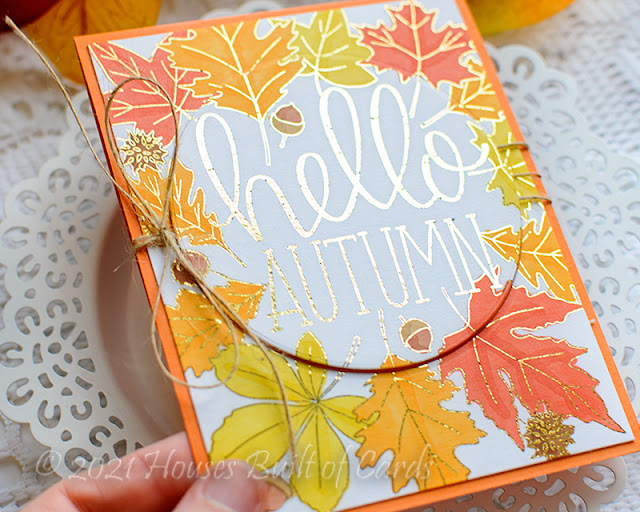
I adhered the frame directly on an orange card base, wrapped some twine around to tie in a bow, and then added the circle in the center with the sentiment using foam adhesive.
I always save tying the bow for the very last so that it stays as pretty as possible.
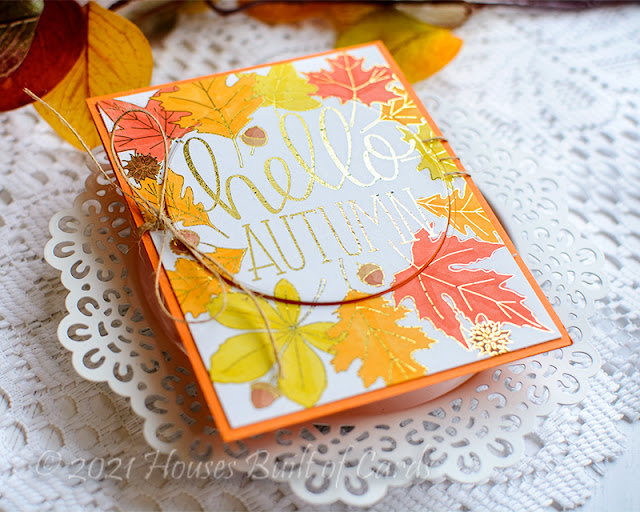
Does anything go better together than fall colors and gold?!? I somehow don't think so!
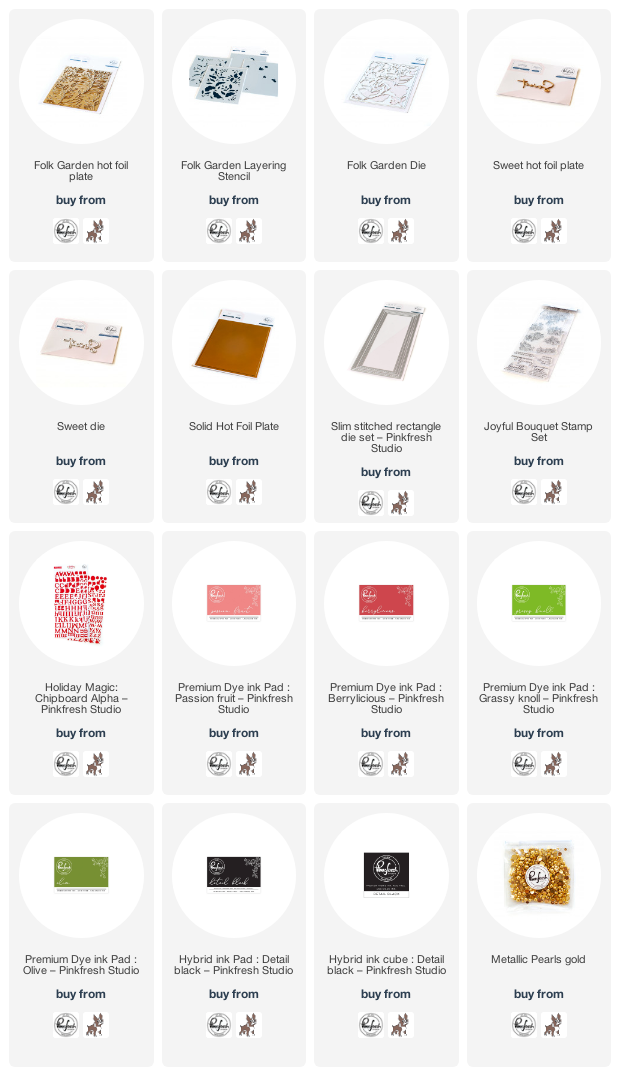
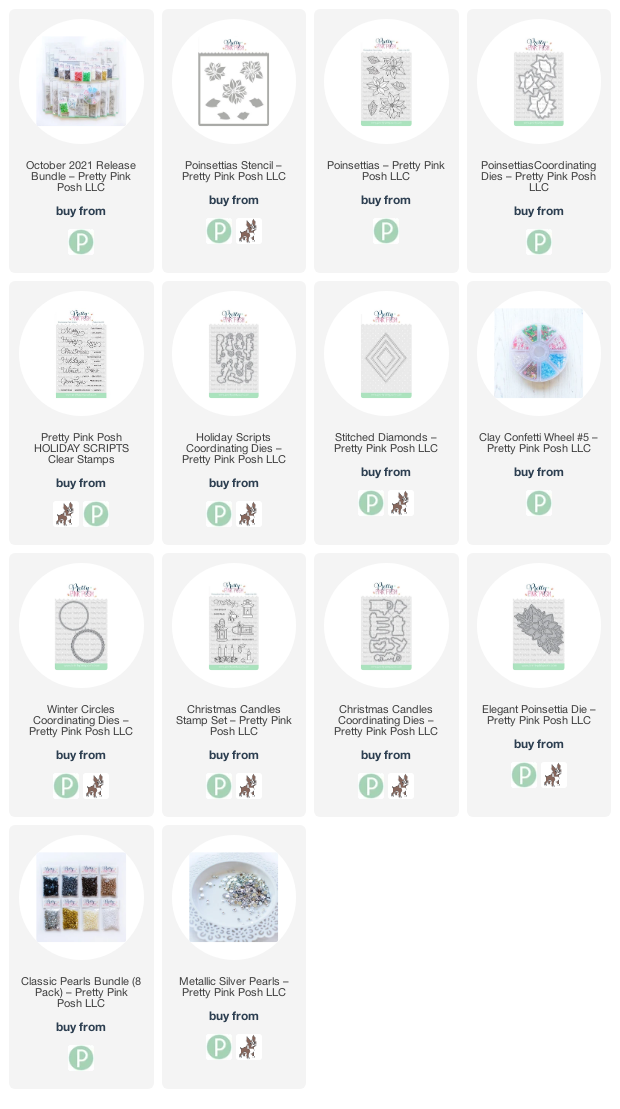
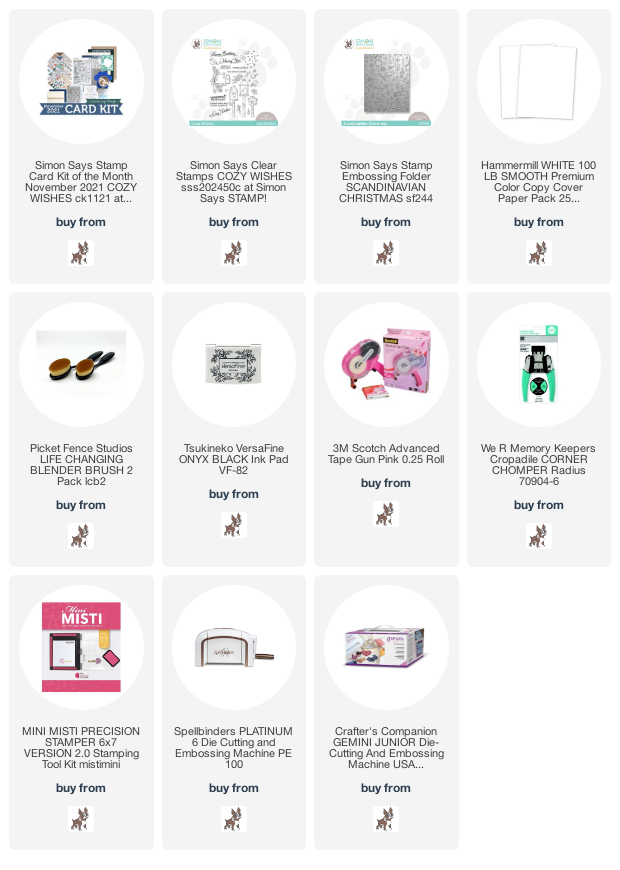
Product links are all below - including affiliate links where possible, which simply means that if you use one of the links below, I receive a small commission at no additional cost to you. Thanks so much for supporting my blog, and stopping by! Have a wonderful day!!!