Wednesday, June 30, 2021

Bright Floral Get Well Soon - Simon Says Stamp

 Good morning! Stopping by with a simple stenciled get well card using a fabulous stencil and sentiment set from Simon Says Stamp. I had never used this stencil, and was super excited to put it to use - and thought it would be extra fun to use extra colors on my stenciling!


I stenciled directly on my white cardbase, and used 3 different colors of distress inks to blend over each of the roses in the Rose Trio stencil - keeping my colors and blends nice and soft, and really not going entirely to the edges - trying to avoid the leaves without taking time to mask them off.


I added color on the leaves with two shades of ink, keeping the same effect as the roses. Once I pulled the stencil off, I blended more inks around the same areas and corners. I love how this softens the lines on the stenciling, and draws the color out to all the edges a bit as well.


Finished off with a few black splatters, a sentiment from the super fun Word Mix 2 stamp and die set popped up on foam adhesive, and a few simple silver pearl embellishments that recently released from Pinkfresh Studio!


Product links are all below - including affiliate links where possible, which simply means that if you use one of the links below, I receive a small commission at no additional cost to you. Thanks so much for supporting my blog, and stopping by! Have a wonderful day!!!


Tuesday, June 29, 2021

Watercolor Framed Birdhouse - Spellbinders Jane Davenport Blog Hop

Hello! I'm here today for a fun blog hop with Spellbinders to celebrate some of the gorgeous Jane Davenport products. I've used them for my card today, paired up with some other previous releases.


I have this fun little bright and happy birdhouse card to share today!


I received a set of Mermaid Markers and Finishing Line pens to work with - it was fun to incorporate them with my other Spellbinders product to create my card. I die cut all the pieces for the birdhouse, flowers, new, and bird using watercolor paper and Build a Spring Birdhouse Etched Dies and Sweet Birds on a Branch Etched Dies, then used the mermaid markers on a clear block so I could pick up the color with a wet brush and add it to my die cut pieces. The colors were so vibrant, this was a great way to get whatever color tones I was looking for.


I did the same thing to create an ombre watercolor background, then used a couple different sizes of the finishing pens to add a lovely sketchy outline around the edges of it.


I added a die cut picket fence, cut 3 times from white cardstock and layered together, then assembled and added my birdhouse with foam adhesive and extra liquid glue to ensure it adhered well. I also added a simple hot foiled sentiment from Yana's Special Sentiments.


I added a fine bit of white paint splatters over the entire front, and some jewels to the centers of the flowers to finish everything off!


Giveaway info:
To celebrate this event, Spellbinders is giving away a $50 gift certificate to 3 lucky blog readers - selected from the comments on their blog. Giveaway closes on Sunday, July 4th 11:59 pm EDT. The winners will be announced in the blog hop post the following Wednesday. Winner is responsible for shipping cost, duties, and taxes.

Here is the entire Blog Hop list:


Product links are all below - including affiliate links where possible, which simply means if you use one of the links below that I receive a small commission at no additional cost to you. Thanks so much for stopping by! Have a wonderful day!!!


Monday, June 28, 2021

Acetate Stamped Shaker Card - on the Unity Stamp Company Blog

 Good morning! I'm back with another card for my series on the Unity Stamp Company Blog this morning! I'm so excited to be featuring the amazing Kit of the Month on Monday's on the Unity Stamp Company Blog! Since the Kit of the Month was the first thing I purchased from Unity, and what got me hooked to begin with, they hold a special place in my heart, so I'm super excited about this opportunity to give these kits some love! You can check out all the details HERE for today's project!


Thanks for stopping by today - have a WONDERFUL day!!!


Tuesday, June 22, 2021

Sweet Strawberry Cards - Pinkfresh Studio Instagram Release Hop

Hello! Today I am part of a fun Instagram hop to celebrate the new Pinkfresh Studio release! These are also the cards I created last week on Pinkfresh's weekly Facebook Live as a sneak peek of the release. If you want to watch the video of these cards coming together, you can see it HERE - and here are more photos of the finished cards:


For this I used the gorgeous Blossoms and Berries washi tape - could it be any more beautiful! Fun fact: my favorite dessert ever is Strawberry Shortcake - I usually request it for my birthday in May each year, ever since I was little. :) So I kind of have a thing for strawberries! It also reminds me of my grandma - she passed away a few years ago, but she shared my love of strawberries.


This first card also uses the new Sweet hot foil and die combo - so scripty and pretty! I layered together a couple of Blanket Stitched Ovals, tucking the pieces of the washi around, under, and over the pieces. Secondary sentiment on this is from Simply Sentiments: Hello.


This second card utilizes the Mini Slimline Essentials dies, and used the stitched edge for this one. I used one of the wreaths from the washi, trimmed to go in each corner of the panel, then added a few more elements tucked around. Sentiment for this one is stamped and heat embossed from the coordinating Blossoms and Berries stamp set. Of course had to finish both cards off with a few of the new Metallic Gold Pearls - love how they make the gold foil on the washi just pop!


Isn't it fun to mix up card sizes like this too? I love the mini slimline - just so fun to mix up your canvas size. And of course you can't go wrong with a classic A2 card size either!


Product links are all below - including affiliate links where possible, which simply means if you use one of the links below that I receive a small commission at no additional cost to you. Thanks so much for stopping by! Have a wonderful day!!!


Monday, June 21, 2021

Distressed Layered Mini Slimline Card - on the Unity Stamp Company Blog

Good morning! I'm back with another card for my series on the Unity Stamp Company Blog this morning! I'm so excited to be featuring the amazing Kit of the Month on Monday's on the Unity Stamp Company Blog! Since the Kit of the Month was the first thing I purchased from Unity, and what got me hooked to begin with, they hold a special place in my heart, so I'm super excited about this opportunity to give these kits some love! You can check out all the details HERE for today's project!


Thanks for stopping by today - have a WONDERFUL day!!!


Pinkfresh Studio June Washi, Stamp, Die, Stencil, and Hot Foil Release

 Good morning! Today is an amazing blog hop to celebrate Pinkfresh Studio's June Washi, Stamp, Die, Stencil, and Hot Foil Release! Whew - so many fun things! You aren't going to want to miss a stop along the way - TONS of inspiration and prizes up for grabs! YAY! 


As always, there is also a shipping promo - FREE US Shipping with $50 purchase, or discounted shipping for our international friends. Details and coupon codes are on this graphic:


These are so many fun things in this new release - new washi/stamp/die combos, new stamp/hot foil/layering stencil/die combos, and some new hot foil plates to coordinate with previous releases - not to mention a couple fun new embellishments that we are super excited about! Here is a peek at all the cards I've created with this release (although I'm saving something to share tomorrow for the Instagram hop)...so be warned, it is as usual, a very photo heavy post!

Let's start here with this slimline card with the gorgeous new Lemons and Blueberries Washi tape and Sending Hugs and Good Vibes hot foil plate!


For this card I die cut two panels of the beautiful Lemon and Blueberries washi, so I could have two of those gorgeous wreaths to fill my slimline card. I used several of the extra pieces as well, but still have lots left over for a future card.


I hot foiled the gorgeous Hugs and Good Vibes with Aura hot foil from Spellbinders - a gorgeous pale gold with a bit of rainbow iridescence that I love! I also die cut it with the coordinating die.


I used Slim Diagonal Stitched Plaid for my background, mounted on a soft yellow cardbase to help those lemons pop even more.


Lots of foam adhesive to create this card - definitely not a flat and easy to mail card, but totally worth hand delivering or sending in a padded envelope for all that fun dimension!


Finished off with a few of one of the gorgeous new embellishments - Metallic Gold Pearls (they are also available in Silver!)


Next up - is anything better than hot foiling and stenciling?!? I think not!


This card uses the gorgeous new Daisy Wreath hot foil plate, that coordinates with the previously released (and super popular) Daisy Wreath layering stencil and coordinating die. I used both of those on this card as well - stenciling the wreath with Peach Fuzz, Apricot, Coral Reef, Ocean Breeze, and Aquamarine ink before die cutting. 


I layered it with foam adhesive on a die cut Ornate Banner, and layered on the softest peach colored cardstock for just a hit of color to coordinate with the daisies, and stamped a sentiment in the center from the Lemons and Blueberries stamp set.


I added some butterflies on there from the next new item that I think will sell out in a hurry - Small Butterflies! These come in a one piece hot foil plate (that I used for these), one piece stamp set, one piece die, and a set of layering stencils that allows you to stencil them all at once as well!


I hot foiled the butterflies, then stenciled them with Sweet Mustard, Apricot, Coral Reef, and Passion Fruit ink, before die cutting with the coordinating dies. I used butterflies on a couple cards already, and still have lots left to continue using! Super fun!


I adhered the butterflies with liquid glue just in the centers, so I could curve up the wings for added dimension and movement. A few Peach Fuzz jewels finish this one off.


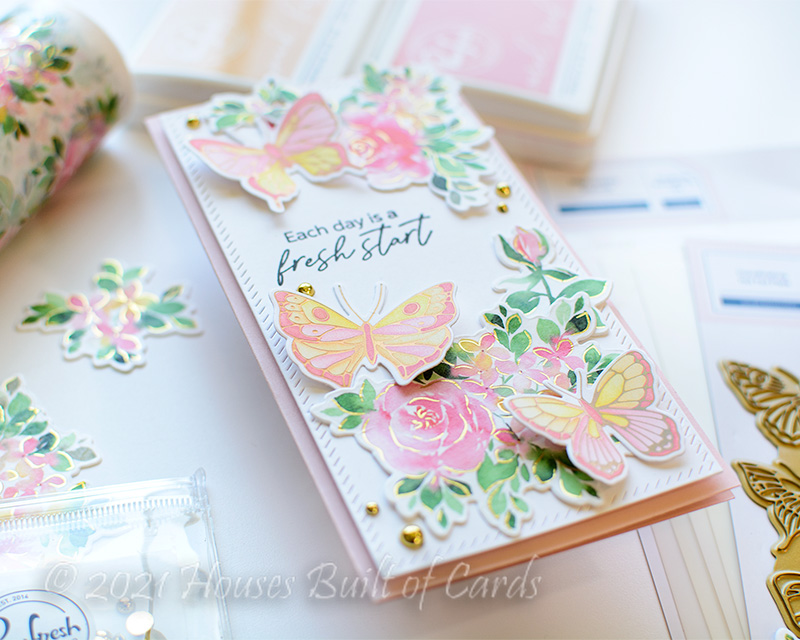
Next up, I paired a few of those same butterflies with another new washi tape combo - Hydrangea and Rose, and it is GORGEOUS!


For this card I created a mini slimline card - one of my new favorite card sizes! I used the Mini Slimline Essentials die set to die cut a background panel to mount on a pink mini slimline cardbase.


I added a few pieces of the washi that I first adhered to white cardstock then die cut with the coordinating dies. This washi is so pretty - I love the touch of gold foiling on it, which is perfect with the hot foiled butterflies!


I added a few of those butterflies, the same way with just liquid glue in the centers of the butterflies. I also tried to curl up the edges of the floral washi pieces to enhance the bit of dimension.


Sentiment is again from Lemons and Blueberries stamp set - such a great reminder, don't you think?


Finished this card with a few more of those Metallic Gold Pearls - they are so pretty!


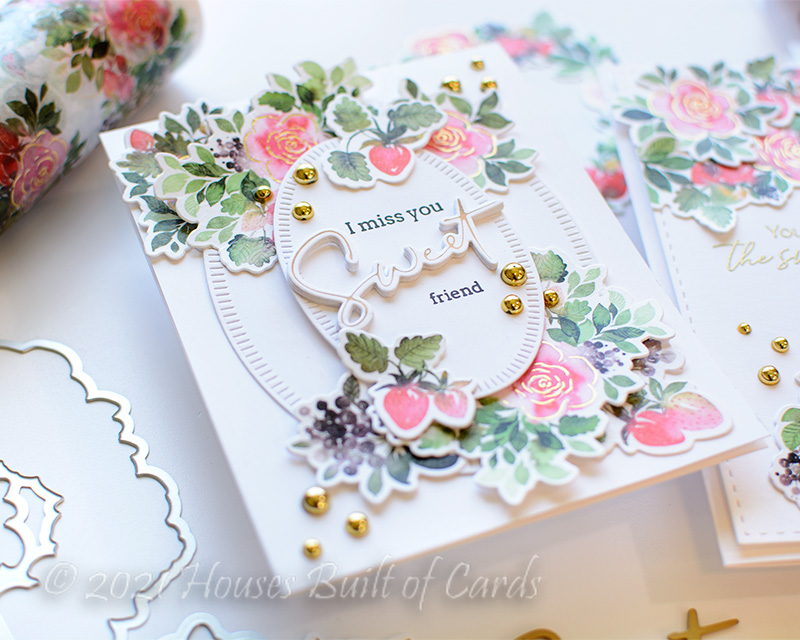
For this next card I pulled out a couple new products that were designed to coordinate with the previously released (and beautiful) Thankful for Friends stamp and die set.


For this card I used the new Thankful for Friends hot foil plate paired up with the new Thankful for Friends layering stencil before die cutting with the coordinating die. Such a stunning combo!


I created a window panel using the smaller size of both Blanket Stitched Ovals and Diagonal Stitched Rectangles dies and white cardstock. I tucked the bottom of the floral under the bottom edge of the oval, and made sure all the other pieces were on the front.


Mounted all of that on a cream colored card base, then added a sentiment from Blossoms and Berries stamp set, heat embossed in gold, trimmed into a strip, and tucked around the bottom leaves of the floral piece.


Final touch was a few more of those gorgeous Metallic Gold Pearls - can you tell how much I'm loving these?!?


GIVEAWAY INFO:
Make sure and leave a comment before you leave for a chance to win one of 10 $25 gift certificate to Pinkfresh Studio chosen from comments left across the hop! All winners will be chosen and posted on the Pinkfresh Blog on Tuesday, June 29, 2020 - so make sure and check back to see if you were a winner! Winners must check that page and claim their prize within 2 weeks.

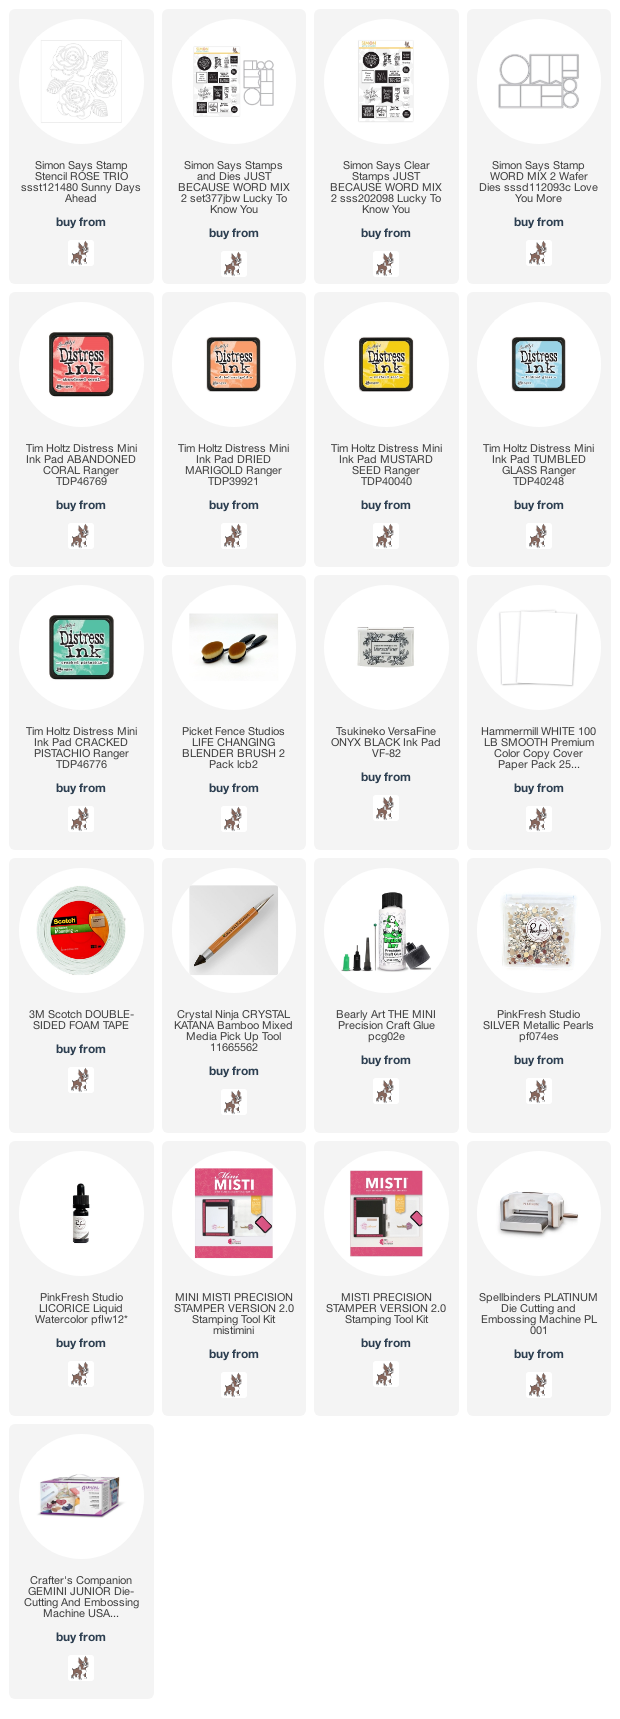
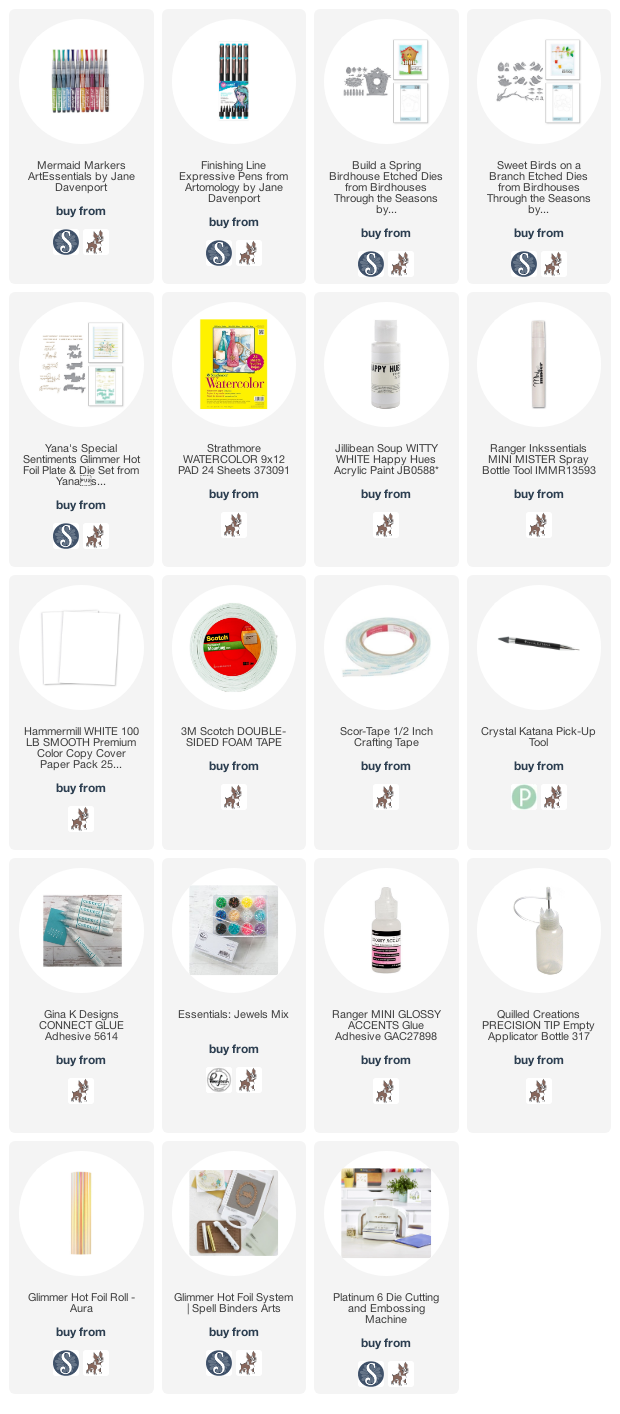
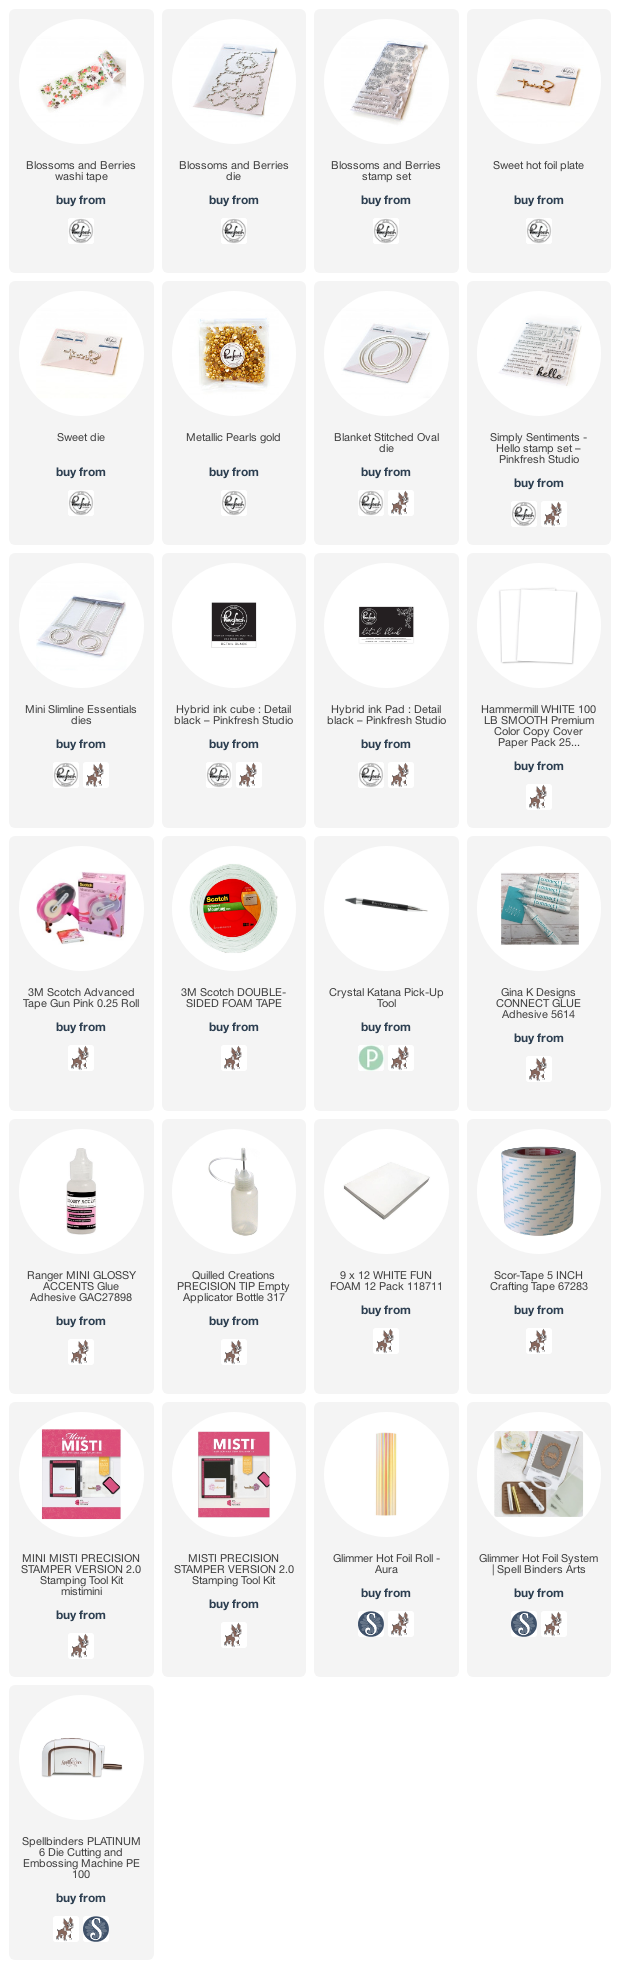
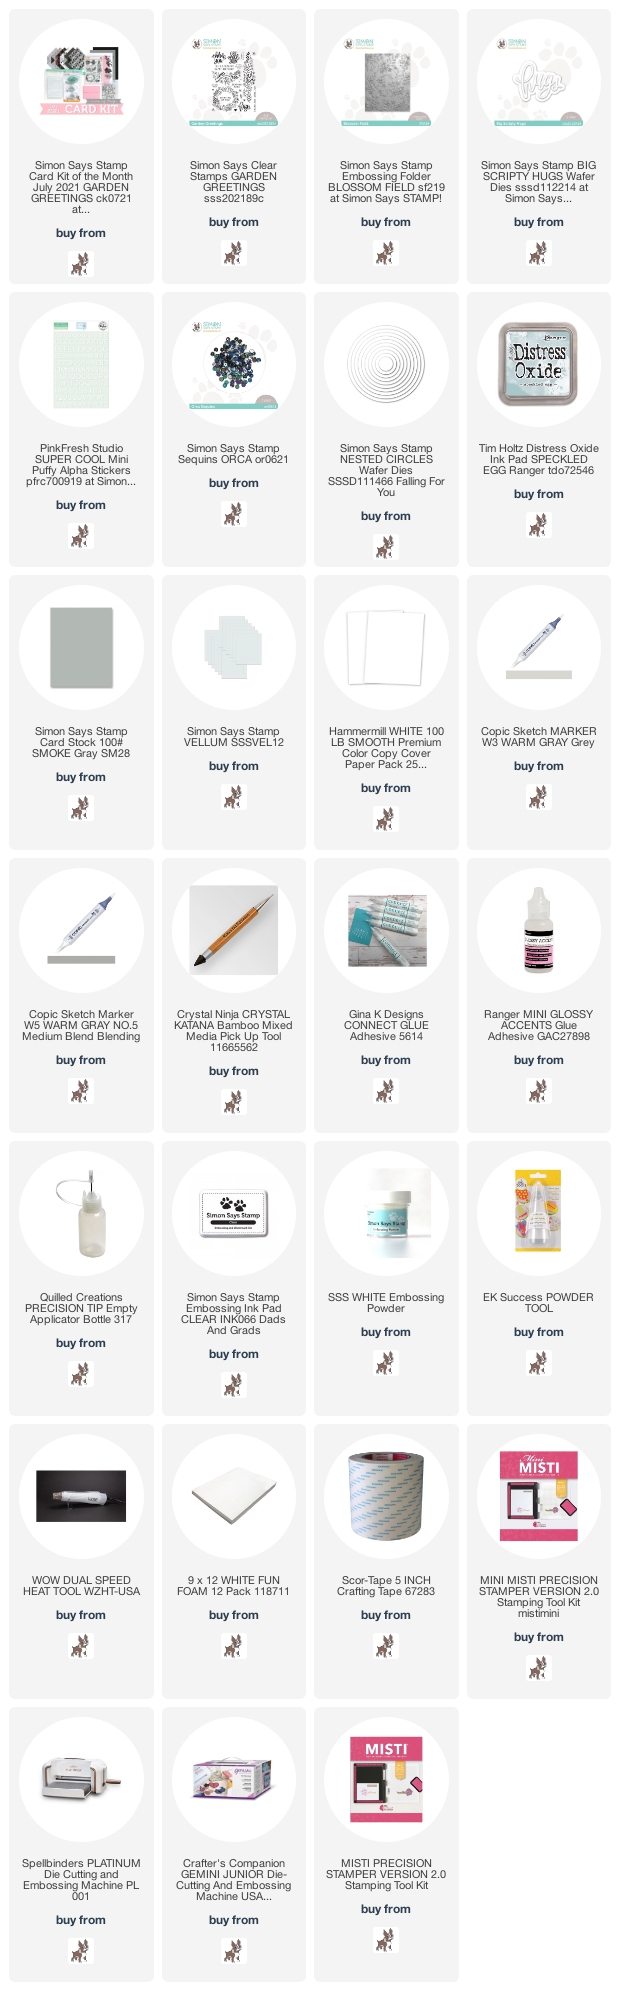
Here is the entire blog hop line-up so you don't miss a single stop - and product links are below - including affiliate links where possible, which simply means if you use one of the links below that I receive a small commission at no additional cost to you. Thanks so much for stopping by! Have a wonderful day!!!

You are invited to the Inlinkz link party!

Click here to enter

Saturday, June 19, 2021

Big Hugs at this Difficult time - Simon Says Stamp July 2021 Card Kit

 Hello! I'm here today to share another card with the BRAND NEW July 2021 Simon Says Stamp Card Kit - Garden Greetings! This kit is summery and full of gorgeous blooms! The included stamp set by the same name has some beautiful wreaths and swags - as well as some great sentiments, there is some lovely pattern paper, a sweet little scripty hugs die, fun embossing folder - that's all not to mention the cardstock, envelopes, and more! 

Today I'm sharing a simple, soft, and sweet sympathy or encouragement card:


To begin, I created the main card panel by inking up one side of the included Blossom Field embossing folder with Speckled Egg Distress Oxide ink - applying it directly to the embossing folder - then ran it through with white cardstock. This added color to the negative space of the embossed design. I then trimmed that panel down, and mounted with foam on a white cardbase.


I die cut the Scripty Hugs die two times, layered them together for some dimension, then layered over the shadow layer die cut from vellum. I also added another two layers of the Scripty Hug on the reverse side of the vellum - sort of works like foam adhesive, but hides it perfectly behind!


I used the Pinkfresh Puffy Alphas in the kit to add the word "big" - while the letters were white, I wanted them to pop a bit more from my background. No problem - I just colored over them with a Copic marker! It gave them a great sort of marbled look that I love as well as the custom color! Finished off with a secondary sentiment from the stamp set in the kit, heat embossed in white on Smoke cardstock then cut out with a small Circle die. A few of the clear sequins from the Orca sequin mix finish this off!


Here is a closer look at the entire kit contents - you can find all the details HERE:


Product links are all below - including affiliate links where possible, which simply means if you use one of the links below that I receive a small commission at no additional cost to you. Thanks so much for stopping by! Have a wonderful day!!!