Hello! It's time to kick off the fun month of DieCember at Simon Says Stamp - a month devoted to celebrating die cutting. It is kicking off with a fun big DieCember Release. And.. the irony isn't lost on me that the first two cards I'm sharing tonight have NO die cutting on them! They do, however, use some of the BRAND NEW release, so there is that!
This first card I owe credit to my artistic daughter for the doodling added on the birch trees!

I'm sharing two cards today using the fun Birch Tree cling background stamp. This card is actually the second card I created, once I figured out how it worked - haha! I mixed up the part that stamped, thinking it was the trees that stamped, not the background. On this one, I clearly figured it out.

I lined the stamp up in my MISTI, then stamped it multiple times. I started by inking it up with Seafoam Pawsitively Saturated inks, then moved on to the next darkest color - Surf. I finished off with Ocean at the top. I just kept adding ink and stamping to get a bit of a gradiated image.

At that point, the birch trees looked a bit boring to me, so I used a fine line Sharpie to outline the trees. It still felt like it needed a little something - but my artistic skills are sorely lacking! So my daughter did the honors - and I think she did fabulous! I actually think I could look at this and re-create it with hers as a guide.

Of course we needed a snowy background - so I added some white splatters to mimic snow, and set that aside to dry.

While that dried, I worked on a sentiment. I used Joy to You and Yours - the stamp set from the December Card Kit. I stamped it with black Versafine ink, then heat embossed it with clear embossing powder. This is my favorite way to get a black heat embossed image - so much easier than messing with black embossing powder! And it gives great shine!

I fussy cut that image out, then mounted it on my background with foam adhesive for a touch of simple dimension!

And...second card, which is actually the first one I made. My plan was to create a striking sunset sky, then stamp the trees over the front in black to create a silhouette. Once I stamped it - I quickly realized my mistake. I almost tossed it - but, I spent a long time creating the background, and couldn't bring myself to waste it! So I decided it could be a night sky, with red Christmas lights reflecting on crisp white and snowy birch trees. Right?!?

For this one, I used Distress ink in Tattered Rose, Abandoned Coral, Lumberjack Red, and Aged Mahogany.

I stamped over with Versafine black ink, then heat embossed it with clear embossing powder. Lots of the clear powder actually stuck to the distress ink, which gave some added texture on there for fun!

I added some white splatters for snow on this one, and then left it to dry overnight, since some of the splatters were over the shiny heat embossing, and I wanted to make sure they were nice and dry and wouldn't rub off before they were dry.

Sentiment was created with the same stamp set, and heat embossed the same way. I also fussy cut it out, and mounted with foam adhesive on the panel.

Hard to capture the texture and shine on this card - but here is a little closer look:

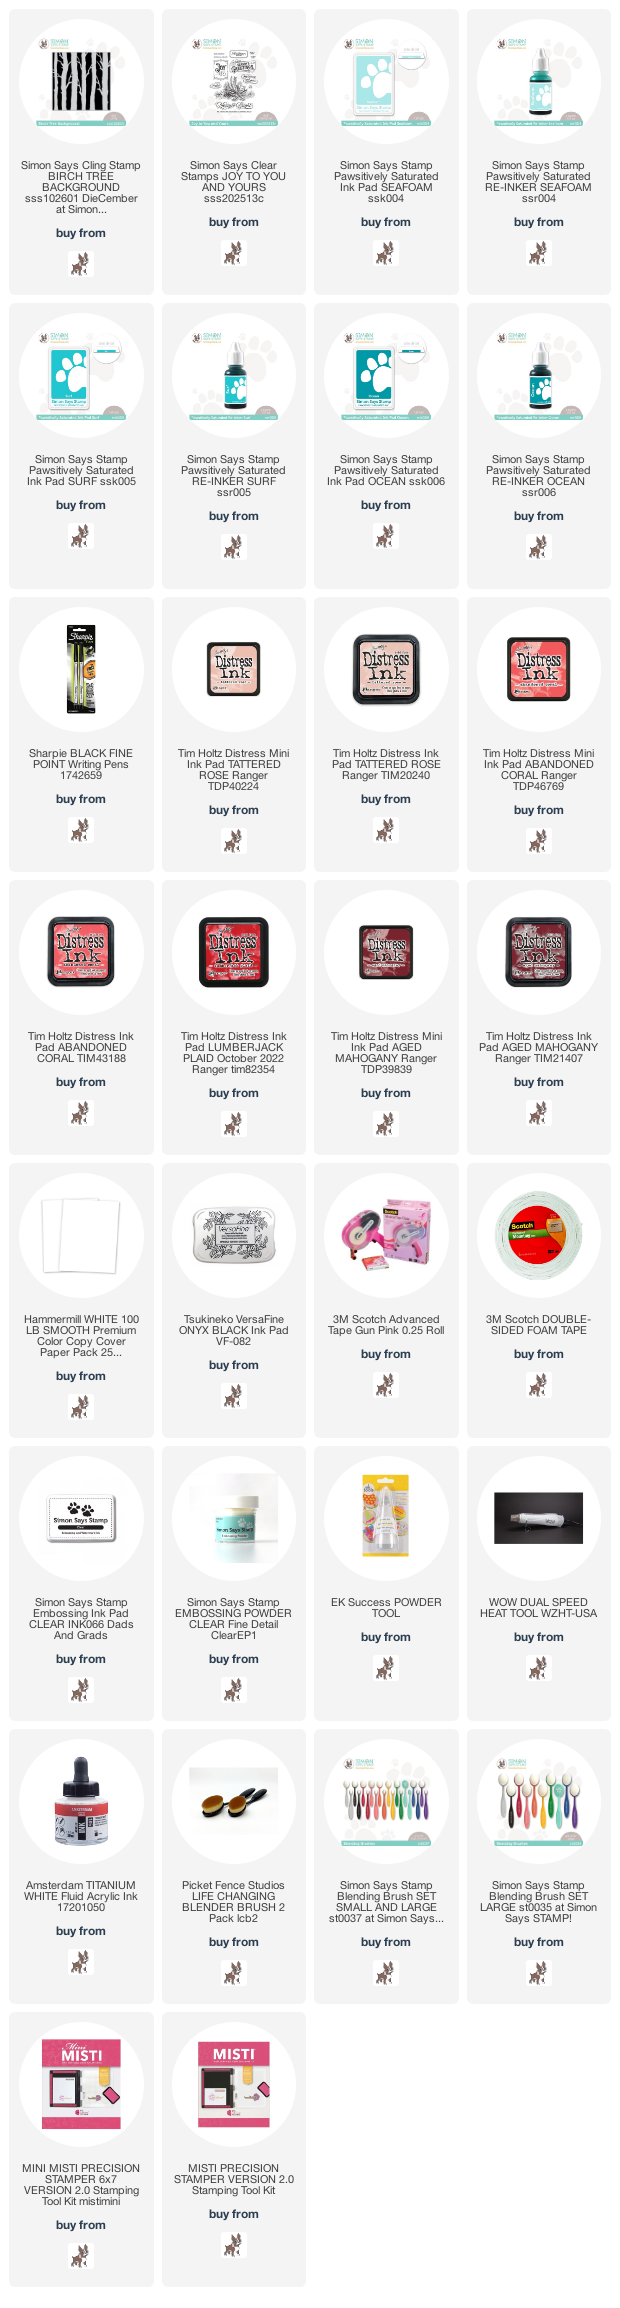
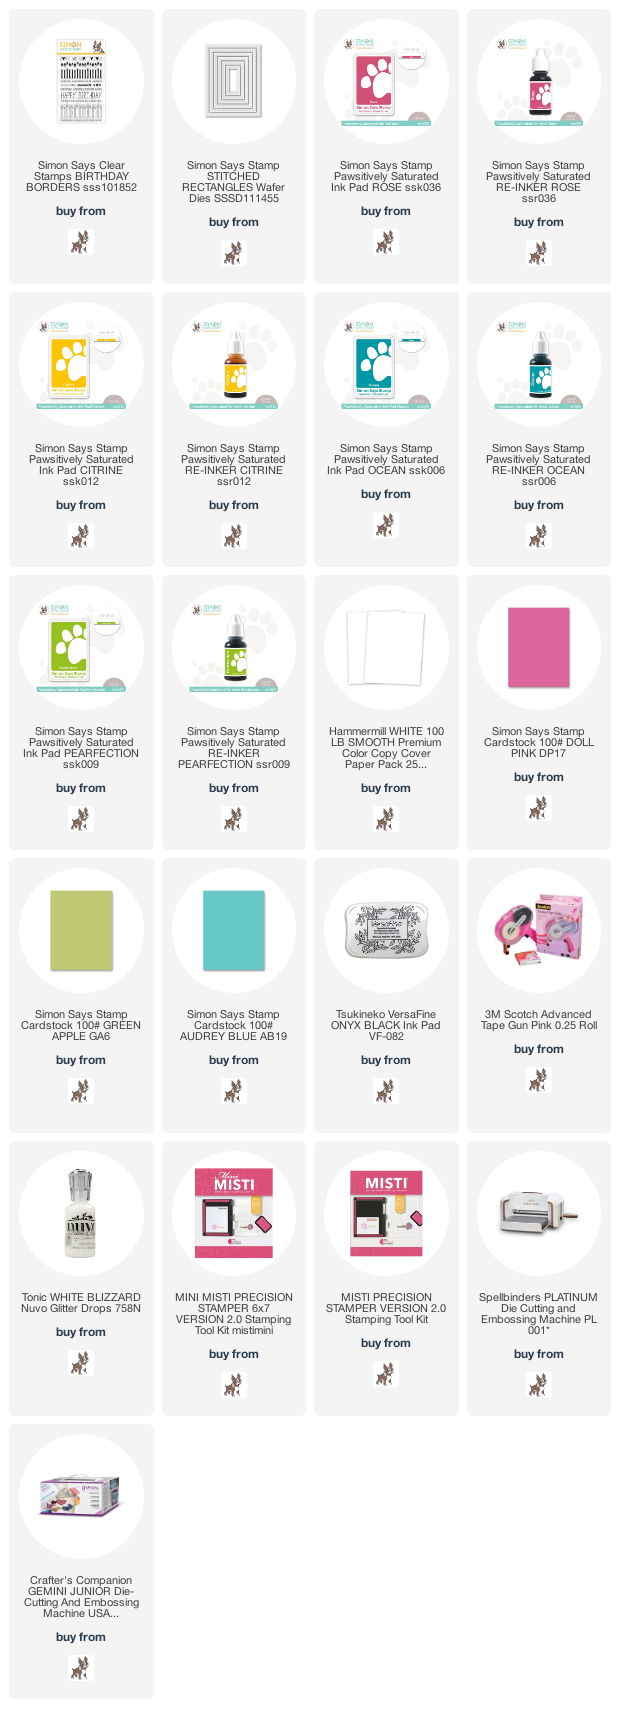
Product links are all below - including affiliate links where possible, which simply means if you use one of the links below that I receive a small commission at no additional cost to you. Thanks so much for stopping by! Have a wonderful day!!!