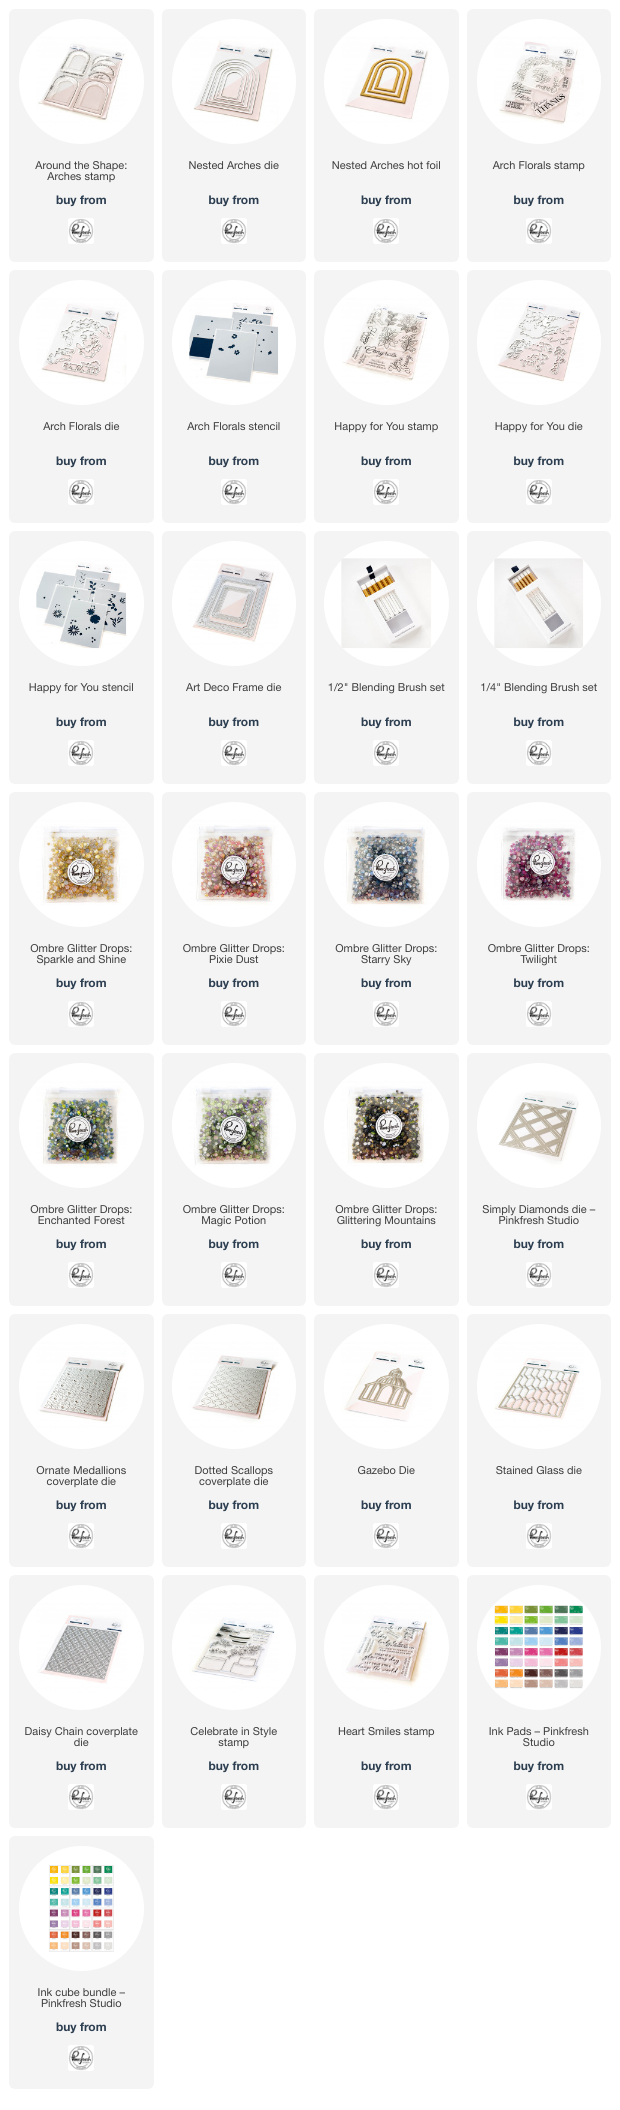
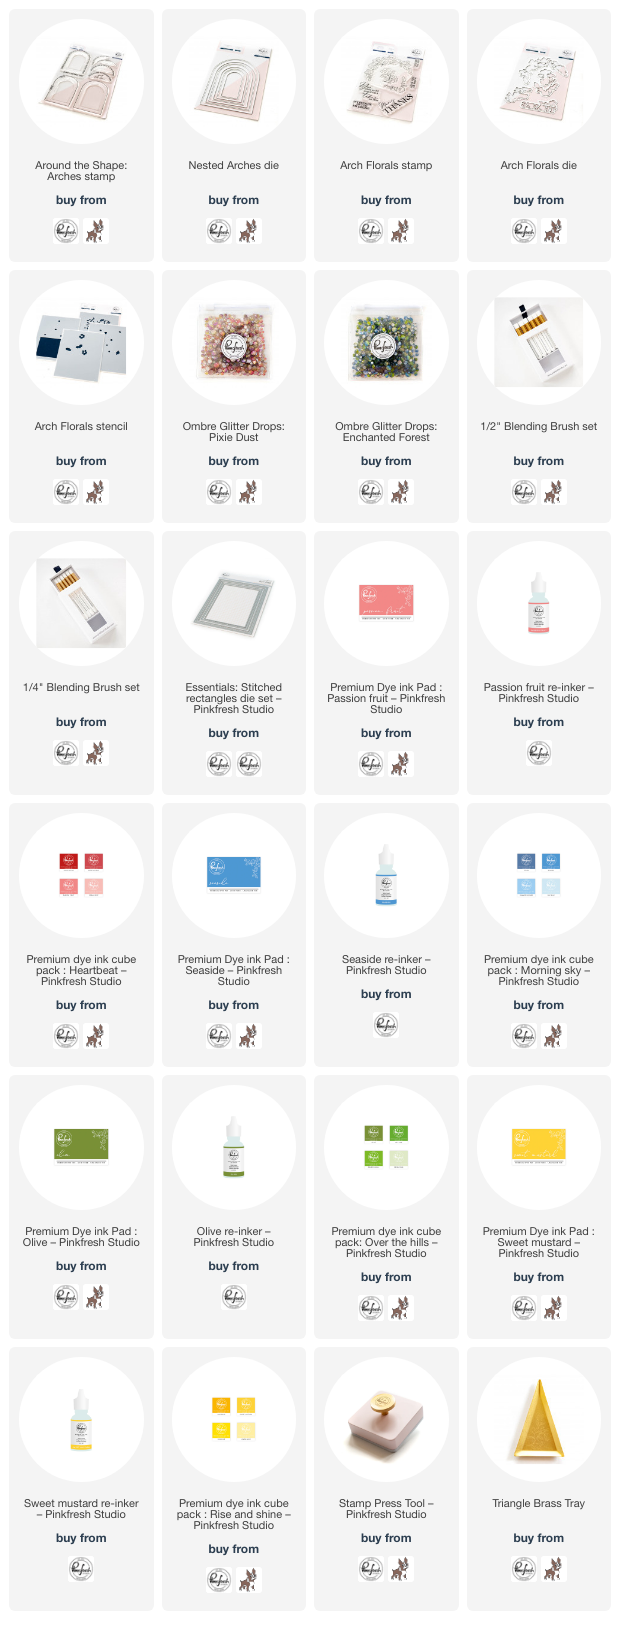
Good morning! Today is the blog hop to celebrate Pinkfresh Studio's February 2023 Stamp, Die, Stencil, and Hot Foil Release! You aren't going to want to miss a stop along the way - TONS of inspiration and prizes up for grabs! YAY! You can find links to all of the new release items I used on today's cards at the bottom of this post! The new blending brushes I anticipate being a HUGE hit, not to mention the fabulous Ombre Glitter Drops!
I actually don't have the entire release to create with yet - so watch out when I get those and start sharing more cards! But I still managed to create a ton to share. This release is just that good! And so many ideas and ways to use it!
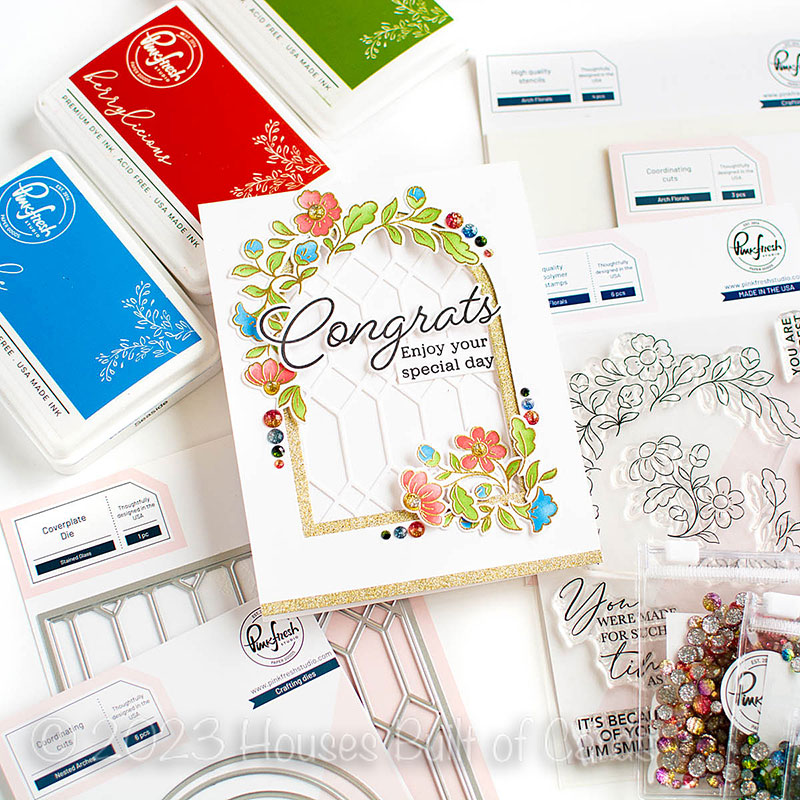
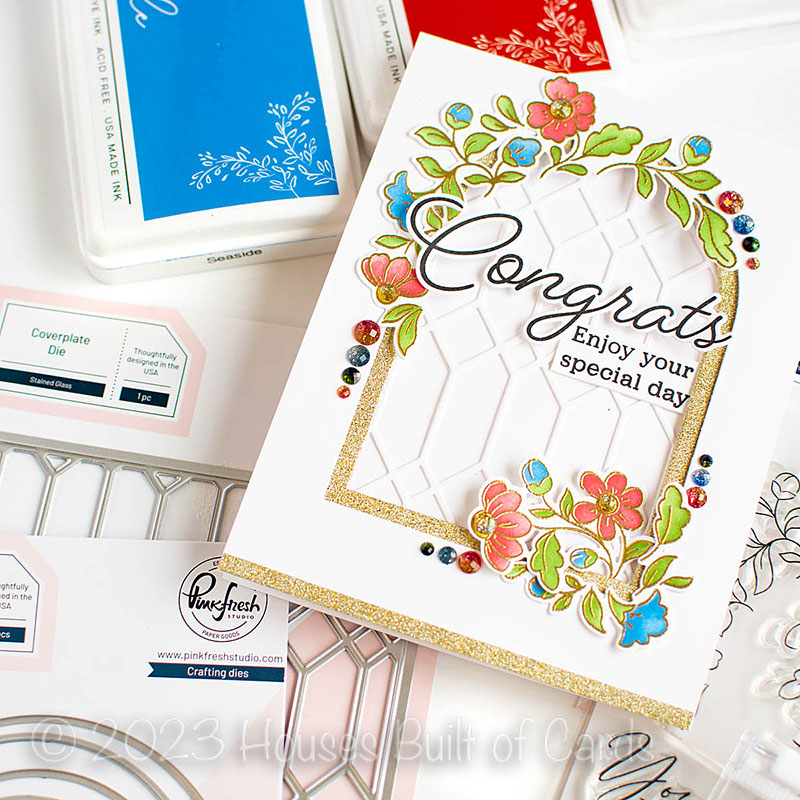
This first card just might be my very favorite from the release! It might be because I used so many of those gorgeous new Ombre Glitter drops that are in the release...they are SOOO fun!
This card also uses lots of the product in the new Arches suite. To start with, I created a two layer window using the Nested Arches die - there is a hot foil plate that coordinates as well that I use on another card below.
I used glitter cardstock for a smaller arch, then cut a window in white in a larger size to nest together. LOVE this effect! I added a white cut out of the Stained Glass die - perfect for adding texture and a window feel to this die!
I used the coordinating Arch Florals set to create the floral clusters. Heat embossed the stamp set, added color with the layering stencils in rich bold tones - Berrylicious, Seaside, Sweet Mustard, and Olive - then die cut with the coordinating die.
I arranged those around the arch, attaching with a bit of liquid glue, and leaving part of them to float free for dimension.
The large sentiment is from anther new set called Happy for You - I pulled out the older Heart Smiles stamp set to add the little secondary sentiment.
I added an extra strip of that gold cardstock along the bottom, and finally - lots of those fabulous new Ombre Glitter Drops! I used Fairy Dust, Starry Sky, Enchanted Forest, and Sparkle and Shine (in the flower centers - a bit harder to spot!). I am absolutely OBSESSED with these, and want to put them on EVERYTHING! Haha!
All right - more similar products for the next card, but a different look at the same!
This time I created a large window from white cardstock, and backed it with the Daisy Chain coverplate die. Then I added the medium sized Nested Arch hot foil, die cut with the coordinating Nested Arch dies, and popped up with foam adhesive.
These florals I stamped in a soft color, and added my blended ink color in Bubble Gum, Clementine, Sweet Mustard, and Meadow. On a whim, I decided to re-stamp the outline in different color, so I used Olive ink - and I LOVE the effect!
I also stamped an additional layer of the florals and heat embossed them in white on vellum. Then I die cut both florals using the coordinating die.
As before, I arranged the florals around the arch, tucking them in where needed, and adhering with liquid glue. I tucked the vellum under the stenciled florals to help give some soft fullness to the florals.
Sentiment on this card is also from the new Happy for You set. I just love the coordinating dies for the large sentiments - so fun! I felt like this card looked like a perfect fit for a wedding card - so I added a secondary sentiment from the previously released Celebrate in Style stamp set, hand trimmed into a banner shape. I finished this card off with a few Pixie Dust and Magic Potions Ombre Glitter Drops in clustered trios on the cardfront.
And finally - it hit me that these florals, while they work AMAZING with the Nested Arches, would also be fun to use with some other previously released sets!

This Gazebo die was the perfect accompaniment to these florals. I stamped and heat embossed them with Gold Pearl Embossing powder - a lovely soft shade of gold that is so pretty and delicate! I die cut the Gazebo from Champagne matte metallic cardstock - they paired up so well! I used soft tones of ink - Coral Reef, Lemon Whip, Peach Fuzz, and Ocean Breeze - to add color to the stencils.
I arranged the florals around the gazebo and adhered those together first with liquid glue, then added foam tape behind the florals to mount the entire thing popped up on the background that was die cut with the Dotted Scallops coverplate.
I grabbed a sentiment from the Arch Florals set, and heat embossed it in the same Gold Pearl embossing powder to perfectly coordinate. I die cut it a couple extra times to layer together for a bit of extra stability and dimension.
I chose a coordinating pink cardbase to adhere it all down to - and trimmed the front panel down to leave a small border around the edges.
And then...of course - I had to add some more Ombre Glitter Drops! These are Sparkle and Shine - the perfect neutral! Look how pretty they are!
It was kind of fun to try out one other way to use some of this new release product with an older die! Love when that happens!
Okay - moving on from the Arches to a couple other items in this release! The next two cards use the Happy for You set, and the Art Deco Frames die.
I actually used the entire one piece stamp, die, and stencil, then used the florals that produced to create two cards! This first card uses the more simple images that resulted.
I also used the smaller of the Art Deco Frame die to create a focal point. It is such a perfect size! I die cut it from brushed gold cardstock, and used it to tuck the bottom of the floral images into.
I added some texture to the background using the Simply Diamonds die. I love how it feels like a lattice on the background!
I adhered that directly on the background with liquid glue, then popped the frame and the florals up with foam adhesive for dimension.
I added a sentiment from the set - including a secondary sentiment that is super fun!
Finally, some more of those lovely Sparkle and Shine Ombre Glitter drops tucked around the florals for some sparkle and shine!
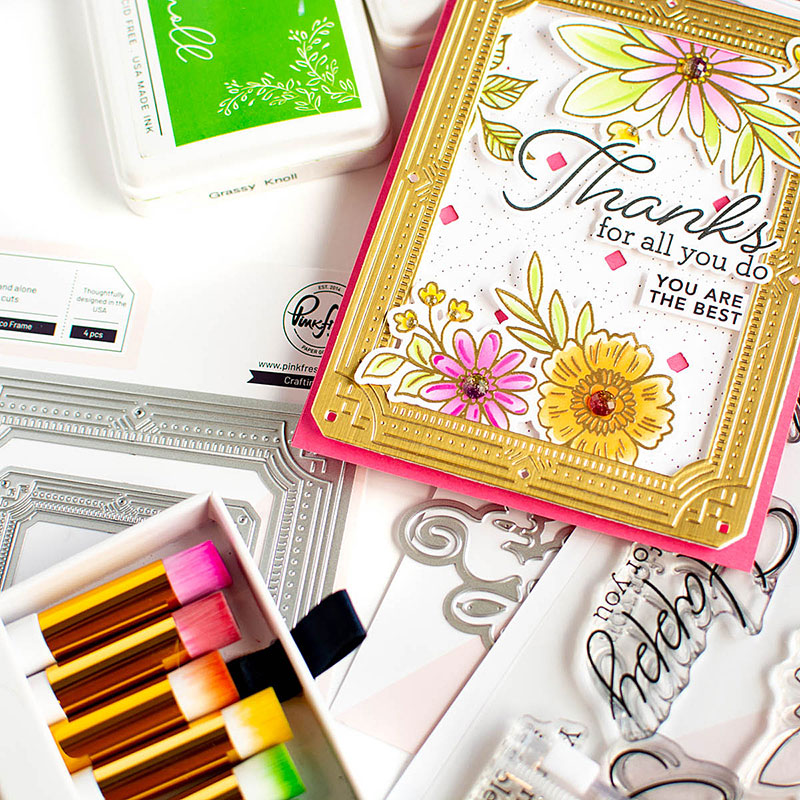
Okay - one final card to share today, and this is using the rest of the florals from the Happy For You - the two larger clusters!

I also used the larger Art Deco Frame for this card - as you can see, it is the perfect size to fill an entire card front!
I used Ornate Medallions cover plate to add some texture to the background, and a happy pink cardbase to help those flowers pop, and show some of the texture on the coverplate.
I tucked the florals into the frame, trimming off a bit of extra, and instead of tossing it, I added it to the upper left corner to fill that space a little. No waste!
I love the 3 dimensional effect you get from tucking flowers both under and over a frame die. Its such a great way of adding some extra realism and dimension!
Main sentiment is also from this set, and the little secondary sentiment is from the Arch Florals set. They just worked perfectly together!
Finishing touch was some coordinating Fairy Dust Ombre Glitter Drops in the centers of the large flowers, and tiny Sparkle and Shine ones at the base of the tiny flowers!
GIVEAWAY INFO:
Make sure and leave a comment before you leave for a chance to win one of 10 $25 gift certificate to
Pinkfresh Studio chosen from comments left across the hop! All winners will be chosen and posted on the
Pinkfresh Blog on Wednesday, March 8, 2023 - so make sure and check back to see if you were a winner! Winners must check that page and claim their prize within 2 weeks.
Here is the entire blog hop line-up so you don't miss a single stop - and product links are below - including
affiliate links where possible, which simply means if you use one of the links below that I receive a small commission at no additional cost to you. Thanks so much for stopping by! Have a wonderful day!!!