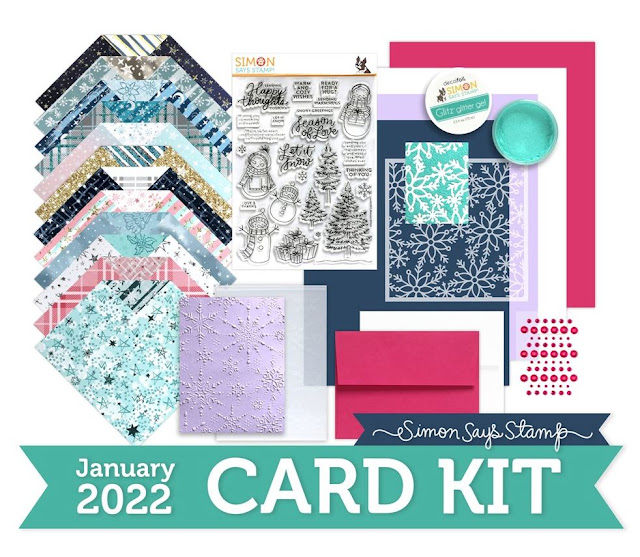
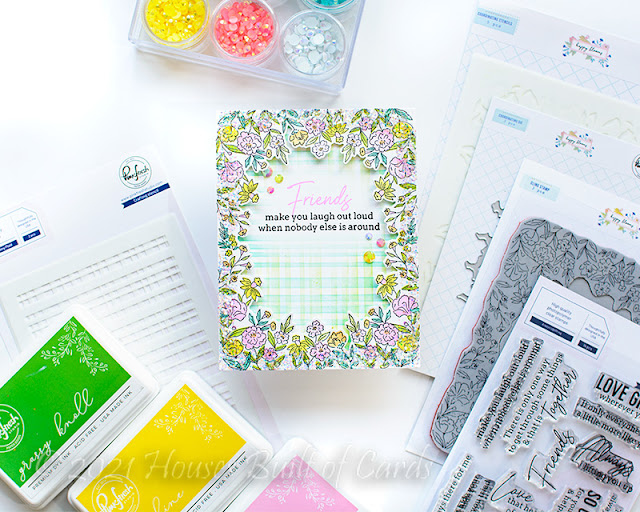
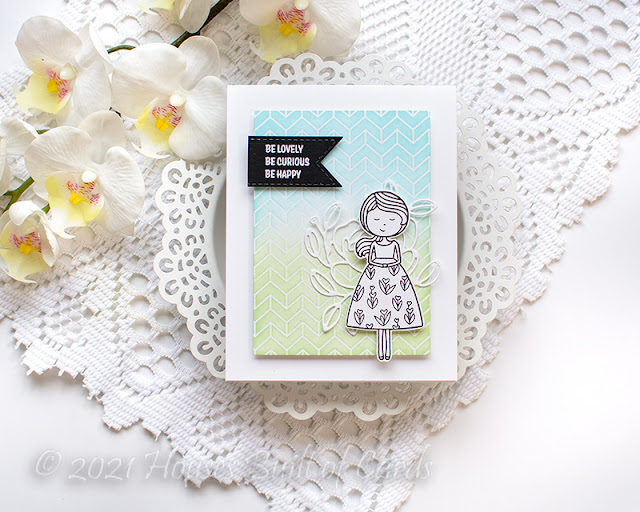
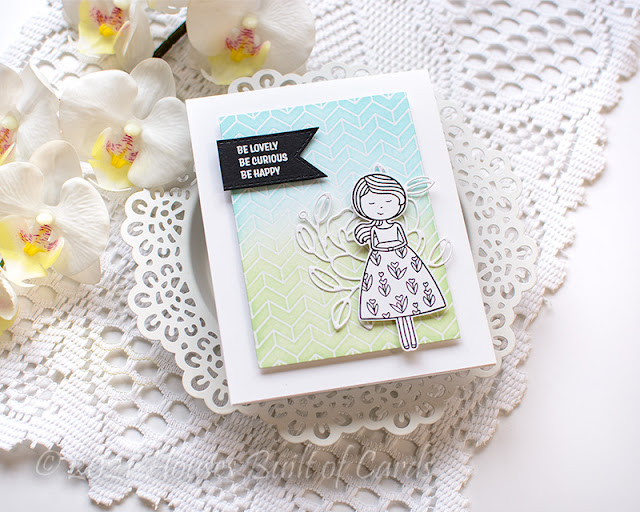
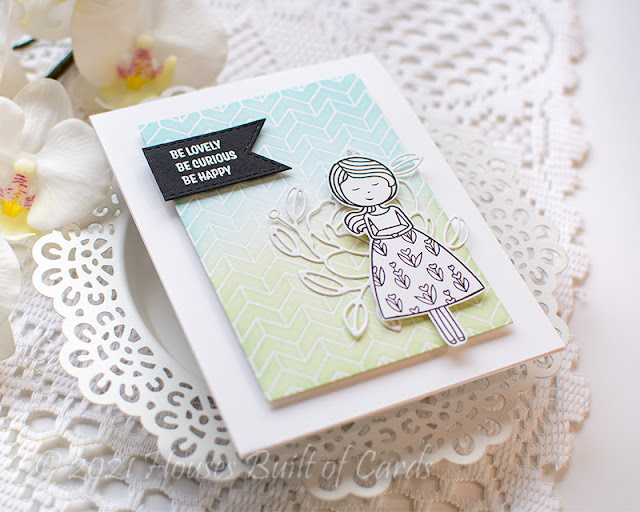
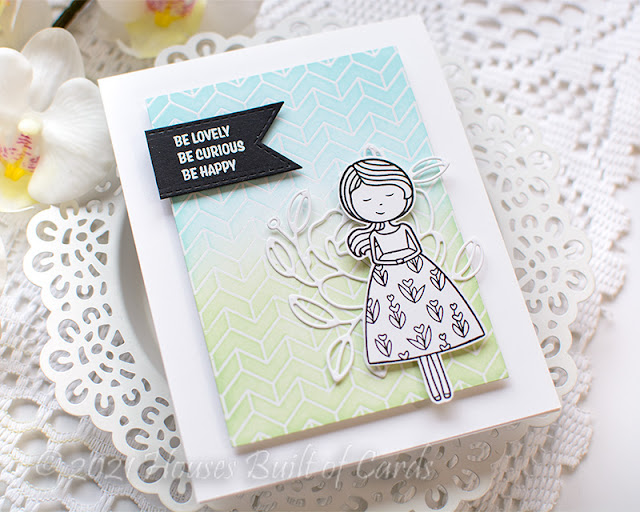
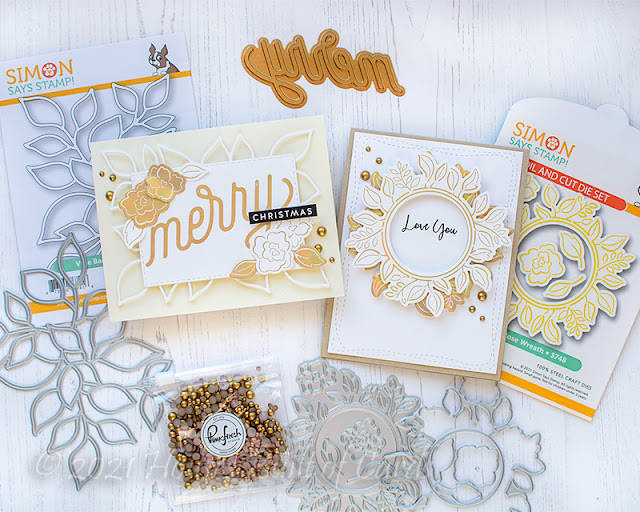
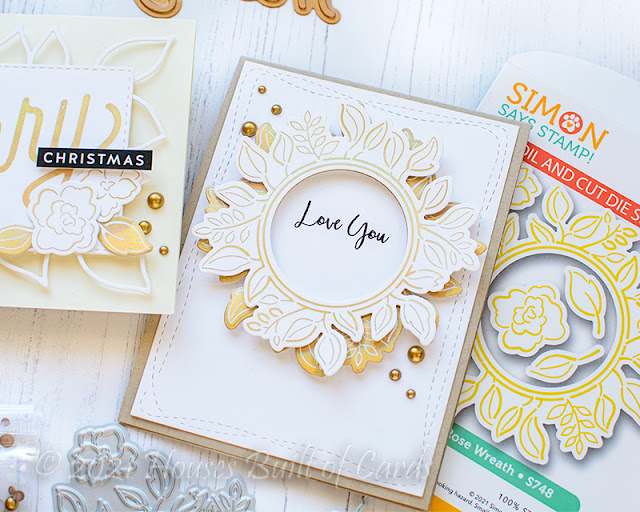
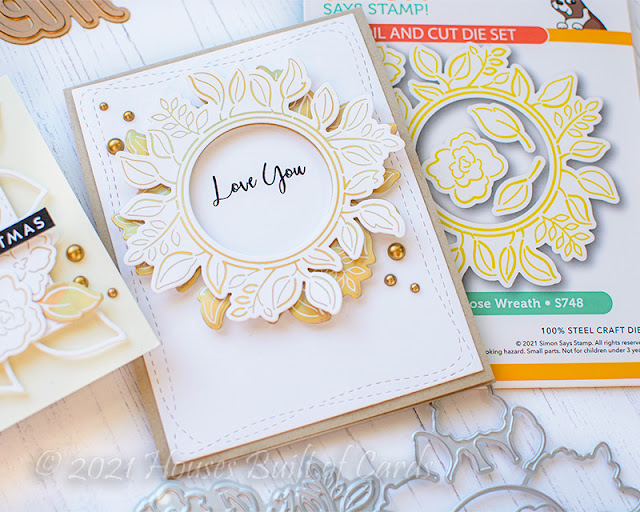
Good morning! Dropping by today to share a card I made last week for Pinkfresh Studio's YouTube Live. It was the week before Christmas, so we knew later in the week everyone may be a bit busy, so Lea and I combined our lives into one (and with Christmas, I didn't get a chance to post this card yet - but figured with today being New Year's Eve, it was perfect timing!). We both used the same set, with some different colors and layouts to show it two totally different ways! You can watch the replay HERE if you want to see more details.
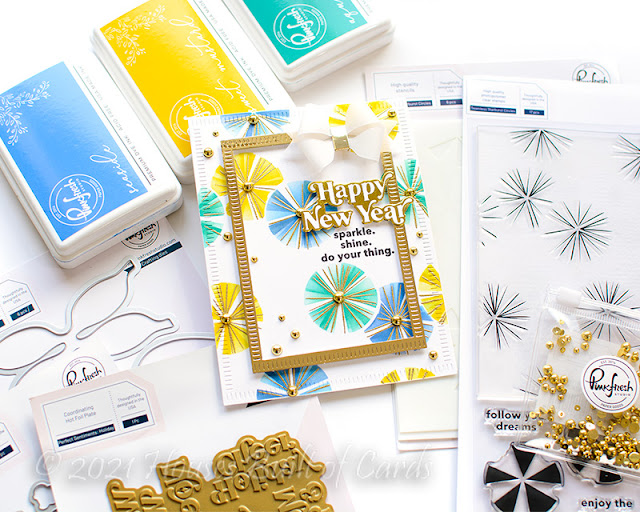
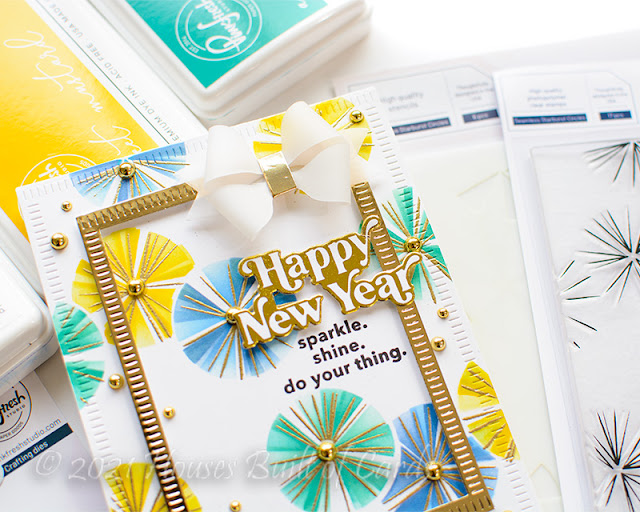
I started off by heat embossing the stamp set in gold on white cardstock, then die cutting to the perfect size with Blanket Stitched Rectangles. I then was able to use the alignment guides on my stencil to perfectly match up with the stamp set!
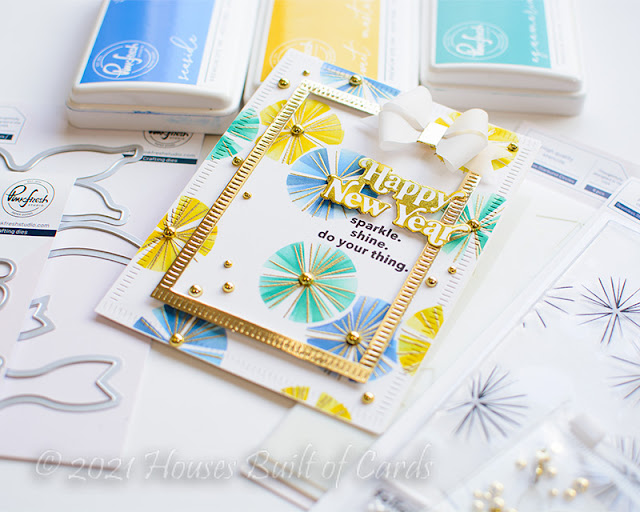
I added blue, yellow, and aqua layers to my circles - colors that made me think of celebration and fireworks for the new year. I love how they work with the gold embossing as well!

I added a gold frame, using Blanket Stitched Rectangles again, with the plain edge from Folk Edge Rectangles to create a rectangular frame using gold mirror cardstock. This matched perfectly with the sentiment from Perfect Sentiments: Holiday that I hot foiled the leftover foil with using the Solid Foil plate, and then die cutting with the coordinating dies. I added a secondary sentiment from the Seamless Starburst stamp set underneath that main sentiment, stamped in detail black.
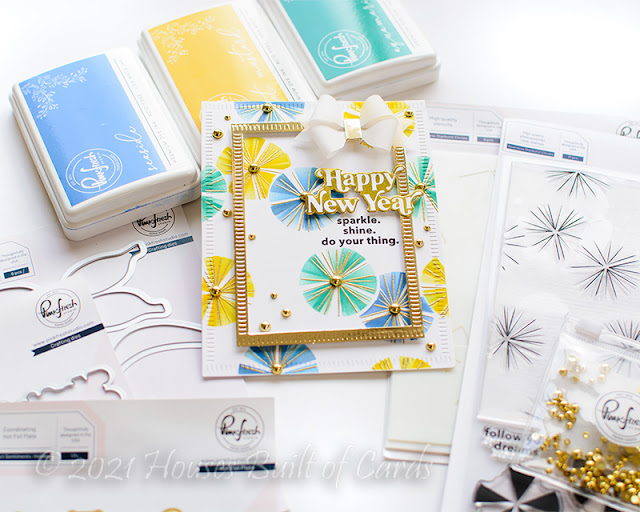
I added a bow created with Artistic Bows die - using vellum to cut the outer layers, and more of that gold mirror cardstock to cut the center of the bow. I love using this bow for vellum - it always comes out lovely and soft! I also added several Metallic Gold Pearls for lots of additional sparkle and shine!
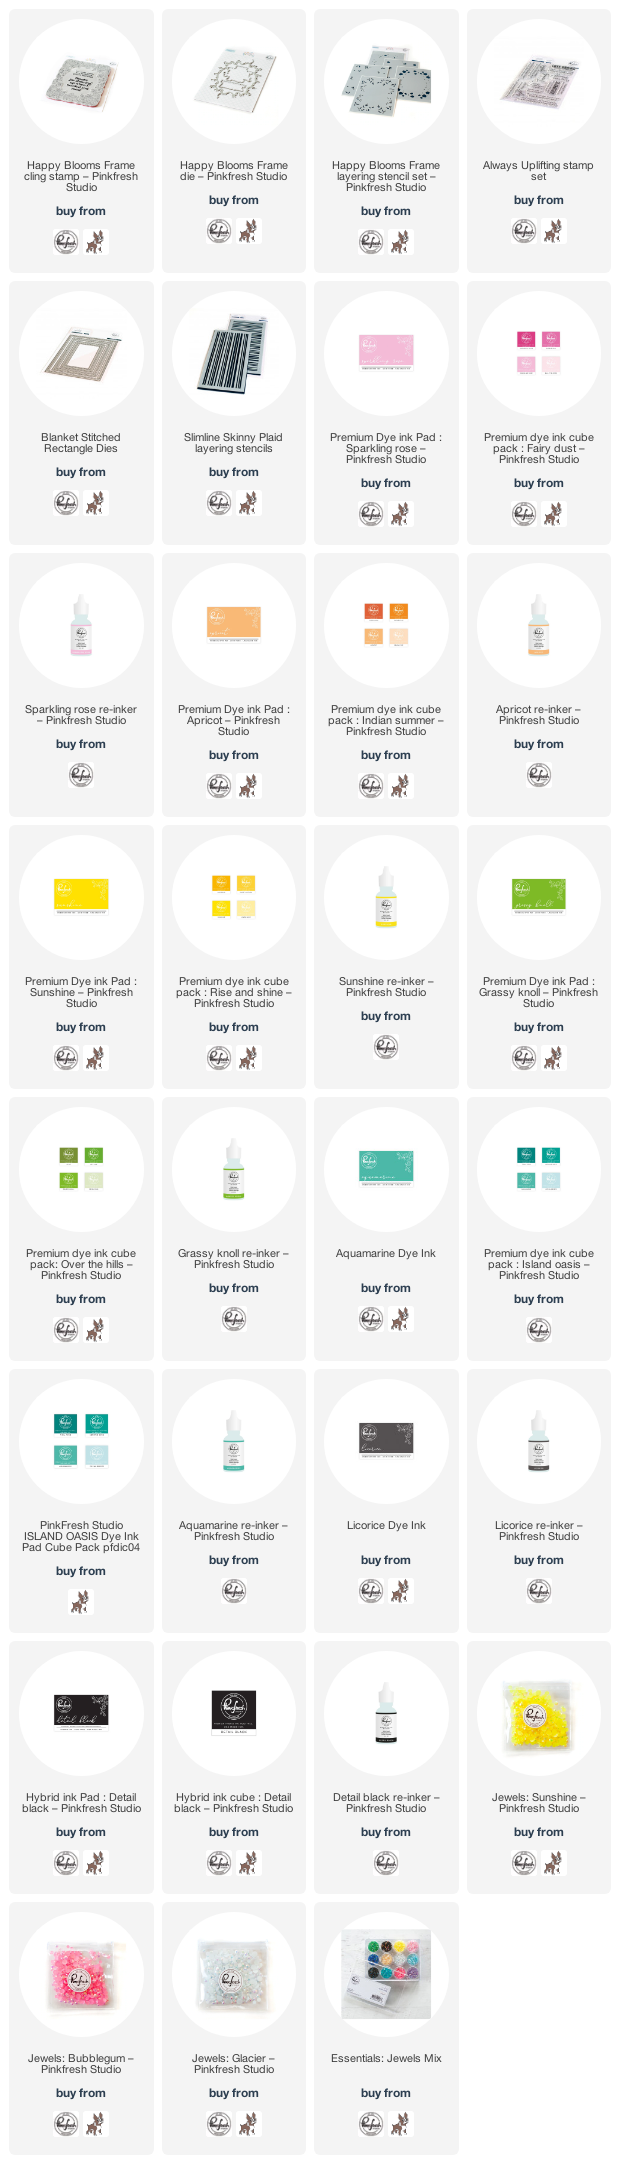
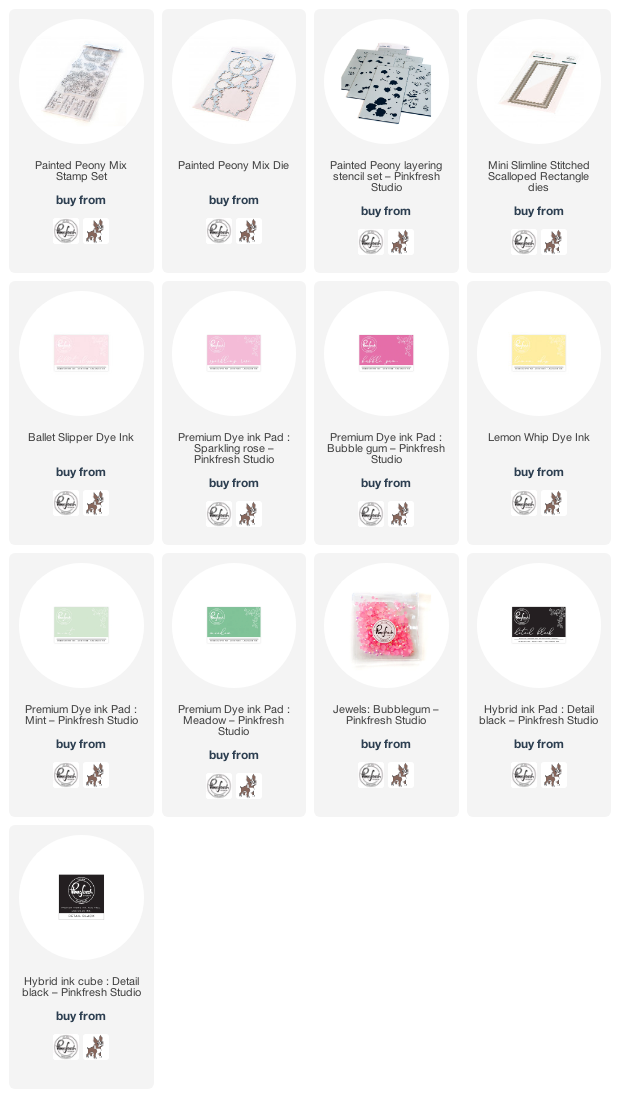
Product links are all below - including affiliate links where possible, which simply means that if you use one of the links below, I receive a small commission at no additional cost to you. Thanks so much for supporting my blog, and stopping by! Have a wonderful day!!!