Showing posts with label Enamel Dots. Show all posts

Friday, July 31, 2026

Floral Arch Card Set - Simon Says Stamp

Good morning! Today I'm using up leftovers from the cards I shared last night - die cut shapes are so fun to run through an embossing folder, and Simon Says Stamp has so many lovely ones! This one is from the newest release, and paired up with some of the new XL Reverse Sentiment strips, these cards came together so quickly and easily!


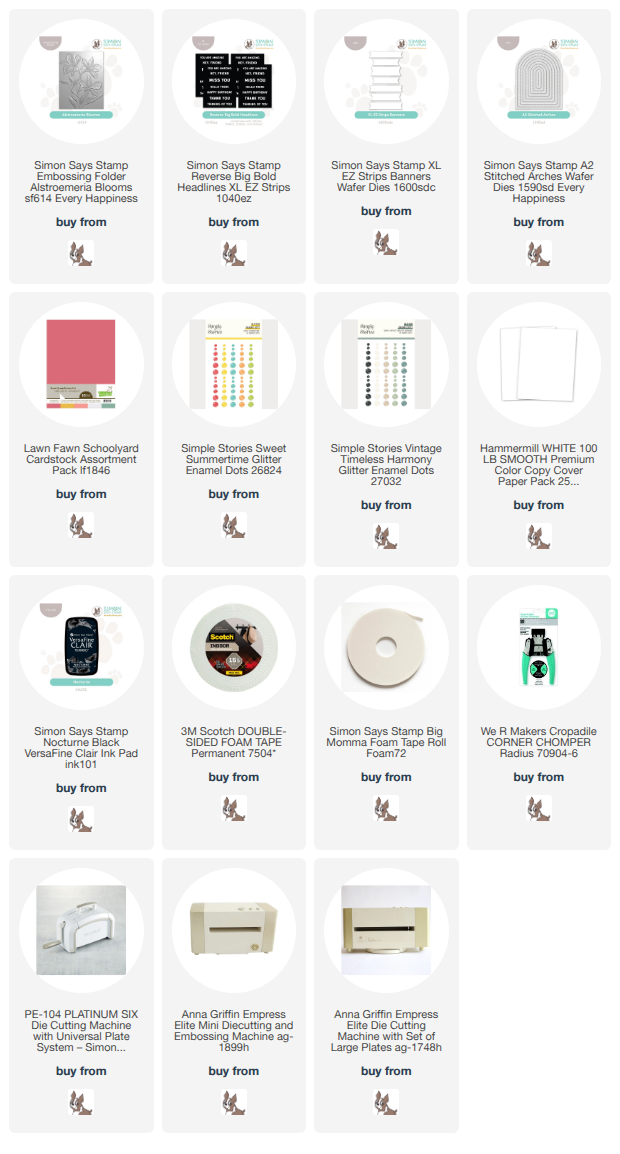
I had the die cut panels from A2 Stitched Arches die, cut from Lawn Fawn Schoolyard paper pack already, so I ran them through the new Alstroemeria Blooms embossing folder. I layered them with foam adhesive on my white cardbases, then added sentiments from the new Big Bold Headlines Reverse XL Sentiment Strips, cut with the XL EZ Strips Banners die. I rounded off the top two corners of each card to match the arch design, then finished off by tucking a few very closely coordinating enamel glitter dots on each card - they add a subtle bit of texture and interest! Here are more photos of this fun set:


Product links are all below - including affiliate links where possible, which simply means if you use one of the links below that I receive a small commission at no additional cost to you. Thanks so much for stopping by! Have a wonderful day!!!

Saturday, July 18, 2026

Soft Sympathy Card Duo - Simon Says Stamp

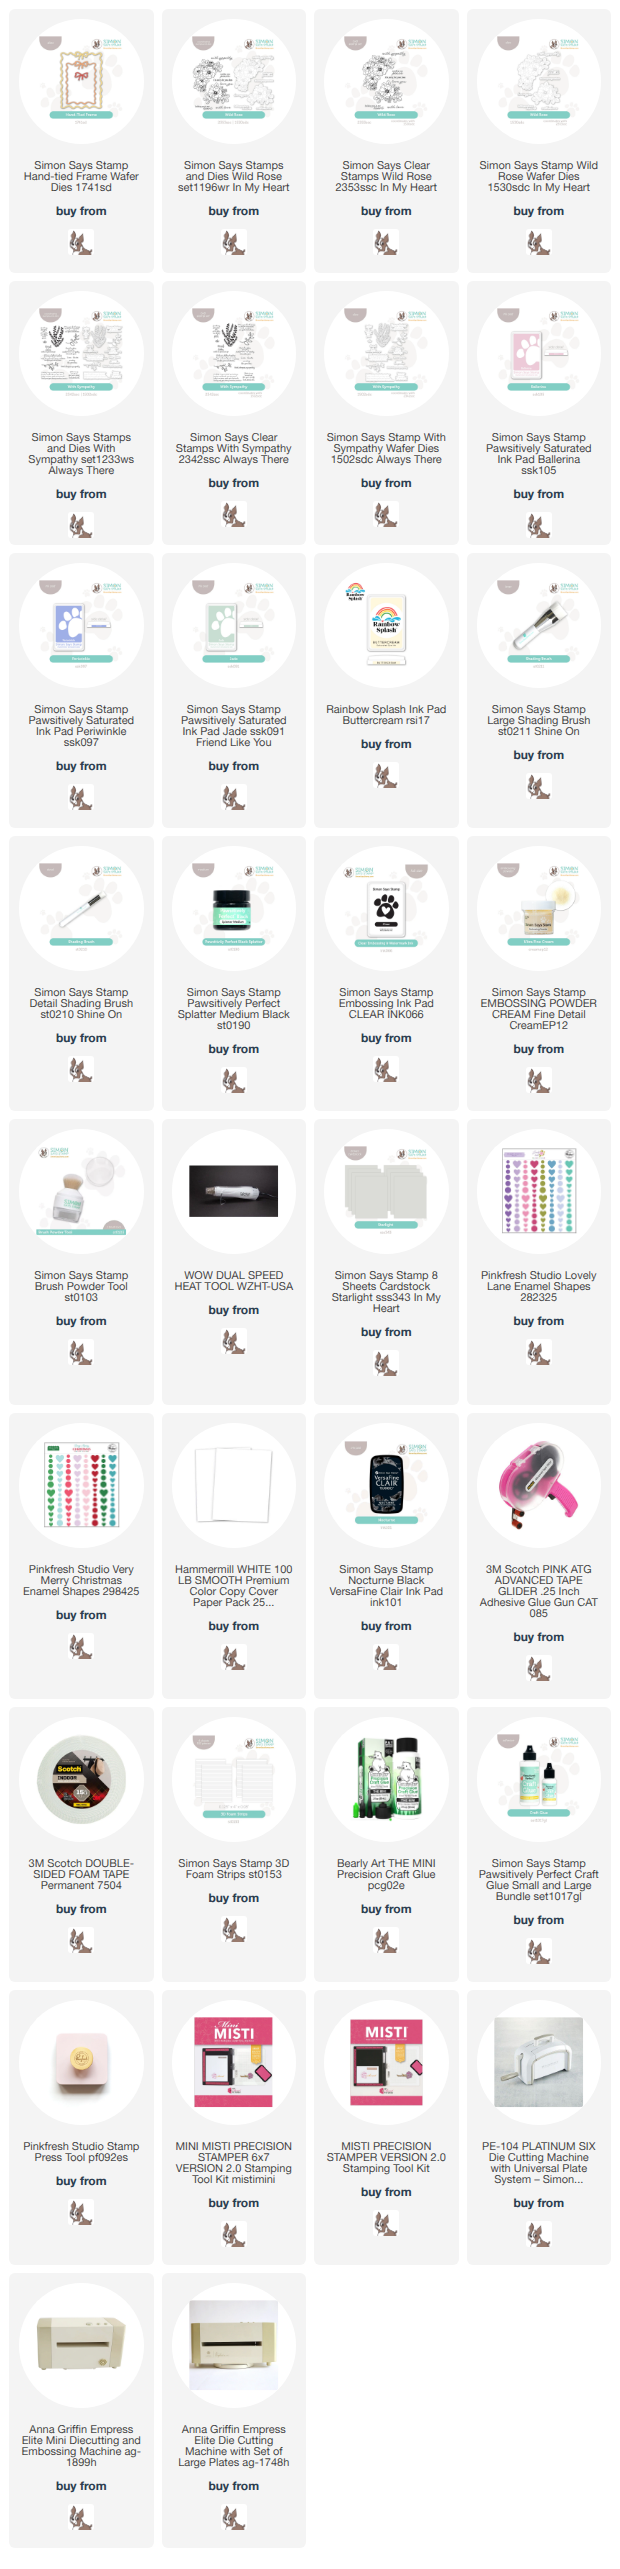
Hello! It had been a while since I added sympathy cards to my stash, and since I always prefer to make those before I need them, rather than in the moment when it is sometimes harder, I pulled out some items from Simon Says Stamp the other night and created these soft and simple cards. The muted tones seemed like the perfect choice for a sympathy card!


I started off with the lovely frames cut using Hand Tied Frames from Starlight cardstock, the perfect soft gray. Next, I stamped one of the floral images from Wild Rose on white cardstock, and heat embossed with my underused Cream Embossing powder. I used small Shading Brushes to add a hint of color to some areas of the image, using Jade for the leaves, and either Ballerina or Periwinkle for the blooms, then die cutting with the coordinating dies. Next, I added some shading to the cardbase, using Buttercream for the top portion, and the coordinating ink for the blooms in the bottom portion. I added some Black splatters, allowed that to dry, and then added the frames with liquid glue. Sentiments are from With Sympathy, and I popped those and the floral images up on foam adhesive, then finished off with some coordinating enamel dots and enamel hearts from Pinkfresh Lovely Lane and Very Merry Christmas enamel packs. Here are more photos of these finished cards:


Product links are all below - including affiliate links where possible, which simply means if you use one of the links below that I receive a small commission at no additional cost to you. Thanks so much for stopping by! Have a wonderful day!!!

Thursday, June 25, 2026

Birthday Fox - Simon Says Stamp Shine On Release

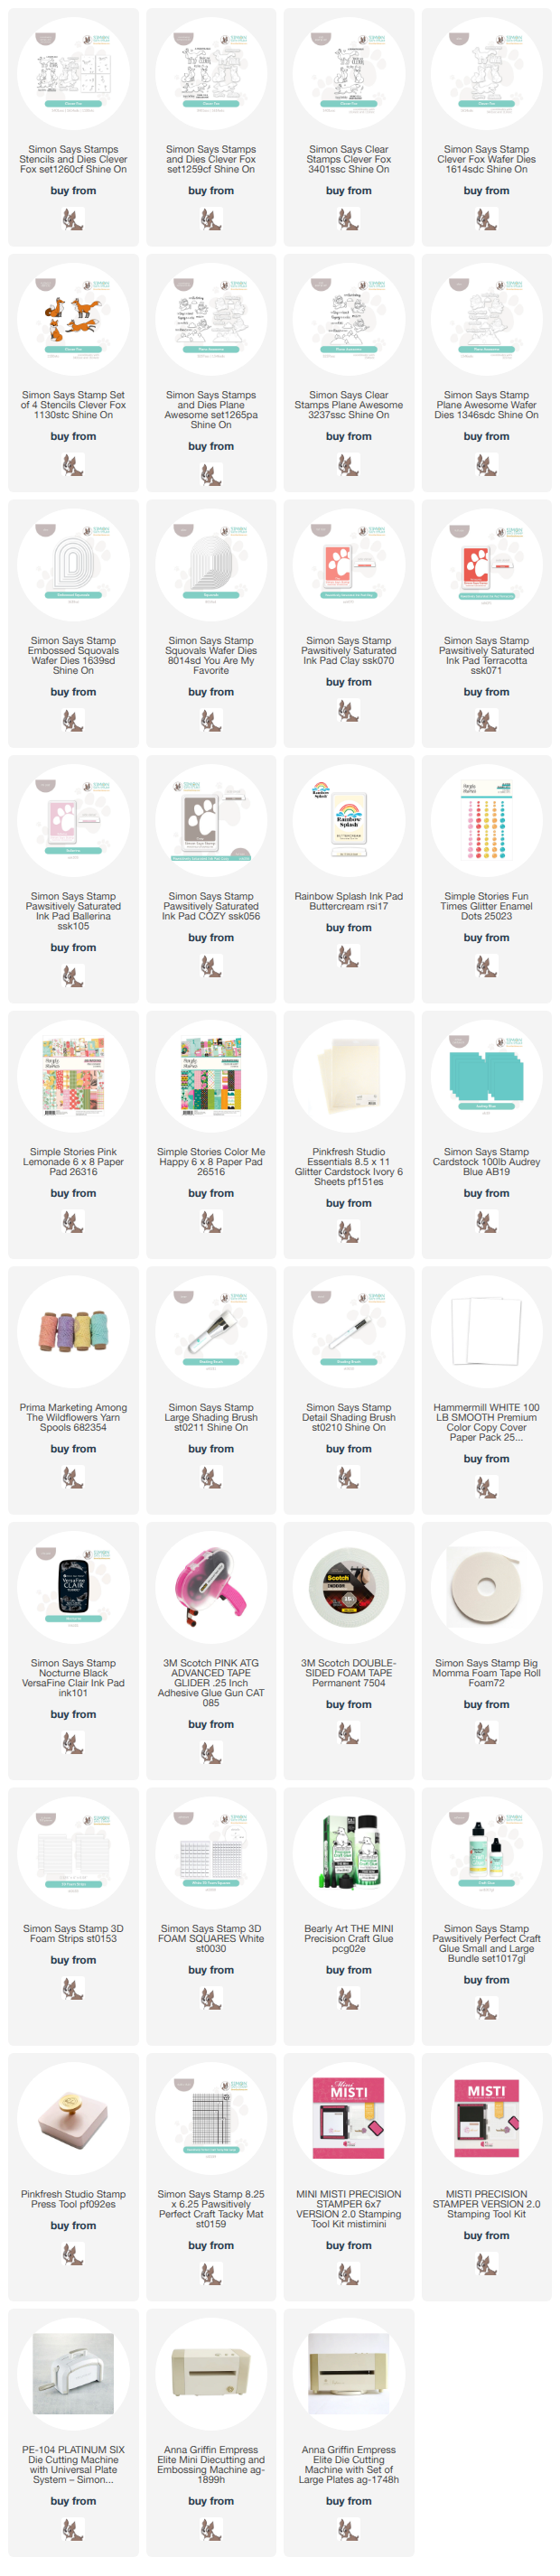
Good evening! I'm back with another card using the BRAND NEW Shine On Release from Simon Says Stamp - I did say I had lots of projects to share in the next couple days, didn't I? And even more fair warning - you will be seeing lots of these adorable foxes. Not only have they been one of my favorite animals for a long time, but these ones are adorable AND come with coloring stencils! Can you tell why I'm happy?!?


I started off by stamping and ink blending this sweet fox using the Clever Fox set and a mix of Clay, Terracotta, Ballerina, Cozy, and Buttercream inks - as well as one of the fun new Detail Shading brushes (which I love!). I then layered up some pattern papers for the background from Simple Stories Pink Lemonade and Color Me Happy paper pads. I added a small strip of Audrey cardstock to separate the two pieces. I used a window that was leftover from another card for which I used the new Embossed Squovals. You know how I love to not waste anything if I don't have to! I created an outer frame using a couple of the previously released Squovals dies and some Ivory Glitter cardstock to glam it up a bit. The sentiment is from another new set called Plane Awesome. A bit of Prima Yarn and some glittery enamel dots finish this card off! 


Product links are all below - including affiliate links where possible, which simply means if you use one of the links below that I receive a small commission at no additional cost to you. Thanks so much for stopping by! Have a wonderful day!!!


Thursday, May 21, 2026

Simple Stenciled Graduation Card - Simon Says Stamp

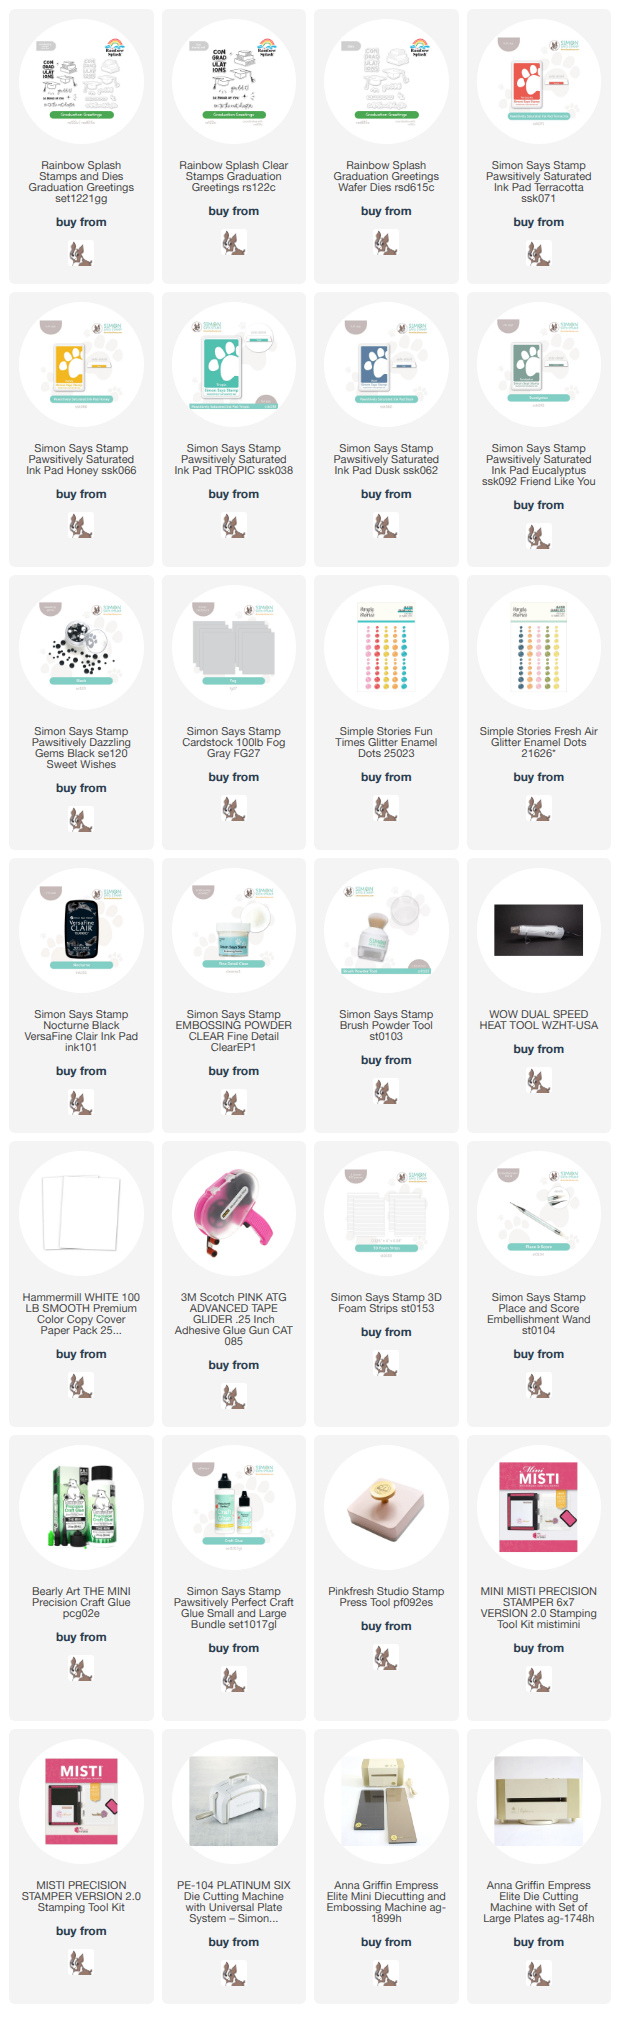
Okay - I think I'm reaching the end of the graduation cards for this year - but no promises! I really have just had so much fun with this one graduation set from Simon Says Stamp - and since this set was designed by my daughter, I once again tried to recreate one of her own design ideas for this card to make it a reality! I didn't stamp things exactly where I wish now that I had, but I still had fun with this technique for adding color to the graduation caps by creating a stencil with the coordinating die!


I started off by stamping the main sentiment from Graduation Greetings in the middle of my panel of white cardstock, then grabbing the two grad hats and sprinkling them around as well. I stamped with Nocturne ink, then heat embossed with clear embossing powder so that I could stencil over the top without smearing the ink. Then I die cut each of the hat dies into a small square of white cardstock, and used it as a stencil to add color to a few select ones of the hats. I used Terracotta, Honey, Tropic, Dusk, and Eucalyptus. I love how it kind of goes over the edges of the image, but fully fills it in for a bit of a graphic look! I then stamped some of the smaller images around to fill the background in, then added the secondary sentiment popped up on foam. I added coordinating glitter enamel dots to the colored hats, and Dazzling Black gems sprinkled around the background and on the plain hats. Once that panel was done, I mounted it on a cardbase created with Fog cardstock! An almost one layer card - here's a closer look:


Product links are all below - including affiliate links where possible, which simply means if you use one of the links below that I receive a small commission at no additional cost to you. Thanks so much for stopping by! Have a wonderful day!!!


Tuesday, May 12, 2026

Sarcastic Cats - Simon Says Stamp

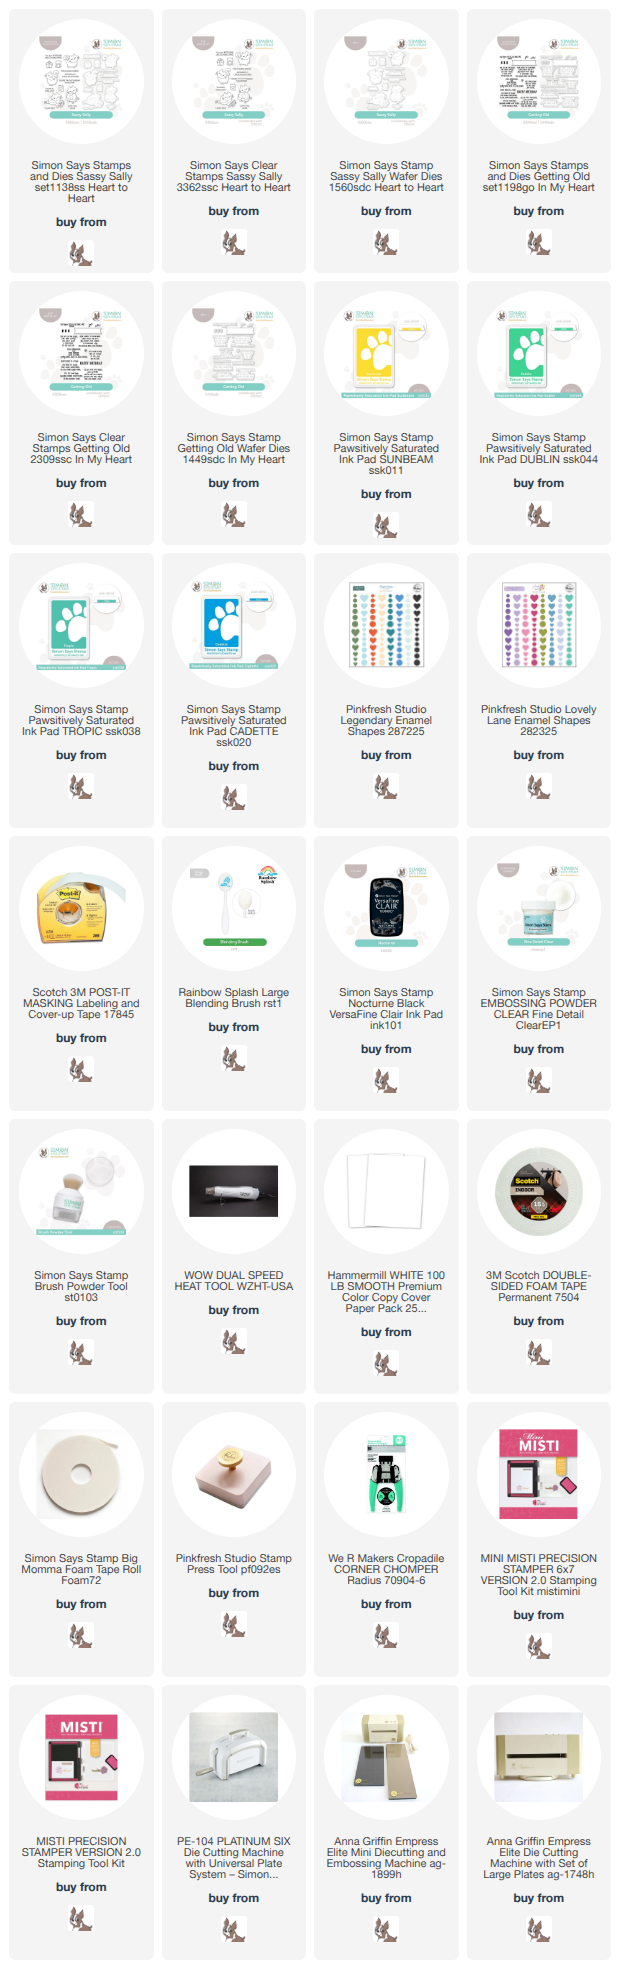
Good morning! I always love a funny sentiment set - and this recent one from Simon Says Stamp had me giggling a bit when it arrived! I was trying to decide how to put it to use, then I noticed the perfect fit - I feel like cats with attitude are just BUILT for snarky sentiments, don't you?  


I started off by choosing which kitties from the Sassy Sally set I wanted to use, and paired them up with the perfect sentiments from the Getting Old set. This allowed me to plan how wide to make my ink blended sections on my card fronts. I masked the fronts off to the sizes I wanted with Post-it Tape, then blended Sunbeam and Dublin ink on one card, and Tropic and Cadette on the other card. I added a light splatter of water, since these SSS Pawsitively Saturated inks are water reactive, and peeled off the tape, then allowed them to dry. I stamped the images and sentiments in Nocturne ink, and clear heat embossed over them. I actually planned on stamping the sentiments directly into the ink blended panels, but I messed up stamping the first one and got a double image (whoops!), so I opted to die cut them and pop over the top to hide the oopsie! I added those images and sentiments with foam adhesive, rounded off one corner on each card, then added a few Pinkfresh Enamel embellishments in coordinating colors from the Legendary and Lovely Lane collections. Here are more photos of these hilariously sassy kitties:


Product links are all below - including affiliate links where possible, which simply means if you use one of the links below that I receive a small commission at no additional cost to you. Thanks so much for stopping by! Have a wonderful day!!!


Wednesday, April 29, 2026

Patterned Paper Hexagon Thank You - Simon Says Stamp

Good morning! Today I have a simple geometric card to share featuring some pretty pattern paper and all die cutting - no stamping at all! I love this die set from Simon Says Stamp, and hadn't had a chance to use it yet. Pairing a nested die with pattern paper is a fun way to use several sizes on one card!


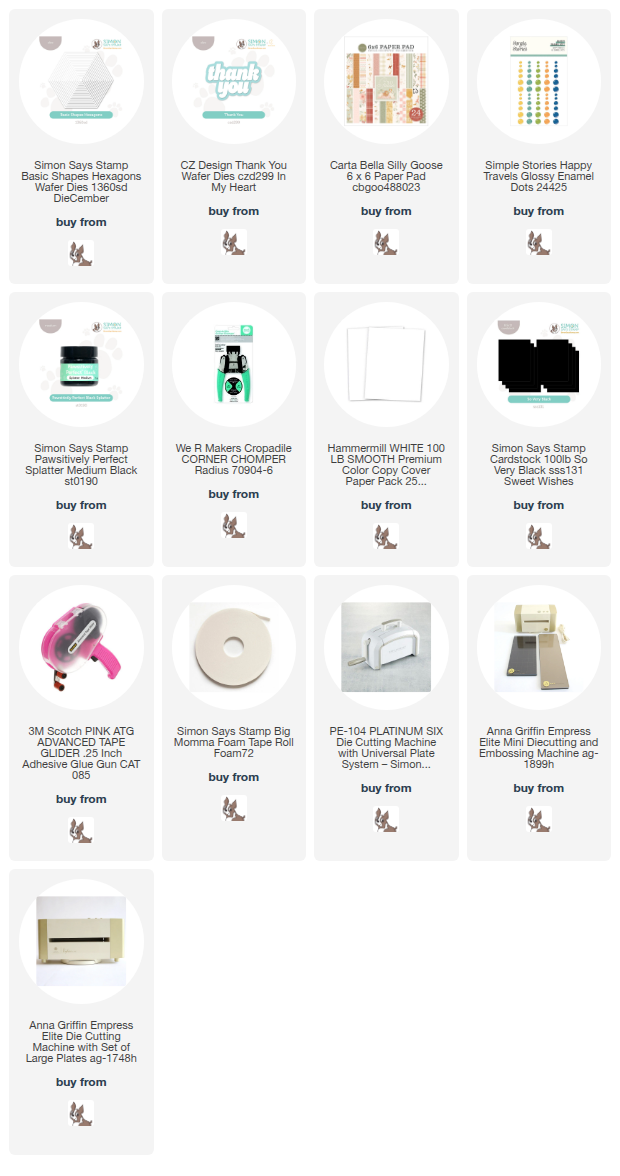
I used the Basic Shapes Hexagons paired with some of the Carta Bella Silly Goose 6x6 pattern paper pad. I also used one of the more neutral papers for the background, adding some black splatter on for some extra interest. I die cut 3 sizes of the hexagons from different papers, and then layered them on with foam adhesive. The sentiment is a CZ Designs Thank You, cut from black cardstock for the shadow layer to make it pop, and white for the main one. I found some Simple Stories Enamel dots that PERFECTLY coordinated for a tone on tone bit of texture, and love the fun addition those make! Finally, I rounded off two opposite corners for some interest! Here are more photos of this card:


Product links are all below - including affiliate links where possible, which simply means if you use one of the links below that I receive a small commission at no additional cost to you. Thanks so much for stopping by! Have a wonderful day!!!