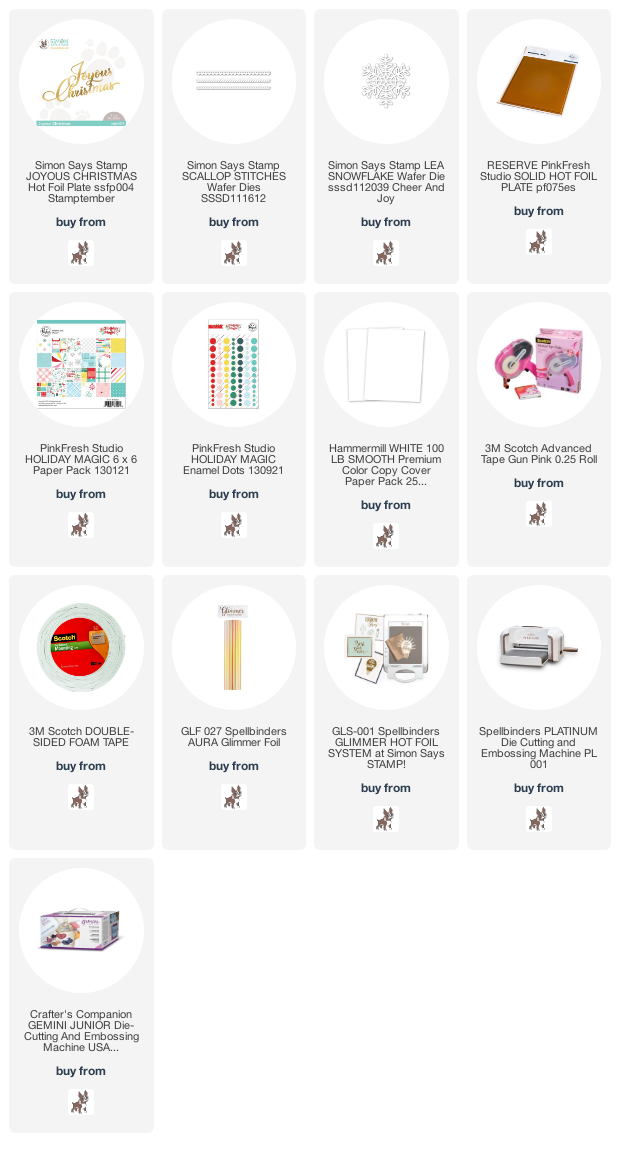
Good morning! You may have noticed how much I am loving hot foiling lately - and I was super excited earlier this month to see that Simon Says Stamp was adding hot foil plates to their line! I finally had some time this week to pull the Joyous Christmas one out to play with - unfortunately it is out of stock right now, but hopefully it will be back soon!
Hot foil is so hard to capture in photos - I think because it changes depending on how the light hits it and as you move it around. For this card, I used the gorgeous Spellbinders Aura hot foil - it is a soft gold with a bit of rainbow iridescence to it - my favorite! In addition to hot foiling the sentiment, I also die cut two of the beautiful Lea Snowflakes, and then use the new Pinkfresh Studios Solid Hot Foil Plate to hot foil the snowflakes, so they perfectly matched with my sentiment. LOVE that! (If you want more details on that Pinkfresh Studios Solid Hot Foil Plate - you can watch the intro video HERE on all the fun things it does!)
I added a border, die cut with Scallop Stitches die and tucked under the front panel, and popped that up with foam adhesive, tucking one of the snowflakes under that panel.
Product links are all below - including affiliate links where possible, which simply means that if you use one of the links below, I receive a small commission at no additional cost to you. Thanks so much for supporting my blog, and stopping by! Have a wonderful day!!!
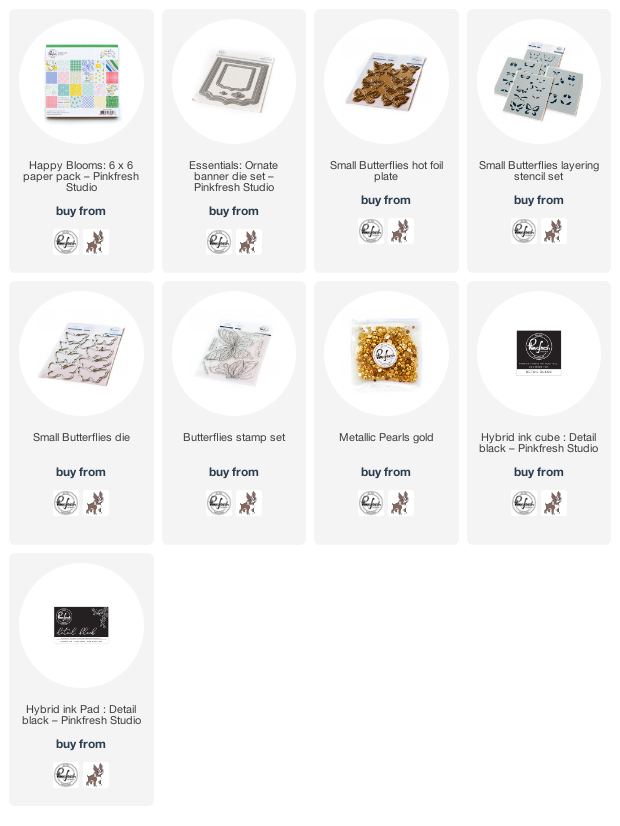
Good morning! Dropping by to share a card using some lovely Pinkfresh Studio supplies - including a special Rainbow Puffy Alpha sticker that was designed exclusively for Scrapbook.com - and is available today as a free gift with any purchase! You can click HERE for more details! They are a beautiful ornate alpha, with a fun rainbow color scheme, and a splatter of pretty gold as well!
I arranged the letters first, then stamped the sentiment in Detail Black ink using Butterflies stamp set. I added that panel to my cardbase with foam adhesive for dimension.
Product links are all below - includingaffiliate links where possible, which simply means if you use one of the links below that I receive a small commission at no additional cost to you. Thanks so much for stopping by! Have a wonderful day!!!
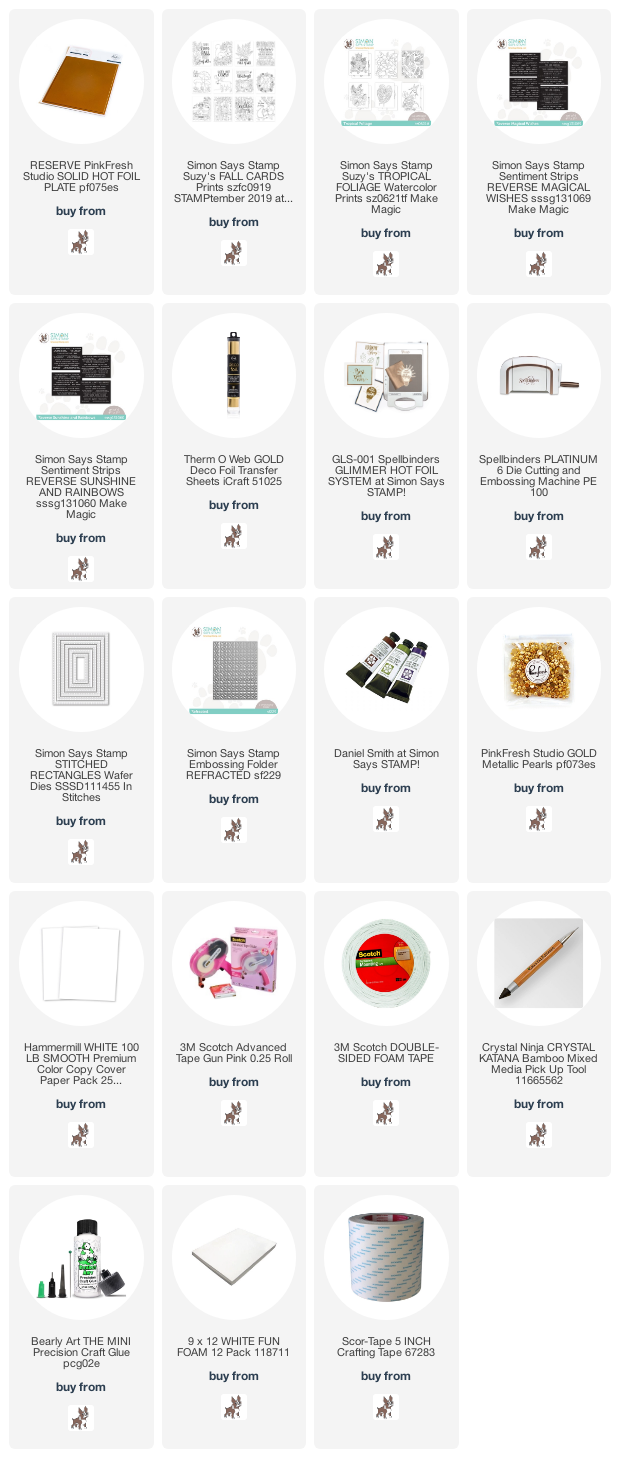
Good morning! I'm super excited today to be sharing a fun trick I discovered for using the BRAND NEW hot foil plate from Pinkfresh Studio to do hot foiling with Toner Reactive inks and some toner printed sheets and sentiments from Simon Says Stamp - and it worked SOOOO well (not perfect - I show the imperfections in the video too!)! I have a full supply list at the bottom of this post (including affiliate links) if you are curious about anything I used in this video.
I filmed a video to show the process - it is short, and will make much more sense than me trying to explain it, so I highly recommend watching it if you can spare the time! You can also watch the full video HERE on YouTube:
This solid foil plate is already super versatile as a tool to use the negative spaces of your hot foiling from hot foil plates, foiling die cut pieces and sentiments, and creating your own foil paper. This just adds to the many ways you can use it! You can watch the other video I created showing all these ways to use it HERE if you want more info.
Here are some photos of the finished projects...foil is HARD to photograph! But they are so sparkly, shiny, and pretty in real life!
Product links are all below - including affiliate links where possible, which simply means that if you use one of the links below, I receive a small commission at no additional cost to you. Thanks so much for supporting my blog, and stopping by! Have a wonderful day!!!
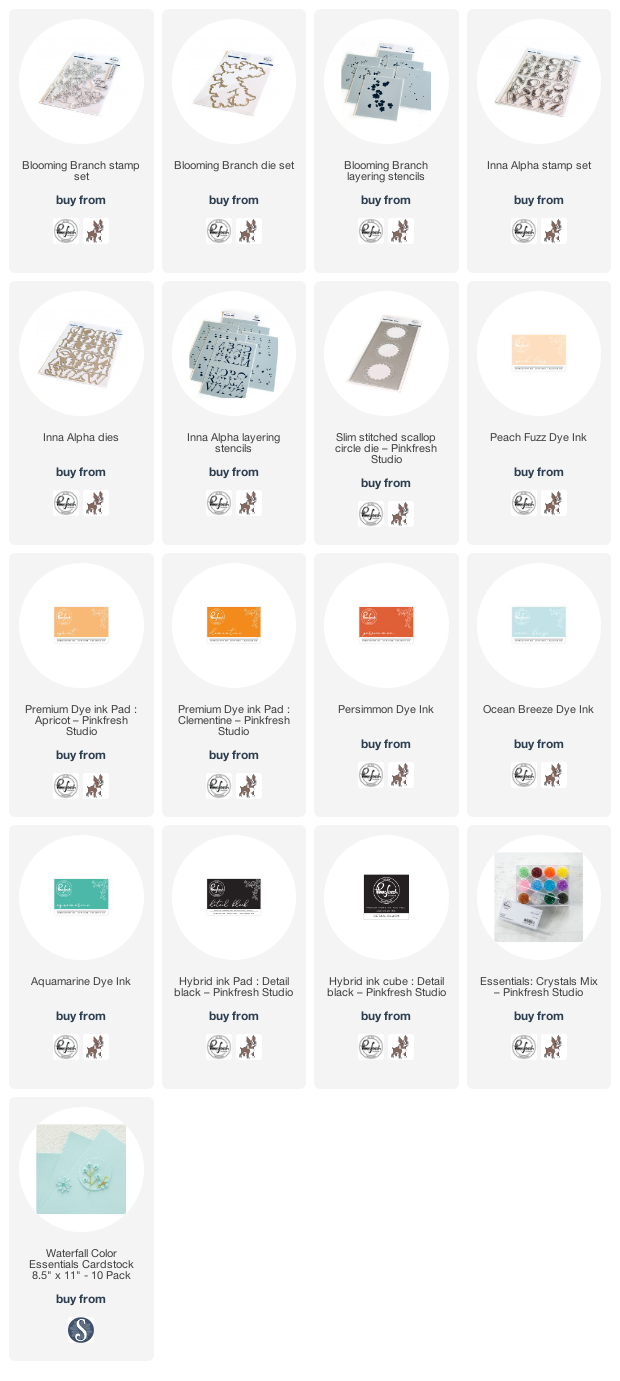
Hello! Today I am part of a fun Instagram hop to celebrate the new Pinkfresh Studio release! I have had so much fun creating with this release - all the florals, the new Inna Alphas, and of course, the Solid Hot Foil plate that I've been excited about for so long! I created this card on Facebook Live last week as a sneak peek of yesterday's release - you can watch that video HERE if you want to see it all come together! I did change the letters a bit after the live, so keep reading to hear about what I adjusted!
I love the new Blooming Branch stamp, die, and layering stencil set - and it was super fun to mix up the colors with some different choices than I often use for florals!
I used two stenciled, stamped, and die cut layers for this card, split between the top and bottom of my slimline design.
I tucked some of the extra pieces I trimmed off into empty spaces, helping keep it from going to waste, as well as giving a touch of extra dimension and layering.
In the live, I used different colors on the large "YOU" sentiment. I just wasn't loving them, so after the video I carefully peeled them off, and redid them a bit different. I ended up just stamping the outline in Detail black, and only adding stencil layers to the florals, leaving the large letter opening just plain white. I liked that much better! I die cut an extra layer of the letters from white cardstock and layered them together for a more dimensional piece, then adhered with liquid glue - and a touch of foam under the "O" that hangs over the white space.
The aqua panel for this card was die cut with Slim Stitched Scallop Circle die, with a supporting sentiment from the Blooming Branch stamped on the white cardbase.
Finished off with a pretty row of coordinating Essentials: Crystals Mix - love how that orange pops with this design!
Product links are all below - includingaffiliate links where possible, which simply means if you use one of the links below that I receive a small commission at no additional cost to you. Thanks so much for stopping by! Have a wonderful day!!!
Good morning! I'm back with another card for my series on the Unity Stamp Company Blog this morning! I'm so excited to be featuring the amazing Kit of the Month on Monday's on the Unity Stamp Company Blog! Since the Kit of the Month was the first thing I purchased from Unity, and what got me hooked to begin with, they hold a special place in my heart, so I'm super excited about this opportunity to give these kits some love! You can check out all the details HERE for today's project!
Thanks for stopping by today - have a WONDERFUL day!!!
Good morning! Today is an amazing blog hop to celebrate Pinkfresh Studio's September Stamp, Die, Stencil, and Hot Foil Release! This release is full of gorgeous florals, and beautiful new set of alphas, and an amazing new product that I have been SOOO excited to finally share - a Solid Hot Foil plate that is a super useful and versatile tool for your craft room! You aren't going to want to miss a stop along the way - TONS of inspiration and prizes up for grabs! YAY!
Okay - I went a bit crazy (as usual!) with this release - I just couldn't stop playing! The beautiful florals, the awesome new Inna Alpha set, and one of my favorites from this release - the exciting NEW Solid Hot Foil Plate! I've used it on this first card - and there are more photos and a video at the bottom of my post explaining a bit more of what it does - in case you want to skip to the end and see more about it!
In the meantime...lets dive into the cards I'm sharing for this release:
This first card is a fun slimline card using the new Lush Peonies stamp set, layering stencils, and coordinating die.
I used a fun and girly color palette - then die cut and trimmed the design in half to split between the edges of my slimline card.
I layered a coordinating pink panel die cut with Slim Fancy Diagonal Stripes die for a bit of texture and interest on the background, then tucked the edges of the florals into the corners, popping the rest up with foam adhesive.
I hot foiled the new Inna Alphas, then set them aside to use later, and used the Solid Hot Foil Plate to use the negative pieces of foil, then die cut that with the coordinating die. This gave me a reverse image of the Inna Alphas - I LOVE this effect!
I popped those up with foam adhesive on my card, and then added a secondary sentiment from Blooming Branches stamp set, stamped in detail black ink and trimmed to a thin strip.
Finished off with a few sparkly clear crystals from Essentials: Crystals Mix (which was just finally restocked - yay!).
Next up, perhaps one of my favorite layering floral sets from the release - especially beautiful even without the coordinating stamp set: Dahlia Bunch!
I stenciled this one in purples and greens - I love the detail in this image! I left the stamp set off, and die cut it with the coordinating die.
I used a coordinating purple cardbase, and die cut a panel of white cardstock with Diagonal Stitched Plaid die, and trimmed it down to leave a border of the purple cardbase around the edges.
Die cut the hexagons from Basic Label Frame dies in white, layered them together, and stamped my main sentiment in the center one. Added a secondary sentiment, heat embossed on a bit of black cardstock and trimmed to a thin strip, then finished off with a few sparkly Lavender Jewels!
And finally, all in lovely shades of blue for this next card!
For this card I used the beautiful Garden Roses layering stencils, and also added the stamped image over the top with Detail Black ink before die cutting with the coordinating dies.
I added a coordinating blue cardbase, and die cut a white Ornate Banner to tuck under it. I also die cut a deeper blue shade of Fancy Label Frame dies, and a smaller white one to stamp my sentiments on, layering them together with some scraps of cardstock for a bit of dimension, but slightly less than with foam adhesive.
Finished off with a few more of those sparkly Essentials: Crystals Mix, but in a coordinating soft blue color for this card!
Next up, I thought I'd show you a quick comparison of each stamp and stencil set - one with the stamped image over the top, and one without, but using the exact same colors. First up is Lush Peony:
And here is Dahlia Bunch:
A look at Garden Roses:
And finally, Blooming Branch:
And now...one to one of the most exciting parts of this release for me! This amazing Solid Hot Foil Plate:
Here is a video sharing all the fun things this plate can do - you can also check it out on YouTube HERE:
You can tell I've had lots of fun using this solid plate for so many of my negative foil pieces!
A couple things to note - that are mentioned in the video as well. If you have a Gemini Foilpress machine, it does come with a metal shim that works similarly. I had better success with this - but I definitely recommend checking what you have to see if it works first.
Also, the quality of cardstock you use will have a huge effect on your foiling success. I used Hammermill 100lb cardstock for all of my samples here and in my video. It has a nice smooth surface, which works well with the foiling.
Hot foiling die cut sentiments and other die cut pieces? SOOO much fun!
Naturally, your success with your negative foil pieces all depends on how well your original piece foiled. If you have a lot of overfoiling, you aren't going to have as much luck with your negative pieces. Die cutting helps hide any of those imperfections though, which is lovely - like these butterflies...love all the shiny gold goodness!
And here are the positive and negative versions of the new Inna Alphas - I can't decide which version I like more. :)
GIVEAWAY INFO:
Make sure and leave a comment before you leave for a chance to win one of 10 $25 gift certificate to Pinkfresh Studio chosen from comments left across the hop! All winners will be chosen and posted on the Pinkfresh Blog on Tuesday, October 5, 2020 - so make sure and check back to see if you were a winner! Winners must check that page and claim their prize within 2 weeks.
Here is the entire blog hop line-up so you don't miss a single stop - and product links are below - including affiliate links where possible, which simply means if you use one of the links below that I receive a small commission at no additional cost to you. Thanks so much for stopping by! Have a wonderful day!!!