Tuesday, November 30, 2021

Window Scene Christmas Cards - Simon Says Stamp December Card Kit

 Good morning! I'm here today to share a couple more cards with the December 2021 Simon Says Stamp Card Kit - Santa's Helpers! This month's kit is festive, bright, and fun! The included stamp set by the same name is full of adorable images and sweet sentiments, there is some cute pattern paper, some unique sparkly elements, a set of 3-D layering sheets that I used on my cards today - that's all not to mention the cardstock, envelopes, and more!

For my last couple cards today I'm using some of the adorable pattern paper with the included stamp set to create some simple and cute little window cards!


I started off by trimming down a panel of two of the pattern papers from the kit to a size smaller than my A2 cardbase. I used two papers that had a lovely texture on them - the snowflakes have some glitter, and the candy canes have a bit of a glossy touch to the candy!


I die cut an oval window in the panel, then used that as a guide to stamp my image and sentiment using my MISTI. This gave me perfect placement!


It still felt a bit boring, so I die cut a rectangle around the edges of the oval, so I could mount them at varying heights for some dimension and interest. I mounted the outer frame directly on the cardbase, and then added the inner frame with foam adhesive.


Finished off with a few sparkly Glacier Pearls to add a touch of shine and interest to the images - even without coloring them in!


Here is a closer look at the entire kit contents - you can see it all HERE:


Product links are all below - including affiliate links where possible, which simply means if you use one of the links below that I receive a small commission at no additional cost to you. Thanks so much for stopping by! Have a wonderful day!!!


Always Wishing You Joy - Simon Says Stamp

 Good morning! I'm popping in today to share a another card using some fun supplies from Simon Says Stamp - a cool and wintry design with a fun stencil and large word die. Instead of using this stencil on white cardstock, I thought it would be fun to use it for some tone on tone ink blending!


I started off with a cardbase created with Sea Glass cardstock, and used a bit of Pixie Spray to temporarily adhere the fun Snowflake Cluster stencil. I then blended over some Ocean Breeze ink using a SSS blender brush, fading out so that I didn't have any ink on the outer edges of the cardbase. I then added a bit of the deeper Aquamarine ink in the center to give it a little extra "punch" of color.


Next up, I added some white paint splatters liberally over the stenciled card front, and set it aside to dry.


I used a mix of white cardstock and SSS Champagne glitter cardstock to create the frame and sentiment. LOVE the warm sparkly color of this cardstock! I used Large Joy wafer die for the main part of the sentiment - such a pretty font on this one too!


For the frame I used Pinkfresh Studio Stitched Scallop Rectangles die - using the largest die to color block in the two colors. I mounted both the sentiment and the outer frame with foam adhesive for some dimension.


Finished off with an add on sentiment from the Love Peace Joy Reverse Sentiments - also popped up on foam adhesive, and a few sparkly Pinkfresh Peach Fuzz jewels


Product links are all below - including affiliate links where possible, which simply means that if you use one of the links below, I receive a small commission at no additional cost to you. Thanks so much for supporting my blog, and stopping by! Have a wonderful day!!!


Monday, November 29, 2021

Friend Like You - on the Unity Stamp Company Blog

 Good morning! I'm back with another card for my series on the Unity Stamp Company Blog this morning! I'm so excited to be featuring the amazing Kit of the Month on Monday's on the Unity Stamp Company Blog! Since the Kit of the Month was the first thing I purchased from Unity, and what got me hooked to begin with, they hold a special place in my heart, so I'm super excited about this opportunity to give these kits some love! You can check out all the details HERE for today's project!


Thanks for stopping by today - have a WONDERFUL day!!!


Wednesday, November 24, 2021

Layered Squares Christmas - Simon Says Stamp Handmade Holiday Release

  Good morning! I'm back to share some more inspiration with the Handmade Holiday Release from Simon Says Stamp! This is another card I created before the release, but didn't have a chance to write up a post for it before now! I love this new layering stencil from the release, and paired it up with a sentiment preprinted sentiment strip for this nearly one layer card!


I used the two layers of the stencil - and picked colors that would work together. I used Pinkfresh Peach Fuzz ink for the base layer, and then Coral Reef for the detail layer over the top. Love how these blend together!


I added a few little black splatters for texture - and a bit of a rustic feel.


Finished off by adding that preprinted sentiment, popped up on foam adhesive for a bit of dimension. Otherwise, a one layer card!


Product links are all below - including affiliate links where possible, which simply means that if you use one of the links below, I receive a small commission at no additional cost to you. Thanks so much for supporting my blog, and stopping by! Have a wonderful day!!!


Tuesday, November 23, 2021

Hey You - Pinkfresh Studio Instagram Release Hop

 Hello! Today I am part of a fun Instagram hop to celebrate the new Pinkfresh Studio release! I have had so much fun creating with this release - yesterday was the blog hop, and I shared tons of cards for that! The card I'm sharing today I created on last week's YouTube live for Pinkfresh Studio as a sneak peek - you can watch that video HERE if you want to see more details!


I used a few of the new release items on this card, paired up with a previously released layering Stencil that is so fun to use - Fancy Floral Print!


I started off by die cutting the largest Folk Edge Rectangle die from white cardstock, then ink blended the background stencil over that panel in soft colors.


From that panel, I die cut a window with the fun new Heart Shaker die to create (what else?) - a shaker card! Before assembling the shaker, I stamped a sentiment to be centered in the heart and inside the shaker, from Daisy Slimline Frame stamp set. Then I filled it with a mix of varying sizes of heart confetti.


Finished off with a few of the new Matte Gold Metallic Pearls to embellish the front, and then stamped a coordinating sentiment on the inside of my card using the same stamp set (Daisy Slimline Frame) as the front of the card.


Product links are all below - including affiliate links where possible, which simply means if you use one of the links below that I receive a small commission at no additional cost to you. Thanks so much for stopping by! Have a wonderful day!!!


Monday, November 22, 2021

Friends are Family - on the Unity Stamp Company Blog

Good morning! I'm back with another card for my series on the Unity Stamp Company Blog this morning! I'm so excited to be featuring the amazing Kit of the Month on Monday's on the Unity Stamp Company Blog! Since the Kit of the Month was the first thing I purchased from Unity, and what got me hooked to begin with, they hold a special place in my heart, so I'm super excited about this opportunity to give these kits some love! You can check out all the details HERE for today's project!


Thanks for stopping by today - have a WONDERFUL day!!!


Pinkfresh Studio November 2021 Essentials Release

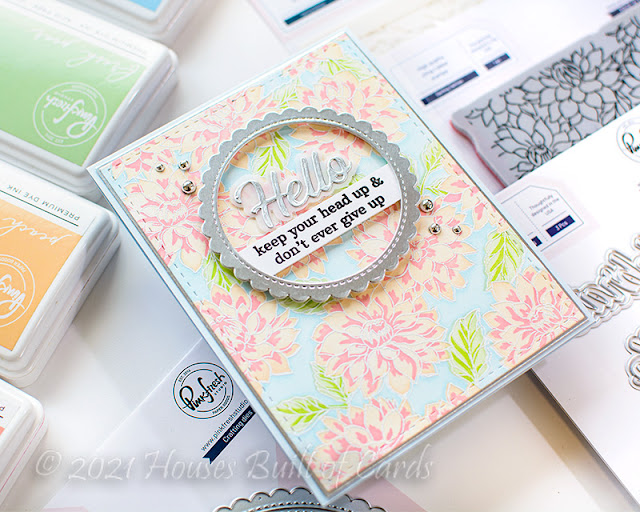
 Good morning! Today is an amazing blog hop to celebrate Pinkfresh Studio's November Essentials Release! There are so many fun items in this release - all great essential items that you can use on all your projects! You aren't going to want to miss a stop along the way - TONS of inspiration and prizes up for grabs! YAY!


I combined lots of the new dies on my 3 projects to share today!


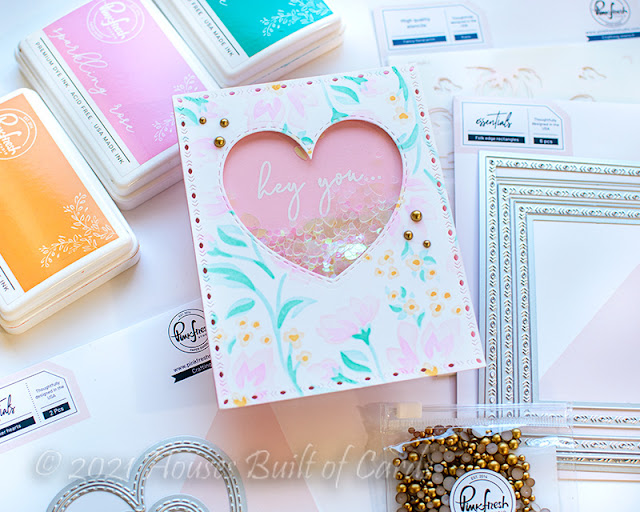
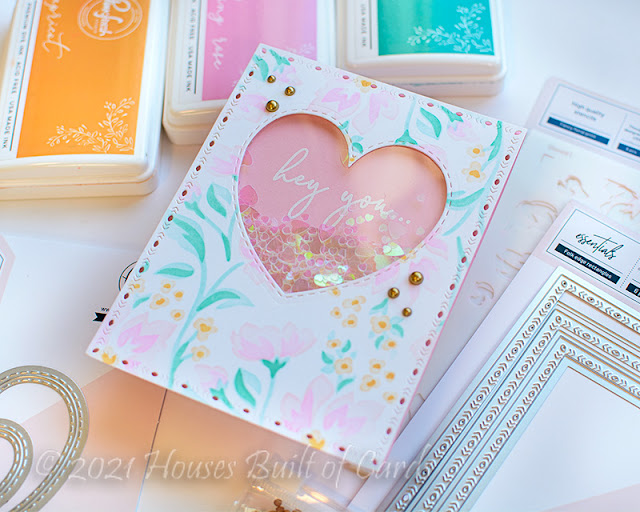
For this first card, I used the adorable new Shaker Hearts die as a focal point for my card. Love the size of these, and how they have the stitching on both sides of the die - so you get the stitching on the die cut, as well as the negative. Love the negative space on this card!


I created the frame using the adorable new Sweet Leaves frame - it's a great simple 2 layer stencil, perfect for testing out layering stencils if you want to see how they work! I used Blue Jay and Marigold for a nice bold and fun color combo.


I die cut the smaller heart from some gray cardstock, and tucked it behind the leaves, popping it up on some scraps of paper (to keep the dimension a bit toned down from foam adhesive).


I added a bit of yellow cardstock behind the heart to coordinate with the yellow flowers, popping up that panel with some more paper scraps for a shadow effect. Finished off with a sentiment from Daisy Slimline Frame stamp set, heat embossed on a bit of black cardstock and hand trimmed into a banner shape. A few of those new Matte Silver Metallic Pearls finish this one off!


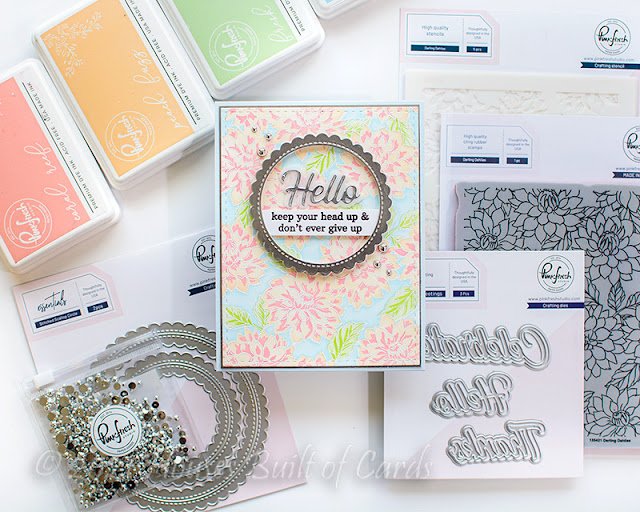
My next card all started simply with the heart I die cut from the gray cardstock for the first card - and I use a total of SIX different new products on it!


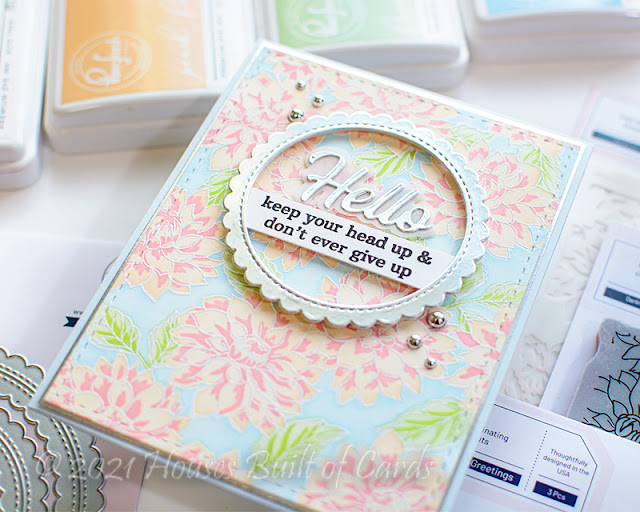
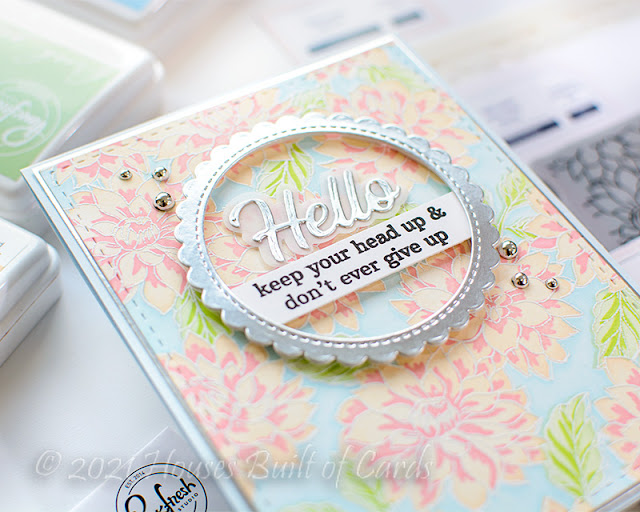
The background of this card uses the recently released Dahlia Bunch cling stamp, stamped with Rocky Slope for a tone on tone soft effect.


Next, I layered up the heart over the top of dies cut from these sets in order: Blanket Stitched Squares, Folk Edge Squares, Blanket Stitched Rectangles, and Foldable Shaker Tags (I folded this in half just to make a simple white tag). 


I love all the white layers with the texture from the dies. And I used some paper scraps tucked between for dimension, without using ALL foam adhesive - that would have been a bit TOO dimensional!


I added a sentiment from Charming Floral Border stamp set stamped in Detail Black ink on a strip of white cardstock to mount over the sentiment. Finished off with some sheer ribbon, and a few more of those Matte Silver Metallic Pearls tucked on each side. Monochromatic and fun!


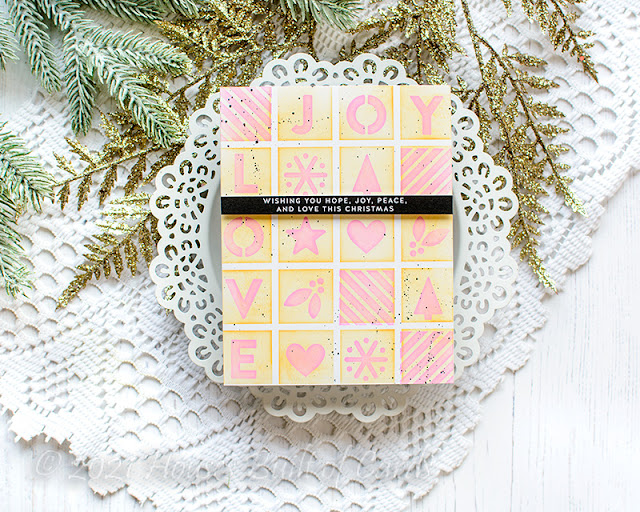
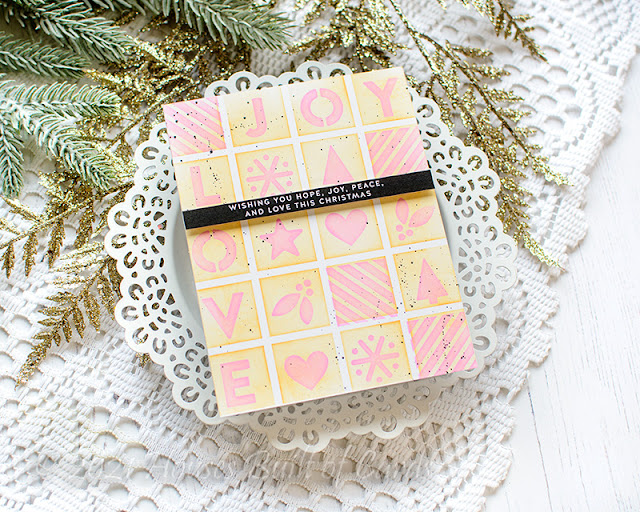
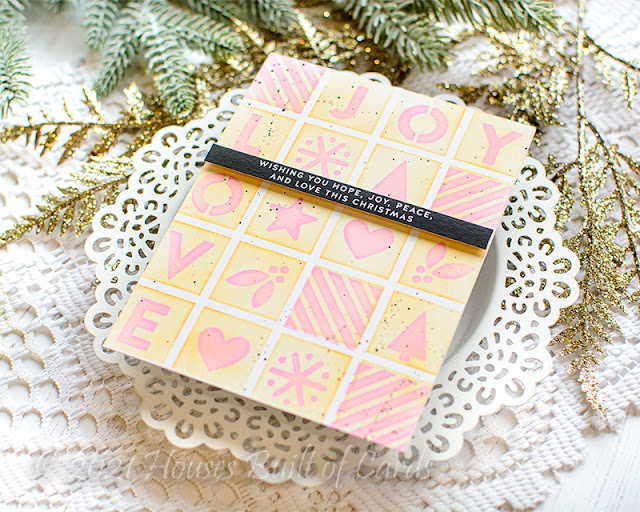
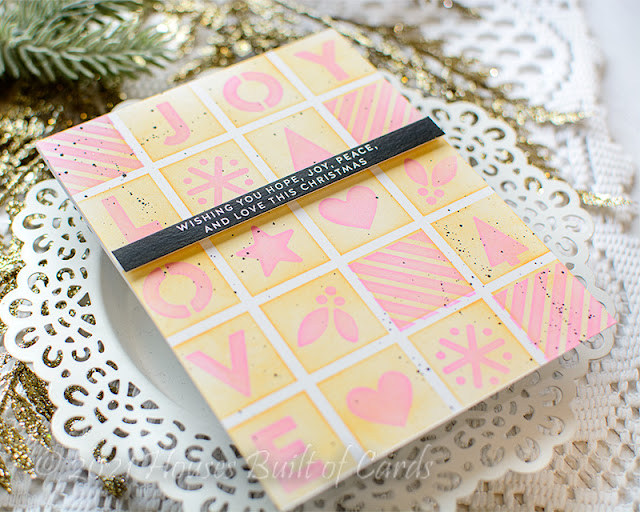
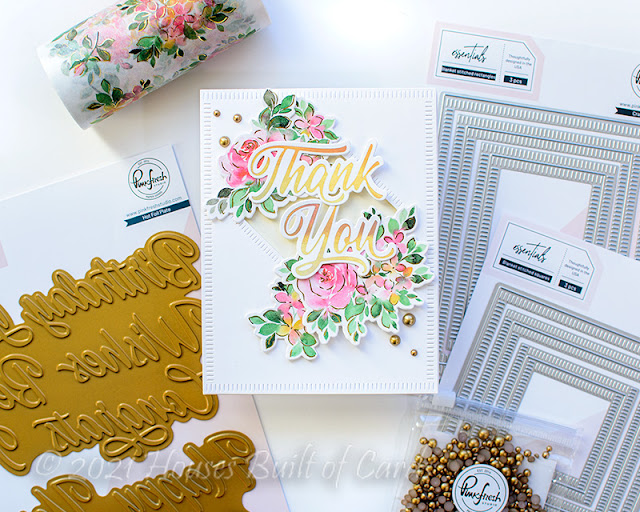
And finally - perhaps one of my favorite cards to share today! The washi never gets old, and is a perfect pair for the new Essential dies in this release!


For this card, I die cut a panel of white cardstock with the largest Blanket Stitched Rectangles, and die cut a Blanket Stitched Square out of the center on a diagonal (that is actually the one I used on the last card - love when you don't have to waste anything!).


I used a bit of Ivory cardstock behind the window, adding some foam adhesive between, for a bit of soft contrast with the white card front. I love the combo of cream and white together!


Then I framed around the window a bit with some Hydrangea and Rose washi tape, die cut with the coordinating dies. I adhered it with liquid glue, curling up the edges for some more dimension.


I used a sentiment from Brushed Sentiments hot foil plate, also die cut with the coordinating dies. I love how the gold sentiment sets off the gold foil on that washi tape!


Final touch was a few of those Matte Gold Metallic Pearls - you wouldn't think the matte would work with the hot foil, but surprisingly, it works so beautifully together!


GIVEAWAY INFO:

Make sure and leave a comment before you leave for a chance to win one of 10 $25 gift certificate to Pinkfresh Studio chosen from comments left across the hop! All winners will be chosen and posted on the Pinkfresh Blog on Tuesday, November 30, 2020 - so make sure and check back to see if you were a winner! Winners must check that page and claim their prize within 2 weeks.

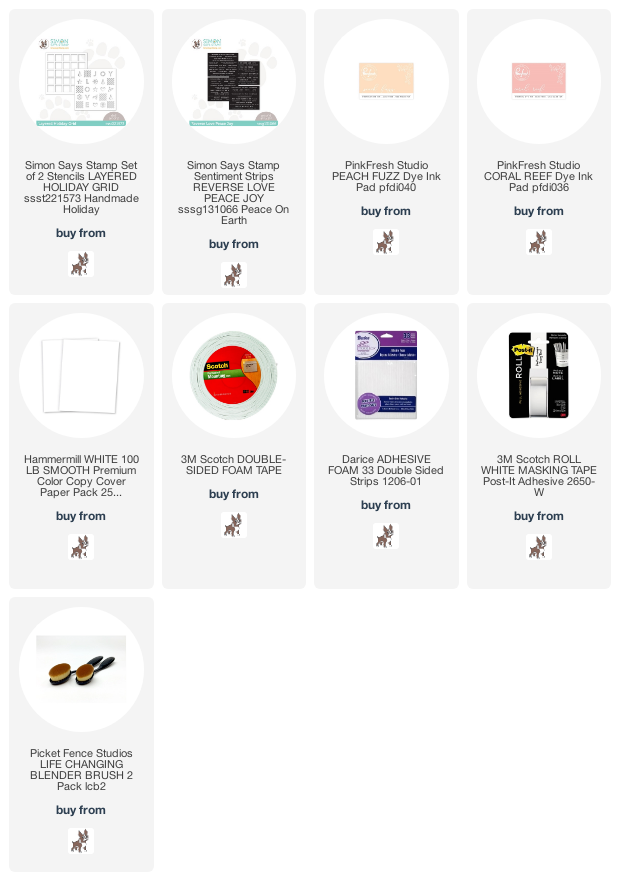
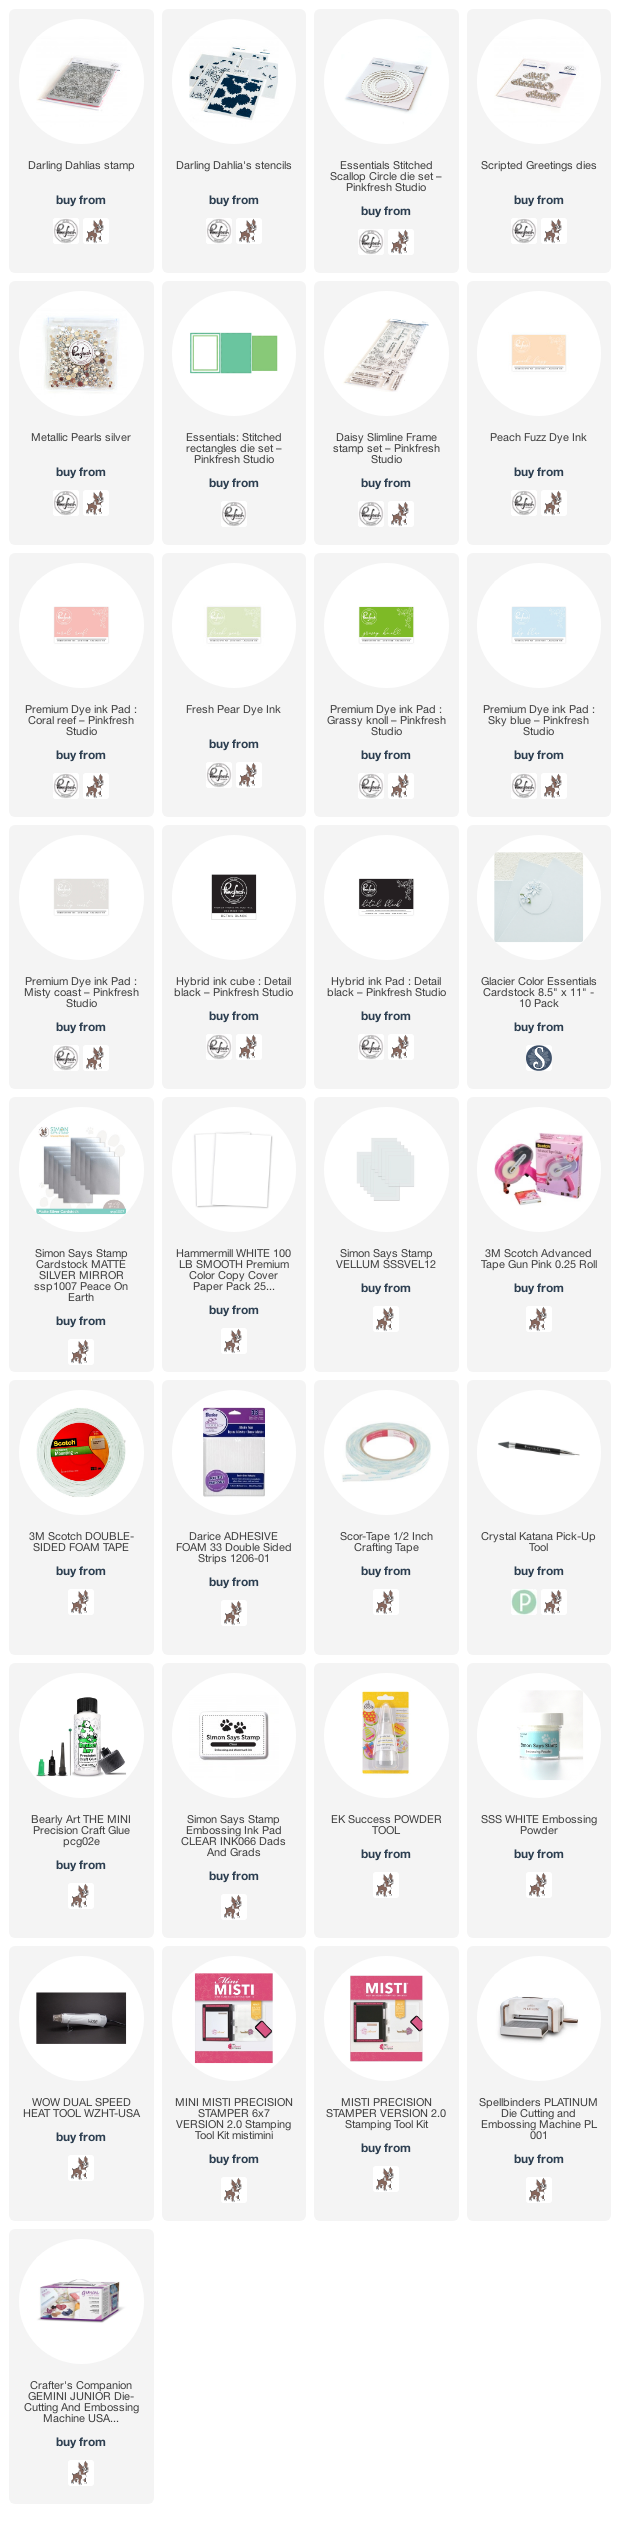
Here is the entire blog hop line-up so you don't miss a single stop - and product links are below - including affiliate links where possible, which simply means if you use one of the links below that I receive a small commission at no additional cost to you. Thanks so much for stopping by! Have a wonderful day!!!


You are invited to the Inlinkz link party!

Click here to enter

Friday, November 19, 2021

Hello Dahlias - Pinkfresh Studio Facebook Live Card

 Good morning! Dropping by today to share a card I made last week (sorry for the late post!) for Pinkfresh Studio's Facebook Live. For this card I did some layered stenciling, and finished things off with some silver accents - breaking out of my usual preference for gold! You can watch the replay HERE if you want to see more details. 


One of my favorite things about the recently released Darling Dahlia cling stamp and stencil set is that the last layer of the stencils allow you to add a ink layered background! It totally gives a fun effect, looking like you have ink blended on colored cardstock, but without the undertones on the florals. SOOO fun! For this card I lined up a panel of white cardstock in my MISTI and stamped the image in Misty Coast ink. I left that lined up, and added all the layers of the layering stencils, then restamped on top to heat emboss in white. I could have done this first, but it would have been very hard to see the white embossing on the white cardstock and line up the stencils over it.


I die cut that panel using Stitched Rectangles, and matted it with a bit of silver cardstock to add to my soft blue cardbase. Next, I used that same cardstock to die cut a Stitched Scallop Circle, and my sentiment from Scripted Greetings, cutting the shadow layer on that one from vellum.


I used some foam adhesive for the frame, tucking a sentiment underneath first from Slimline Daisy Frame stamp set. Aren't the layers of color so pretty with the white heat embossing?


Finally, I finished off with some shiny Metallic Silver Pearls in two sets of little trios. Love these for fun finishing embellishments! 


Product links are all below - including affiliate links where possible, which simply means that if you use one of the links below, I receive a small commission at no additional cost to you. Thanks so much for supporting my blog, and stopping by! Have a wonderful day!!!