Monday, September 8, 2025

Shiny Bauble Stamped Ornaments - Simon Says Stamp STAMPtember Release

 Good morning! Today I'm sharing a bit of a different project, featuring more of the NEW STAMPtember Release from Simon Says Stamp! Instead of cards, I have some DIY ornaments I created with the new Shiny Baubles set. This set has a magical nostalgic feel to me, reminding me of some of the vintage ornaments I still hang on my tree from my grandparents. So fun to be able to create some paper versions thanks to papercrafting supplies!


I started off by stamping and die cutting doubles for each ornament, so I could adhere them together back to back - this way they could hang on my tree, and look pretty on both sides. I also die cut one plain one for each from solid coordinating cardstock, and when I adhered them together with thin foam adhesive, it made them all more sturdy, as well as allowing a bit of color to peek from inside. The circle ones fit together perfectly, while the oblong one was slightly offset, so the solid layer added a bit of a shadow effect that helped balance it all out on each side! I used tone on tone stamping, as well as gems that matched with each color, added some die cut layers with Honey Gold cardstock, stamped the sweet scene with crisp black ink, and added a bit of white glitter glue "snow" to each scene to finish. And of course, some white twine to tie on each to hang them from! Here is a closer look at each of these:


Product links are all below - including affiliate links where possible, which simply means if you use one of the links below that I receive a small commission at no additional cost to you. Thanks so much for stopping by! Have a wonderful day!!!


Sunday, September 7, 2025

Winter Wishes Action Wobble - Simon Says Stamp STAMPtember Newton's Nook exclusive

Good morning! I'm back to share a card using the next of the special STAMPtember collaborations throughout the month! Each collaboration is with one of your favorite companies, is limited edition, and only available while supplies last. When it's gone, it's gone! Today's special release is from Newton's Nook


I had so much fun creating this warm vintage feeling card, and adding some fun motion with mini action wobbles! I started off by stamping the images and sentiments from Skate Paw-ty on Cream cardstock in Cappuccino ink, layering on some embossing ink, then heat embossing with clear powder. Next, I did some simple shading and coloring with just two Copic marker colors. I grabbed some pattern paper from Carta Bella Christmas Village paper pad, die cut some circles from some of it, and layered things together, trimming the circles to add some different arrangements and interest. I popped the images up on those action wobbles, added a few enamel dots to embellish, rounded off one corner, and finished off with a bit of sparkly Stickles on parts of the images for a little extra touch! Check out the photos - including some action shots towards the end of the post:


Product links are all below - including affiliate links where possible, which simply means if you use one of the links below that I receive a small commission at no additional cost to you. Thanks so much for stopping by! Have a wonderful day!!!


Saturday, September 6, 2025

Snowy and Bright - Simon Says Stamp STAMPtember Hero Arts exclusive

 Good morning! I'm here to share a card with one of the many special STAMPtember collaborations throughout the month! Each collaboration is with one of your favorite companies, is limited edition, and only available while supplies last. When it's gone, it's gone! Today's special release is from Hero Arts:


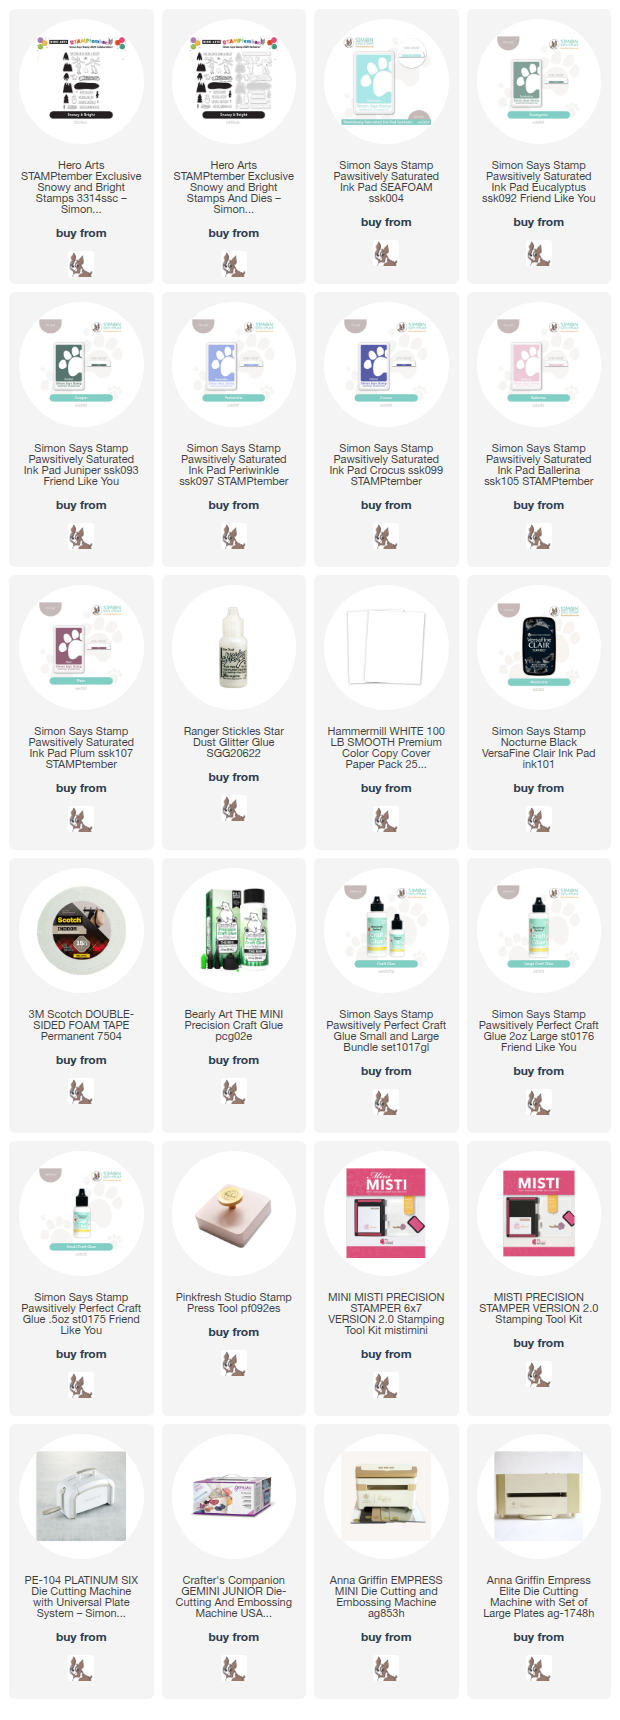
I had fun creating these little mountain/lake scenes! I started off by stamping some of the images multiple times. At first I couldn't decide which color I wanted the mountains, so I did two options, and thought about mixing and matching. In the end, I had enough to create two cards, so I just decided to do that! I used the new Hero Arts Snowy and Bright set, and lots of SSS inks - Seafoam, Eucalyptus, Juniper, Periwinkle, Crocus, Ballerina, and Plum. I especially enjoyed playing with those new pinks and purples! I die cut them all, arranged them on my cards and adhered with foam adhesive and liquid glue. I stamped a few of the tiny snowflakes around the top of the mountains, and added a sentiment below. Finished off with some sparkly Star Dust Stickles for a frosty touch! Here is a closer look at these finished cards:


Product links are all below - including affiliate links where possible, which simply means if you use one of the links below that I receive a small commission at no additional cost to you. Thanks so much for stopping by! Have a wonderful day!!!


Friday, September 5, 2025

Sparkly Winter Tags - Simon Says Stamp STAMPtember Tim Holtz exclusive

Hello! Today I've got some projects using some BRAND NEW products for STAMPtember at Simon Says Stamp, these ones designed by Tim Holtz! There are also some surprises that were just announced with these products - including a free class from Tim Holtz, and a class bundle with these sets and lots more. I received the products early, and had so much fun creating these tags to share with you today!

I created a total of 4 tags using the Festive Watercolor stamp and die set, paired with Festive Tags dies. I started off by stamping lots of the images from Festive Watercolor using a mix of Lumberjack Plaid, Rustic Wilderness, and Scorched Timber distress inks on watercolor paper. Some of them I lightly misted with water before stamping, some after stamping, and some I inked with more than one color. Once I had a whole bunch of them created, I die cut them with the coordinating dies, then it was time to add sparkle. I added some Glossy Accent blobs randomly to each piece, then smooshed them into a little pile of Mica Flakes several times, which spread the glossy accents, and adhered the mica flakes all at the same time! Great messy fun - haha! While those dried, I die cut my Festive Tags each once from watercolor paper and white cardstock. I love the embossed edge each of these dies gives - so incredibly fun! The white cardstock ones I used my Distress Embossing dabber on one side, then embossed with Princess Gold embossing powder. The watercolor ones I did some ink smooshing with Lumberjack Plaid and Rustic Wilderness inks for a watercolor background. I die cut the tag toppers from Ivory Glitter cardstock, stamped and die cut my sentiments from Festive Sentiments, and then assembled the layers, using foam adhesive for the words, and liquid glue for all the greenery pieces. Finished off with some Ivory Jute String at the top, and a few Dazzling Clear Gems for extra sparkle! Here is a closer look at all of these tags:


Product links are all below - including affiliate links where possible, which simply means if you use one of the links below that I receive a small commission at no additional cost to you. Thanks so much for stopping by! Have a wonderful day!!!


Thursday, September 4, 2025

Gnome One Sweeter - Simon Says Stamp STAMPtember Trinity Stamps exclusive

Good morning! I'm here to share a card with the first of many special STAMPtember collaborations throughout the month! Each collaboration is with one of your favorite companies, is limited edition, and only available while supplies last. When it's gone, it's gone! Today's special release is from Trinity Stamps:


 I created a sweet little shaker card with this collaboration!


I started off by stamping my image and sentiments from the set in black ink, and heat embossing with clear embossing powder for some fun shine, before die cutting with the coordinating dies. I then created a shaker window using Simon Says Stamp Nested Round Hearts, and used a combination of Limelicious and Surf inks to blend at the top and the bottom of the window panel, and behind the panel in a reverse direction. Love these happy colors together! I filled my shaker with some new to my Trinity Stamps Clear Twinkle Rhinestones, and they are SOO perfect for shaker cards - I love the sparkle! Finished off with a tiny white twine bow! Here is a closer look at this finished card:


Product links are all below - including affiliate links where possible, which simply means if you use one of the links below that I receive a small commission at no additional cost to you. Thanks so much for stopping by! Have a wonderful day!!!