Showing posts with label Wiggly Eyes. Show all posts

Saturday, April 5, 2025

Felt Stitched Chicken - Spellbinders

Hello! Dropping by with something a little different today! I recently got some fun dies designed  from Spellbinders to play with, and the timing couldn't have been better, since I also had recently ordered a pack of felt to play with! 

The die I used was called Felt Cozy Cluck - and I used the Trend Collection of felt - love these warm colors! I stitched it together with white embroidery floss using a mix of two different stitches, and added a bit of polyester stuffing I happened to have on hand from many years ago. This made it a cute little plushy! I glued the beak on, and added wiggly eyes for fun as well. Finished off with a wrap of Ivory jute string, and added a bit of glue to hold the bow in place. Here is a closer look at this cute little chicken:


Product links are all below - including affiliate links where possible, which simply means if you use one of the links below that I receive a small commission at no additional cost to you. Thanks so much for stopping by! Have a wonderful day!!!


Tuesday, July 13, 2021

UnFROGettable - Simon Says Stamp August 2021 Card Kit

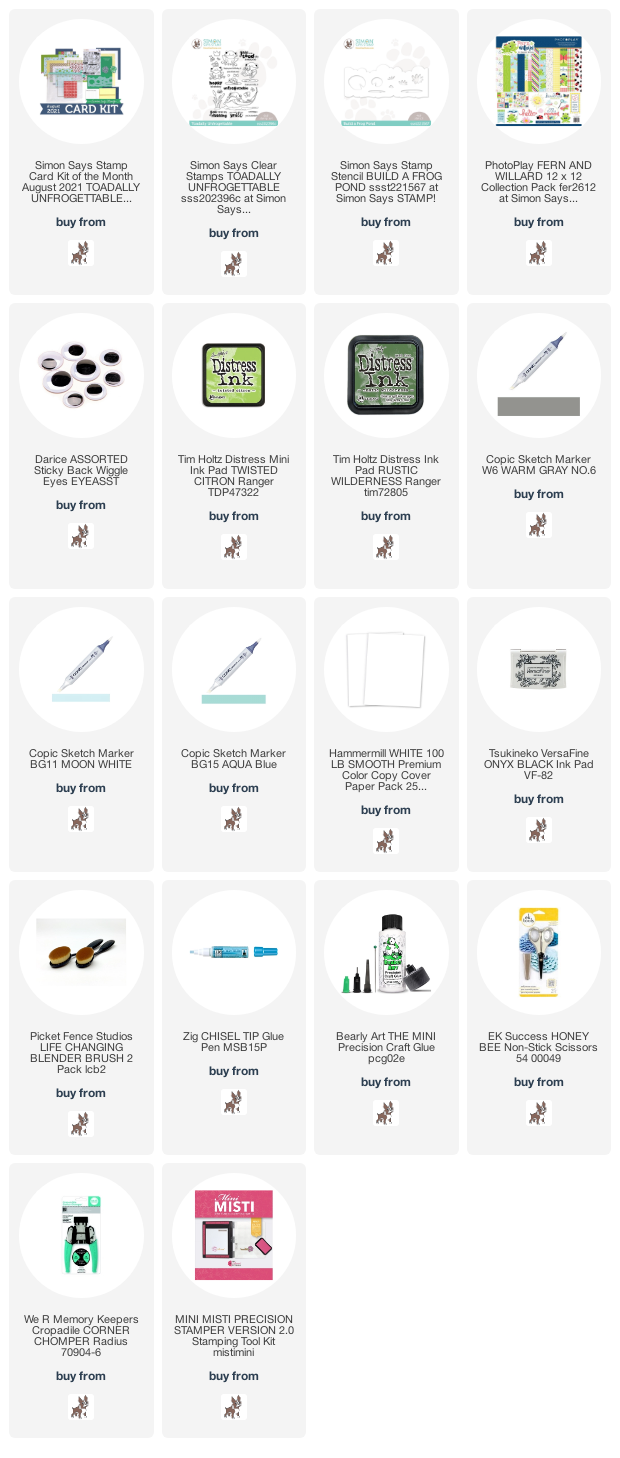
 Hello! I'm here today to share my first card with the BRAND NEW August 2021 Simon Says Stamp Card Kit - Toadlly Unfrogettable! This kit is all about our little green friends! The included stamp set by the same name has lots of the cute critters - as well as some great punny sentiments, there is some super cute pattern paper, a fun stencil - that's all not to mention the cardstock, envelopes, and more! 

I'm starting off by sharing a fun CAS card - nearly one layer! Some paper piecing and stenciling to create lots of layers!


I started off by stamping that cute frog from the stamp set on my white cardbase, then used it as a placeholder to add the stenciled lily pad. I then stamped the same frog again on some of the pattern paper in the kit, and fussy cut it out to paper piece over the top. Didn't even have to mask to add the lily pad - perfect!


I added the sentiment underneath, the little fly (with a trail dotted on with a pen and colored with Copic markers), the wiggly eyes, and rounded off the top left corner to add some movement to this simple card!


Here is a closer look at the entire kit contents - you can find all the details HERE:


Product links are all below - including affiliate links where possible, which simply means if you use one of the links below that I receive a small commission at no additional cost to you. Thanks so much for stopping by! Have a wonderful day!!!


Wednesday, February 19, 2020

Birthday Treat Mugs - Simon Says Stamp

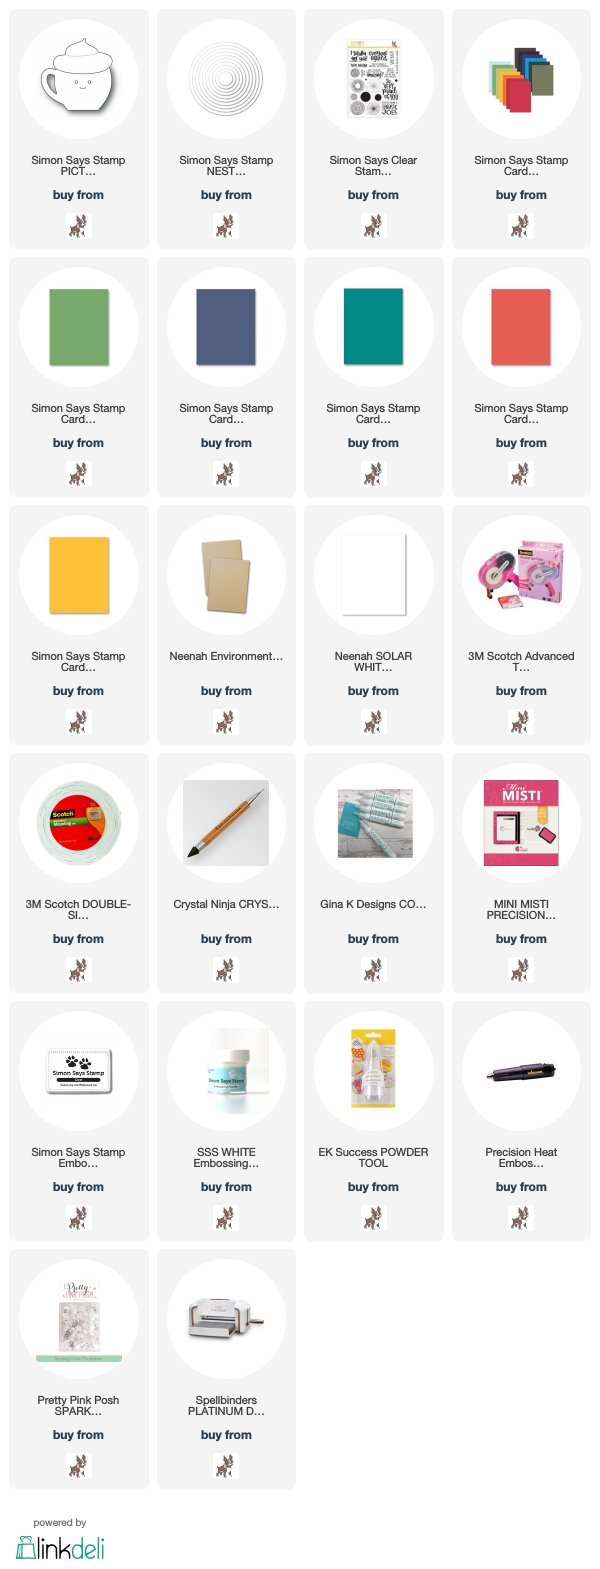
Good morning! Dropping by today with a couple cards I actually created a couple month's ago. (notice the date on the watermark on the photos? Um...yeah...) I created these way back in DIEcember with some of the new releases from Simon Says Stamp, and despite sharing a lot of those creations then, somehow these slipped through the cracks and hadn't been shared yet. So...it was definitely time to get them posted - because I sure love how they turned out! I went a bit overboard when I was die cutting for THIS CARD - and had to put them to use on another card (or two as it turns out!). I was also running short on birthday cards at the time, so I decided that was what they were going to become!


I created two different color combos, but laid them out exactly the same.


The adorable cups are die cut using Picture Book Mocha wafer dies - with some cute wiggly eyes attached!


The circles are die cut using Nested Circles Wafer Dies.


I adhered the circles directly to the card base, then popped the mugs up on foam adhesive.


I even used the same sentiments from Tiny Words Birthday stamp set on each card, lining them up in my MISTI for easy stamping on each of them.


Added some clear PPP droplets for added texture and sparkle.


Finished off by rounding off one of the corners, and adding some sparkly clear Nuvo drops on the whip cream on the cups.


Product links are all below - including affiliate links where possible, which simply means that if you use one of the links below, I receive a small commission at no additional cost to you. Thanks so much for supporting my blog, and stopping by! Have a wonderful day!!!


Friday, December 6, 2019

Hello Sweet Friend - Simon Says Stamp DIEcember Hop Day 2

Good morning! I'm super excited today to be hopping along for Day 2 of a 2 day Blog Hop to celebrate the Fabulous NEW DIEcember Release from Simon Says Stamp!!! Make sure and check out all the inspiration with this new release AND link up your creations as you receive your orders HERE in the Gallery created just for this release! And check out the graphic below to receive a the lovely Bold Thanks die FREE with your order using coupon code THKU894 through Sunday, December 8, 2019 as well - while supplies last (code expires at 11:59 PM EST)!!!


I have this fun layered card to share using one of the darling new release, paired up with some classic items from previous releases! And, I've been trying to film more videos and build my YouTube channel a bit, so I even have a video tutorial for this card! If you get a chance to watch, I'd love to know what you think!


Here is the video tutorial showing how I put this card together:


Since it's DIEcember, I kept the stamping on this card to a minimum, and focused on lots of die cutting! I loved the adorable Picture Book Mocha die from this release, and since I've also been in love with Buffalo plaid...it was only a matter of time until those two items were going to come together!


The background of my card is the previously released Holiday Knit Background - such a classic. I layered it over a Fog cardbase - love this soft gray color so much!


Sentiment was is from an older CZ Design paring - Hello You Stamp set and Hello Wafer Dies. The big hello is heat embossed in white on the die cut black word, and the smaller supporting sentiment is stamped in black on some Lipstick cardstock that was trimmed down with Sentiment Labels Wafer Die.


I used Nested Circles to die cut a vellum circle, and a kraft cardstock circle to nestle that little cup on. I tore the edge on the kraft paper to create a "ground" for the cup to rest on, then trimmed the sides of the circle to fit the edges of the front panel. I also added wiggly eyes to the cup - cause why not?!?


A bit of jute twine tied along the bottom finishes this sweet card off!


If you are looking for more inspiration with this fabulous release, I have a few other cards I've been posting over the past week - click on the photos or the links underneath each of them for more details on what I used and how I put them together!


GIVEAWAY INFO:
Simon Says will be giving a $25 gift certificate to their online store at each stop along the hop - so make sure and leave a comment before you leave for a chance to win! Winners will be announced next Wednesday on the Simon Says Stamp Blog.

Here is the entire blog hop line up in case you get lost along the way:

Heather Hoffman (you are here)

Product links are all below - including affiliate links where possible, which simply means that if you use one of the links below, I receive a small commission at no additional cost to you. Thanks so much for supporting my blog, and stopping by! Have a wonderful day!!!


Sunday, December 1, 2019

Fantastic Job - Simon Says Stamp DIEcember Release

Good morning - and happy December...or DIEcember as we often like to call it in the crafty world! And with this new month comes a fabulous NEW DIEcember release from Simon Says Stamp! Today I'm sharing a card using one of the fun new dies in the release! This is a large 5x7 size card to fit all these cute die cuts all on the card!


I started off by cutting lots of those cute NEW little Picture Book Mocha cups out from various colors of SSS cardstock, and the whipping cream for the top from white cardstock. I also cut out several circles from the same colors of cardstock using SSS Nesting Circles Dies. The cardstock colors I used are all linked at the bottom of this post!


Next, I slowly assembled them together, alternating the colors, and adding foam adhesive to the back of the cups to pop them off the circles for some dimension. I added tiny wiggly eyes to the cups as well - love how cute that turns a card in an instant!


I created a 5x7 cardbase to be able to fit everything on one card - and layered on a piece of kraft cardstock with a sentiment heat embossed in white from the previously released Amazing Stamp Set.


Finally, I adhered all the circles, and finished off with a good heavy dose of Sparkling Clear Pretty Pink Posh Sequins!


Product links are all below - including affiliate links where possible, which simply means that if you use one of the links below, I receive a small commission at no additional cost to you. Thanks so much for supporting my blog, and stopping by! Have a wonderful day!!!


Saturday, November 30, 2019

Obsessed Penguin - Simon Says Stamp Card

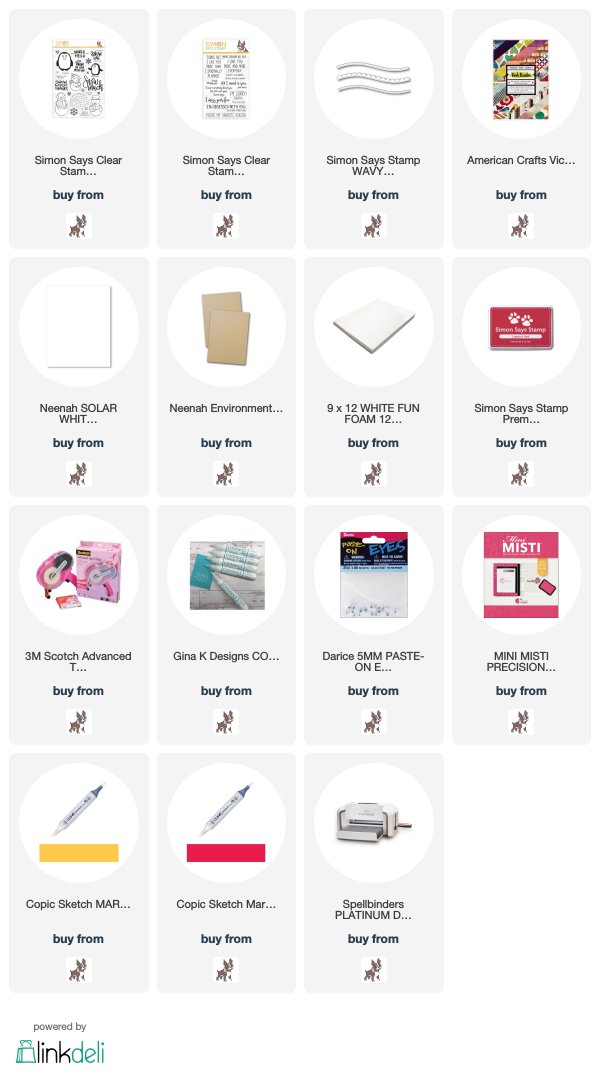
Good morning! I'm stopping by today with anther funny sentiment card, using the same stamp set I used on the funny gnome card from a couple days ago from Simon Says Stamp. This time I used a simple stamped penguin from the Snow Much stamp set!


I thought this funny little penguin was so super cute - and adding wiggly eyes was such a cute touch with that hilarious sentiment from Playful Messages stamp set!


I added some simple Copic coloring just to the nose, and stamped the heart in red ink and colored it in with Copics as well for a solid heart image.


Some pattern paper at the top and bottom of the panel - the top end die cut with Wavy Scallop Stitches - and then that front panel popped up on a kraft cardbase with foam adhesive!


Product links (or similar equivalents) are all below - including affiliate links where possible, which simply means that if you use one of the links below, I receive a small commission at no additional cost to you. Thanks so much for supporting my blog, and stopping by! Have a wonderful day!!!


Thursday, February 28, 2019

Age is Irrelephant - Simon Says Stamp

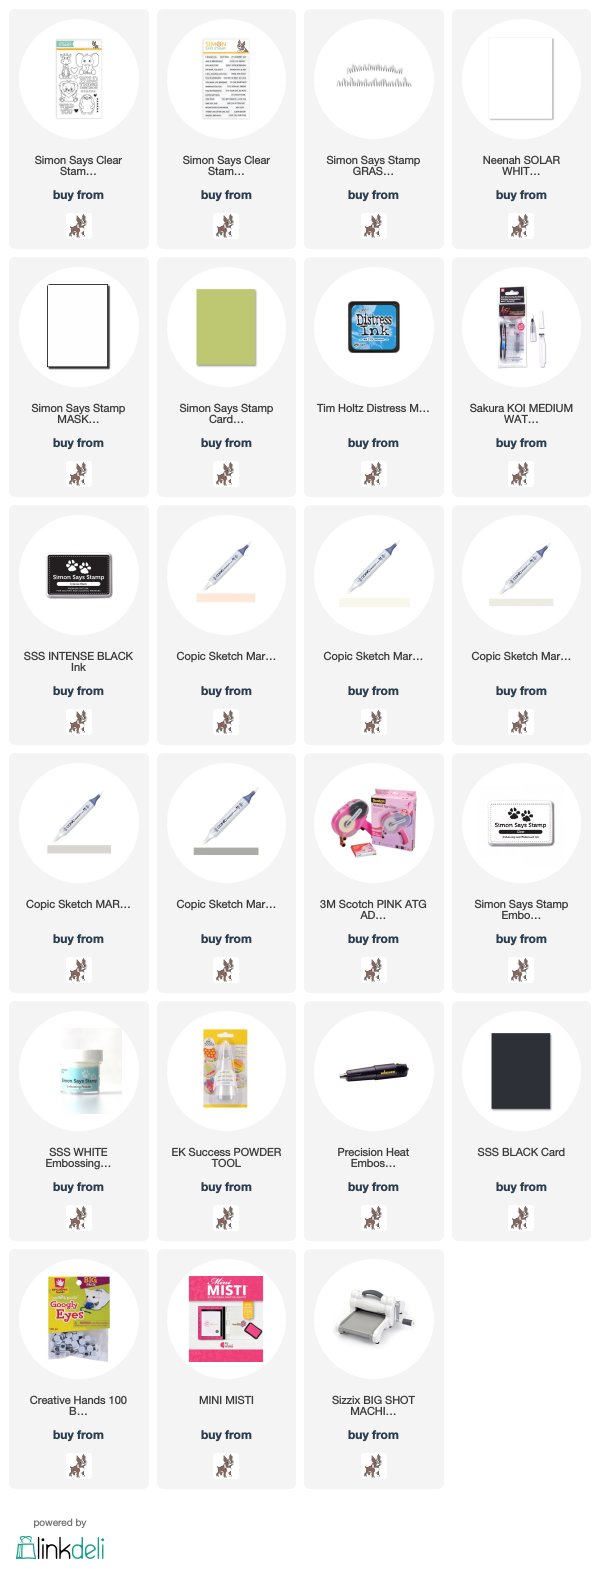
Good morning! Today I'm sharing a cute and simple birthday card using some stamps and dies from Simon Says Stamp - I recently purchased the super cute Punny Animal sentiment stamp set and the Grassy Edges wafer die and wanted to put them both to good use!


I started off this card by stamping the elephant from Wild Cuddly Critters on my white cardbase, then stamping it again on masking paper, carefully cutting it out, and masking off the elephant image. I then blended a distress ink background with Salty Ocean distress ink, also adding some splatters of the same ink. I peeled off my mask, and then colored the elephant with Copic markers.


I then die cut several of the Grassy Edges die from Green Apple cardstock, and layered them across the bottom, one over the other. Finished off with one of the hilarious sentiments from the Punny Animals stamp set heat embossed on a thin strip of black cardstock, and mounted with foam on my card!


Product links are all below - including affiliate links where possible, which simply means that if you use one of the links below, I receive a small commission at no additional cost to you. Thanks so much for supporting my blog, and stopping by! Have a wonderful day!!!


Friday, February 15, 2019

That Really Stinks - Technique Tuesday Card

Good morning! I'm back today to share a fun card using some of the newest release from Technique Tuesday! All products from this January release are available at Technique Tuesday in the new product category HERE. Today I'm sharing some more cuteness with the adorable Sally and Sherman the Skunk stamp set!


I stamped and colored one of the skunks, then die cut with the coordinating dies. I stamped one of the hilarious sentiments from the set on a frame die cut from Essential Stitched Labels Dies - another new release.


The background was created by doing some ink blending with distress ink on watercolor cardstock, then misting a bit with water to help it blend and soften the edges a little. I also added some black splatters with my Pinkfresh Licorice Liquid Watercolors.


Finished off with a wiggly eye on the skunk (doesn't it up the cuteness factor a TON?!?!?) - and then mounted the image and sentiment with foam adhesive on my background!


COUPON CODE:
I also have a special coupon code to share with you - this coupon is good from February 15-17 on all products in the Thank You Category HERE! My coupon code is THXHEATHER!

Product links are all below - including affiliate links where possible, which simply means that if you use one of the links below, I receive a small commission at no additional cost to you. Thanks so much for supporting my blog, and stopping by! Have a wonderful day!!!