Monday, July 31, 2017

LID August Release Day 1

Hello! Today is the beginning of a fun new release at Lil' Inker Designs - a super fun mix of stamps and dies in this release! So excited to start sharing them with you! You should have arrived here from Chrissy Larson - if you stopped by here you can refer to the entire blog hop at the bottom so you don't miss a stop or a chance to win the amazing giveaway. I also have links to all the new products I used on today's cards!


First up, I have this dreamy card - for some reason the Cinderella fairy tale comes to mind whenever I look at this stamp set, so I obviously was a bit inspired by that for my card! :)


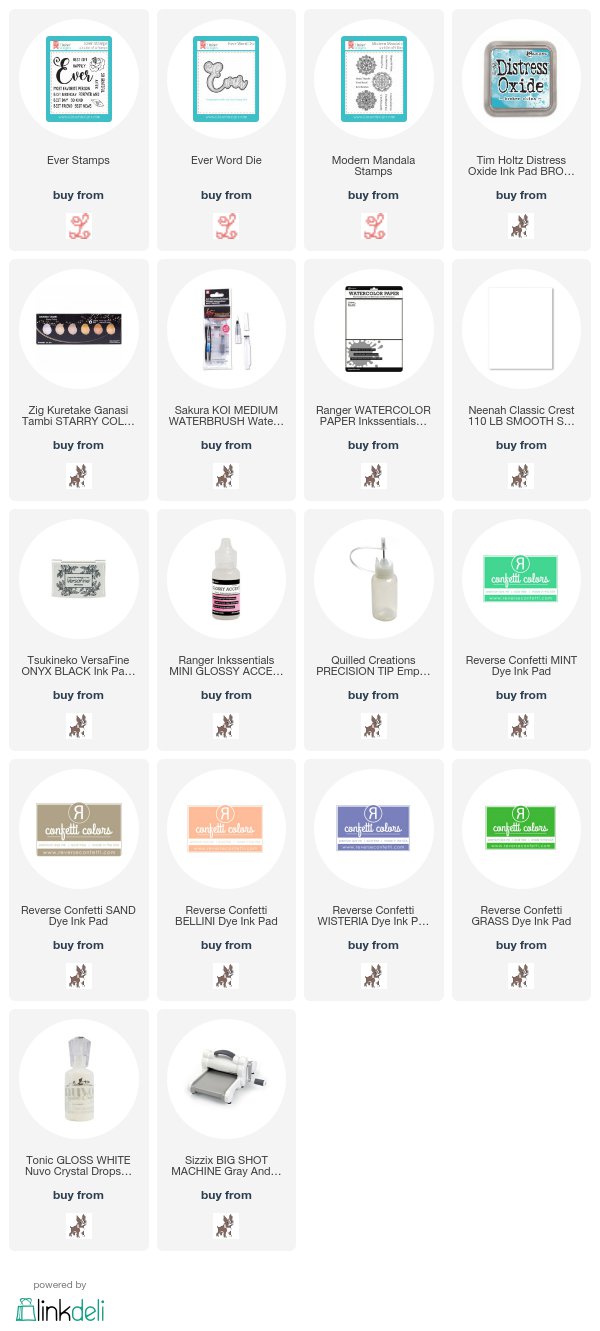
This uses the new Ever Stamps and coordinating Ever Word Die, along with some distress ink smooshing with lots of gold watercolor splatters. I also applied Glossy Accents on the "ever" to give it a bit of shine and simple dimension.


And then I had fun playing with the fun Modern Mandala Stamp set and a couple of fun color combos to make these simple one layer cards!


I used a fun color palette with some Reverse Confetti dye inks for each card - this one a bit softer:


And this one a bit bolder:


I stamped the sentiment directly on the card base as well, and then added some white Nuvo drops for a simple embellishment.


Your next stop along the blog hop is Jennifer Carter - head over there next to finish the hop before you go shopping. See you tomorrow with more projects and fun!

And now the really fun part! One lucky person is going to win THE ENTIRE RELEASE! Winner will be chosen from comments left along the hop - so the more comments you leave, the better your chance of winning!


Here is the entire Blog Hop line-up - make sure and check out each stop and leave your comments:

Heather Hoffman (you are HERE)

Product links are all below - including affiliate links where possible, which simply means if you use one of the links below that I receive a small commission at no additional cost to you. Thanks so much for stopping by! Have a wonderful day!!!

Saturday, July 29, 2017

Simple Pastel Copic Coloring

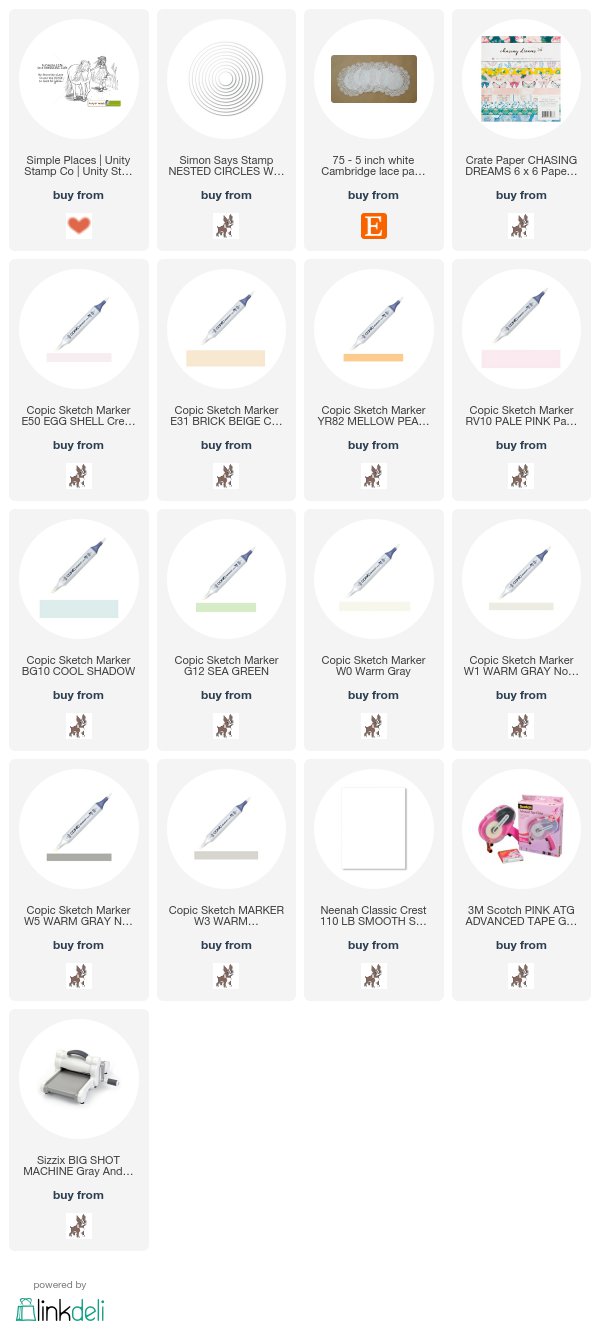
Good morning! Stopping by with a card using an absolutely ADORABLE new Phyllis Harris stamp set from Unity Stamps called Simple Places! Seriously - could this be any sweeter?!?!?


I also have a Quick Tip video to go with this card - basically just showing how I colored this image super soft and basic with Copic markers using single colors for shading:


Some pretty pattern paper and a doily finish this card off!


Product links are all below - including affiliate links where possible, which simply means if you use one of the links below that I receive a small commission at no additional cost to you. Thanks so much for stopping by! Have a wonderful day!!!


Friday, July 28, 2017

Help a Sister Out - Can I Send You a Card?

Houses Built of Cards

That is the name of my blog - and if you don't know or have ever wondered why, the short answer is that I sell my cards (by donation), and all the money goes toward building houses for widows and their children in Burundi, Africa through a ministry called Sister Connection
(You can read the longer story HERE if you are interested)

I just sent in money tonight for my SECOND HOUSE for this YEAR. All from selling a few cards that I make as a HOBBY! I mean, it seems like such a SMALL thing - but I am still in awe of the fact that it is ACTUALLY making a DIFFERENCE! Isn't it amazing the way God works? When we are willing to let Him use the gifts He gives us, He can actually use them to CHANGE the WORLD? Maybe not the whole world, but even ONE person's world. Isn't that REMARKABLE?

Now, how many of you have gone to summer camp in the past? Or sent your kids? Memories - lots of them, right? Every year, this ministry of Sister Connection that I support puts on a huge SUMMER RETREAT and CAMP for these same widows and fatherless children. These camps provide opportunities for fellowship, healing, learning practical life skills - and the chance to experience God's love. Well, I saw this email in my inbox today:


Now, I'm thinking there has to be a way to help with this! That is so very close to their goal! The entire cost for one person to attend camp is $30 - this includes transportation, food, and lodging.

How I would like to help: 

Would you consider helping? I would LOVE to send you a THANK YOU if you do! Here is what I need you to do:

1. Please send me an email at housesbuiltofcards@gmail.com if you send in a donation toward this.
2. Include a list of 6 cards from my CARDS for SALE page HERE - it will be first come first serve, so feel free to include a few alternate choices in case I don't have the chance to update quickly enough
3. Include your mailing address, and I will drop them in the mail to you! 

(this offer is good through August 20th, or until by some miracle I run out of cards!)

My card basket is overflowing right now - these past few weeks have been super busy crafty time for me, so I have piles of cards right now that need a home! I will cover the entire cost of packaging and shipping as my way of saying thank you for joining hands with this ministry that means so much to me! 

You can click HERE to donate, and HERE to read more about the camps and ministry.

And in case you wonder if it matters - here is how much it matters, in the words of a few of the widows that have received homes:


Thank you for listening to me ramble tonight! And THANK YOU in advance for any help you are able to give - it means the WORLD to someone! Have a wonderful evening!


Concord and 9th - Hooray Bundle

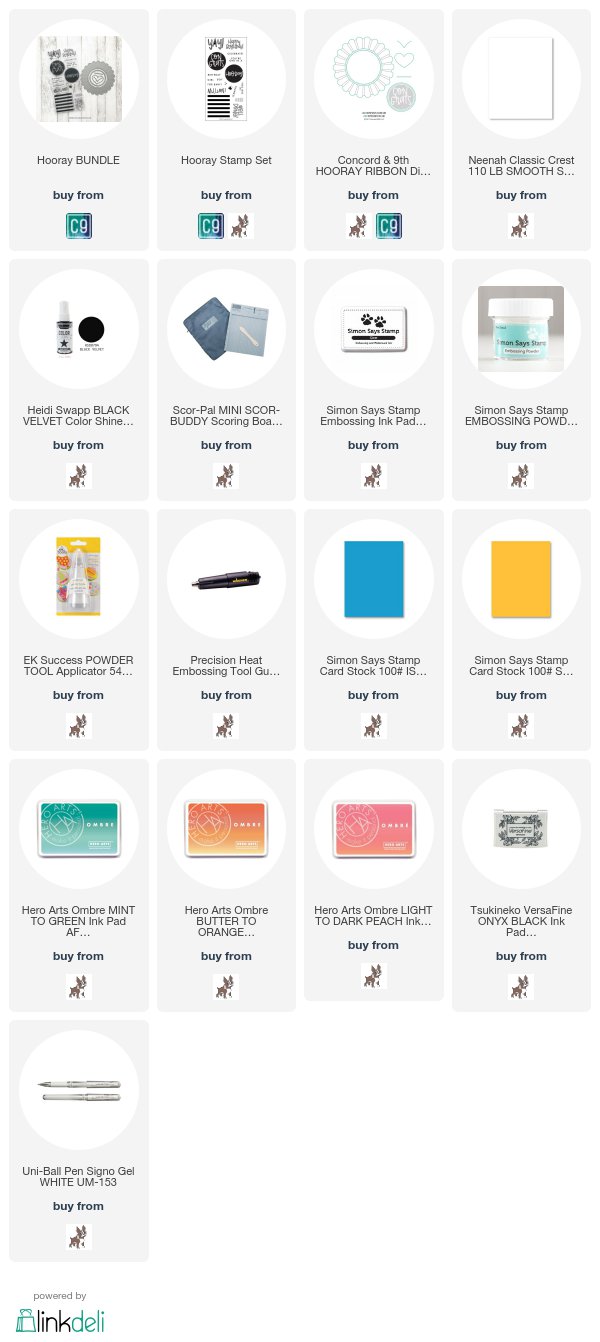
Good morning! Back again today with my third guest designer post for Concord and 9th's BRAND NEW release! Today we are showcasing the Hooray Bundle. You can check out the other guest designers and their takes on the Concord and 9th blog HERE!


I have to admit, I wasn't quite sure what to do with the Hooray Ribbon Dies - they looked a little intimidating to me! However, they could NOT have been any easier to use! It comes together SOOOO very easy - and I love the fun 3D effect that was so simple to create! These would be fun for gift tags, name tags, prizes for kids birthday parties or events - SOOO many fun ways to use them!


I ran score lines around the outside of my white card base (for SOME reason I can't get them to show in the photo!) - then masked those off, and added some black ink splatters. The perfect way to add some interest to the background before adding this fabulous ribbon.


Then, I decided to use the Hooray Stamp Set on it's own to create these CAS birthday cards - they came together in a snap!


I used various Hero Arts ombre inks - adds a bit of interest to the striped background.


I stamped my sentiments (quick trivia...can you spot which one is different than the other two? It's the first one I did, and I changed how I stamped one part because I liked it better). I added some white gel pen on the inside portion of the "happy birthday" to make it pop a little more off the colored stripes.


I also used some of the fab sentiments from the Hooray Stamp Set (and the little heart from the Hooray Ribbon Dies) on this card that I posted the first week when we were featuring the Sunshine Turnabout - you can read more details of this one HERE if you are interested:


Product links are all below - including affiliate links where possible, which simply means if you use one of the links below that I receive a small commission at no additional cost to you. Thanks so much for stopping by! Have a wonderful day!!!


Felt Teddy Bear Card Set

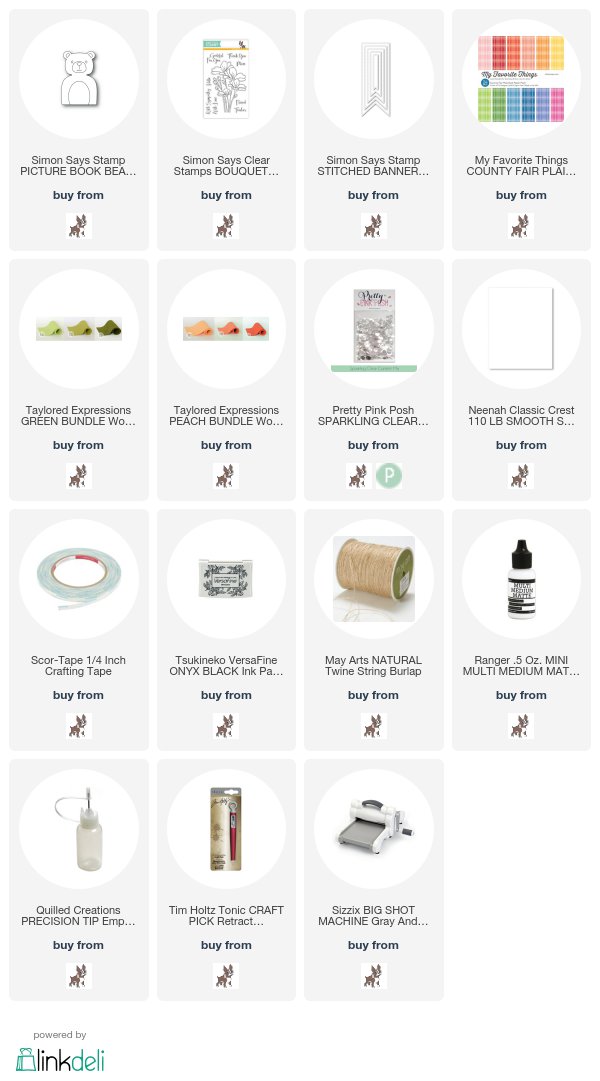
Good morning! I'm sharing a little set of cards I made with a fun die from Simon Says Stamp One of a Kind Release, also paired up with sentiments from a very popular stamp set from the same release! As soon as I saw the adorable Picture Bear Wafer Dies I thought they would be so fun to die cut from felt, and they were just as fun as I hoped!


I did two of each monochromatic color schemes - the first one using the Green Bundle of Taylored Expressions Green Felt. I die cut each one from white cardstock first, and taped it together from the back. Then I die cut a light and darker shade of the felt, and swapped out the pieces so they are the reverse of each other. No waste! 

{{{TIP: I used my Tonic Retractable Needle Tool to pick up some of the smaller pieces (like eyes) and set them in place - worked like a charm!!!}}} 

Once I had them pieced together, I taped them on my white bases to hold everything firmly and have something sturdy to attach to my cards. I


The second color scheme is the Peach Bundle of Taylored Expressions Felt. For both cards I die cut a Stitched Banner from a MFT 6x6 paper pad, mounted that on the bottom of my horizontal white card base, then mounted the bear over the top, tying a bow of jute twine around it's neck as I taped it on the card front.


I finished off by rounding the top left corner, stamping a sentiment on each from the Bouquet of Thanks Stamp Set, and added a few sparkling clear Pretty Pink Posh sequins to finish them off! Can you see the texture from the felt? So fuzzy and soft - they would make fabulous cards for a baby shower as well!


I'm also linking up with this week's Simon Says Stamp Wednesday Challenge - Anything Goes:


Product links are all below - including affiliate links where possible, which simply means if you use one of the links below that I receive a small commission at no additional cost to you. Thanks so much for stopping by! Have a wonderful day!!!


Thursday, July 27, 2017

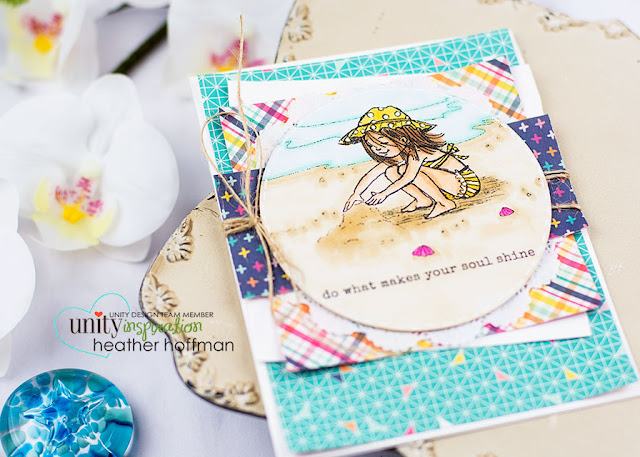
Beach Scene with Dimensional Paper Layers

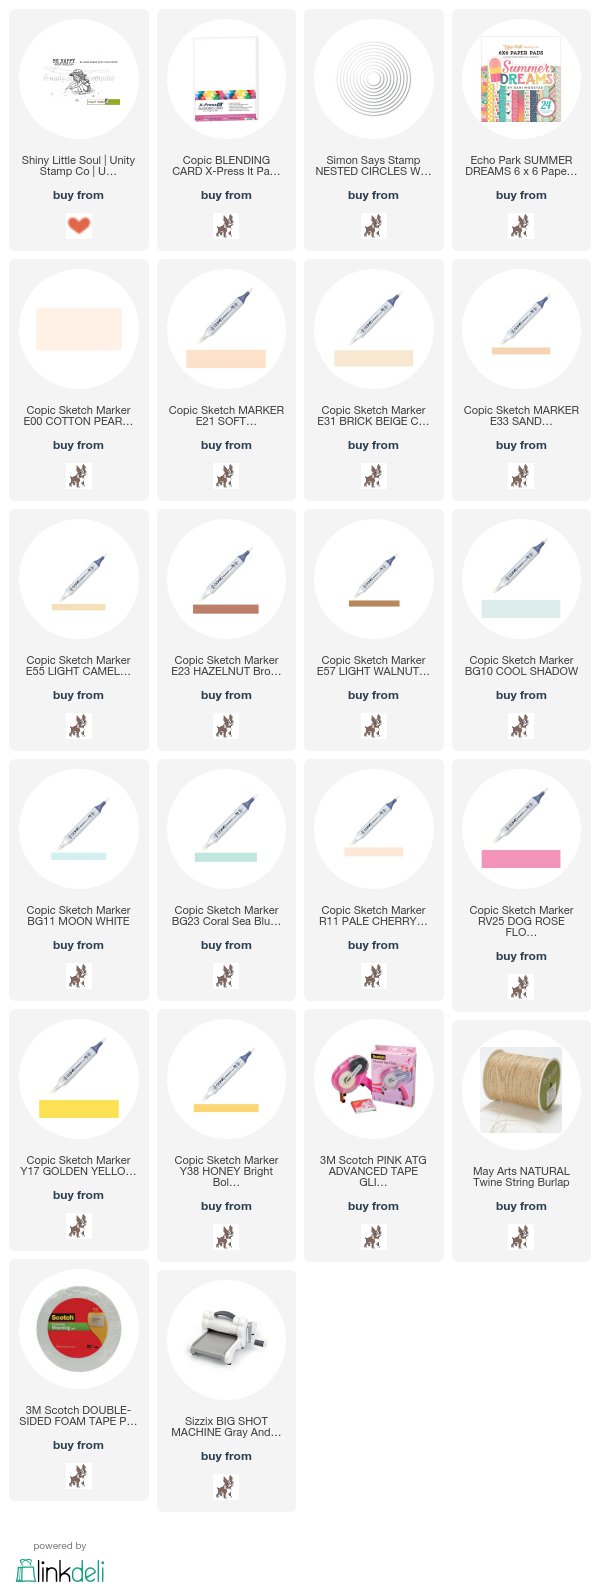
Hello! Dropping by with a card using a DARLING new Phyllis Harris release from Unity Stamp Company called Shiny Little Soul!


I have a Quick Tip video for this card as well, showing how I layered up my pattern paper and a doily to get all the fun dimension on this card:


Can you see how much texture there is? And yet it is easy to fit in an envelope and mail (extra postage required though), since there is only foam tape on the circle layer!


I had lots of fun coloring up this image as well - she totally reminds me of one of my nieces and a very similar picture of her playing on the beach in Hawaii. My oldest daughter even mentioned it when she looked at this card, before I'd had a chance to say anything, so I knew it wasn't just me! :)


Product links are all below - including affiliate links where possible, which simply means if you use one of the links below that I receive a small commission at no additional cost to you. Thanks so much for stopping by! Have a wonderful day!!!


Yellow Thanks Shaker Card

Good morning! I have a sunny yellow shaker card using a fabulous new die from Reverse Confetti to share today! Shaker cards are so much fun to me, and I love one that makes it so easy like this!


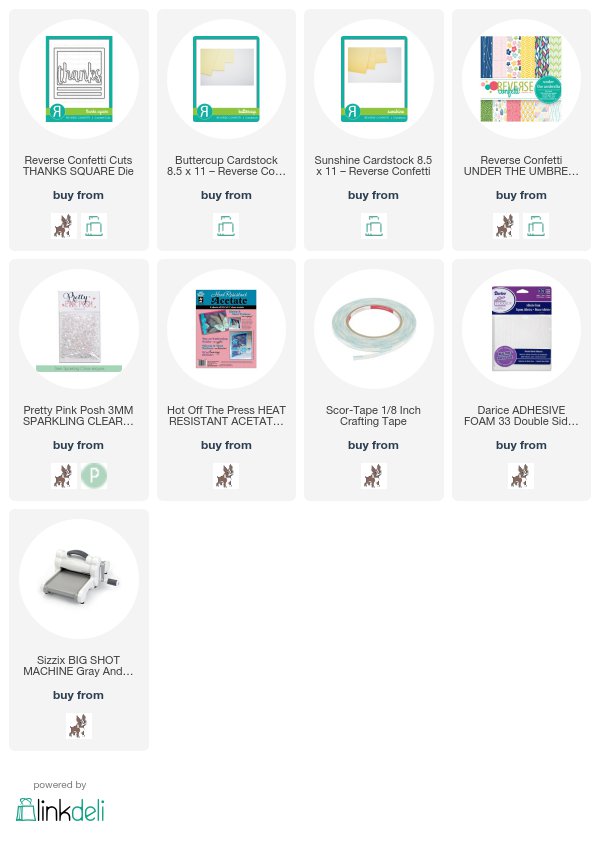
I started off by die cutting the Thanks Square Confetti Cut from white cardstock. I backed it with acetate, and added thin foam strips around the edges, and on the stripe directly under the thanks (that way I could split the shaker into two portions and it wouldn't all fall too far to the bottom).


I filled it with some sparkly clear 3mm sequins from PPP, and then backed it with a square of Buttercup cardstock. I cut a slightly larger square of Sunshine cardstock to mat it, then mounted on a piece of pattern paper from the new 6x6 paper pad, Under the Umbrella.


I love how the bright yellow is so cheerful, and the sparkle from all those sequins just adds even more to that effect!

I'm also linking this up with a couple challenges - first up, this week's Simon Says Stamp Wednesday Challenge - Anything Goes:


Also linking up with Word Art Wednesday - Anything Goes:


Links to the Reverse Confetti products I used on this card are below - click on any of the photos for a closer look:


Product links are all below - including affiliate links where possible, which simply means if you use one of the links below that I receive a small commission at no additional cost to you. Thanks so much for stopping by! Have a wonderful day!!!


On the PPP Blog - Peekaboo Window Cards

Good morning! Sneaky peek of a set of bright, fun, and unique cards I have up on the Pretty Pink Posh blog today! You can see more HERE!


Thanks so much for dropping by today! Have a fabulous day!!!
Tuesday, July 25, 2017

Floral Frame Watercolor

Good morning! The other day I was struggling for inspiration - so I decided to do something I don't do very often. Make a card just for fun - so I browsed through current challenges online and decided to enter one of them as well! Here is what I ended up making:


Here is the inspiration challenge photo - for this month's Altenew Inspiration Challenge:


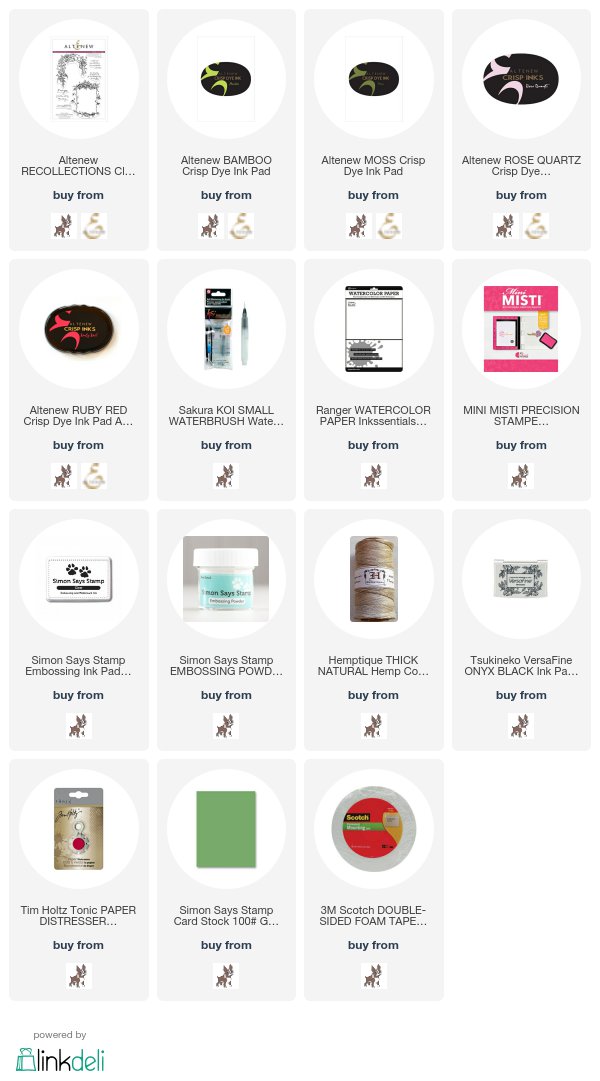
This card was incredibly hard to photograph! I actually stamped my image and heat embossed in white on watercolor paper, then used coordinating Altenew inks to watercolor the image in (smooshing them on my nonstick mat and picking up with a waterbrush). Distressed the edges of the paper, added some twine, and attached to a green card base at an angle to finish off!


Product links are all below - including affiliate links where possible, which simply means if you use one of the links below that I receive a small commission at no additional cost to you. Thanks so much for stopping by! Have a wonderful day!!!