Thursday, July 31, 2025

Bold Floral Hello - Simon Says Stamp Happy Camper Release

Good morning! I'm stopping by with another card using the amazing NEW Simon Says Stamp Happy Camper Release! This one is a bold version of an embossed background, and while I doubted a bit through the process, I really love how it turned out!


I started off by using the Blossom Bursts embossing folder on white cardstock. Then, I used one of the new ink cube colors - Cranberry - to directly swipe over the raised area. This gave a deep concentration of color over the more raised areas. Then, I used a blending brush to come around over the same area with Rhubarb ink to soften the look and blend it together a bit. I added glitter drops to the center of the flowers - and was surprised by how it changed the color there as well! Totally unplanned, but a lovely effect! Added some white twine, and a frame cut from the new Modern Teardrops dies to the front, then added the new Nuvelli Script Hello sentiment, along with a secondary sentiment from the Lol stamp set. Here is a closer look at this finished card:


Product links are all below - including affiliate links where possible, which simply means if you use one of the links below that I receive a small commission at no additional cost to you. Thanks so much for stopping by! Have a wonderful day!!!


Wednesday, July 30, 2025

You 2 CAS Card Duo - Simon Says Stamp Happy Camper Release

Hello! I'm stopping by with my very first cards using the fabulous NEW Simon Says Stamp Happy Camper Release! I fell in love with this fun little sentiment set, and had fun using LOTS of the sentiments all together to make a fun CAS pair of cards! I can't decide which version I like best!


I started off by stamping all 4 of the larger sentiments from the cute You 2 stamp and die set. I stamped in black, heat embossed with clear embossing powder for a bit of shine, and then die cut with the coordinating dies. I arranged those on my cardbases in my MISTI, then planned where to stamp my secondary sentiments, lining them up all at once, then removing the larger sentiments to make the stamping easy. On one card I added a bit of Apple ink blended up from the lower right corner, as well as some white splatter medium over the top before stamping those sentiments - letting it dry in between of course. I added the larger sentiments with foam adhesive strips to add a touch of dimension, and rounded off the top left corner of the cards. I colored in the heart on each one with Copic markers, and added glitter drops over the one with the white one. Finished off with some bling - using colorful glitter enamel dots for the white card, and some of the new Marshmallow embellishment mix for the other, adding Bubblegum Dazzling Gems in the center to create a different look! Here is a closer look at the finished set:


Product links are all below - including affiliate links where possible, which simply means if you use one of the links below that I receive a small commission at no additional cost to you. Thanks so much for stopping by! Have a wonderful day!!!


Tuesday, July 29, 2025

Nautical Card Duo - Simon Says Stamp

 Hello! Today I've got a couple of cards that are sort of a follow-up to yesterday's card. Since I had all the supplies out already, I ended up creating a couple more cards with some leftover bits and pieces from that card, and added a few more elements. I'm using some of the smaller elements on the stamp set from Simon Says Stamp - paired with some of the same pattern paper and dies - and adding a couple more dies as well!
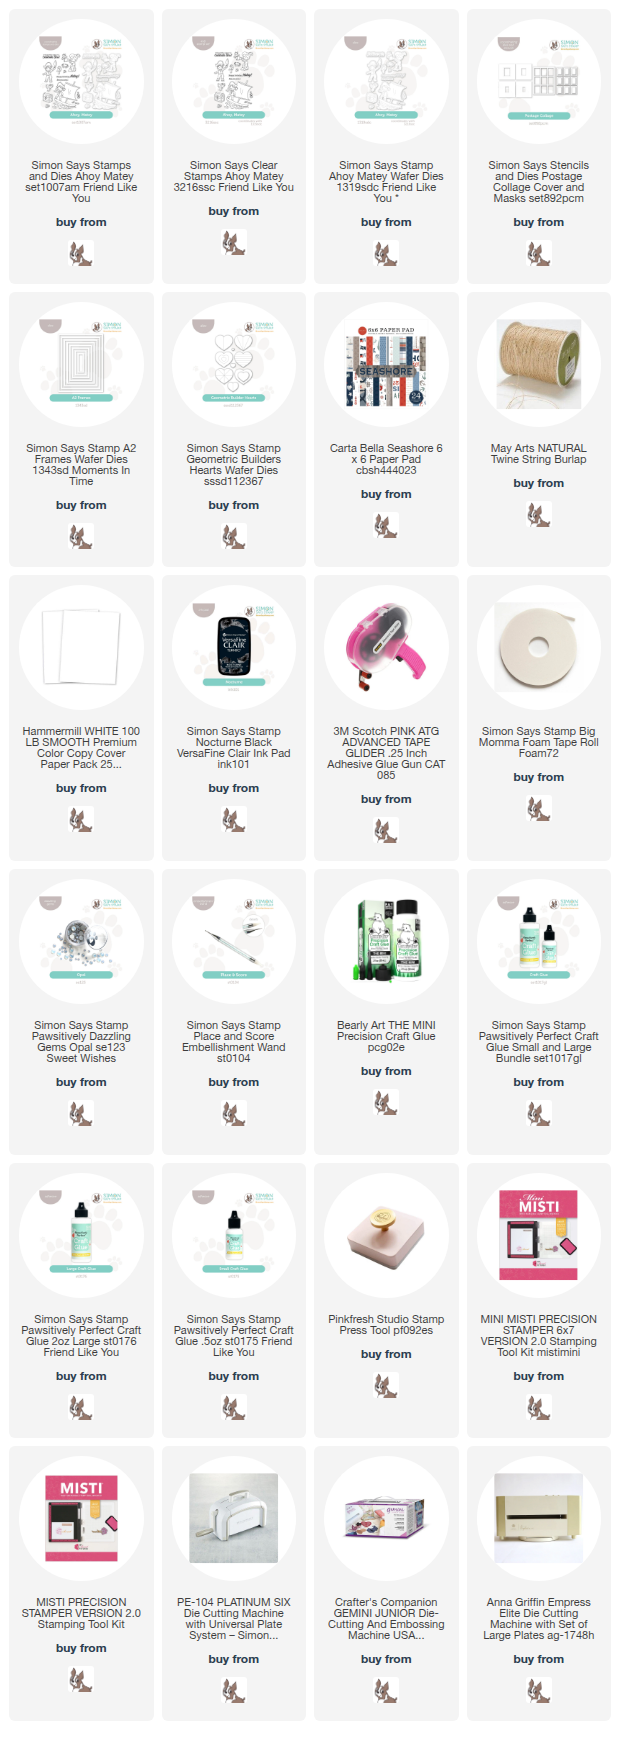

While I love the main image from the Ahoy Matey set that I used yesterday, there are some super cute little elements as well that I thought would be fun to feature a bit more prominently! For both cards I used the same Carta Bella Seashore pattern paper. I also used Geometric Builder Heart a little more heavily in these. For this first card, I used Postage Collage to place each of the hearts on, and then added some of the cute little critters from the stamp set to land on each of the hearts - plus a sentiment on the lower right one. I used the inside piece of the panel cut with A2 frames to ground the entire thing - and then used the frame for the second card, to frame that lovely sailboat pattern paper! I added a strip of some of the leftover pattern paper from yesterday's card, hand trimmed into a banner shape, with another of the hearts over the top, along with just a simple sentiment from the stamp set. I finished off both cards with a tiny bit of jute string tied in a bow and adhered, and a sprinkle of Opal Dazzling Gems for subtle sparkle! Here is a closer look at these cards:


Product links are all below - including affiliate links where possible, which simply means if you use one of the links below that I receive a small commission at no additional cost to you. Thanks so much for stopping by! Have a wonderful day!!!


Monday, July 28, 2025

Sail the Ocean - Simon Says Stamp

Hello! I'm popping in later to share this card than I intended, but better late than never, right? This card uses a fun stamp set that I hadn't had a chance to use, as well as some pattern paper and embellishments, all from Simon Says Stamp


I love a good pattern paper, and had recently picked up the Carta Bella Seashore 6x6 paper pad. As I was looking through my supplies, it caught my eye as a perfect pairing for the cute Ahoy Matey set that I hadn't had a chance to put to use yet! I started off by using a die cut arch from A2 Arches die set, and then stamped the main image slightly off the right edge. I added some torn paper over the bottom of that panel, trimming off the excess, then put the arch back in my MISTI to restamp so it added the details on the bottom where the water was! I stamped a sentiment at the top, then added a twine bow. I cut some different pattern papers down, and layered together in wonky layers using Big Momma foam adhesive for a touch of dimension between each layer. I added a pattern paper heart die cut from Geometric Heart Builder die, popped up with foam, and then with a good layer of Glossy Accents for a touch of shine. Finished off with a few Trinity Stamps Bubble Blow out accents for a bit of extra fun! Here is a closer look at this card:


Product links are all below - including affiliate links where possible, which simply means if you use one of the links below that I receive a small commission at no additional cost to you. Thanks so much for stopping by! Have a wonderful day!!!


Sunday, July 27, 2025

Floral Dragonfly Cards - Simon Says Stamp

 Hello! Today I'm sharing a couple of cards with fun floral backgrounds, and a beautiful die cut dragonfly that I love! I'm using lots of supplies from Simon Says Stamp!


I started off by creating the stamped backgrounds. I stamped the pretty Dahlia Background on white cardstock in two tones of colored ink - Pucker and Dusk, and then added clear heat embossing over top. Then I grabbed a lighter shade in each of those ink families - Blush and Sky - and did some soft ink blending around the outer edges, fading in softer towards the center. Perfect for pretty monochromatic backgrounds! Next, I grabbed Bright Dragonfly die to add to these. I die cut the body from some dark gray Luxe Glitter cardstock, then the wings from white cardstock and vellum to layer together - that way I got the soft look of the vellum, but the white cardstock behind to make sure it stood out from the background. Finally, added sentiments from the Reverse I See You printed sentiments, popped up with foam adhesive.


Product links are all below - including affiliate links where possible, which simply means if you use one of the links below that I receive a small commission at no additional cost to you. Thanks so much for stopping by! Have a wonderful day!!!


Friday, July 25, 2025

Modern Vintage Holiday Cards - Simon Says Stamp

 Hello! Today was the next installment of the amazing Create Together classes with Simon Says Stamp - and this one featured the fabulous Cathy Zielske as the instructor (you can catch the replay HERE!)! I thought it would be fun to create a little additional inspiration, featuring some of the items from the kit, and mixing in a few little extras to stretch the supplies and give a different look. I love how these have a Vintage feel, but with a modern twist with the brighter colors and light airy tones!


I started off with the beautiful Festive Bough Pattern stencil. I used ink colors from the kit - Cabbage, Artichoke, Surf, and Ocean, then added a few additional colors - Rhubarb, Apple, and Cranberry. I used two tones of ink for most of the stencil layers to add shading and depth - the only exception was the layer with the berries, which obviously were a bit small for that! I took that panel, and trimmed it in half diagonally so I could create two cards with one panel. I added some soft ink blending around the edges using Latte ink to soften the colors and add the vintage feel. I stamped the White Christmas Text background stamp on my white cardbases in that same Latte ink, then used it to blend around the edges yet again to pull it all together. I added the stencil panels, and used thin foam adhesive strips just along the diagonal edge, and adhesive tape for the rest of it - this helped that part pop up and have a little extra dimension (I left one of the foam pieces with it's backing until I tucked the tag in). Once those two pieces were adhered together, I added a healthy dose of White Splatter Medium to the entire panel for even more vintage goodness! While that dried, I die cut some Nested Tags, and used the leftover ink on my brushes to add a bit of color to them. The sentiments are from Making Spirits Bright, stamped in Ocean and Cranberry ink for the large ones, and black for the secondary. I adhered everything together using foam adhesive as needed, added a twist of Vivant gold cord to the top of the tags, rounded off one corner on each card, and finally, added a little row of Dazzling Gold Gems along the diagonal edge! Here are more photos of these two cards:


Product links are all below - including affiliate links where possible, which simply means if you use one of the links below that I receive a small commission at no additional cost to you. Thanks so much for stopping by! Have a wonderful day!!!