Showing posts with label white splatter. Show all posts

Friday, August 28, 2026

Bold Butterflies Hello - Simon Says Stamp

Good morning! Today I'm sharing a fun and bold card using one of my favorite color combos - blue and yellow! My first kitchen when I moved out of my parent's house was decorated with these colors - the yellow was a bit softer than this card, and the blue was a bit bolder, but it still makes me a little nostalgic! I used some fun stamps, dies, cardstocks, and inks from Simon Says Stamp to pull it all together!


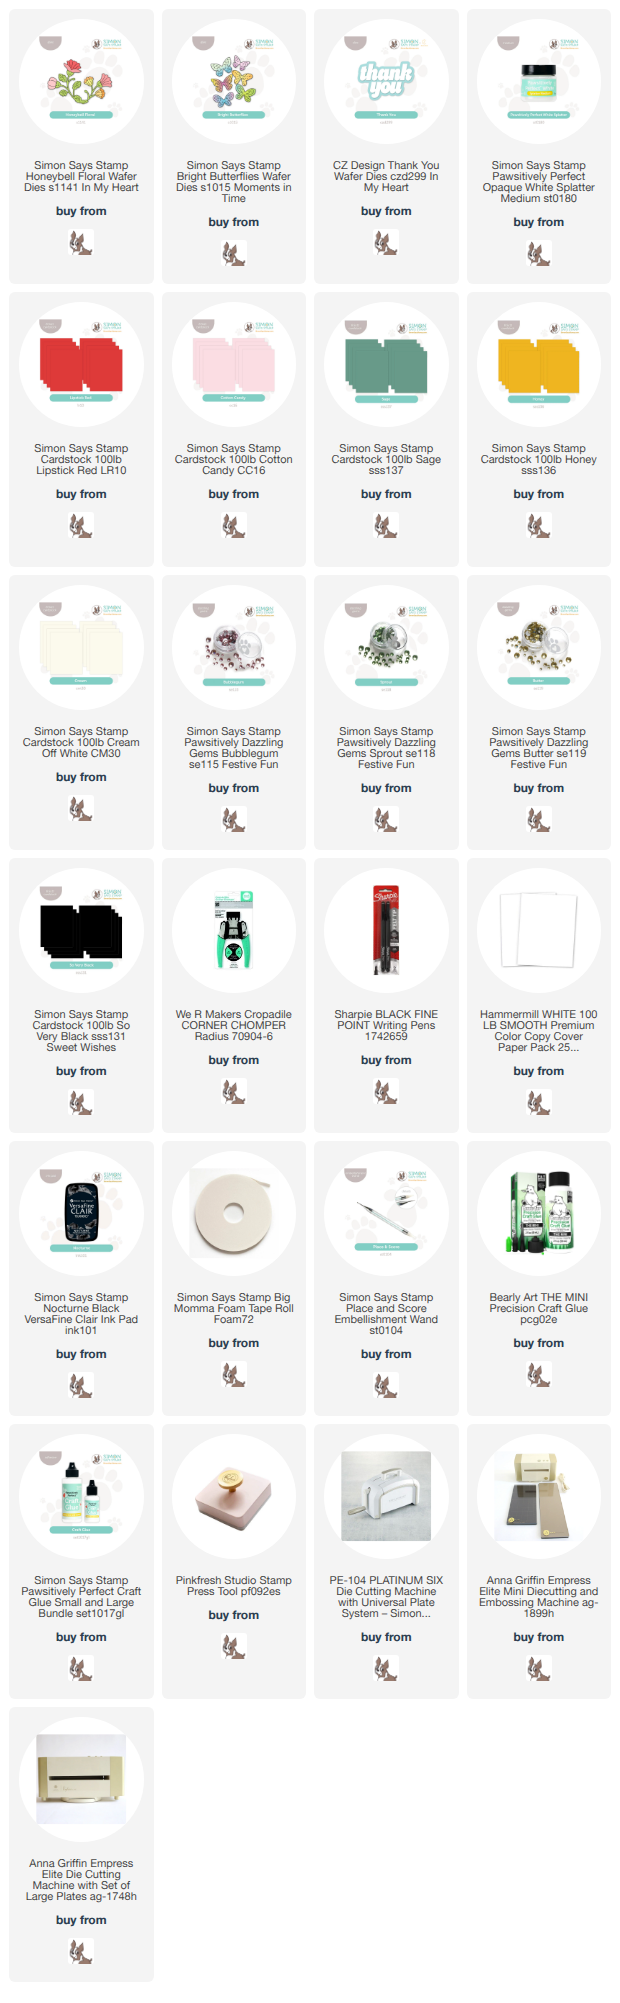
I started off by stamping a few of the Artsy Butterflies in black and heat embossing, before ink blending over them using the coordinating stencils and Marine, Cadette, and Royal inks, mixing the colors as needed, and varying them from light, to medium, to dark. I grabbed a panel of Honey cardstock, and blended the same color Honey ink on the top half of the panel - it's subtle, but adds a bit of a shadow effect and some interest. I die cut a few of the Winsome Branch die from white cardstock, and tucked them around where I was placing the butterflies, then softly blended a bit of the extra ink around the edges to blend them in a bit with the background and give them slightly less contrast. I adhered the butterflies just in the centers with liquid glue, leaving the wings to float free for dimension. I added some white splatters at this point over the entire panel, then added a thin mat of white cardstock, and of Island Blue cardstock to coordinate. Sentiment is from the A Little Artsy set, and popped up with foam adhesive. The finishing touch was a few Simple Stories enamel dots that almost blended in perfectly with the background, but add some more fun interest and texture! Here is a closer look:


Product links are all below - including affiliate links where possible, which simply means if you use one of the links below that I receive a small commission at no additional cost to you. Thanks so much for stopping by! Have a wonderful day!!!

Wednesday, August 26, 2026

Bold Art Deco Strips - Simon Says Stamp

Good morning! I'm doing my best to work my way through my box of supplies from Simon Says Stamp that I haven't had a chance to use - it's kind of a fun challenge for me to try to make something with as many separate items when I receive them as possible. I loved this set immediately when I received it, and I love the way this card turned out!


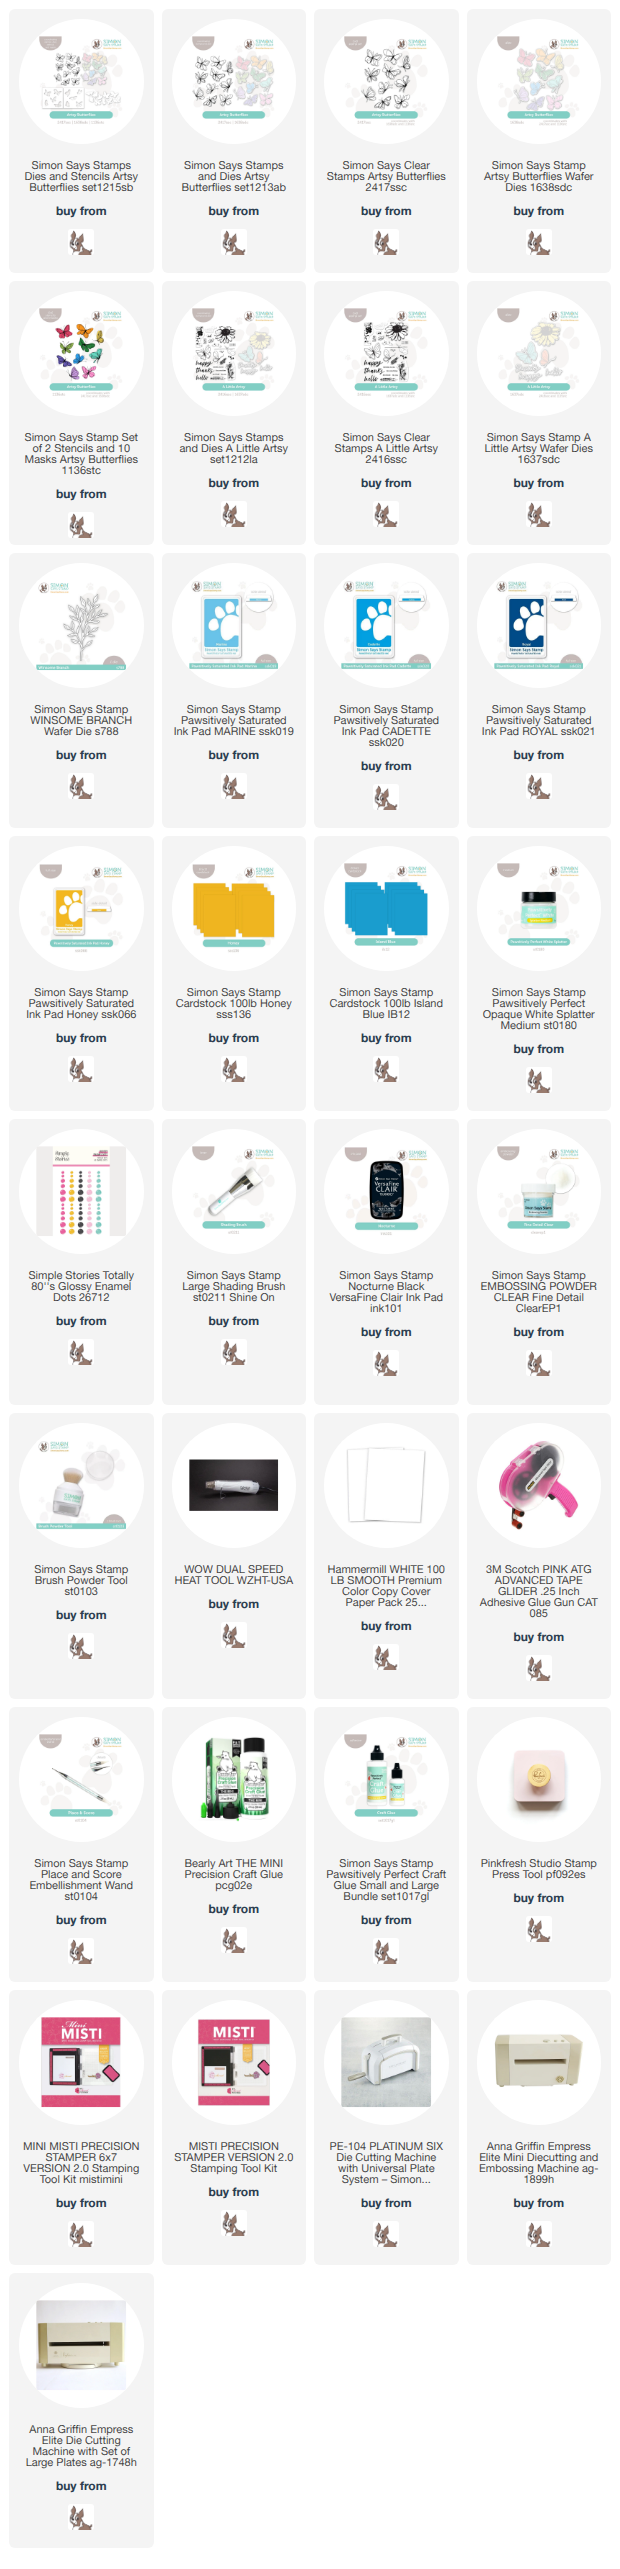
I started off by picking a fun color combo from my pack of Concord and 9th cardstock, and cutting most of the colors into thin strips. I added some white splatter to my background piece, then popped the strips up diagonally with foam adhesive strips, trimming off the excess. Next up, I stamped in black and clear heat embossed the amazing Deco Blossoms stamp set, then die cut it with the coordinating die. It is such a statement image, don't you think? I popped that up with more foam adhesive on my diagonal strips, then added a sentiment from Beautiful Friend EZ Strips, trimming it into a thin strip with my paper trimmer. Finished off with a couple rows of Clear Dazzling gems for some sparkle! Here is a closer look:


Product links are all below - including affiliate links where possible, which simply means if you use one of the links below that I receive a small commission at no additional cost to you. Thanks so much for stopping by! Have a wonderful day!!!


Monday, August 24, 2026

Ray of Light - Simon Says Stamp

Good morning! Today I've got a bold floral card using some lovely supplies from Simon Says Stamp - and a surprising way that I ended up using some leftover supplies for this card! They were accidentally a perfect match - love when that happens! 


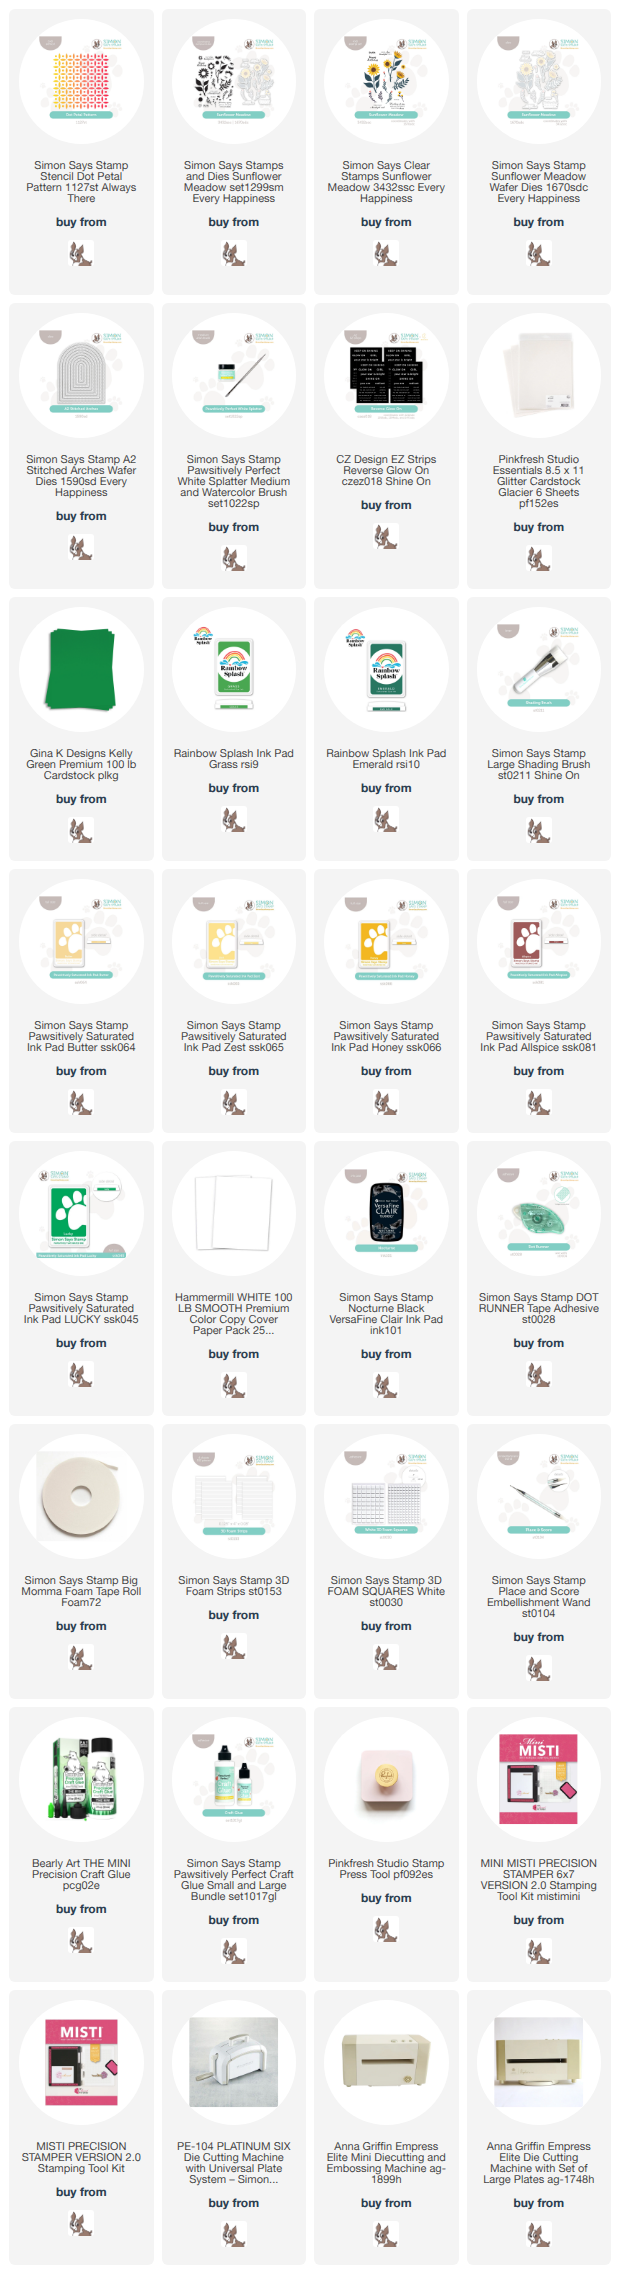
This card actually started off with the Dot Petal Pattern stencil - it had been sitting in my stash since it's release, and I hadn't had a chance to put it to use. I pulled out some Gina K Kelly Green cardstock, and used Rainbow Splash Grass and Emerald inks to do a tone on tone effect, blending Grass over the entire panel, and Emerald around just the outer corners. I added some white splatter to two corners for some extra texture and interest. I found that glittery arch in my stash that was cut from Pinkfresh Glacier glitter paper using the Stitched Arches die previously. It was a larger size than I wanted for this card to avoid covering up too much of the stenciling, so I grabbed a smaller one and cut it down slightly (saving the frame I made to use on another card, of course!). As I dug through my pile of leftovers, I found those sunflowers that I had stamped out from the Sunflower Meadow set - and look how PERFECTLY those colors matched! It's like they were made to go together! They had been stamped with Butter, Zest, Honey, Allspice, and Lucky inks. I layered those on the arch with varying amounts of foam adhesive squares for plenty of fun dimension. Finished off with a sentiment from EZ Strips Glow On reverse sentiment strips, hand trimmed into a thin banner shape. Here are more photos of the finished card:


Product links are all below - including affiliate links where possible, which simply means if you use one of the links below that I receive a small commission at no additional cost to you. Thanks so much for stopping by! Have a wonderful day!!!

Thursday, August 13, 2026

Seafoam Waves Card - Simon Says Stamp

Good morning! I feel like I'm still trying to get a little more summer squeezed in, and it's reflecting in my cards I made recently! I hadn't had a chance to use a new large die from Simon Says Stamp - and it was so fun to pair with a bit of the Heat and Fluff that released earlier this year to add the perfect foamy wave edge!


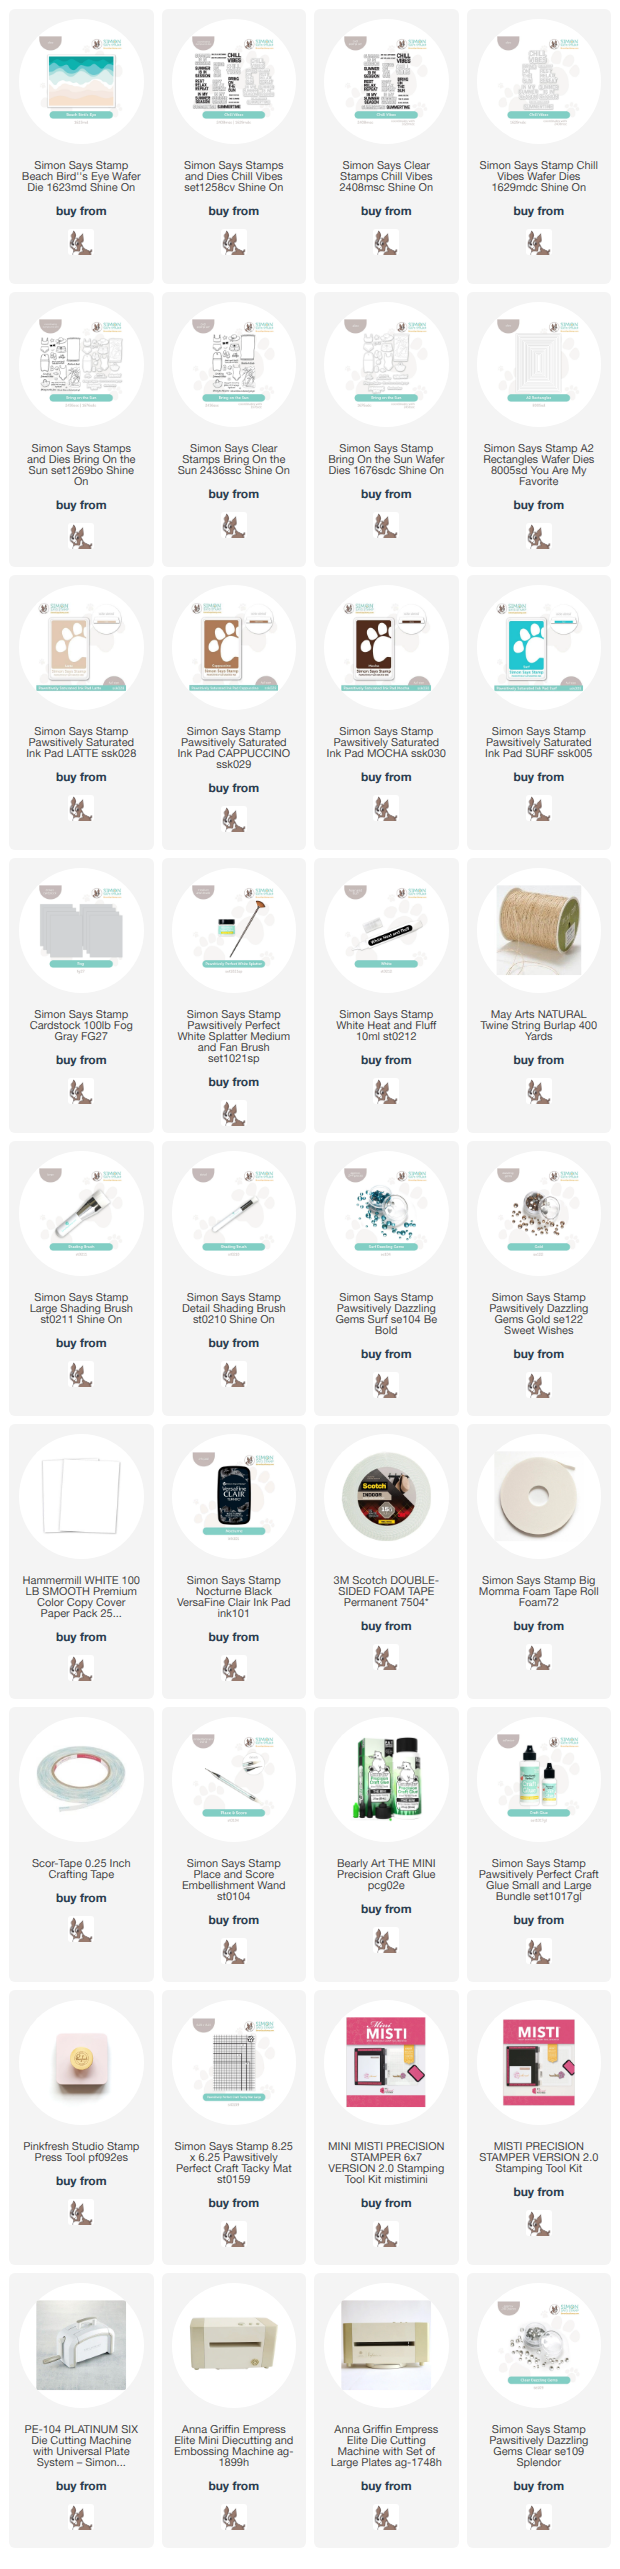
I used the new Beach Bird's Eye die to create the fun background, cutting it from white cardstock. I used a mix of Latte, Cappuccino, and Mocha to ink blend the waves, also using the brush to pounce over to give a bit more of a sand effect. I then took the next layer and added that fun Heat and Fluff to it, and heated it with my heat gun. The top layers I just blended with Surf ink. I assembled those layers together, taping them in the back, then added some white splatter. I mounted all of those on a Fog cardbase, then popped up a white frame around it that was created with the negative space from an A2 Rectangle die. Sentiment is from Chill Vibes, and I tucked the sunglasses on there from Bring on the Sun. Tied some jute string around the entire card front, then finished off with some Surf, Gold, and Clear Dazzling Gems! Here are more photos of this card:


Product links are all below - including affiliate links where possible, which simply means if you use one of the links below that I receive a small commission at no additional cost to you. Thanks so much for stopping by! Have a wonderful day!!!


Sunday, June 28, 2026

Hey Foxy - Simon Says Stamp Shine On Release

Good evening! Tonight I've got a clean and classy birthday card using one of my favorite sets from the NEW Shine On Release from Simon Says Stamp - I have always adored foxes, and I've used this one set so much already! As I mentioned previously, it also has coordinating stencils, which just makes it even MORE fun!


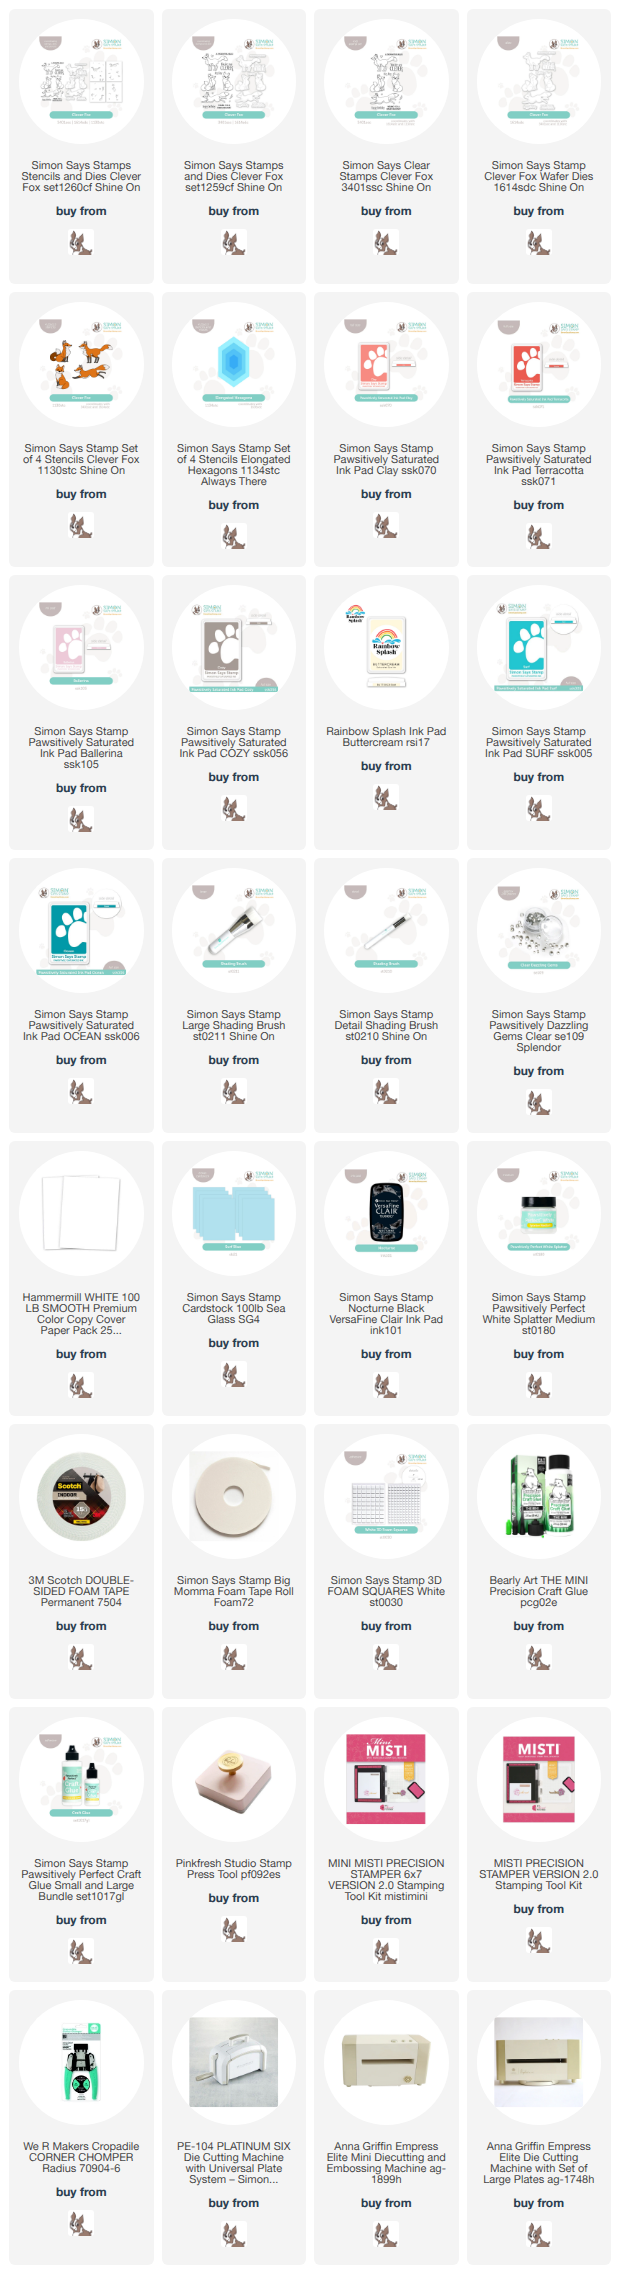
The fox was stamped, stenciled, and die cut with the fun Clever Fox set - I used Clay, Terracotta, Ballerina, Cozy, and Buttercream inks to color it in with the fun new Detail Shading brush. For the cardbase, I used the smallest size of the Elongated Hexagons stencils from a previous release on some Sea Glass cardstock and blended Surf and Ocean for a tone on tone focal point using the new Large Shading Brush. I planned where to put that cute fox, and stamped my sentiments around it, then masked them off and added a good dose of White Splatter. Once that dried, I added the fox with foam adhesive, rounded off a couple corners, and added a couple rows of Clear Dazzling gems! Here are more photos of the finished card:


Product links are all below - including affiliate links where possible, which simply means if you use one of the links below that I receive a small commission at no additional cost to you. Thanks so much for stopping by! Have a wonderful day!!!


Saturday, June 13, 2026

Ocean Seahorse Scene - Tim Holtz June coordinating die release

 Hello! Today I'm popping in with another card using the June 2026 installment of Tim Holtz coordinating dies that released recently from Simon Says Stamp! Today's card is more repetition - one of my favorite things with this release apparently! But this time a fun underwater scene!  


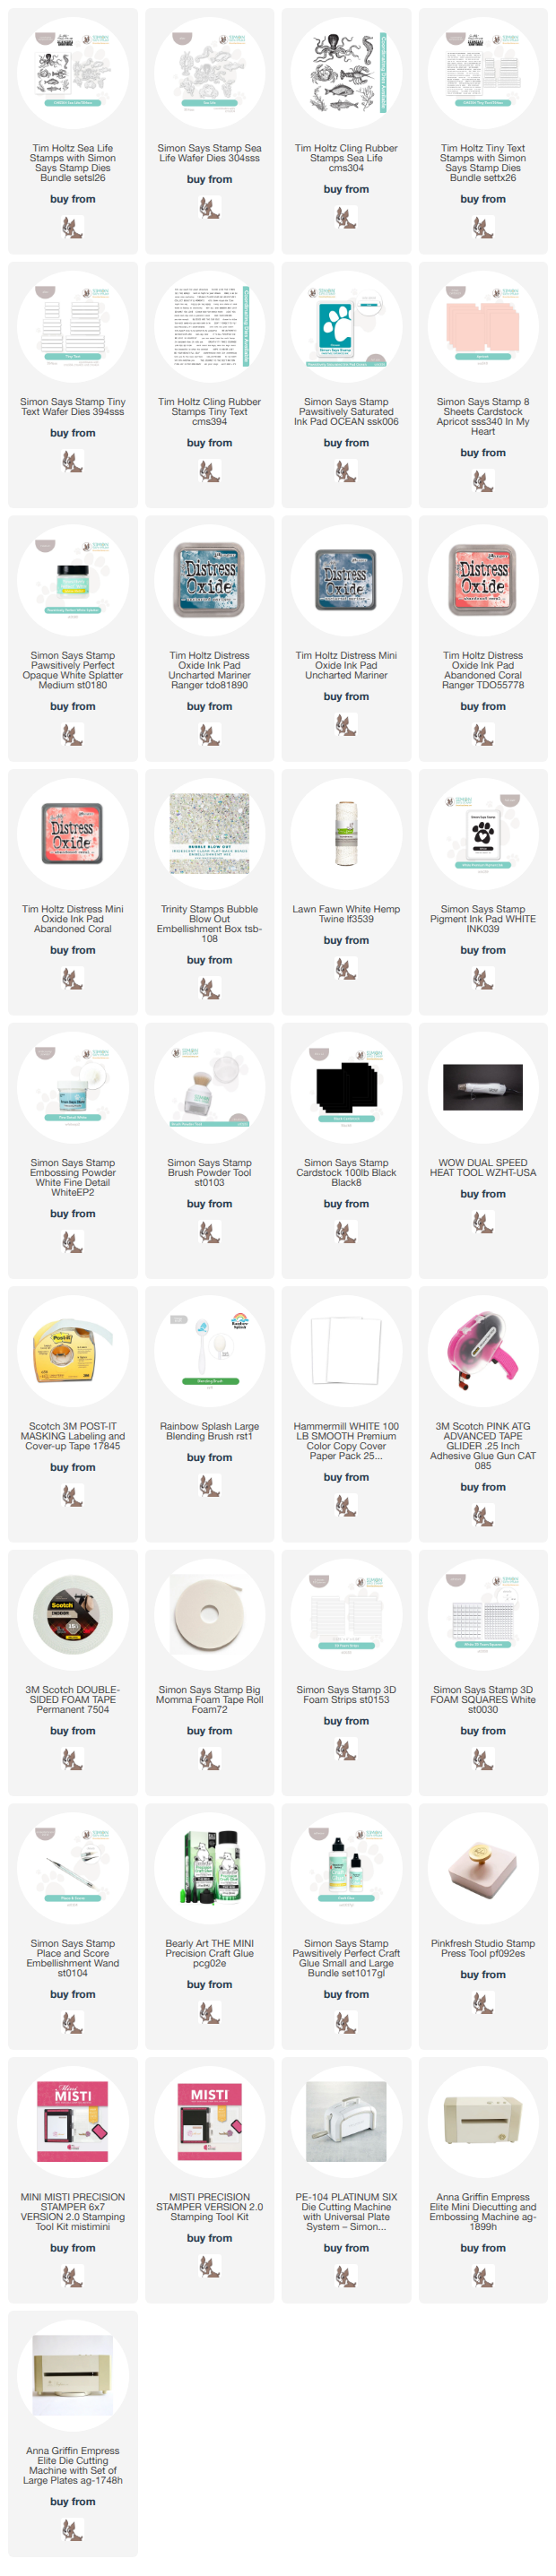
For this card, I used the Sea Life set, and stamped the seahorse 3 times with Abandoned Coral distress oxide ink, and the coral a few times with Uncharted Mariner distress oxide ink, then die cut them with the new coordinating Sea Life die set. I ink blended some SSS Ocean ink on a panel of white cardstock, creating a gradient that was deeper at the base and faded off towards the top, and added some white splatter over that for texture. Once that dried, I arranged all the elements, trimming off the excess coral pieces as needed. I stamped and heat embossed a sentiment from Tiny Text in white on black cardstock to make it pop, then die cut that with the (also new!) Tiny Text coordinating die set. I mounted that panel on a cardbase created with Apricot cardstock, wrapped some white twine around the card and tied in a bow, then added a heavy sprinkle of Trinity Stamps Bubble Blow Out embellishments to complete the underwater feel! Here are more photos at this fun scene:


Product links are all below - including affiliate links where possible, which simply means if you use one of the links below that I receive a small commission at no additional cost to you. Thanks so much for stopping by! Have a wonderful day!!!

Tuesday, May 26, 2026

Bright Layered Florals - Simon Says Stamp

Good morning! I feel like I have really fallen in love with die cutting this year - I seem to go through different phases of favorite card techniques, and I've really found sitting and die cutting from various pieces of colored cardstock is such a relaxing and fun way to spend my time. And when a floral die is as pretty as this one from Simon Says Stamp - well, it's hard to stop then! I realized after I finished, that this card had no stamping on it at all, so it is really letting the die cutting shine!


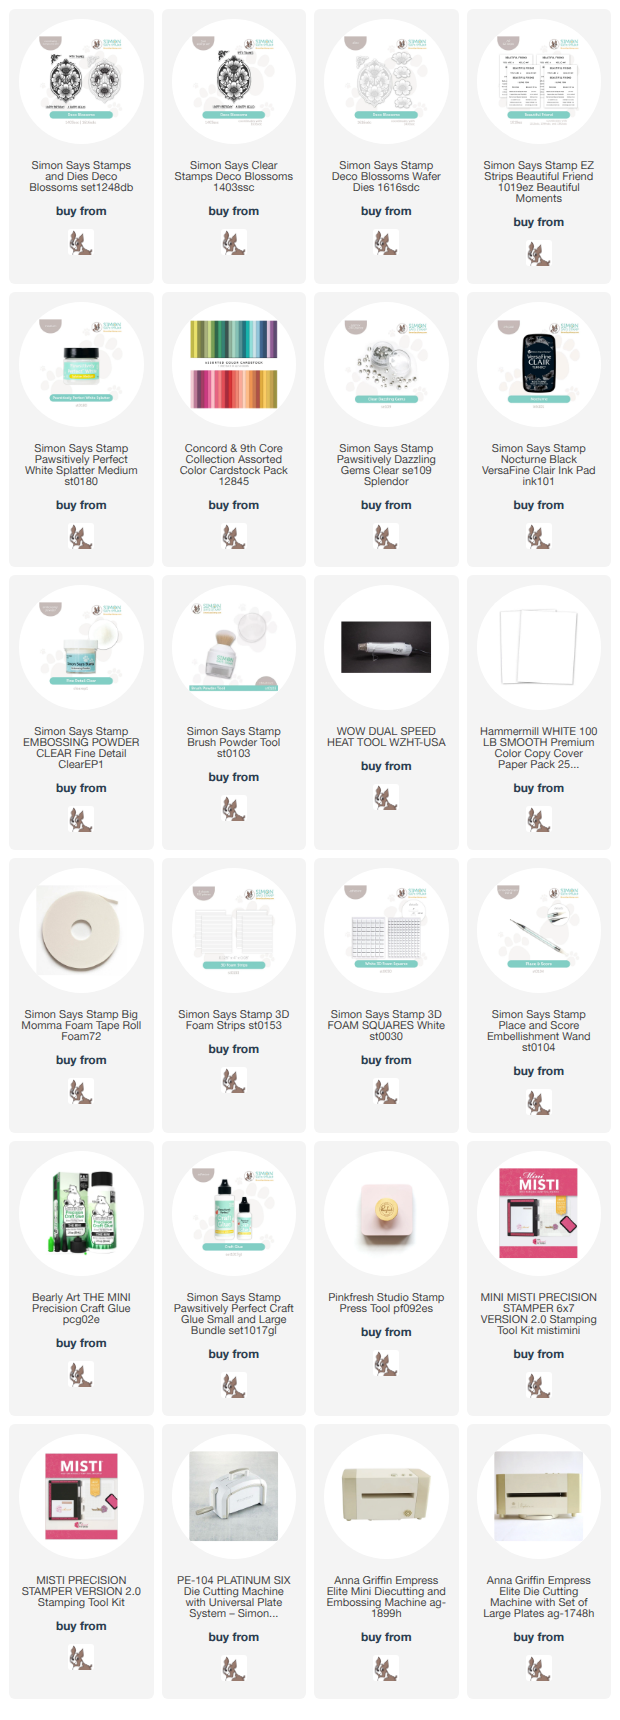
I used the lovely Honeybell Floral die for this - one that had been sitting in my pile waiting to be used, so it was definitely time to break it out! I die cut it using Lipstick, Cotton Candy, and Sage cardstocks, then assembled each one together, varying the flowers randomly on each one. I created a cardbase from Cream cardstock, then started arranging the floral clusters until I had an arrangement that I liked, at which point I adhered them with liquid glue. I added some white splatter over the entire card then, so it layered on the florals as well as the cardbase. I added some Bright Butterflies cut from Honey cardstock, the Thank You sentiment die cut from white and black cardstock, then rounded off both right corners of the card to fit the movement of the florals. I added several tiny coordinating Dazzling gems in Bubblegum, Sprout, and Butter, then grabbed a fine line Sharpie to add a sketchy outline to the card to pull it all together! Here are more photos:


Product links are all below - including affiliate links where possible, which simply means if you use one of the links below that I receive a small commission at no additional cost to you. Thanks so much for stopping by! Have a wonderful day!!!

Tuesday, February 24, 2026

Layered Rose Friend Birthday Cards - Simon Says Stamp

Hello! Just popping by today to share a couple of cards using some pretty supplies from Simon Says Stamp - I especially love that beautiful floral stencil!


I started off by stenciling the beautiful Elegant Rose stencil in two different color combos - Butter, Zest, Honey, Tidepool, and Aegean for one color combo, and then Peachy, Grapefruit, Mandarin, Cabbage, and Artichoke for the other. I hadn't had a chance to use the coordinating dies yet, and I love the extra fun those added! I then added some Fog cardstock cut to fit inside my A2 cardbase, rounding off one corner, and adding some white splatters before adhering it down. I used the Wirework Hearts embossing folder on a panel of white cardstock, then tore it diagonally in half before adhering with foam adhesive. I added the florals, using liquid glue for the bottom part, and foam adhesive to support the upper portion on each one. I heat embossed a sentiment from Love and Friendship Plaque Slides stamp set and then die cut with a Basic Circles die. FUN TIP: for crisp white heat embossing, stamp in white pigment ink, then heat emboss with white embossing powder. I love how well it works! Finishing touch on these cards was a few coordinating gems in Peachy and Butter! Here is a closer look at each of them:


Product links are all below - including affiliate links where possible, which simply means if you use one of the links below that I receive a small commission at no additional cost to you. Thanks so much for stopping by! Have a wonderful day!!!