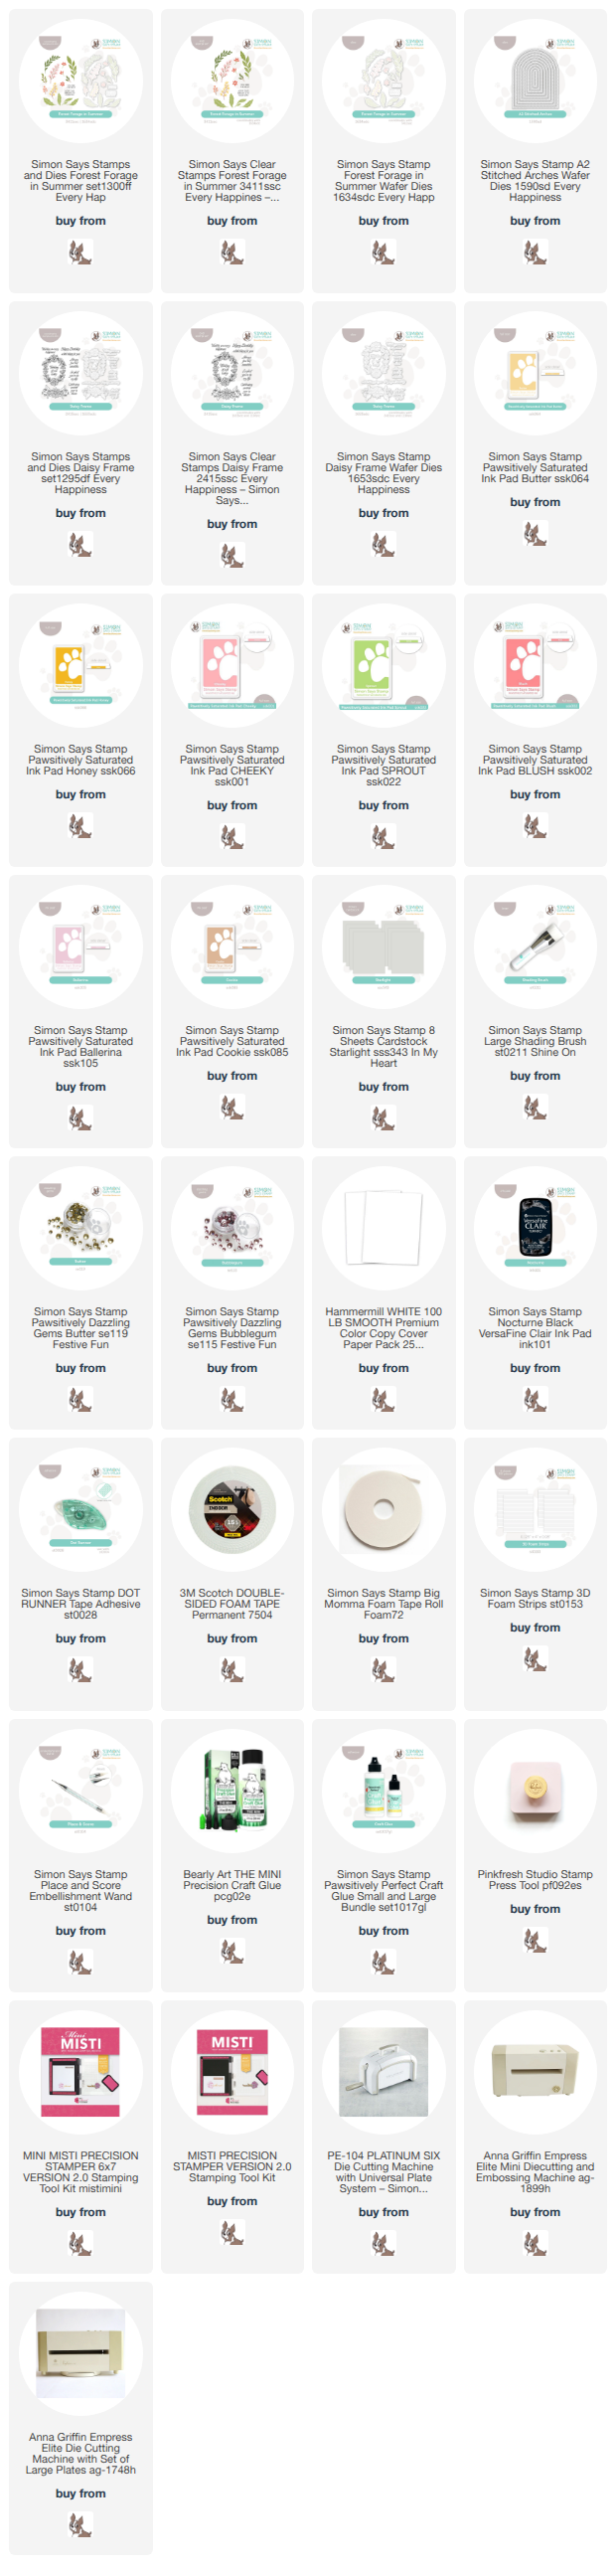
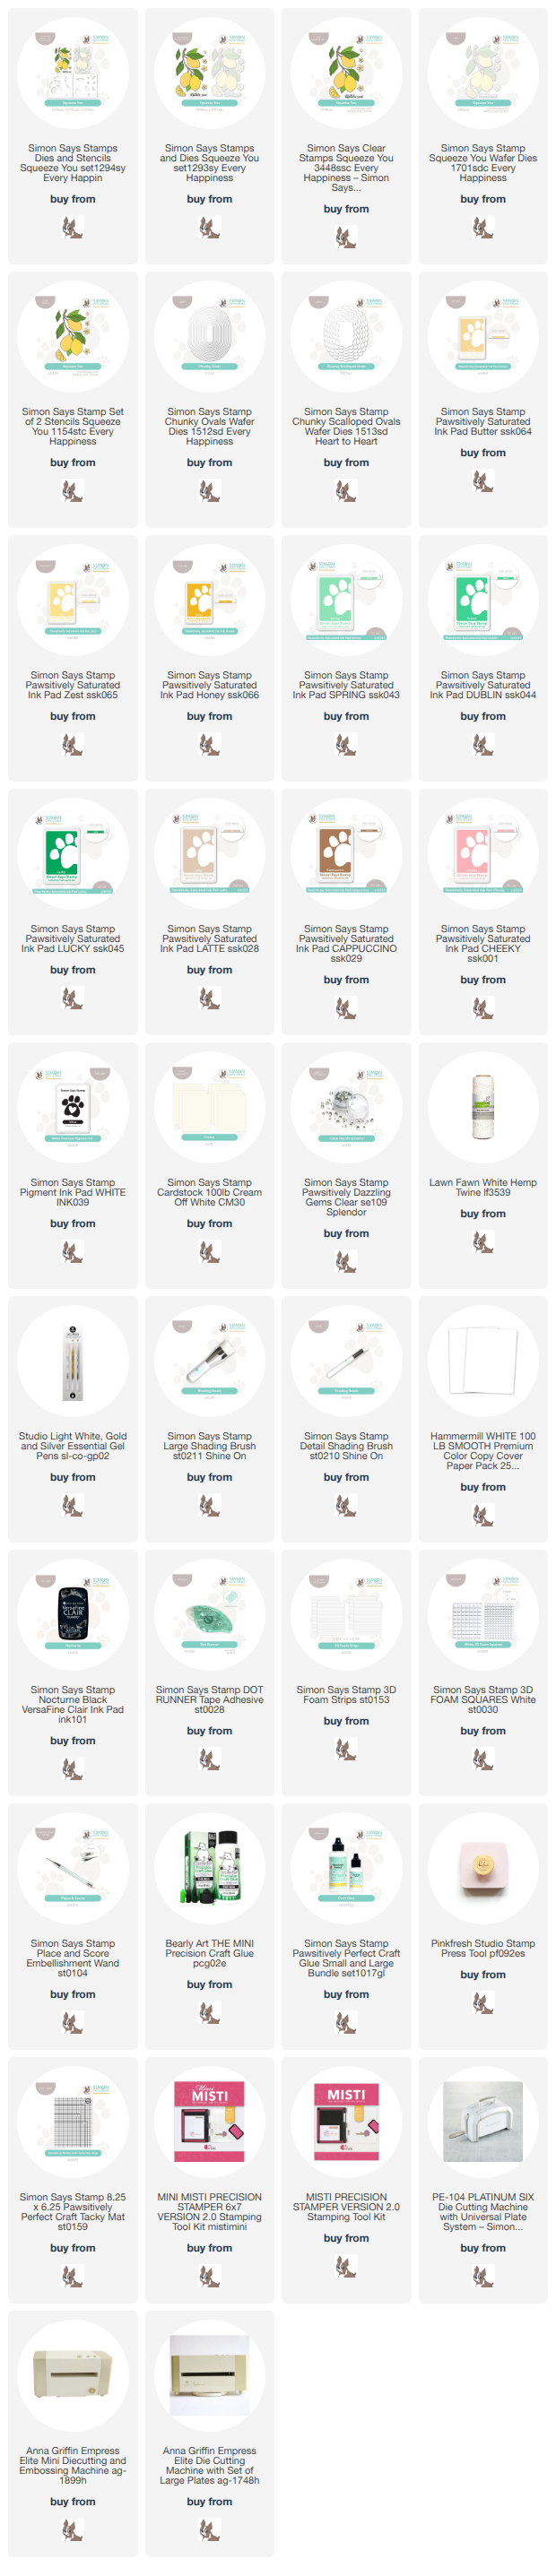
Thursday, January 22, 2026

Love You Sweet Friend - Simon Says Stamp Heart to Heart Release

Good morning! I have had so much fun playing with the Heart to Heart Release from Simon Says Stamp - and today I'm sharing another card featuring several new items from the release!


This card features another one of the lovely embossing folders in the release - Fancy Rose Bouquet (I also used it HERE on another project!). This time after embossing on Spellbinders Bellini cardstock, I added some soft ink blending over the top with a small blending brush. I used Peachy, Grapefruit, and Punch inks. I framed it with some Concord and 9th cardstock, creating a frame with A2 Rectangles dies. For the sentiment, I stamped the large sentiment from Words of Love, and die cut a couple extra layers to adhere together for a more dimensional sentiment. I added secondary sentiments from Reverse Love EZ strips sentiment strips, popped up on foam adhesive strips, then finished off with a sprinkle of Clear Dazzling Gems for sparkle! Here is a closer look at the finished card:


Product links are all below - including affiliate links where possible, which simply means if you use one of the links below that I receive a small commission at no additional cost to you. Thanks so much for stopping by! Have a wonderful day!!!


Wednesday, January 21, 2026

Cedar Bough Birthday Duo - Simon Says Stamp Heart to Heart Release

Good morning! I'm hopping back today to share a couple of birthday cards using the Heart to Heart Release from Simon Says Stamp! I love how these have a great masculine feeling, but would also work for the ladies in your life. And who doesn't need more birthday cards around?!?


I started these cards off by embossing the fun new Cedar Sprigs embossing folder on two shades of green Concord and 9th cardstock, then splattered the debossed side with some White Splatter. I then used Birthday Palooza for the sentiments, heat embossing in clear on the same two shades of green for a nice subtle pop of the large sentiments, then die cut and reversed the colors on the backgrounds. I added a tiny strip of that same alternating color of cardstock to the bottom of the panels as well. The secondary sentiments are from the same Birthday Palooza set - I stamped and die cut the larger word, then used it to cover up the smaller "birthday" word on the sentiment that was trimmed into a thin strip. Finished off with a few coordinating Pinkfresh clear drops in Emerald City! Here is a closer look at these cards:


Product links are all below - including affiliate links where possible, which simply means if you use one of the links below that I receive a small commission at no additional cost to you. Thanks so much for stopping by! Have a wonderful day!!!


Tuesday, January 20, 2026

Shine Brightly - NEW Tim Holtz coordinating dies Release Hop

Good morning! I'm super excited today to be joining a fun blog hop featuring a another project using some new dies that Simon Says Stamp just released to coordinate with previously released Tim Holtz stamp sets! There are so many fun techniques that are possible when you add coordinating dies! I shared a a card yesterday that uses another set in this release - if you're interested, you can check it out out HERE!


I don't create a lot of non-card projects, but I've slowly been stretching myself out of my comfort zone, and some of these sets just seemed to lend themselves so well to that. So I grabbed The Inspector stamp and newly coordinating die to play with! This project could be used as desk decor or a gift for someone special who needs some encouragement!


I started off by stamping the images from The Inspector stamp set, using Cappuccino ink for the inspector, and Honey ink for the light bulbs. I then stamped the portions with the smaller dies in black ink, and die cut everything before layering them together. To create the box, I used some Tim Holtz Clear Tiny Lights, tucked inside a Tim Holtz Vignette Box. I used some liquid glue to adhere acetate over the front of the box, and ran the cord for the lights out of the top and around to the back, so that the controls to turn the lights on and off are taped on the reverse of the project. I then adhered all the images to the acetate with liquid glue, and added a Label Sticker sentiment that I added on one of the dies from the set (I did some partial die cutting to make it the correct length). I also added some Pinkfresh Wooden stars to embellish, and added Glossy Accents to the centers of the glasses, and Nuvo glitter drops to portions of the light bulbs to make them sparkle a bit. Here is a closer look at the finished project!


Here is the entire blog hop list - hop along for tons of amazing inspiration!

Product links are all below - including affiliate links where possible, which simply means if you use one of the links below that I receive a small commission at no additional cost to you. Thanks so much for stopping by! Have a wonderful day!!!


Monday, January 19, 2026

It's Your Day with NEW Tim Holtz coordinating dies - Simon Says Stamp

Hello! It's time for some new dies that Simon Says Stamp is releasing to coordinate with previously released Tim Holtz stamp sets! And I've got a card to share today using one of the new coordinating die sets, this one that actually pairs with TWO different stamp sets! This month's releases have some quirky designs, including some that were a bit of a stretch out of my comfort zone! But sometimes a challenge is fun, and I think today's card turned out great for a masculine card!


The coordinating die for this set actually coordinates with The Professor and The Professor 2 stamp sets - so you can use both sizes! I used The Professor 2 to stamp a background along the left side and heat emboss with clear embossing powder, then ink blended over the top with Kale ink. I also stamped the other border in black along the right side. I stamped the smaller image from The Professor in Paprika ink, and then the hat and part of the image where the glasses are in black ink, then die cut with those amazing coordinating die. I popped those up with foam, and then added a sentiment from Label Stickers, matted on a bit of white cardstock! Here are more photos of this finished card:


Product links are all below - including affiliate links where possible, which simply means if you use one of the links below that I receive a small commission at no additional cost to you. Thanks so much for stopping by! Have a wonderful day!!!


Paper Hug Friend - Simon Says Stamp Heart to Heart Release

Good morning! I'm back today with a fun card using LOTS of new items from the Heart to Heart Release from Simon Says Stamp! This card mixed together some techniques I haven't tried before, and the result is definitely out of my normal card type, but I'm very happy with how it turned out! Very layered and textures, and I love the color scheme!


I started off by embossing the new Heart Wreath embossing folder on some Concord and 9th cardstock. I then used the reverse or debossed side of that panel, and swiped a white pigment ink pad across the surface. It left a fun texture on the flat areas, and left the debossed areas darker with the color of the cardstock! To add some more texture, I used the text stamp image from Heart Suite with Salmon ink to stamp in a few areas over the top. LOVE that extra touch! Next, I stamped and white heat embossed the floral image from the new Loving You Bouquet on vellum, and die cut with the coordinating dies, then trimmed that image in half (always scary, but worth it, I promise!). I die cut a couple of the Basic Hearts from white cardstock, then stamped that same text on part of the smaller one but in Shell ink, and blended a bit of the Shell and Salmon inks around the outer edges of each heart. I also stamped and die cut the larger sentiment from Heart Suite, and added a secondary sentiment from EZ Strips Reverse Love sentiment strips. A few Ballet Slipper embellishments finish this card off! Here are several more photos showing off all the fun details:


Product links are all below - including affiliate links where possible, which simply means if you use one of the links below that I receive a small commission at no additional cost to you. Thanks so much for stopping by! Have a wonderful day!!!


Sunday, January 18, 2026

Hey Girl - Simon Says Stamp Heart to Heart Release

 Good morning! I'm still sharing more cards with the amazing Heart to Heart Release from Simon Says Stamp! I tried something new on this card with the sentiment, and I love the finished effect!


To start off, I used the new Wirework Hearts embossing folder on some Concord and 9th cardstock - and WOW! This folder is so fun - I love the incredibly deep impression it gives, and it's such a fun design as well! Next, I die cut the new Fancy Hey Girl die, and used the exact same shade of cardstock for the shadow layer as the embossed panel. I love how when layered together, the shadow layer kind of blends into the background, but is also a smooth surface to make the white die cut sentiment pop just right! Before adhering the layers together with foam adhesive, I wrapped around the tied a bow with some Lawn Fawn Twine. I added a supporting sentiment from Reverse Love EZ Strip sentiment strips, and a few Honey Bee pearls to finish it off! Here are more photos of the finished card:


Product links are all below - including affiliate links where possible, which simply means if you use one of the links below that I receive a small commission at no additional cost to you. Thanks so much for stopping by! Have a wonderful day!!!


Saturday, January 17, 2026

Felt Toaster Pastry card - Simon Says Stamp Heart to Heart Release

Good morning! I've got another card to share today using the newest Heart to Heart Release from Simon Says Stamp! I tell you what - cutting dies with felt is SOOO much fun! I mean, a felt toaster pastry?!? Is there anything cuter?!? Also, did you know that putting glitter drops on felt is amazing as well?


I had recently picked up some Benzie Designs Felt in the Be Mine color pack, and really wanted to put it to use on something. I spotted the Toaster Pastry die, and thought it was perfect for it! I'm going to date myself a bit, but does anyone else remember flannel graph stories when you were a kid? Yeah, before I glued it together, I was almost tempted to leave the pieces separate to use that way - haha! I used some Altenew glitter cardstock to cut the longer squiggly lines, and tucked those behind the toaster pastry that I adhered at an angle, then trimmed all the extra overhanging pieces off. I used some Nuvo Glitter drops on the hearts and squiggle of frosting on the toaster pastry for extra sparkly fun! I added a sentiment from Make My Heart Flutter stamp set, a sprinkle of Trinity Clear Twinkle Rhinestones, rounded off one corner, and mounted the panel on a cardbase created with Seafoam cardstock! Here is a closer look at the finished project:


Product links are all below - including affiliate links where possible, which simply means if you use one of the links below that I receive a small commission at no additional cost to you. Thanks so much for stopping by! Have a wonderful day!!!