Showing posts with label black splatter. Show all posts

Tuesday, October 6, 2026

Happy Stars - Simon Says Stamp

Good morning! Today I've got a bright and happy birthday card to share, using some newer sets from the last release at Simon Says Stamp - we are only days away from the NEXT release, and I'm super excited to start sharing those projects with you! In the meantime, I had lots of fun creating this birthday card, with a set designed for the holidays - love when you can stretch your supplies further!


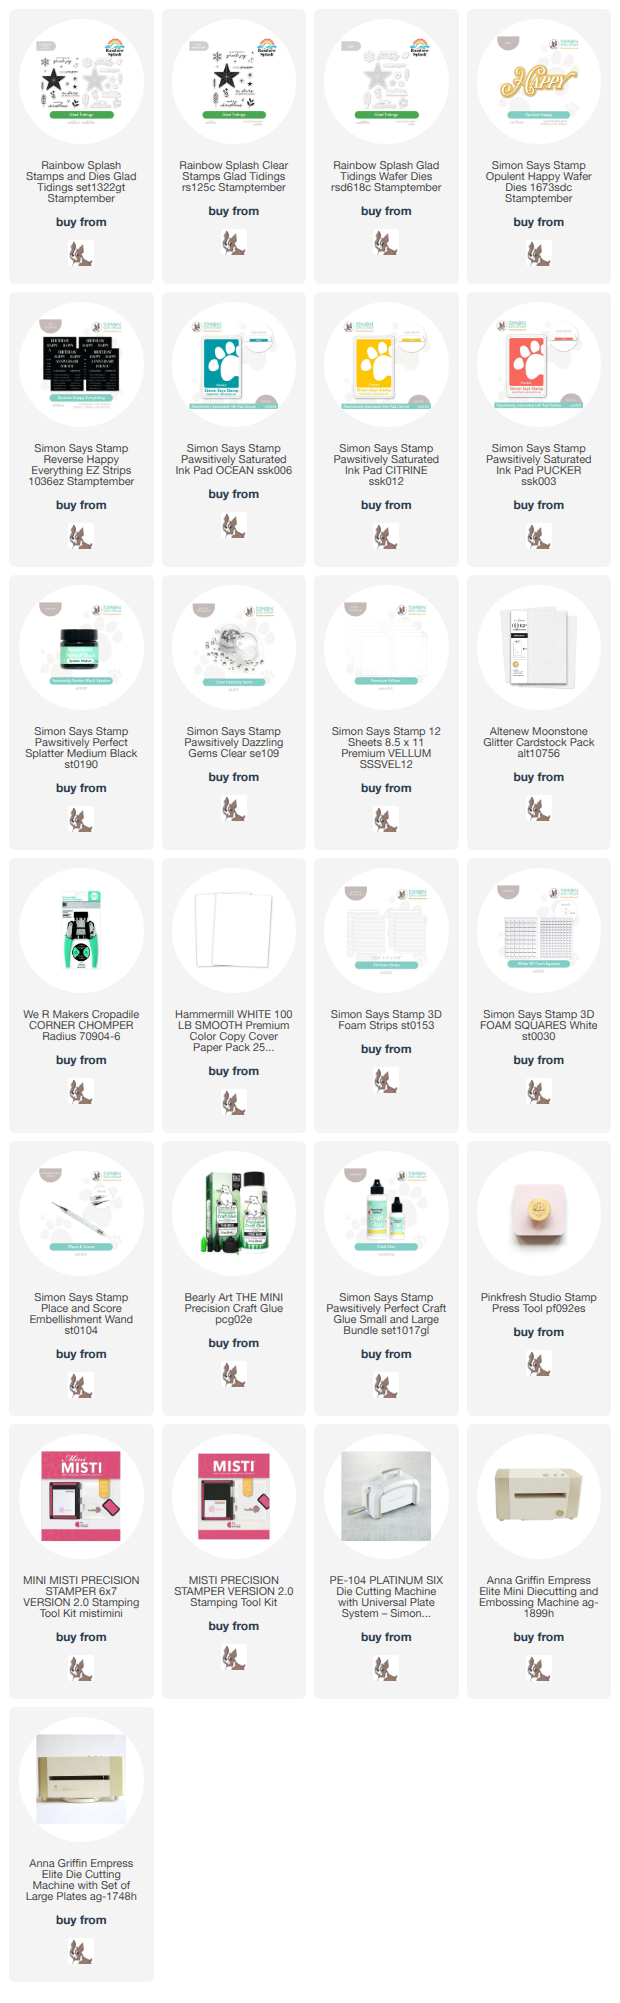
I started off by stamping the pretty star from the Rainbow Splash Glad Tidings set a couple times each in Citrine, Pucker, and Ocean inks, then die cutting with the coordinating die. I added some Black Splatter to a cardbase, then added the stars with foam adhesive to the card front. I added the Opulent Happy die cut from Altenew Moonstone glitter cardstock and vellum, as well as a secondary sentiment from Reverse Happy Everything EZ Strips sentiment set. Finished off with a few Dazzling Clear Gems, and rounded off two corners for interest! Here is a closer look at the finished card:


Product links are all below - including affiliate links where possible, which simply means if you use one of the links below that I receive a small commission at no additional cost to you. Thanks so much for stopping by! Have a wonderful day!!!

Friday, September 11, 2026

Honey Bee Stamps - Simon Says Stamp STAMPtember Collaboration

Hello again! Can you believe it's time for yet another of the Simon Says Stamp STAMPtember Exclusive Collaborations?!? Today we are shining the spotlight on Honey Bee Designs with a unique and fun set! I couldn't choose just one of these lovely scripty frames, so I used a few to create a fun background on my card!


I started off by choosing 3 of the 4 frames in the Holly Jolly Frames set, and heat embossing them in gold on black cardstock, then die cutting them with the coordinating dies, both on the inside and outside. I cut the separate circle shape 3 times from Lipstick cardstock, and blended some Cranberry ink around the edges. After adding some black splatter to my cardbase, I arranged the frames on my card, and trimmed off the excess, then used the extra little pieces to tuck around the edges to fill those spaces a little bit, popping everything up with foam adhesive. I added those red pieces in the centers, then stamped and heat embossed the holly berry cluster 3 times, coloring with Copic markers. I added a stamped sentiment, tucked the colored images on each piece (adding some Nuvo glitter drops to the berries for a frosty effect), then finished off with lots of Dazzling Gold gems to finish off! Here are more photos of the finished card:


Product links are all below - including affiliate links where possible, which simply means if you use one of the links below that I receive a small commission at no additional cost to you. Thanks so much for stopping by! Have a wonderful day!!!


Sunday, September 6, 2026

Ink Blending and Cheeky Sentiments - Simon Says Stamp STAMPtember CZ Design Feature

Hello! Today's STAMPtember surprise is a special release and feature of CZ Designs at Simon Says Stamp! I used a couple of the newly released items to put together this fun set of cards - I love a fun sentiment, and these just made me smile! And a bonus? These new items are not limited, and will be restocked when they sell out! Which makes me happy, because I am definitely looking forward to using these lots more in the future!


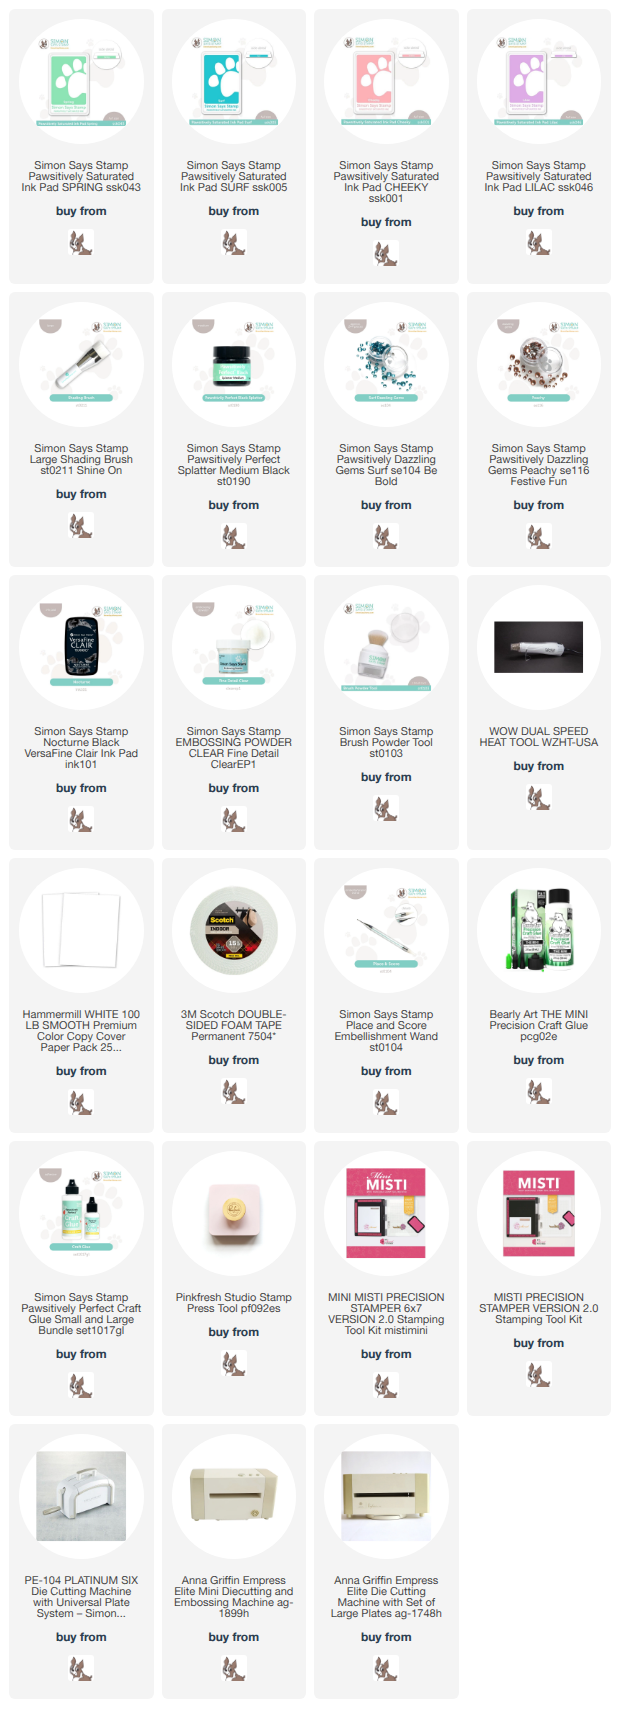
I started off by using the new Cropping Panels as stencils to ink blend on white cardbases. I used Spring and Surf inks for one card, and Cheeky and Lilac for the other. Before removing cropping panel, I also added some black splatter on each one. While those dried, I stamped and heat embossed some larger sentiments from the new Fresh Sentiments set, and die cut them with the coordinating die. I planned my placement for my larger sentiments, then stamped my smaller sentiments underneath directly on the cards. I popped up the larger sentiments with foam adhesive, then added a few coordinating Dazzling Gems in Surf and Peachy to finish off! Here is a closer look at these fun and sassy cards:


Product links are all below - including affiliate links where possible, which simply means if you use one of the links below that I receive a small commission at no additional cost to you. Thanks so much for stopping by! Have a wonderful day!!!


Saturday, July 18, 2026

Soft Sympathy Card Duo - Simon Says Stamp

Hello! It had been a while since I added sympathy cards to my stash, and since I always prefer to make those before I need them, rather than in the moment when it is sometimes harder, I pulled out some items from Simon Says Stamp the other night and created these soft and simple cards. The muted tones seemed like the perfect choice for a sympathy card!


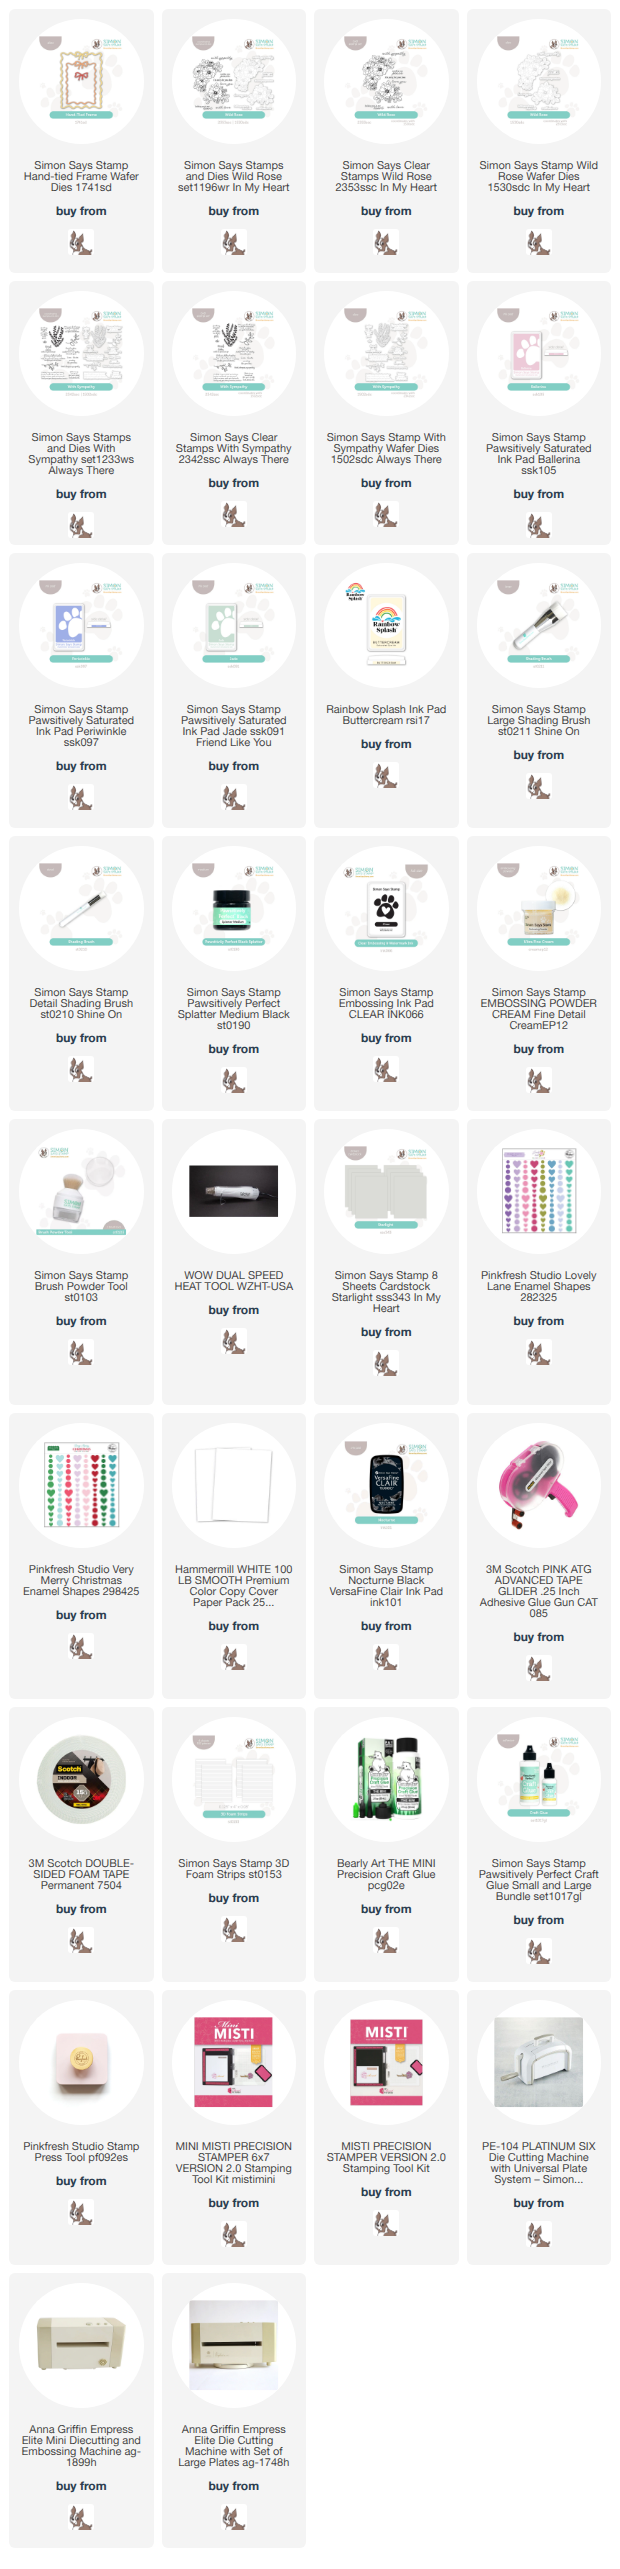
I started off with the lovely frames cut using Hand Tied Frames from Starlight cardstock, the perfect soft gray. Next, I stamped one of the floral images from Wild Rose on white cardstock, and heat embossed with my underused Cream Embossing powder. I used small Shading Brushes to add a hint of color to some areas of the image, using Jade for the leaves, and either Ballerina or Periwinkle for the blooms, then die cutting with the coordinating dies. Next, I added some shading to the cardbase, using Buttercream for the top portion, and the coordinating ink for the blooms in the bottom portion. I added some Black splatters, allowed that to dry, and then added the frames with liquid glue. Sentiments are from With Sympathy, and I popped those and the floral images up on foam adhesive, then finished off with some coordinating enamel dots and enamel hearts from Pinkfresh Lovely Lane and Very Merry Christmas enamel packs. Here are more photos of these finished cards:


Product links are all below - including affiliate links where possible, which simply means if you use one of the links below that I receive a small commission at no additional cost to you. Thanks so much for stopping by! Have a wonderful day!!!

Wednesday, June 24, 2026

Bright Vintage Notecards - Tim Holtz June coordinating die release

Good morning! I've got one last thing to share with the June 2026 installment of Tim Holtz coordinating dies that released recently from Simon Says Stamp! This time instead of one card, I'm sharing a sweet little set of notecards! They are the small 4 Bar notecards from SSS, and the perfect size to let these sweet little images shine. And I found a fun way to do the banner dies to add extra dimension!


I started off by die cutting and creating the backgrounds. I used Lime, Lake, Heather, and Princess Color Splash cardstocks, cut with the Crimped A2 Rectangles, then cut watercolor paper using a smaller sized A2 Rectangles die. On the watercolor paper, I blended the coordinating ink colors of Lime, Lake, Heather, and Princess onto two corners of the panels, then misted with some water for a watercolor effect. While those dried, I stamped and heat embossed my images from Tiny Things and Tiny Things 2 sets, stamping in Nocturne ink, then clear heat embossing for extra shine. I die cut them each with their coordinating dies. I also stamped the "Hello Friend" from Tiny Text a few times, and die cut with the smallest banner die from the coordinating die set. I also cut the next largest banner die for each one to layer underneath. That way, when I adhered them together with foam adhesive, it gave them a more dimensional banner look - and it was so easy! I added some Black Splatter to my little cardbases, then assembled all my layers, using Big Momma foam adhesive so I could have lots of layers, but they wouldn't get too thick. Finished off with a few Clear Dazzling gems for the final touch of sparkle! Here is a closer look at each of these sweet cards:


Product links are all below - including affiliate links where possible, which simply means if you use one of the links below that I receive a small commission at no additional cost to you. Thanks so much for stopping by! Have a wonderful day!!!