Good morning! I'm back to share a card using the next of the special STAMPtember collaborations throughout the month! Each collaboration is with one of your favorite companies, is limited edition, and only available while supplies last. When it's gone, it's gone! Today's special release is from Altenew:
This lovely floral image was just calling out to be watercolored, so I pulled out my Altenew watercolors, stamped up my images, and had fun coloring! I originally stamped them off the edge of a panel of watercolor paper, thinking I would keep the card one layer. In the end, I die cut each partial piece of the flower, and then popped them up on my finished card. I actually really love how that worked! I used some Spellbinders colored cardstock, and SSS A2 Scalloped Rectangles to create a fun scallop layer - so lacy and pretty! I popped my florals up with foam adhesive, added my stamped and die cut sentiments, and embellished with a few Trinity Stamps Clear Twinkle Rhinestones for some extra sparkle! Here is a closer look at this finished card:
Product links are all below - includingaffiliate links where possible, which simply means if you use one of the links below that I receive a small commission at no additional cost to you. Thanks so much for stopping by! Have a wonderful day!!!
The monthly card kit has even more perks now when you sign up for the Subscription service! There is a video HERE you can watch to learn more!
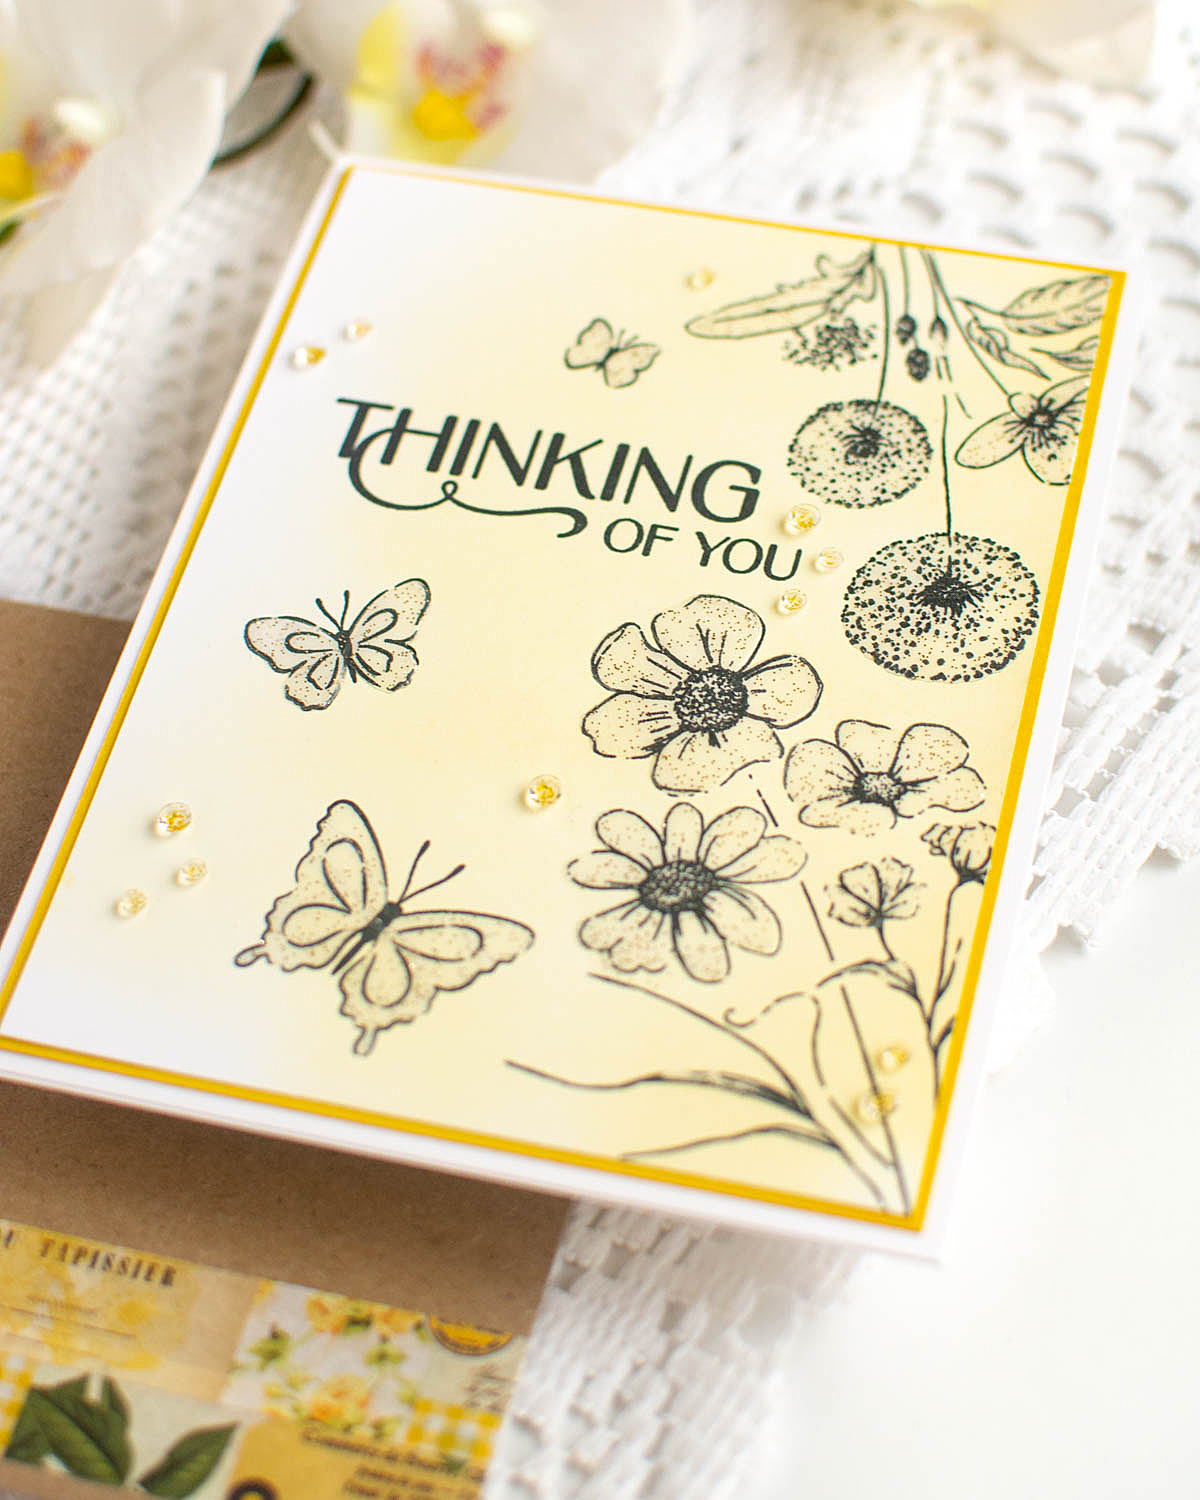
It was fun to mix things up and use the lovely stamp set to create a card and envelope duo! It's subtle, but I also used the stencils for the card. I stamped the florals and sentiment on a panel of white cardstock that I had added a bit of soft ink blending to with Zest ink. I then slowly added bits of the Glitter Texture paste in the kit over the flowers and butterflies with the coordinating stencil. I had to let each layer dry, so I didn't smudge them in between, but I was working on dinner, so I just added a layer, left for a bit, came back and added the next layer, and so on, until it was done! Then I matted it with some of the Honey cardstock in the kit, and added a few Clear Drops with gold glitter from Pinkfresh for a touch of simple sparkle. For the envelope, I selected a different floral image and butterflies, and then added a touch of washi in the bottom corner.
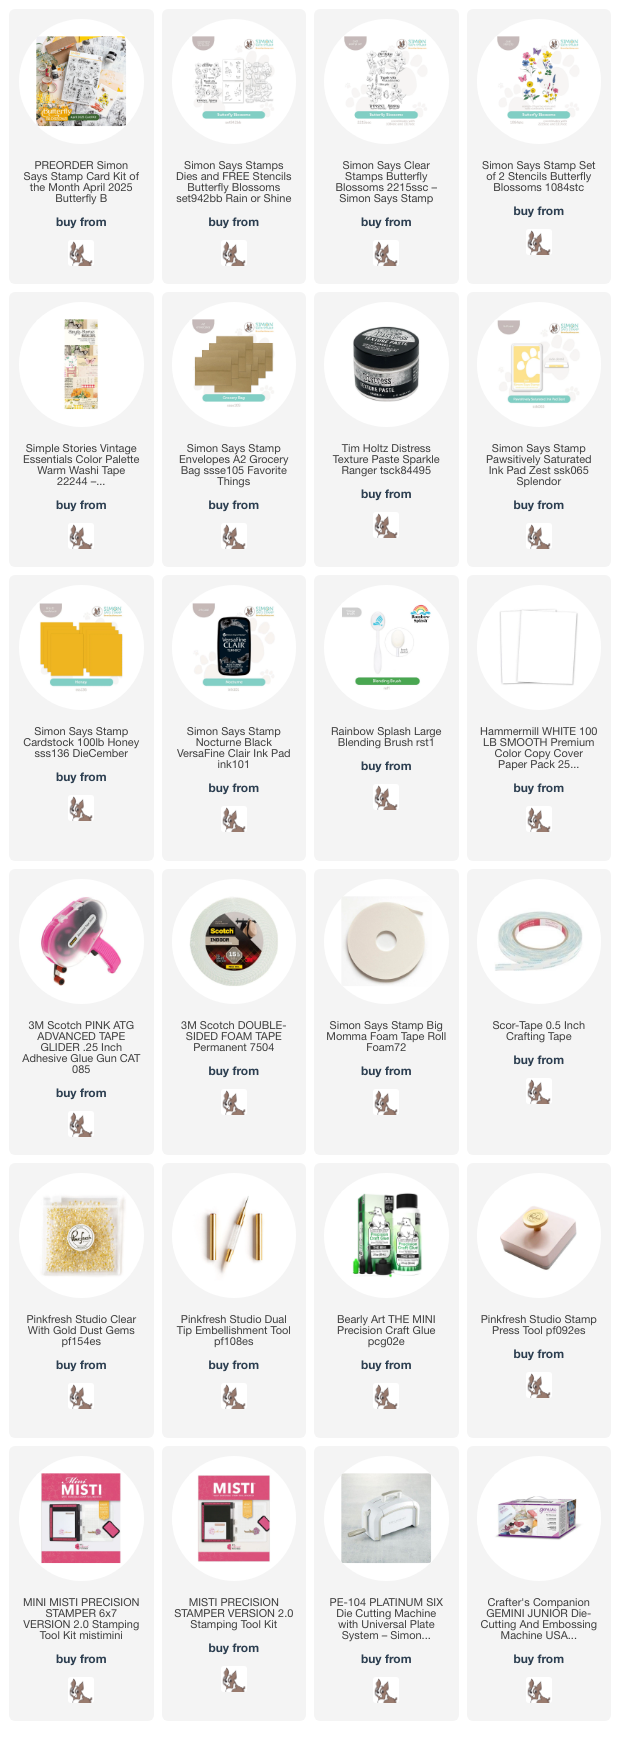
Product links are all below - includingaffiliate links where possible, which simply means if you use one of the links below that I receive a small commission at no additional cost to you. Thanks so much for stopping by! Have a wonderful day!!!
Good morning! Today I'm celebrating the new February Birthday Release from Pretty Pink Posh by joining Day 2 of the Instagram Release Hop! You can head over to Instagram to join that hop, and enter to win today's giveaways, and you can find the new release HERE. I thought I would share more details here on my blog on my card - since it is always tough to put enough info in an Instagram post!
I fell in love with the fun layering stamps in the Birthday Balloons set - so fun to do tone on tone stamping like this, especially in bright and fun party colors! I used medium and dark shades of ink to stamp the balloons. I did the base layer in the medium color, then added a different layer to each one. Then I die cut them with their coordinating die!
Instead of stamping the strings, I pulled some twine out of my stash, attached it to the back of the balloons, and then gathered them all together, holding in place on the card with a couple tiny staples, and popping the balloons up with foam adhesive.
I added a sentiment from the new Birthday Sentiments stamp set, which has that fun scripty font we know and love from Pretty Pink Posh! I stamped it in black on my white cardstock panel, then mounted that panel with foam adhesive on an Ivory cardbase.
I finished off with some trios of Sparkling Clear Jewels - I adhered them upside down to maximize the sparkle on them! I love doing this with these - it doesn't make them any thicker on the card, but I do think it makes them more sparkly!
It wouldn't be a birthday without gifts, right? This adorable little stamp set and coordinating dies are up for grabs with a $125 purchase, and you can also get 10% off your purchase with the code CELEBRATE9. Check out this graphic for all the info:
Which color or balloon layer do you like best? I'm a bit partial to that coral in the left corner...but I love the dots on the green one!
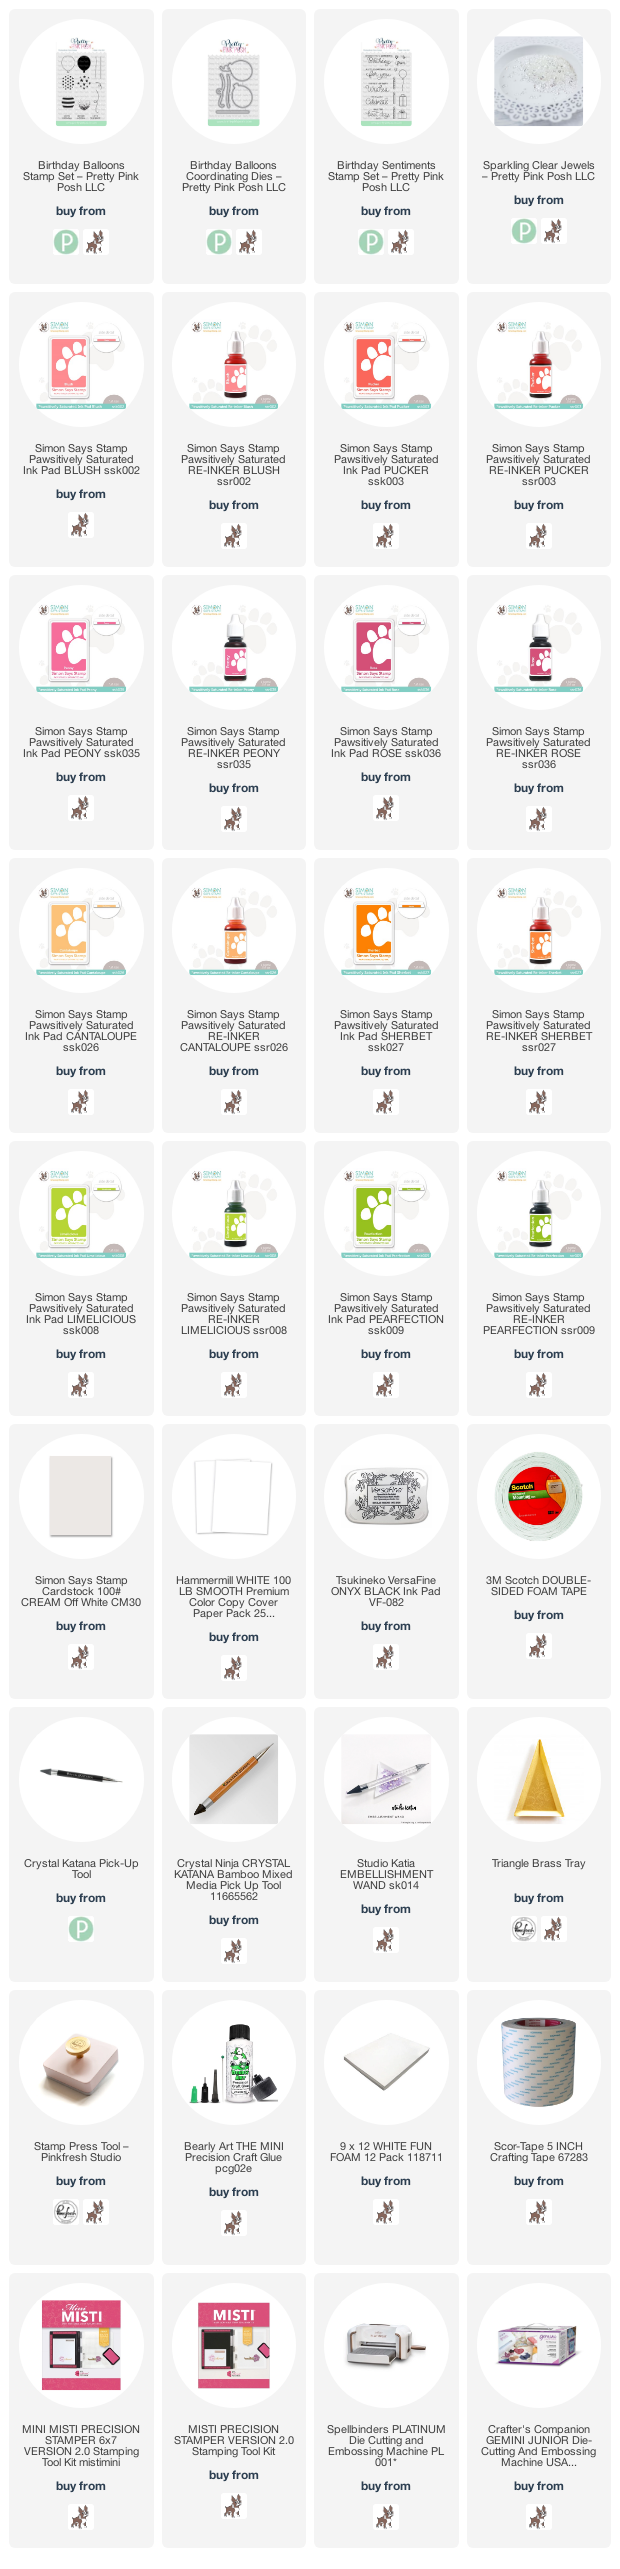
Product links are all below - including affiliate links where possible, which simply means that if you use one of the links below, I receive a small commission at no additional cost to you. Thanks so much for supporting my blog, and stopping by! Have a wonderful day!!!
Good morning! I'm stopping by today to share a card I created for Pinkfresh Studio's YouTube Live yesterday. I used some of the newest release, and was inspired by several different crafters that I love! And, as I sometimes do, I took some of the leftovers from this card to create another card - if you scroll down, I share details for that later in this post! You can watch the video replay HERE if you want to see more details and watch this card come together.
Here is the replay of the live video if you'd like to watch it here:
This card was partly inspired by Laura Bassen, party by Channin Pelletier, and partly by Lea Lawson - I love getting ideas from different crafters, and then making them my own!
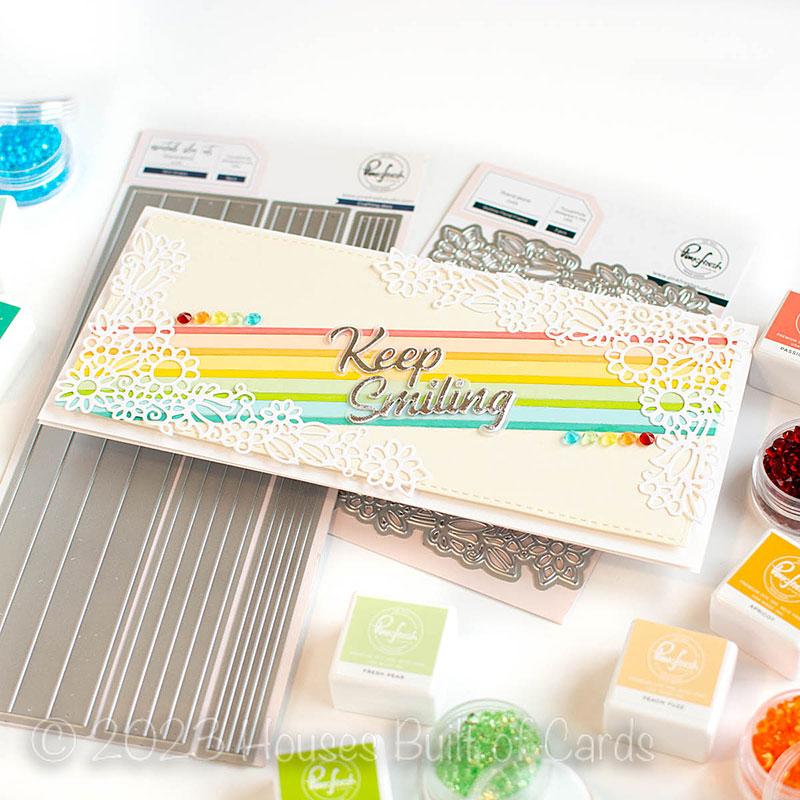
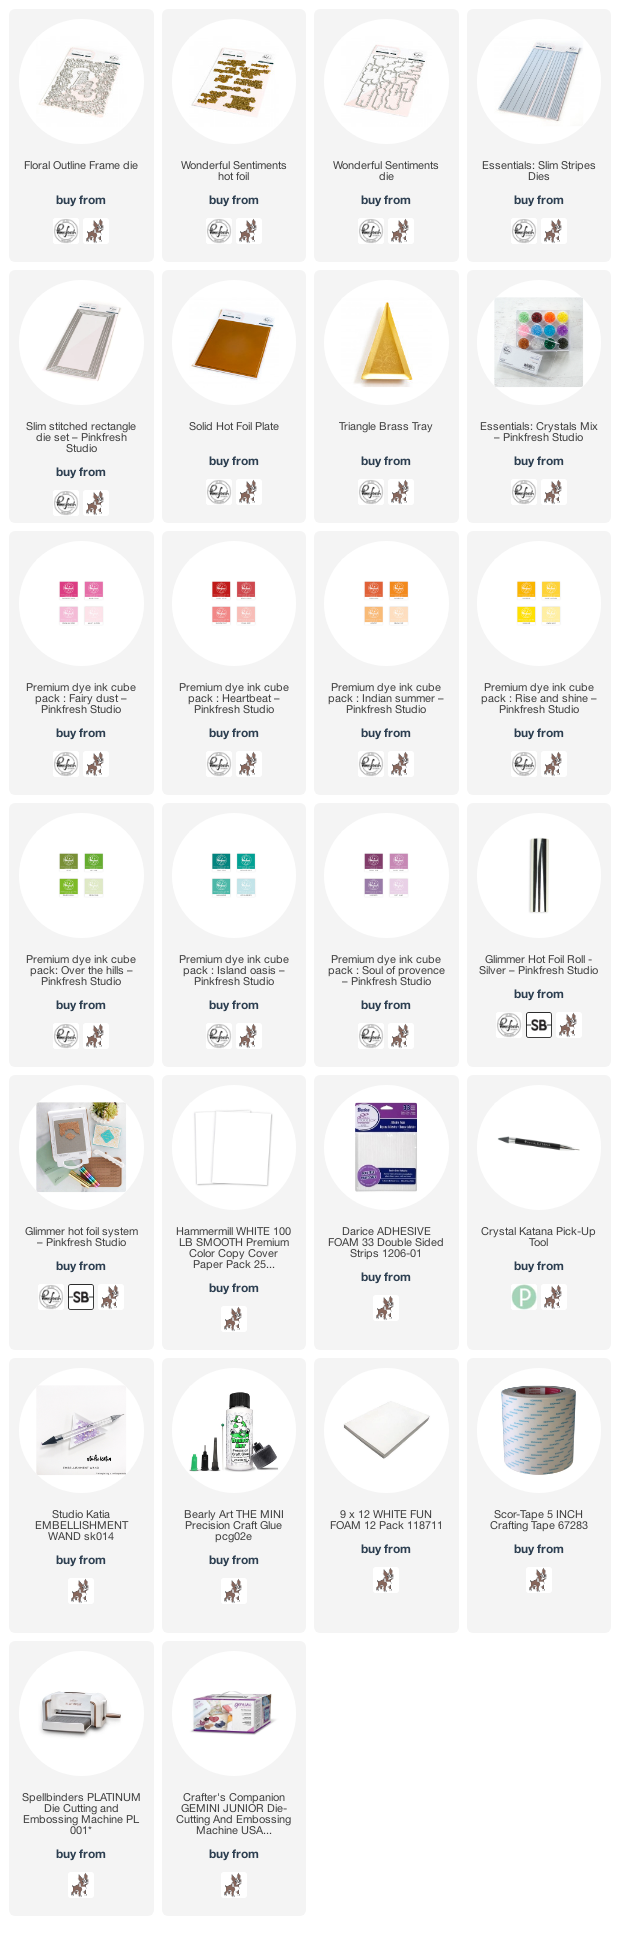
I used the new Floral Outline Frame die for this card, and I shared a fun trick for die cutting intricate dies, and bonus, it recycles extra bubble mailers that you may get frequently! I trimmed the design in half creatively so I could use it on a slimline card design for a totally different look.
I used the prviously released Essentials: Slim Stripes die to cut lots of white cardstock strips, then used my ink cubes to apply color directly onto them. I basically created my own custom colors of cardstock! I then layered them diagonally in rainbow order, alternating between sizes and lighter or darker shades. I used a base of cream cardstock cut from the largest Slim Stitched Rectangles die. Once I had them all in place, I trimmed off the extra, and adhered the floral frame in place over the top.
Sentiment was created by hot foiling a panel of Silver foil using the Solid Hot Foil plate, and then die cutting the sentiment included in the Floral Outline Frame die from it. You could also use whatever metallic cardstock you already have. I layered it up a couple extra times from white cardstock, and then added a shadow vellum layer underneath. Finished off with a row of Jewels in rainbow color order! I love how this came out - so out of my usual norm, but so fun!
And then...I couldn't waste the things I made and didn't use, right? I made this second card quickly and easily after the live - and I can't decide which one I like better!
For this card, I used the pink, purple, and coral reef strips leftover from the last card. I created an A2 card this time, and turned it to a portrait style instead of landscape.
I did it all on a panel of white cardstock, and layered over the Floral Outline frame that I had die cut in advance to test out and confirm worked well with the bubble wrap trick. Then I trimmed a bit off all 4 sides to create a perfect size panel to mount on my cardbase. This cut off a bit of the floral frame, but was such a fun effect!
I added some coordinating jewels in a row on these as well, alternating the color with whatever color was dominate on the side I placed them. So on the pink side, I used a larger purple, and on the purple side I used a larger pink. Then added some clear to round out the trio.
I added the foiled sentiment that I planned to add on the first card - but I ended up not loving it paired with the other sentiment. No worries though - it worked PERFECTLY for this card! Mounted that with foam adhesive too of course.
So a simple bonus card, and I didn't waste those extra pieces, or set them aside and forget about them. Win-win!
Product links are all below - including affiliate links where possible, which simply means that if you use one of the links below, I receive a small commission at no additional cost to you. Thanks so much for supporting my blog, and stopping by! Have a wonderful day!!!
Hello! Today I am part of a fun Instagram hop to celebrate the new Pinkfresh Studio release. There are giveaways up for grabs, so hop on over to check that out if you haven't yet! I have had so much fun creating with this release - yesterday was the blog hop, and I shared several cards for that! Today I'm sharing a card I created on last week's YouTube Live with Lea Lawson as a sneak peek. We used the same products in different ways to create two completely different cards. It was so fun! You can watch that video HERE if you want to see more details!
I also have added the video here if you want to watch here:
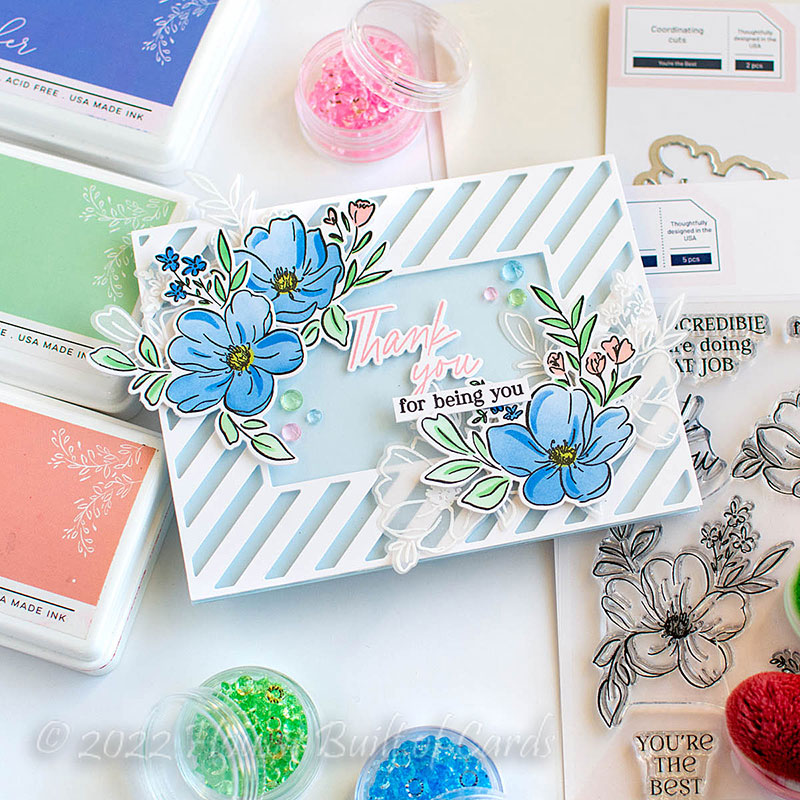
I started off by stamping my florals in a soft gray ink, then adding color with the layering stencils. I pretty much followed along with the colors of the sample on the packaging. I love how those are always great suggestions, and a good reference for color ideas. Since I left the stamp set lined up in my MISTI, it was easy to come back over the top and restamp in Detail Black over my stenciled images with perfect alignment!
I also stamped and heat embossed the florals in white on vellum to add some extra texture and fun. I love how ethereal they are that way!
I die cut the previously released Diagonal Stripes with a Window die from white cardstock, and mounted it on a soft blue cardbase to create a focal point for my card. Because I'm crazy, I used foam adhesive strips to pop it up with foam tape. Adding them live. Yes - I did say it was crazy! Haha!
Once that was adhered, I arranged the florals, tucking the vellum ones underneath, and adhering the stenciled ones over the top. I used liquid glue to adhere them all, and fluffed up the edges of the stenciled versions.
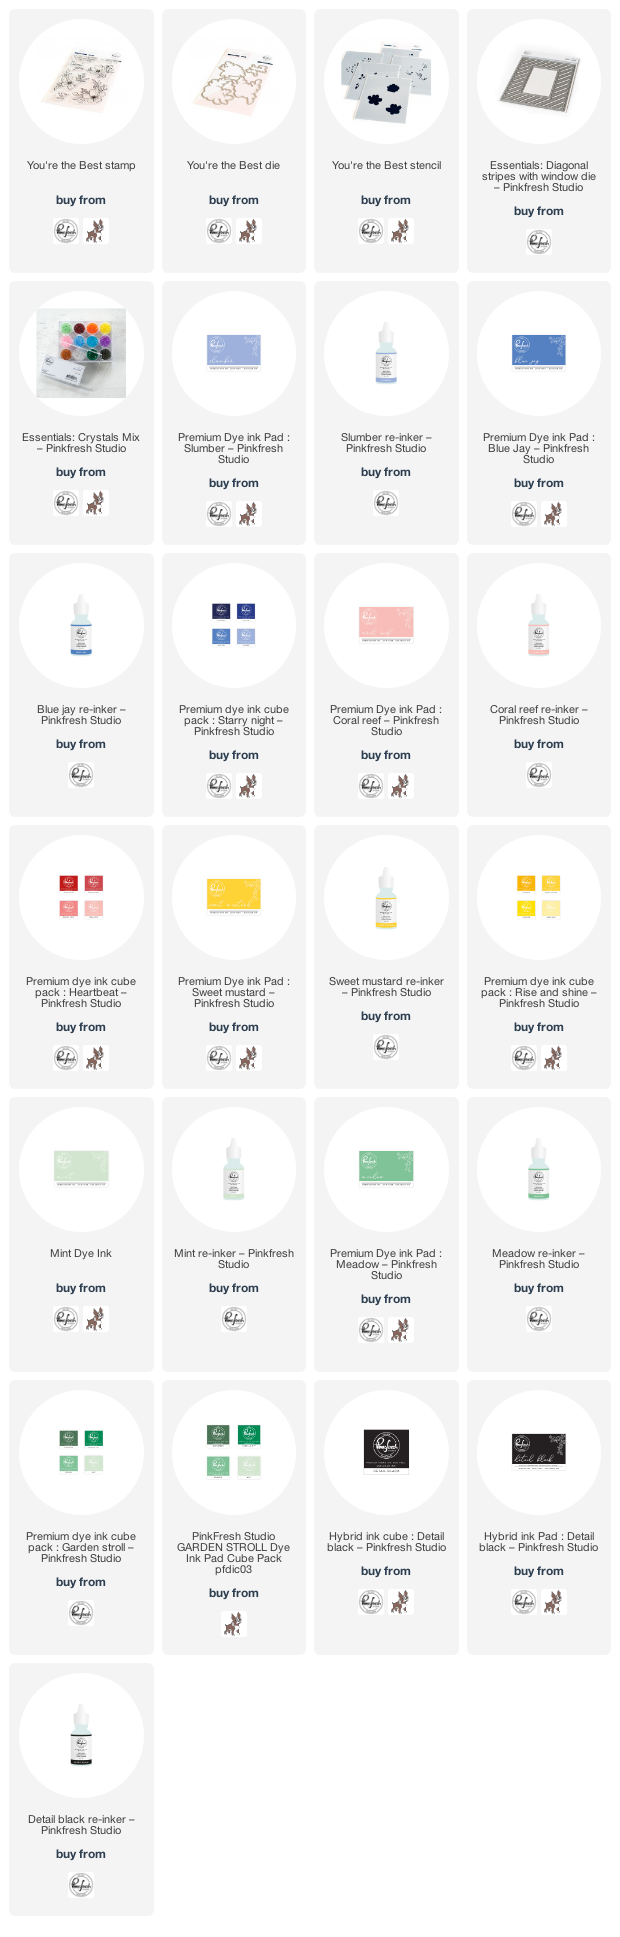
For the sentiment, I stamped the "thank you" from the stamp set in Coral Reef ink, and die cut it with the coordinating die, mounting it with foam in the center of the window. I added the secondary sentiment from the set, stamped in Detail Black, then trimmed into a small strip to mount underneath.
Finally, for a touch of sparkle, I added trios of coordinating bling from the Essentials: Crystals Mix. The soft tones were perfect! Later after photographing, I did trim off the extra floral pieces that extended over the edges of the card, so it would fit better in an envelope. I didn't think I would like it as well, but it was still quite lovely! I don't have a photo so you will just have to trust me on that! :)
Product links are all below - includingaffiliate links where possible, which simply means if you use one of the links below that I receive a small commission at no additional cost to you. Thanks so much for stopping by! Have a wonderful day!!!
Good morning! Dropping by today to share a couple cards I made, actually quite a few weeks ago for Pinkfresh Studio's Facebook Live. I'm terribly behind in posting, but didn't want to miss posting, even if it is late! These cards used a fun color combo of soft pinks, a pop of red, lots of hot foiling, and an otherwise neutral color palette! You can watch the replay HERE if you want to see more details.
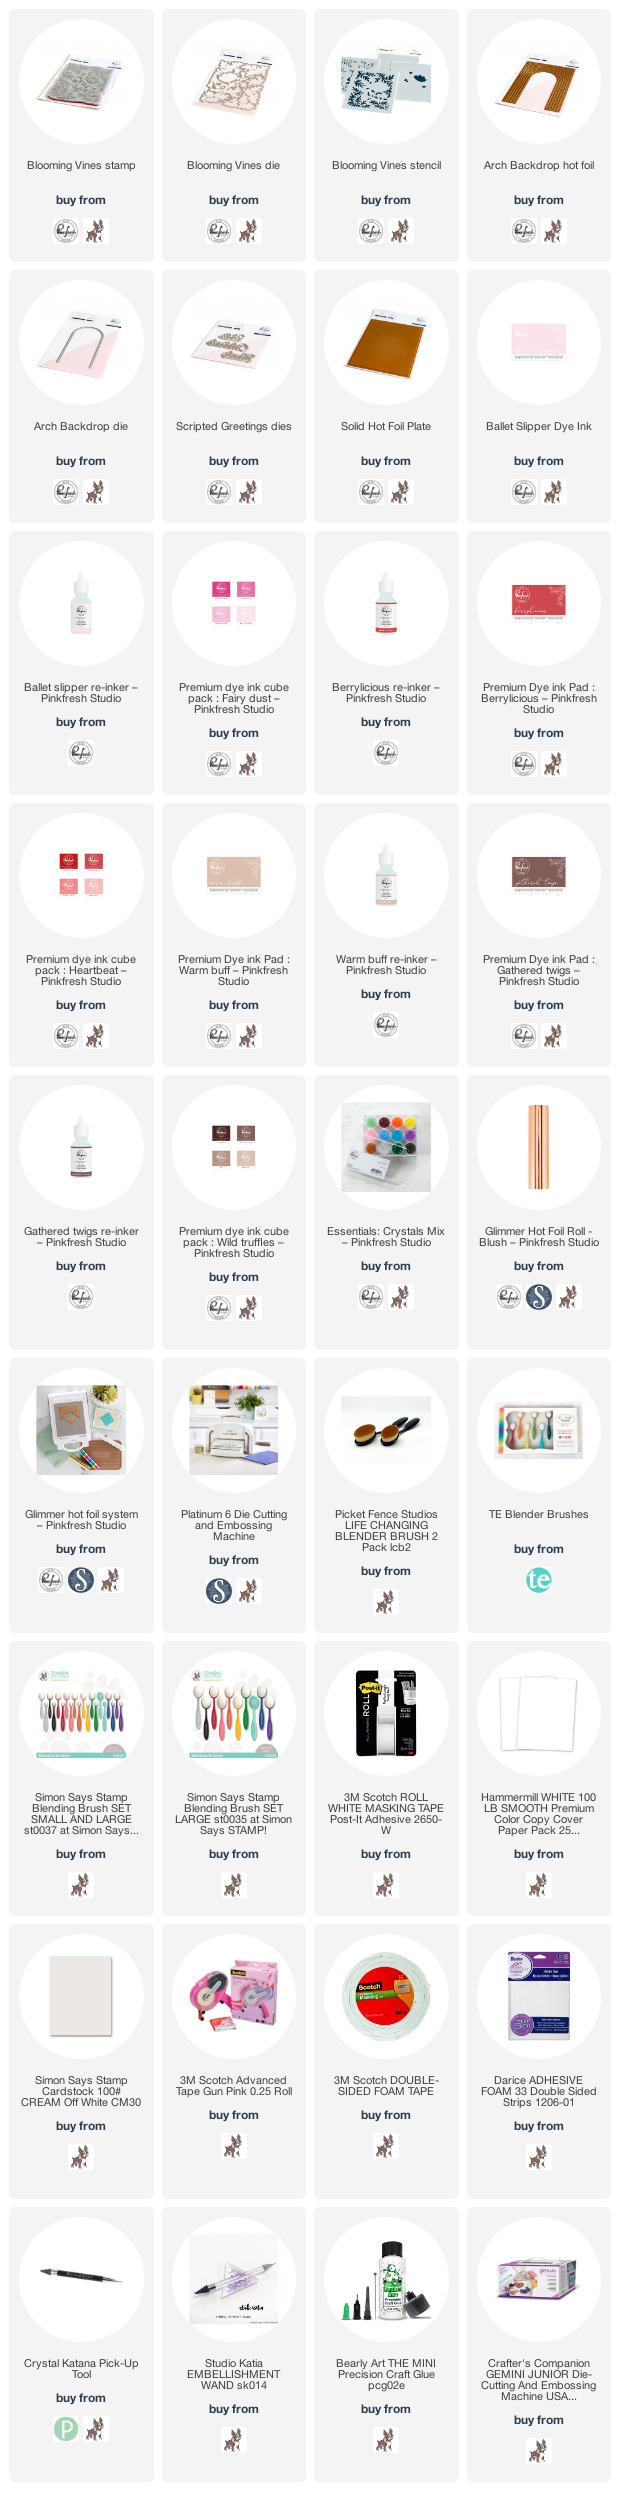
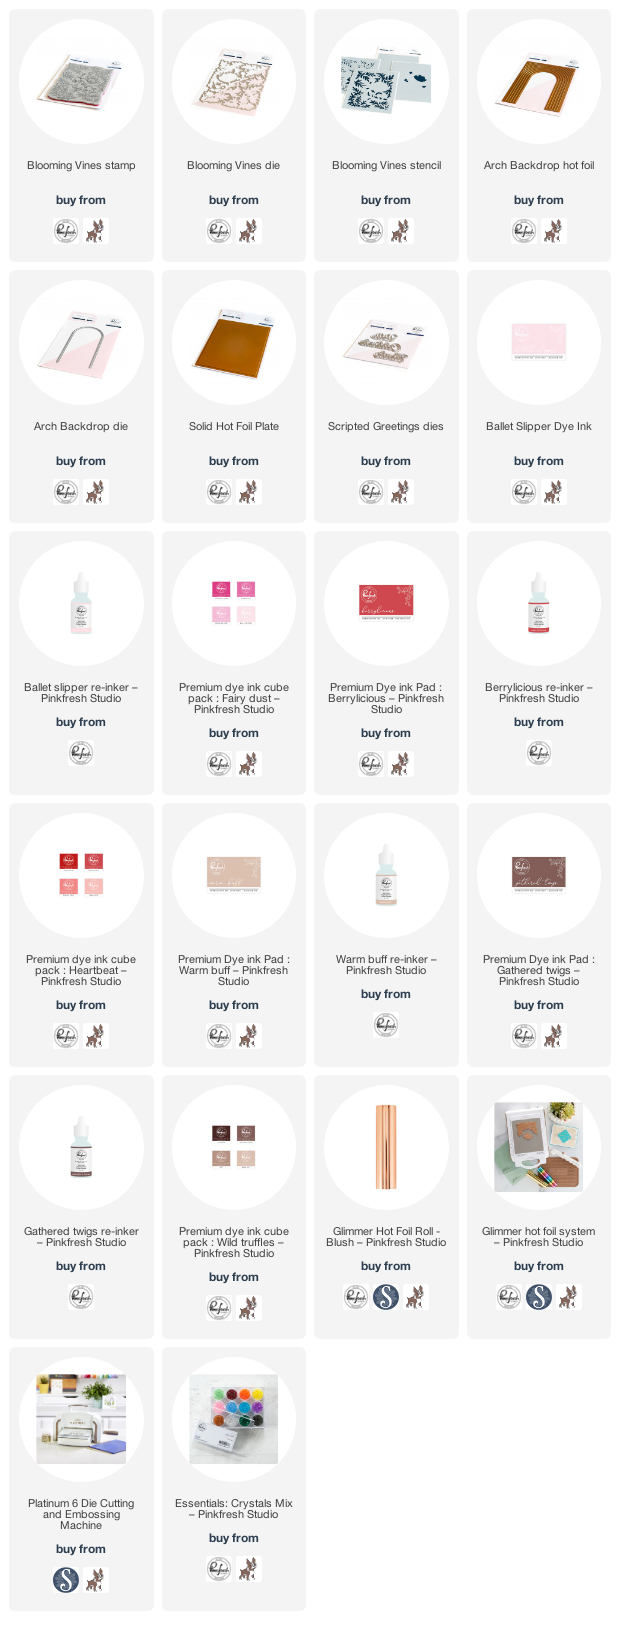
I started off by hot foiling the beautiful Arches hot foil plate on Ivory cardstock, then foiling the reverse foil on white cardstock, then die cutting with the coordinating die.
Next up, I used the Blooming Vines stamp stamped with deep brown ink, then ink blended in a mix of soft pink and tan for the leaves, and deep reds for the flowers. I had one I had tested in advance, so I die cut them both out with the coordinating die so I could create two cards.
I arranged them tucked around the arch, some of them coming up from the bottom, and some from the top, using a mix of liquid glue and foam adhesive.
I added sentiments from Scripted Greetings, die cut from white for the main layer, and red for the shadow layer.
I added a little row of crystals from Essentials: Crystals mix to finish off!
Which version is your favorite? The solid foiled arch with the plain center, or the original foiling with the solid center? And best of all - no foil wasted!
Product links are all below - including affiliate links where possible, which simply means that if you use one of the links below, I receive a small commission at no additional cost to you. Thanks so much for supporting my blog, and stopping by! Have a wonderful day!!!