Sunday, March 31, 2019

Pinkfresh April Challenge - Frames and Shakers

Pinkfresh Studios is kicking off a BRAND NEW April Challenge: Frames and Shakers - paired of course with the option a fun color combo! I hope you'll come play along for a chance to win some amazing prizes - you can enter cards OR scrapbook layouts!!!


Here is the challenge info and inspiration photo:


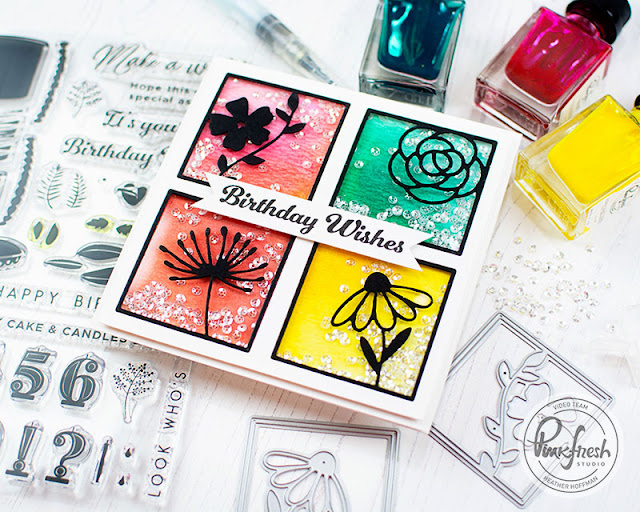
I decided to use BOTH frames AND shakers for my card to share today - to make this colorful and bright birthday card!


Can I just say how much I LOVE the Pinkfresh liquid watercolors? I used several of them to create the panel that fits behind the windows on these. The top left combines Bubblegum and Clementine, the bottom left combines Candy Apple with Clementine, top right uses Aquamarine and Emerald City, and the bottom right uses Sunshine with just a touch of Clementine. These were the perfect color combinations to achieve the challenge colors for me.


For the windows, I die cut 4 of the Floral Squares dies from black cardstock, then lined them up and cut them all out of one piece of white cardstock to create the windows. Then I was able to fit the black die cuts into the white panel and have the contrast in there so perfectly.


I created 4 individual shakers - one for each window - and filled them with sparkly clear sequins. What's better than a shaker on a card? Why, four shakers on one card, don't you think? I finished off with a sentiment from Make a Wish stamp set, stamped on a hand trimmed banner and adhered with a bit of foam adhesive.


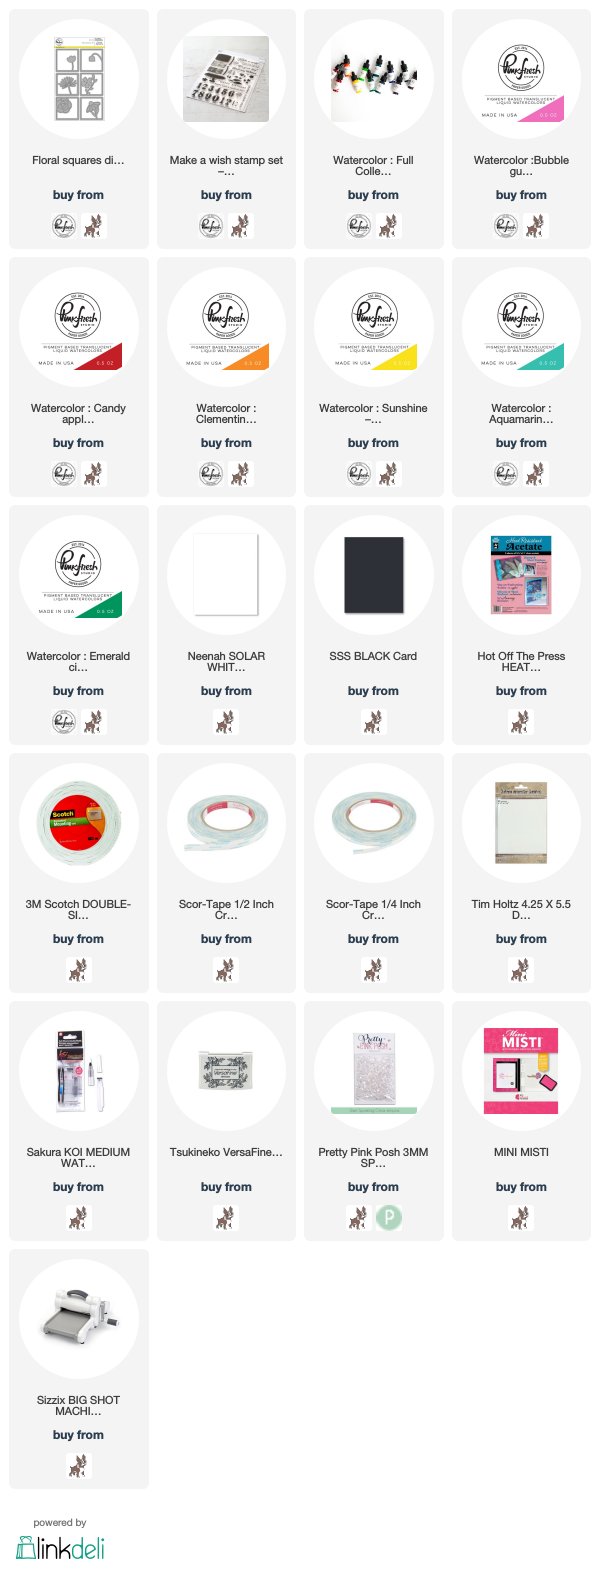
Product links are all below - including affiliate links where possible, which simply means if you use one of the links below that I receive a small commission at no additional cost to you. Thanks so much for stopping by! Have a wonderful day!!!

Saturday, March 30, 2019

Alcohol Inks and Florals - Simon Says Stamp

Hello! I'm here today with a floral card combining another fun alcohol ink background with a lovely stamped floral image and sentiment from Simon Says Stamp - it was so fun to pair up the uncolored image of the florals with the burst of color from the alcohol ink background for this card!


I shared a sneak peek of this background several weeks ago on my Instagram - it just took me a bit longer to get an entire card assembled with it! This background was created with a blend of Flamingo, Amethyst, and Patina inks. I just love this color combo!


I stamped the florals from Beautiful Flowers 2 on a panel of white cardstock, stamping off the edges so that I was left with a panel the same width as my alcohol ink background. I carefully fussy cut around the image with detail scissors, then mounted it with foam adhesive over the top of my background.


I adhered then entire panel onto a white cardbase, then stamped and heat embossed a sentiment from the new Tiny Words Faith stamp set on a strip of Royal Purple cardstock. I adhered that - also with foam adhesive - over a twist of silver thread to finish this card off!


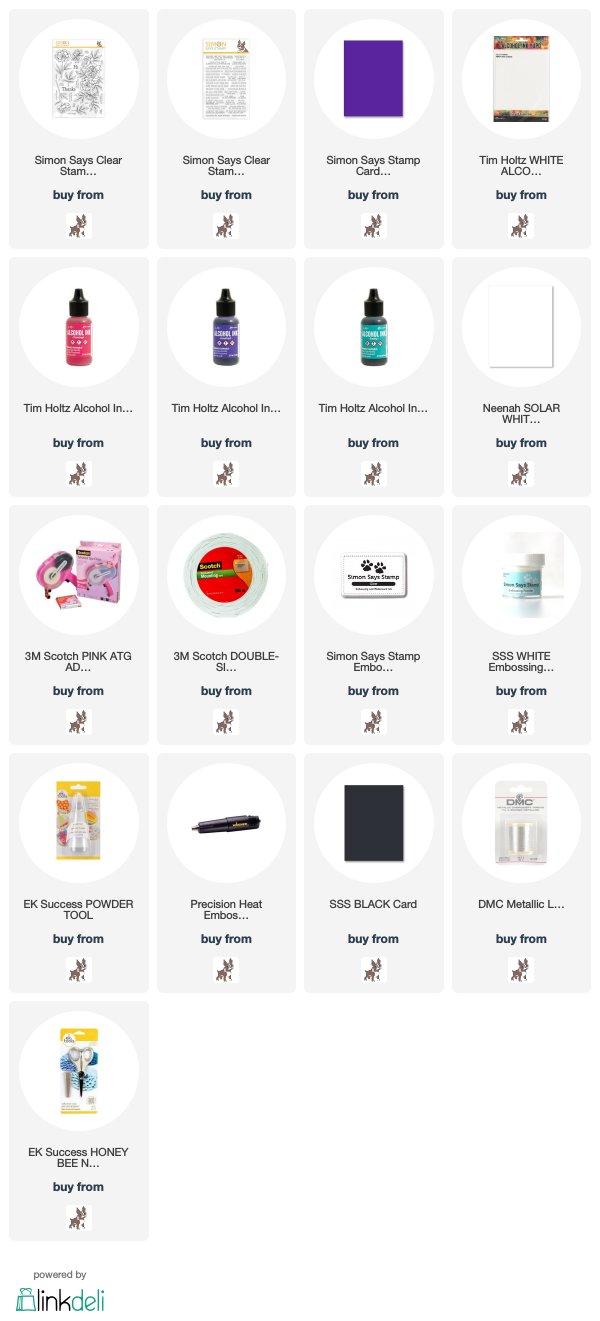
Product links are all below - including affiliate links where possible, which simply means that if you use one of the links below, I receive a small commission at no additional cost to you. Thanks so much for supporting my blog, and stopping by! Have a wonderful day!!!


Wednesday, March 27, 2019

Soft Floral Love Card - Reverse Confetti Wednesday in the Works

Good morning! I have a new edition of Wednesday in the Works on the Reverse Confetti Blog and YouTube Channel this morning sharing a soft tone on tone floral love theme card using some of the newest release! I hope you'll pop over and check it out for more details!


Thanks so much for stopping by - have a great day!


Tuesday, March 26, 2019

Bright Day Tulips - Reverse Confetti Stock Your Stash Challenge

Good morning! Stopping by with a card this morning for this month's Reverse Confetti Stock Your Stash Challenge - the fun monthly challenge at Reverse Confetti!


This month's theme is Easter and/or Spring:


My card is pretty clean and simple - and uses just one single image from the adorable Spring Pals stamp set repeatedly to form a simple border for watercoloring. The sentiment is from the new Word Up stamp set - pretty much a must have stamp set in my book!


Once I watercolored the image, I trimmed it into a thinner strip and mounted over a panel of Premier Polar White cardstock that I had used the Diagonal Stitches Cover Panel on - perfect for fun texture!


Finishing touch is a bit of jute twine tied in a nice loose bow - one of my favorite embellishments!


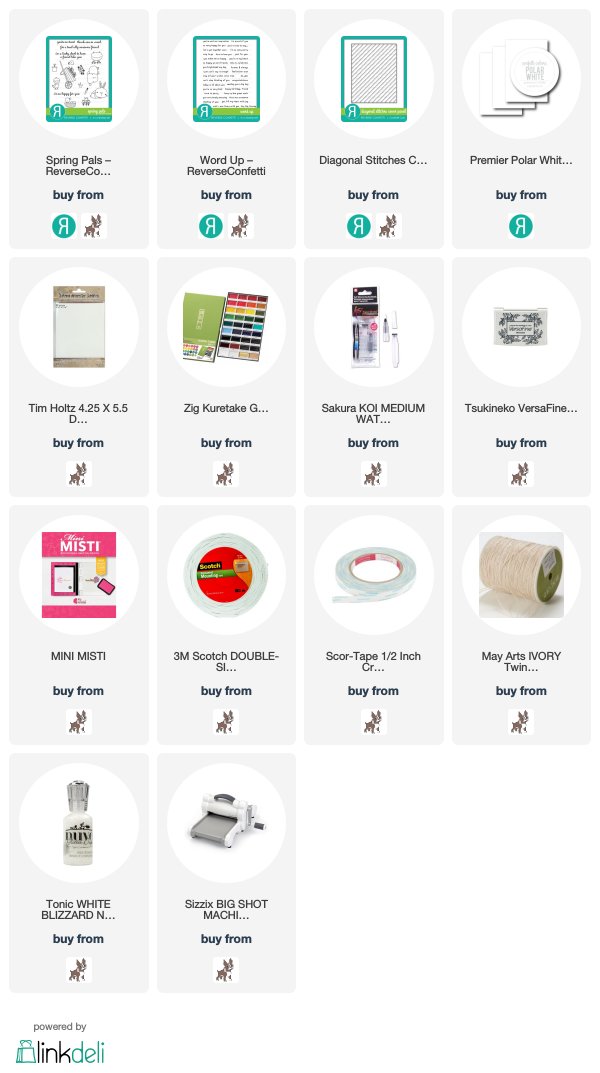
Here are the Reverse Confetti products I used on this card - click on the picture if you want to learn more about any of these items!


Product links are all below - including affiliate links where possible, which simply means if you use one of the links below that I receive a small commission at no additional cost to you. Thanks so much for stopping by! Have a wonderful day!!!


Monday, March 25, 2019

Alcohol Lift Ink Stenciled Background - on the Unity Blog

Good morning! Stopping by today with a quick look at my card for this week's video tutorial on the Unity Stamp Company Blog this morning! Just one more alcohol ink technique! This time I'm sharing how to use alcohol lift ink with your stencils for a different look for your backgrounds! You can check out all the details HERE!


Thanks for stopping by - have a wonderful day!


Wednesday, March 20, 2019

Soft Magnolias and Butterflies - on the Pretty Pink Posh Blog

Good morning! Just popping by with a little peek at a soft and dreamy card I have a tutorial for over on the Pretty Pink Posh Blog today! You can check it all out HERE!


Thanks so much for stopping by - have a wonderful day!

Tuesday, March 19, 2019

Watercolor Floral Birthday Wishing You Joy - Simon Says Stamp

There is just something so fun and relaxing about watercolors, don't you think? And especially if the images are beautiful florals! I'm popping by today to share the card I made for my Mom's birthday this year, using some gorgeous florals from Simon Says Stamp!


I actually had this image pre-stamped for a few weeks, and ready to watercolor, I just hadn't had time to sit and pull out my watercolors, and I wanted to spend some time and do them justice. I used Beautiful Flowers 2 Stamp Set for images - and added the sentiments at the very end when assembling the final bit of the card. This would actually be an easy way to have some cards in your stash, and add the sentiment to fit the occasion when needed! The sentiments were a combination of Beautiful Flowers Stamp Set AND Beautiful Flowers 2 Stamp Set.


I used my Daniel Smith watercolors to color in the images - combining some different colors on the blooms and leaves for a nice loose watercolor effect.


The frame was created by using two different sizes of dies from Wonky Rectangles to cut the large rectangle, then using the smaller one to cut a window in it - which also gives you another die cut frame to use on another project!


Once the watercolors had thoroughly dried and I had stamped the sentiment (planning around the frame of course), I added the frame with foam adhesive, and squeezed a bit of Glossy Accents on the "JOY" for a bit of shine. Then since it felt like it needed one more thing, I added a bit of jute twine wrapped around the entire card front and tied in a bow with a touch of liquid adhesive to hold the bow in place. I wish I had thought of it sooner - I probably would have added it before the frame, but better late than never, right? 


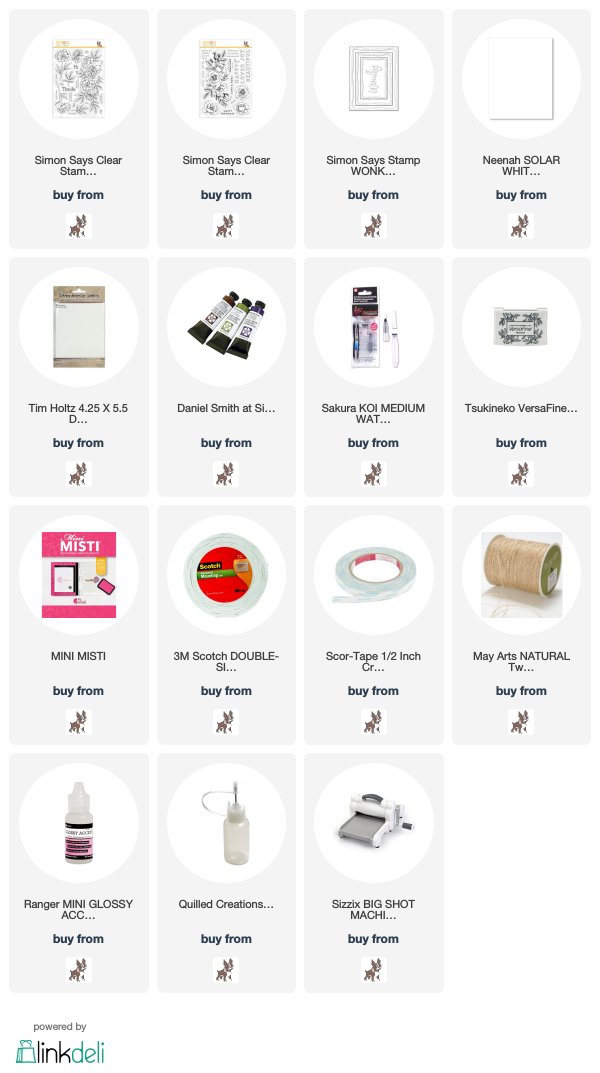
Product links are all below - including affiliate links where possible, which simply means that if you use one of the links below, I receive a small commission at no additional cost to you. Thanks so much for supporting my blog, and stopping by! Have a wonderful day!!!


Monday, March 18, 2019

Happy Birdie Birthday - Winnie and Walter Color Combo Challenge

Good morning! It's time for the newest Color Combo Challenge at Winnie and Walter! Here is a peek at my card - come see the color combo I picked this month, along with the winners from last month! Hope you will join us and play along! You can check it out HERE!


Thanks for stopping by - have a wonderful day!!!

Textured Alcohol Ink Background - on the Unity Blog

Good morning! Stopping by today with a quick look at my card for this week's video tutorial on the Unity Stamp Company Blog this morning! Surprise - it's more alcohol ink techniques! This time I'm showing you how to create lots of texture on your backgrounds like the one on this card - isn't it fun?!? You can check out all the details HERE!


Thanks for stopping by - have a wonderful day!


Friday, March 15, 2019

Amazing Bike Two Ways - Simon Says Stamp April Card Kit

Hello! I'm popping in to share a couple more cards created with the BRAND NEW April Simon Says Stamp Card Kit - Hello Darling! Such a lovely spring kit - especially as most of us are growing very weary of winter, and ready for some sunshine again! The large stamp set, Hello Darling, is stunning - and I adore the lovey Rainboot Planter Die as well! Not to mention the gorgeous double sided pattern paper, stickers, Nuvo drops, cardstock, envelopes, etc... that are in the kit!

Today I have a couple of cards to share using that DARLING bike image from the Hello Darling stamp set - and LOTS of that gorgeous Simple Stories pattern paper from the kit!


I always felt like I hoarded pattern paper in the past, and it was incredibly freeing to me when I started just layering up one single card with TONS of it! Something about actually using it was wonderful - and be still my pattern-paper-loving-heart - this paper is SOOO pretty and fun to do this with!


I adhered all the layers together with adhesive in just the center of each piece, allowing the edges to curl up with some help from me, just adding to all the dimension. The images and sentiment from the stamp kit were stamped on a Stitched Oval, and I added foam adhesive under just that layer.


Finishing touch is some jute twine wrapped around the entire front of the card and tied in a loose pretty bow!


And now...could this card be more opposite from the first one? LOVE how versatile this bike image is - perfect for girly floral patterns and layers, but also from a completely clean and graphic design like this!


For this card I used a recently created alcohol ink background done in rainbow colors. I trimmed the panel down with a Stitched Rectangle Die, then stamped my bike image with black pigment ink and heat embossed with clear embossing powder - being super careful to only heat it just as much as necessary so I didn't melt my Yupo paper.


I matted that panel with a super thin strip of black cardstock all around, and then heat embossed a tiny sentiment from the stamp set on a strip of black cardstock trimmed with Sentiment Labels Die set.


Which is your favorite? Do you prefer the soft and layered card - or is bold and graphic more your thing? 


Here is a closer look at the entire kit contents - you can find all the details HERE:


Product links are all below - including affiliate links where possible, which simply means if you use one of the links below that I receive a small commission at no additional cost to you. Thanks so much for stopping by! Have a wonderful day!!!


Thursday, March 14, 2019

Spring Flowers and Boots - Simon Says Stamp April Card Kit

Hello! I'm popping in to share my first cards created with the BRAND NEW April Simon Says Stamp Card Kit - Hello Darling! Such a lovely spring kit - especially as most of us are growing very weary of winter, and ready for some sunshine again! The large stamp set, Hello Darling, is stunning - and I adore the lovey Rainboot Planter Die as well! Not to mention the gorgeous double sided pattern paper, stickers, Nuvo drops, cardstock, envelopes, etc... that are in the kit!

My first card to share is a super clean and simple design featuring the Hello Darling Stamp Set - so perfect for this stamp set!


I used my MISTI to line up and stamp each part of the flower box and sentiment - this would also make it incredibly easy to create an entire set of cards very easily!


Difficult to see in the photos, but I added some soft gray dots to the background using some of the tiny images from the stamp set - just a touch of texture and depth.


Finished off with a tiny white jewel in the center of each of the flowers, using varying sizes - just a tiny bit of bling!


Next up, another fairly clean and simple design, but with a few more layers, and featuring the Rainboot Planter die in addition to the Hello Darling stamp set!


This die is so fun and pretty! I die cut it from watercolor cardstock, then colored it with a whole bunch of Distress Inks, slowly building up the color.


I heat embossed a sentiment from the stamp set in gold on a strip of vellum, wrapped that around a panel of white cardstock, then matted that with a bit of the Sea Glass cardstock in the kit.


Finished off by mounting my colored image, now thoroughly dry, over the sentiment using some foam adhesive - then attached that entire panel to a white card base to finish off!


Here is a closer look at the entire kit contents - you can find all the details HERE:


Product links are all below - including affiliate links where possible, which simply means if you use one of the links below that I receive a small commission at no additional cost to you. Thanks so much for stopping by! Have a wonderful day!!!