
Good morning! Dropping by today to share a card I earlier this week for Pinkfresh Studio's YouTube Live - as well as a bonus card I made with one of the extra panels I stenciled live and didn't end up using. I wasn't sure if I wanted to use the main set with just the stencils, or pair them up with the stamp set, so I did it both ways. I ended up using the version without the stamp set - but I couldn't let that go to waste of course! So naturally, I went ahead and created a second card - if you scroll through this post, you can see it at the end. And - you can watch the replay HERE if you want to see more details.

For this card - as I already mentioned, I used the Daisy Slimline Frame layering stencils on their own. I love the beautiful design it creates - even without the coordinating stamp set! The stencils are also the perfect size to line up and stamp on the largest Slim Stitched Rectangle, so I did that first.

I twisted things up a bit for this card - I often use aquas for the leaves and greenery - this time I used the aqua for the florals, and did traditional greens and a hit of yellow for the rest. I love the way that color palette turned out!

I added a stamped design for the center using Pop Out: Nested Chevron cling stamp - so perfect for building your own background like this! I used the softest of each of the colors I used for the florals - so Ocean Breeze, Fresh Pear, and Lemon Whip, and alternated the direction to have the design meet and overlap in the center. So fun - and I love that even though this is an A2 size background, it is so easy to use in other ways for other sizes of cards - such as this slimline card. :)
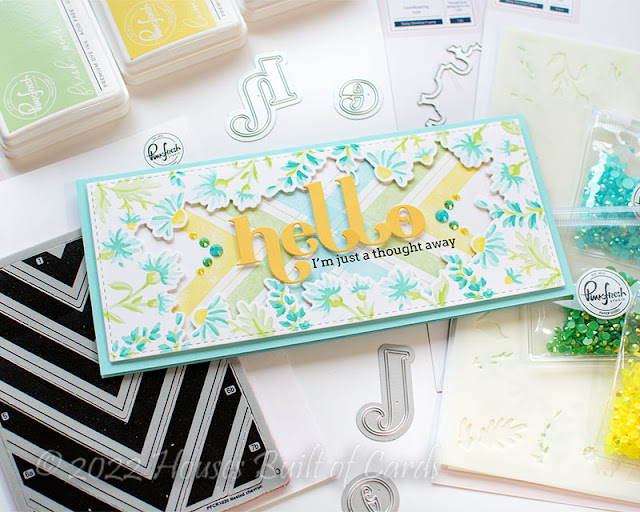
I die cut the center of the frame with the coordinating Daisy Slimline Frame die. I then used an aqua cardbase, and layered the florals over the chevron pattern with foam adhesive for a bit of dimension - this is such a great way to add shadows and depth to a card. For the sentiment - I partly build my own using Lea's Ornate Lowercase dies. I adore these dies - just saying! I die cut them from yellow cardstock and white cardstock, then layered them together for extra stability, then popped them up with foam adhesive on the background, after stamping my sentiment (bravely - directly on my nearly finished card, thanks to the magic of my MISTI!) from Simply Sentiments Hello. I love adding letters with foam adhesive like this - it makes them look like they are magically floating on a card, don't you think?

Final touch was adding a bit of sparkle (of course!) - I used Essentials Jewels Mix, and ended up selecting Ocean Breeze, Emerald City, and Sunshine, and arranging them in a row on the outer edge of the chevron. Love how easy this made placement - it was just a matter of following the design to add them! Sometimes I fiddle a lot with that detail - so this was kind of wonderful to have it go so quickly!

Okay - now for the bonus card!

Since I had the version of this frame all stamped, stenciled, and die cut, I couldn't waste it, so I decided to go ahead and create another card with it.

This time I layered it on a slightly larger panel of Cream cardstock - another favorite combo for me is white and cream cardstock. I love the subtle contrast! I then used aqua cardstock for the base to gove a solid framed effect.

I used the same aqua as the background to die cut the letters to create another custom large sentiment. I used Lea's Ornate Uppercase dies for the first letter, then the same Lea's Ornate Lowercase dies for the rest. I also die cut them each from white cardstock as before, to layer together for stability.

I popped those up with foam on my background, making sure to center and space them as best as I could in the area in the center of the frame.

I added a secondary sentiment to this one from Happy Birthday Sentiments stamp set. One of my favorite sets ever - I make a lot of birthday cards! I popped that up with foam adhesive slightly overlapping the bottom of the larger word.

And finally - what else?!? Bling, of course! A few Glacier jewels are the perfect finishing touch of sparkle!

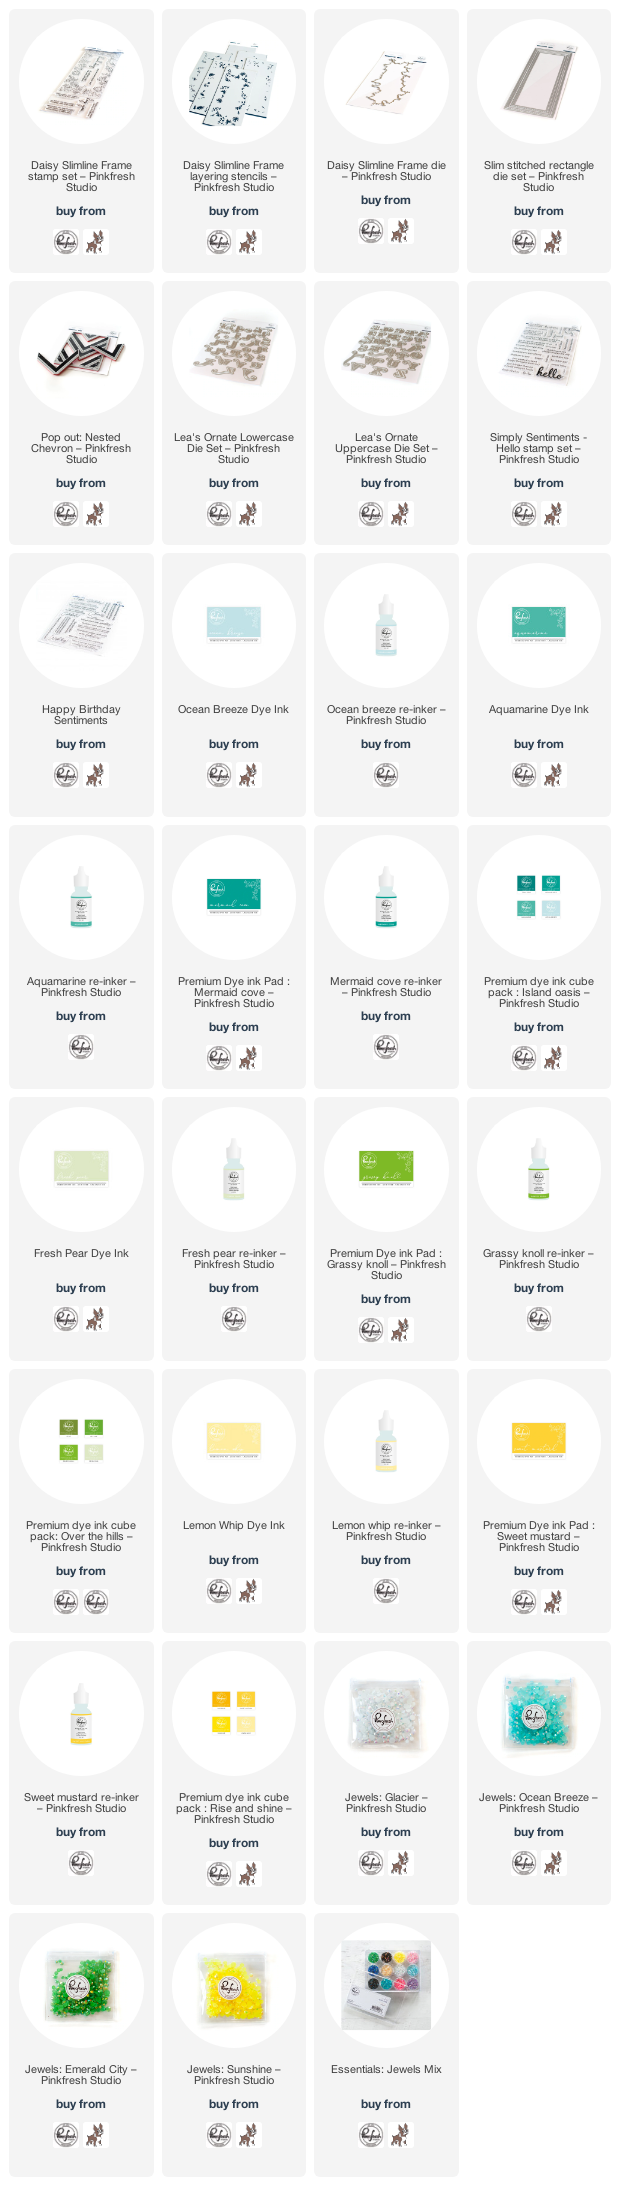
Product links are all below - including affiliate links where possible, which simply means that if you use one of the links below, I receive a small commission at no additional cost to you. Thanks so much for supporting my blog, and stopping by! Have a wonderful day!!!
No comments:
Post a Comment