Showing posts with label spellbinders cardstock. Show all posts

Wednesday, February 25, 2026

Fluttering Hey Friend - Simon Says Stamp

Good morning! There is a new release coming tomorrow from Simon Says Stamp - but I'm sneaking in one last card for the month with some previous releases! I love a crisp outline image, and a bit of soft stenciling is super fun as well!


I started off by doing some soft ink blending in the bottom right corner using the Tin Tile stencil and a bit of Ballerina ink. Next, I stamped the large main image from Make My Heart Flutter so that it went a bit off the edges of the cardstock and overlapped on the area where the stenciling faded out. I stamped a dainty sentiment from the same stamp set, and rounded a corner of that panel off, then mounted with Big Momma foam adhesive on a cardbase created with coordinating Spellbinders Blush cardstock that also had the same corner rounded off. I stamped the extra two little butterflies in black and die cut, adhering with liquid glue and leaving the wings floating free for dimension, then finished off with a few coordinating Glitter Enamel drops! Here are more photos of this finished card: 


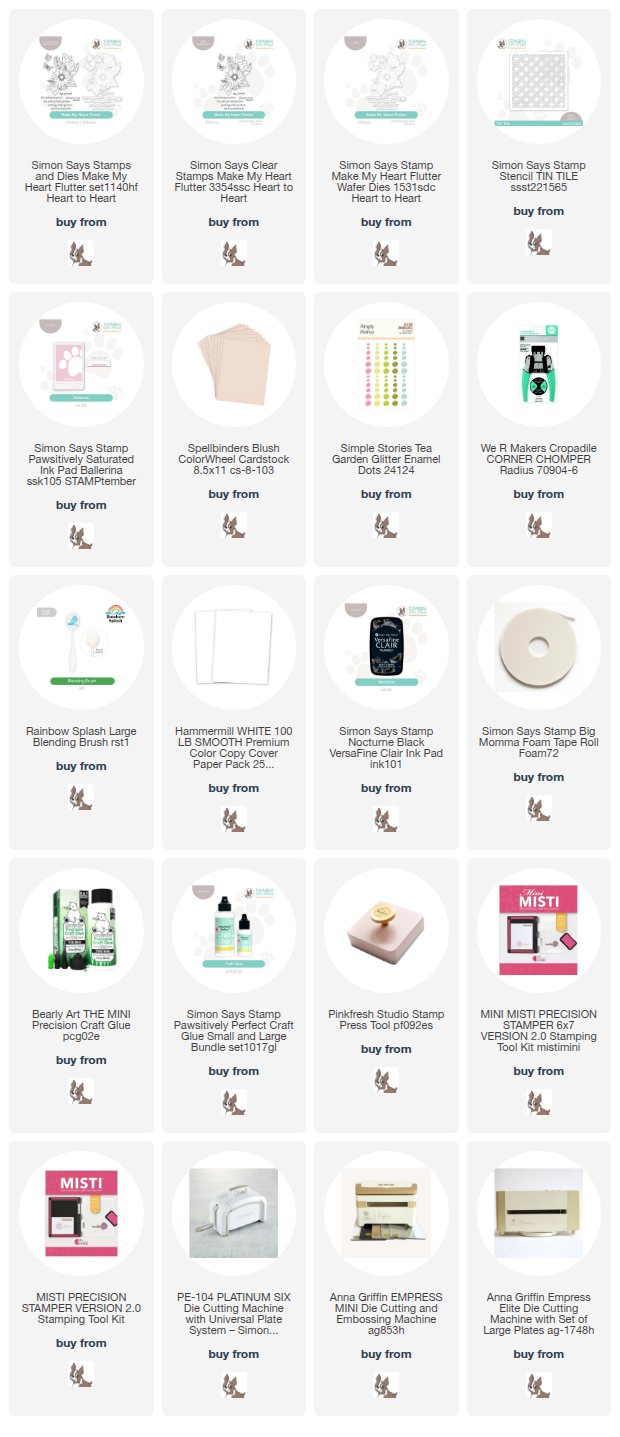
Product links are all below - including affiliate links where possible, which simply means if you use one of the links below that I receive a small commission at no additional cost to you. Thanks so much for stopping by! Have a wonderful day!!!

Thursday, January 22, 2026

Love You Sweet Friend - Simon Says Stamp Heart to Heart Release

Good morning! I have had so much fun playing with the Heart to Heart Release from Simon Says Stamp - and today I'm sharing another card featuring several new items from the release!


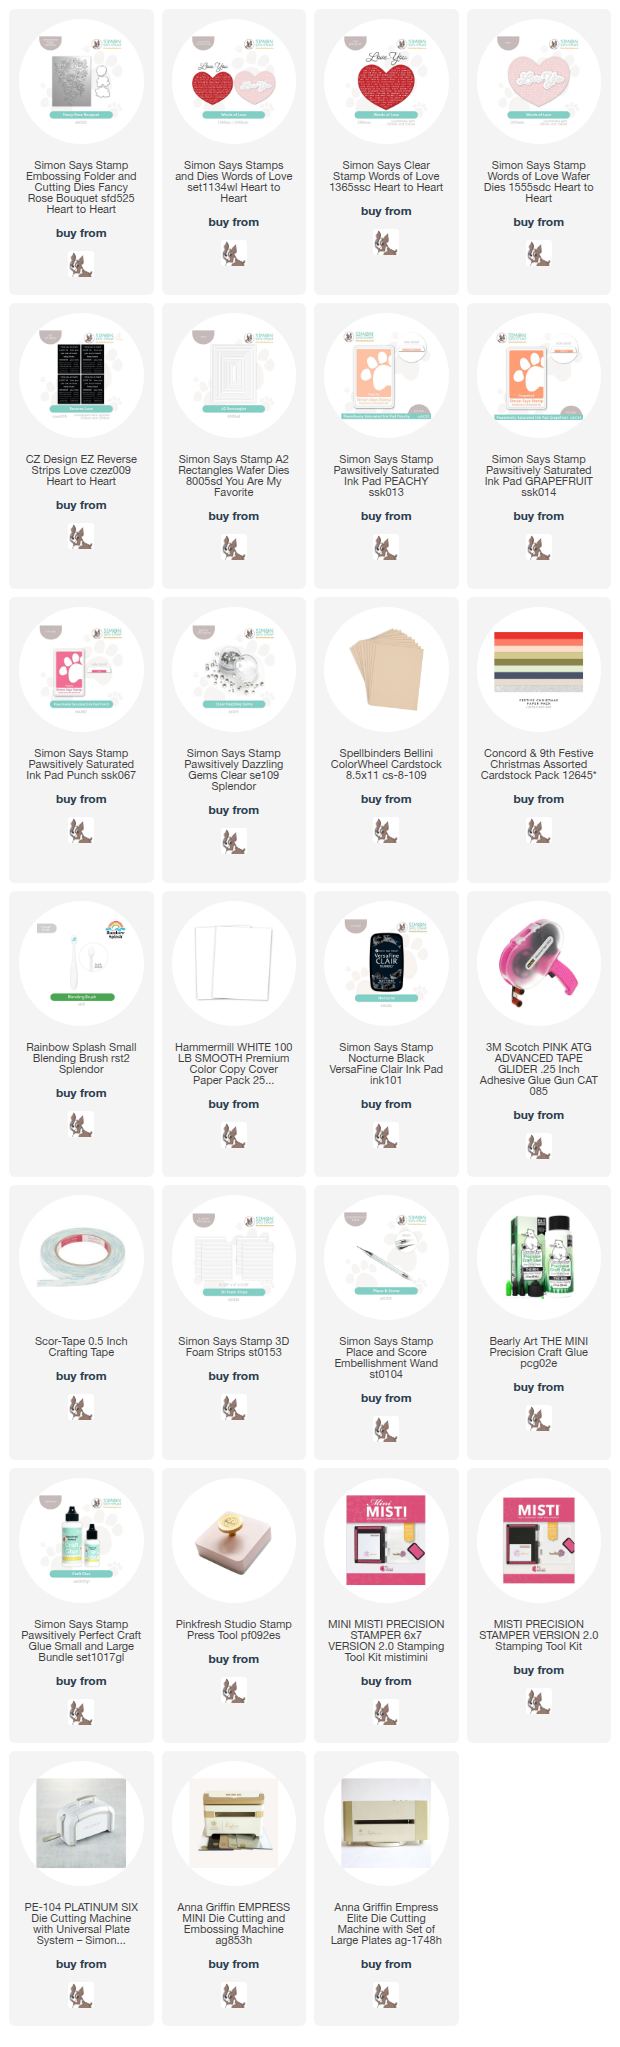
This card features another one of the lovely embossing folders in the release - Fancy Rose Bouquet (I also used it HERE on another project!). This time after embossing on Spellbinders Bellini cardstock, I added some soft ink blending over the top with a small blending brush. I used Peachy, Grapefruit, and Punch inks. I framed it with some Concord and 9th cardstock, creating a frame with A2 Rectangles dies. For the sentiment, I stamped the large sentiment from Words of Love, and die cut a couple extra layers to adhere together for a more dimensional sentiment. I added secondary sentiments from Reverse Love EZ strips sentiment strips, popped up on foam adhesive strips, then finished off with a sprinkle of Clear Dazzling Gems for sparkle! Here is a closer look at the finished card:


Product links are all below - including affiliate links where possible, which simply means if you use one of the links below that I receive a small commission at no additional cost to you. Thanks so much for stopping by! Have a wonderful day!!!


Wednesday, January 14, 2026

Love You Always Home Decor - Simon Says Stamp Heart to Heart Release

 Good morning! I'm dropping by today to share a project using the NEW Heart to Heart Release from Simon Says Stamp! This one was a bit of a different project - not a card! And, it even lights up! As Heidi said when she shared this project on the release live, I may have had wedding on my mind - haha!


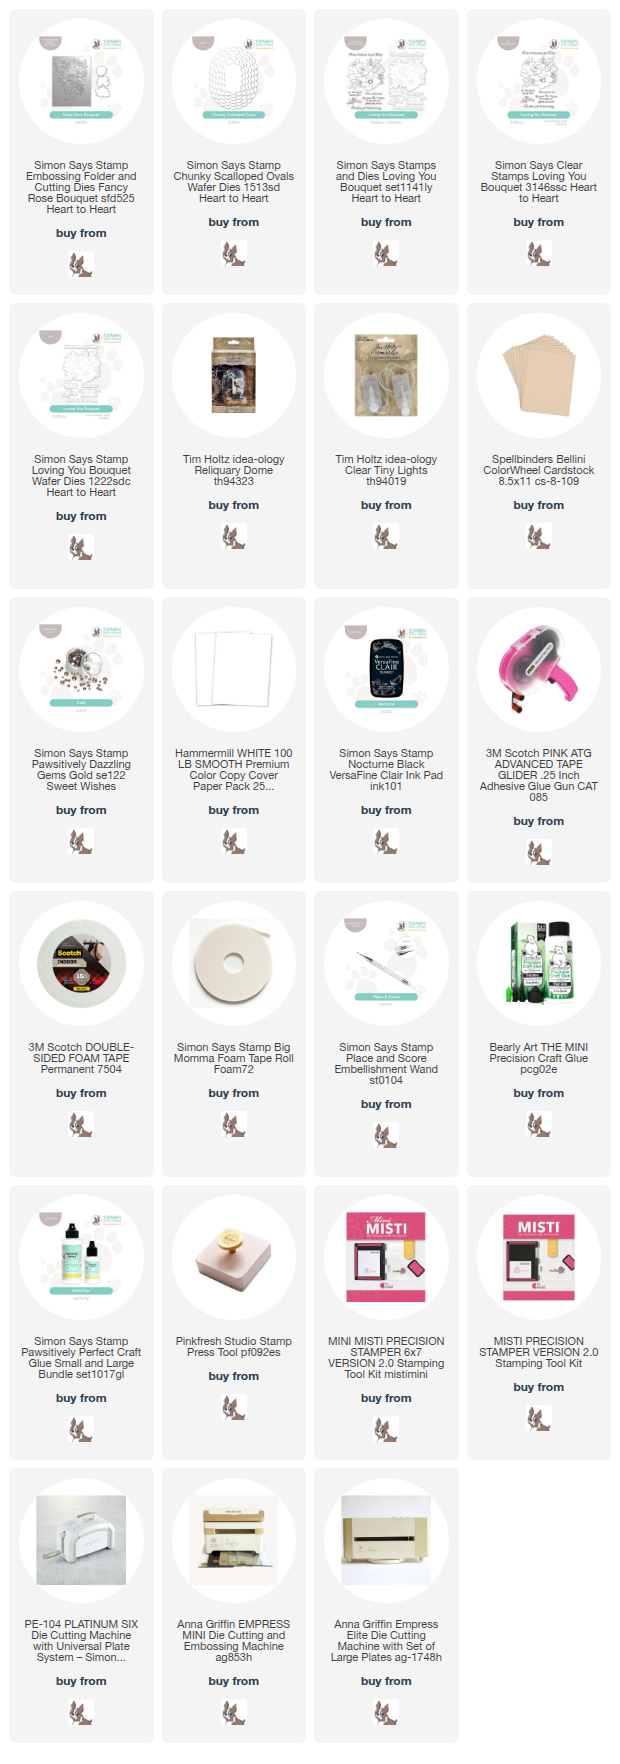
I started off with a piece of white cardstock die cut with one of the Chunky Scalloped Ovals dies, which I then ran through the Fancy Rose Bouquet embossing folder - I did it in this order, so I wouldn't smoosh out the details of the embossing by die cutting the panel later. I then cut a larger one of the ovals from Spellbinders Bellini cardstock, and layered them together. I added a sentiment from Loving You Bouquet, stamped and die cut, and also a few Dazzling Gold gems. I used a Tim Holtz Reliquary Dome to build my table decor. I also tucked in some Clear Tiny lights in the back, leaving the cord carefully coming out the back to attach on the backside of the project so I could turn the lights on and off. I had a bit of tulle in my stash, so I added that looped into a bow on the bottom to fill that space and cover up the bottom of the ovals that I trimmed off to fit. It gives the illusion of those panels not being cut off that way! And there you have it - a fun little nightlight or table decor! Here are more photos of the finished project: 


Product links are all below - including affiliate links where possible, which simply means if you use one of the links below that I receive a small commission at no additional cost to you. Thanks so much for stopping by! Have a wonderful day!!!


Tuesday, December 30, 2025

Trio of Trees Birthday Cards - Simon Says Stamp

Good morning! I feel like I'm constantly on a quest to have enough birthday cards around, so today I have a couple of cards featuring some die cutting and simple pattern paper from Simon Says Stamp - I'm also using an unexpected die to create the window, and some pattern paper from a Christmas pack that is versatile enough to stretch a little bit further than December!


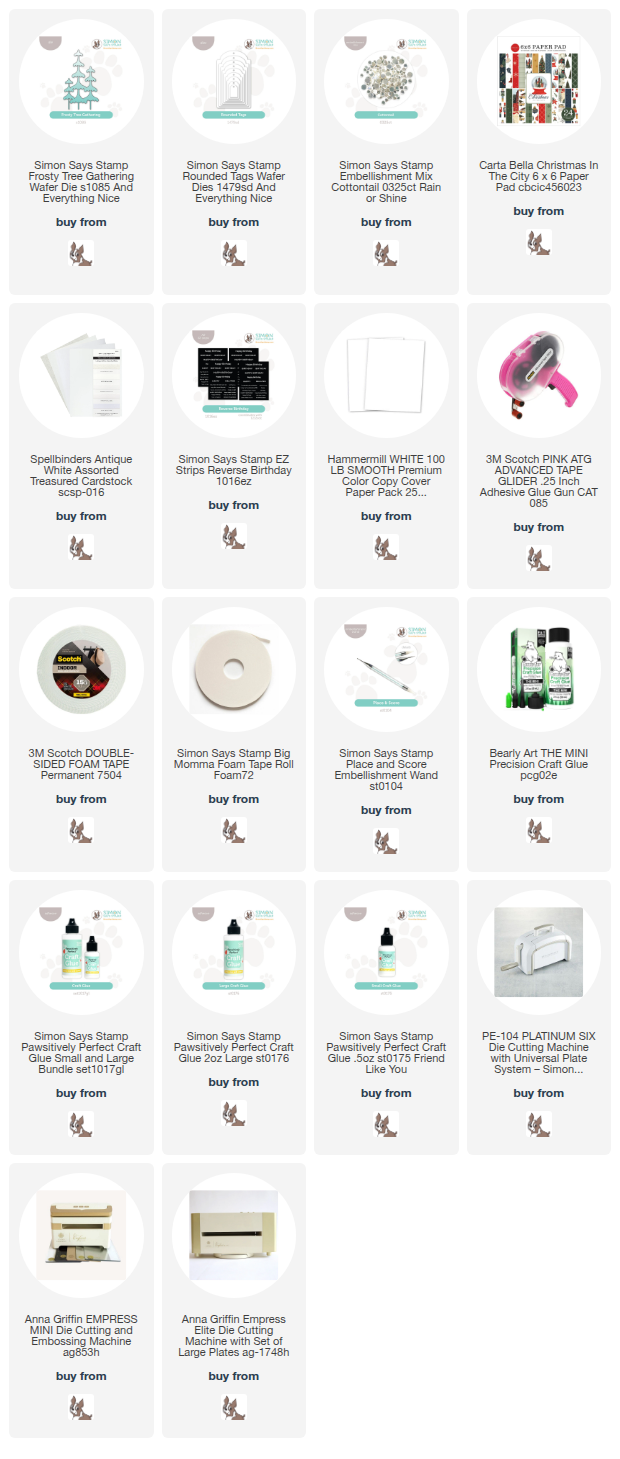
To create the window on these cards, I grabbed the Rounded Tags dies - that way I have a die cut tag that I can still use later, but it creates such a fun window shape as well! I backed that with some pattern paper from Carta Bella Christmas in the City 6x6 paper pad - I think they both fit great for winter cards still. I die cut Frosty Tree Gathering die 2 times each from glitter and matte cardstock in the Spellbinders Antique White Assorted Treasures cardstock pack - I love the different textures together! I adhered them together, slightly offset on each to give a bit of a shadow effect. I tucked those into the windows, then added sentiments from EZ Strips Reverse Birthday sentiment strips and embellished with Cottontail Embellishment mix. Here is a closer look at these two cards:


Product links are all below - including affiliate links where possible, which simply means if you use one of the links below that I receive a small commission at no additional cost to you. Thanks so much for stopping by! Have a wonderful day!!!


Saturday, October 4, 2025

Pretty Pink Autumn Card - Simon Says Stamp

Good morning! Today I'm sharing another fall card using a gorgeous stamp, die, and stencil set from Simon Says Stamp, but this time with a totally girly twist! Adding pink to fall colors? I'm definitely here for that! 


For this card, I again used the Pumpkin Blessings stamp, die, and coloring stencils, but this time I heat embossed the image in gold, then used some soft and girly colors to ink blend with. For this one I used Cheeky, Blush, Peachy, Grapefruit, Mandarin, Jade, Latte, Cappuccino, and Buttercream. I used a pink cardbase to coordinate, and then layered over a white layer die cut with Lacy Point Frames, and a Cream cardstock layer that I also embossed with the Thread Plaid embossing folder. I again tucked in some Autumn Leaves cut from Ivory glitter cardstock, and this time finished off with just some Clear Dazzling gems. Which version do you like best? Traditional fall, or gold and pink girly style? Here is a closer look at the finished card:


Product links are all below - including affiliate links where possible, which simply means if you use one of the links below that I receive a small commission at no additional cost to you. Thanks so much for stopping by! Have a wonderful day!!!


Tuesday, September 16, 2025

Snowglobe Tags - Simon Says Stamp STAMPtember Mama Elephant exclusive

 Good morning! I'm back to share a set of tags using the next of the special STAMPtember collaborations throughout the month! Each collaboration is with one of your favorite companies, is limited edition, and only available while supplies last. When it's gone, it's gone! Today's special release is from Mama Elephant:


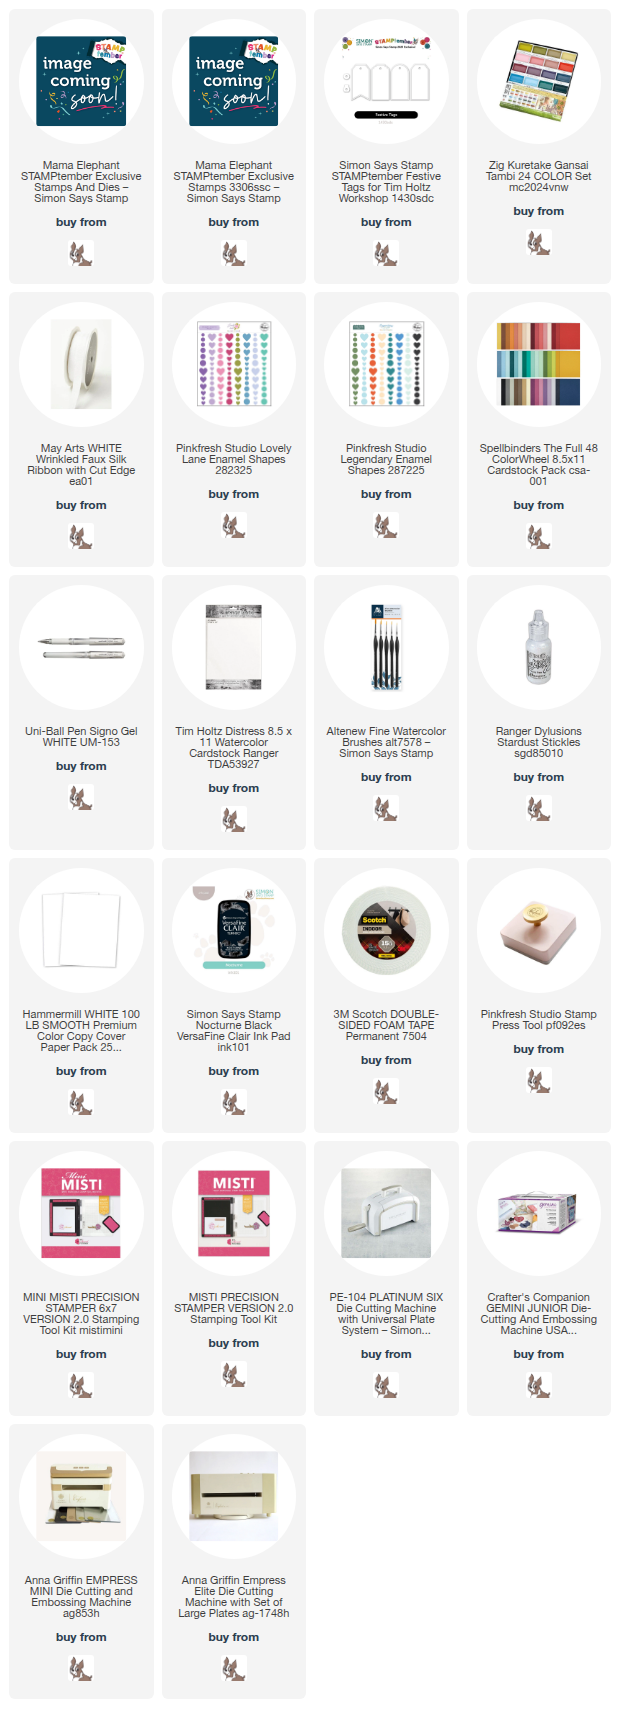
I couldn't pick an image in this cute set, so of course I stamped out 3 of them! I started off by watercoloring the images with my Gansai Tambai watercolors, then once they dried, cut them out with the coordinating dies. I thought about putting them on a card, but as I looked at them, I realized they would be perfect as tags! I die cut some tags using another STAMPtember special release, the Tim Holtz Festive Tags dies. I used fun colors of Spellbinders cardstock, then popped the images and sentiments up on the tags with foam adhesive. I added bows at the top using May Arts Faux Silk ribbon, a few Pinkfresh enamel dots, some dots with a white gel pen, and some sparkly elements with some Stickles. Here is a closer look at the finished set:


Product links are all below - including affiliate links where possible, which simply means if you use one of the links below that I receive a small commission at no additional cost to you. Thanks so much for stopping by! Have a wonderful day!!!