
Hello! Today I am part of a fun Instagram hop to celebrate the new Pinkfresh Studio release. There are giveaways up for grabs, so hop on over to check that out if you haven't yet! I have had so much fun creating with this release - yesterday was the blog hop, and I shared several cards for that! Today I'm sharing a card I created on last week's YouTube Live with Lea Lawson as a sneak peek. We used the same products in different ways to create two completely different cards. It was so fun! You can watch that video HERE if you want to see more details!
I also have added the video here if you want to watch here:
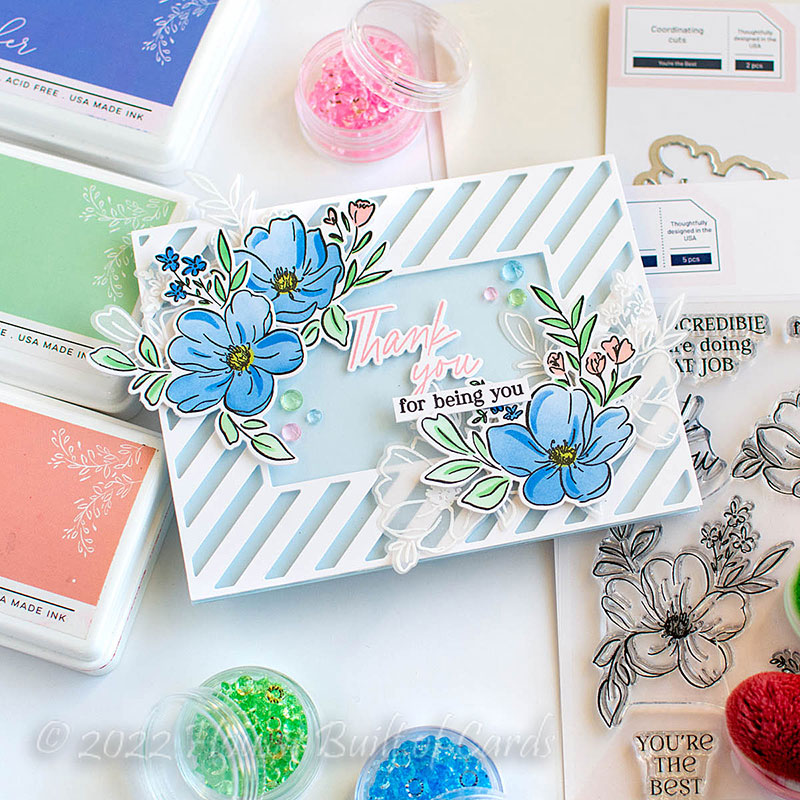
I started off by stamping my florals in a soft gray ink, then adding color with the layering stencils. I pretty much followed along with the colors of the sample on the packaging. I love how those are always great suggestions, and a good reference for color ideas. Since I left the stamp set lined up in my MISTI, it was easy to come back over the top and restamp in Detail Black over my stenciled images with perfect alignment!

I also stamped and heat embossed the florals in white on vellum to add some extra texture and fun. I love how ethereal they are that way!

I die cut the previously released Diagonal Stripes with a Window die from white cardstock, and mounted it on a soft blue cardbase to create a focal point for my card. Because I'm crazy, I used foam adhesive strips to pop it up with foam tape. Adding them live. Yes - I did say it was crazy! Haha!

Once that was adhered, I arranged the florals, tucking the vellum ones underneath, and adhering the stenciled ones over the top. I used liquid glue to adhere them all, and fluffed up the edges of the stenciled versions.

For the sentiment, I stamped the "thank you" from the stamp set in Coral Reef ink, and die cut it with the coordinating die, mounting it with foam in the center of the window. I added the secondary sentiment from the set, stamped in Detail Black, then trimmed into a small strip to mount underneath.

Finally, for a touch of sparkle, I added trios of coordinating bling from the Essentials: Crystals Mix. The soft tones were perfect! Later after photographing, I did trim off the extra floral pieces that extended over the edges of the card, so it would fit better in an envelope. I didn't think I would like it as well, but it was still quite lovely! I don't have a photo so you will just have to trust me on that! :)

Product links are all below - including affiliate links where possible, which simply means if you use one of the links below that I receive a small commission at no additional cost to you. Thanks so much for stopping by! Have a wonderful day!!!

No comments:
Post a Comment