
Good morning! Dropping by today to share a couple cards I made just yesterday for Pinkfresh Studio's Facebook Live. Actually, I created the card on the left live, and some of the elements for the second card, then finished the second card off camera. But they were kind of a combined effort, so I figured I'd share them both together! You can watch the replay HERE if you want to see more details.

You can watch the replay here as well if you want to see it come together:
I so love Pinkfresh washi tape and the coordinating dies they come with - they make beautiful cards like this so easy and fun!

These cards both focus on the gorgeous Indigo Roses washi tape. It has a lovely deep color palette, and some gorgeous gold foiling that just enhances the beautiful images. For this first card, I actually placed it on vellum, then die cut. This keeps that lovely ethereal feel that the washi has, and is such a fun way to use it!

I created the background with the Dainty Plaid stamp and layering stencils. I heat embossed the stamp image with clear embossing powder, this left those lines white after I added the ink blending with the stencils over the top. I used a mix of different shades of blue that coordinated well with the Indigo Roses washi. I die cut the panel with the largest Essentials: Stitched Rectangles, and then it was ready to mount with foam on my white cardbase.

The center frame was create with the Nested Hexagons hot foil and coordinating dies. I used Aura foil, and only die cut the outer frame, leaving the center solid instead of creating an open frame.

I mounted that frame with foam adhesive, and added my sentiment from the Indigo Roses stamp set - heat embossed in gold and die cut with the coordinating die - popping it up with more foam.

I arranged the florals around the frame, trimming where necessary, and adhering with tiny dots of liquid glue. Finally, embellished with a few Iridescent Clear Drops and Stargazer Jewels!

And then...once the live concluded - I had to go ahead and finish off one more additional card with some of the extra pieces!

I used the largest bloom from Indigo Roses washi, and for this card I used one of the ones that I had adhered and die cut from white cardstock. This gives a more opaque look to the images, and makes those colors pop even more which is also fun! I also used the Solid Hot Foil plate to reverse foil the frame from the first card!

For the background, I used the Dotted Lattice coverplate, die cut from white cardstock. Before I adhered it to my white cardbase, I used the ink I had left over on my blue blending brushes to add a touch of color to the top and slightly down the left side of my cardbase. This helped that lattice image to pop a bit more once I adhered it down with liquid glue over the top.

For the frame, I die cut the slightly larger Nested Hexagon die from white cardstock, popped the reverse foiled frame with thin foam adhesive strips, and then adhered that entire piece down to my cardbase with more foam adhesive (only a thinner version that I recently got from Simon Says Stamp - I love it for different depths of dimension! You can find it HERE).

I tucked that large floral bloom under the bottom edge of that frame, popping it up and around for dimension. This anchors the florals, and gives them a solid place to rest.

And then I grabbed a sentiment that I had pre-foiled from Fancy Script Words, and adhered that in the upper left corner.

Finally - a few Gold Glitter Drops add the perfect finishing touch of sparkle! I would have used them on the first card that I created live, but since they were out of stock, I didn't want to make anyone feel sad that they couldn't find them! Haha! :)

And there you go - that finishes these cards off! I'd love to hear which one is your favorite!

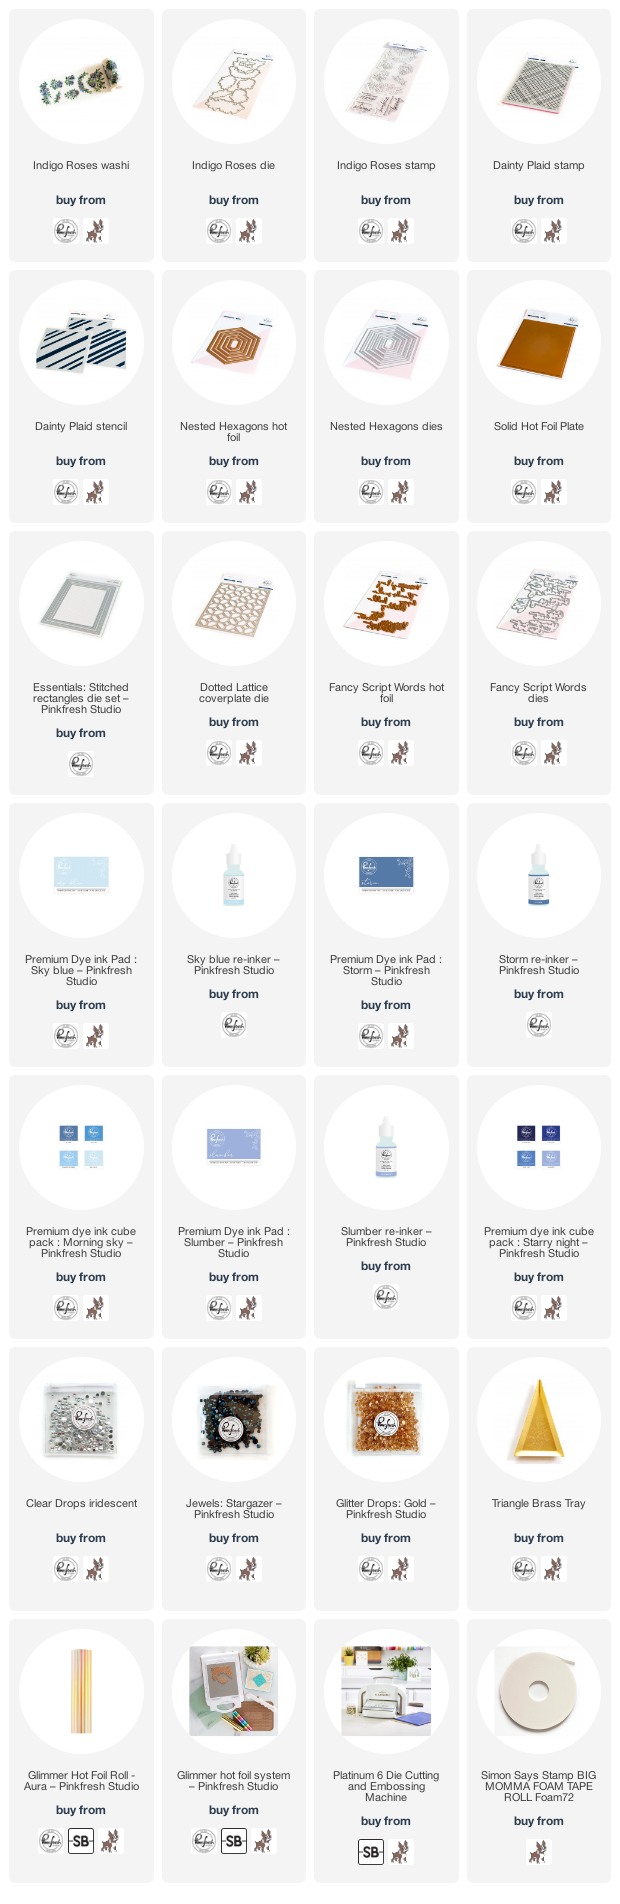
Product links are all below - including affiliate links where possible, which simply means that if you use one of the links below, I receive a small commission at no additional cost to you. Thanks so much for supporting my blog, and stopping by! Have a wonderful day!!!
No comments:
Post a Comment